你提前准备了吗
RCP 程序 UI 设计——之首页篇(三)
2008-05-06 13:24:30| 分类: RCP 技术|举报|字号 订阅
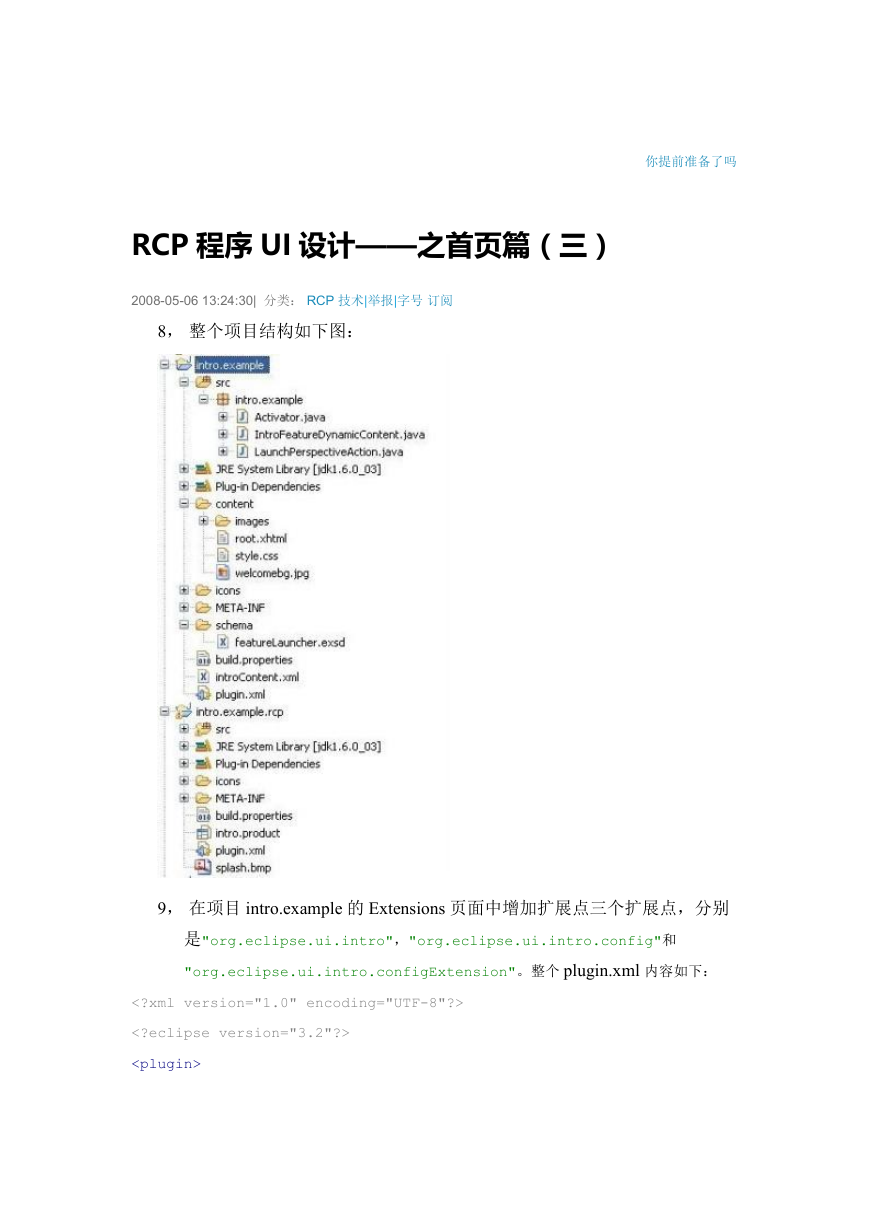
8, 整个项目结构如下图:
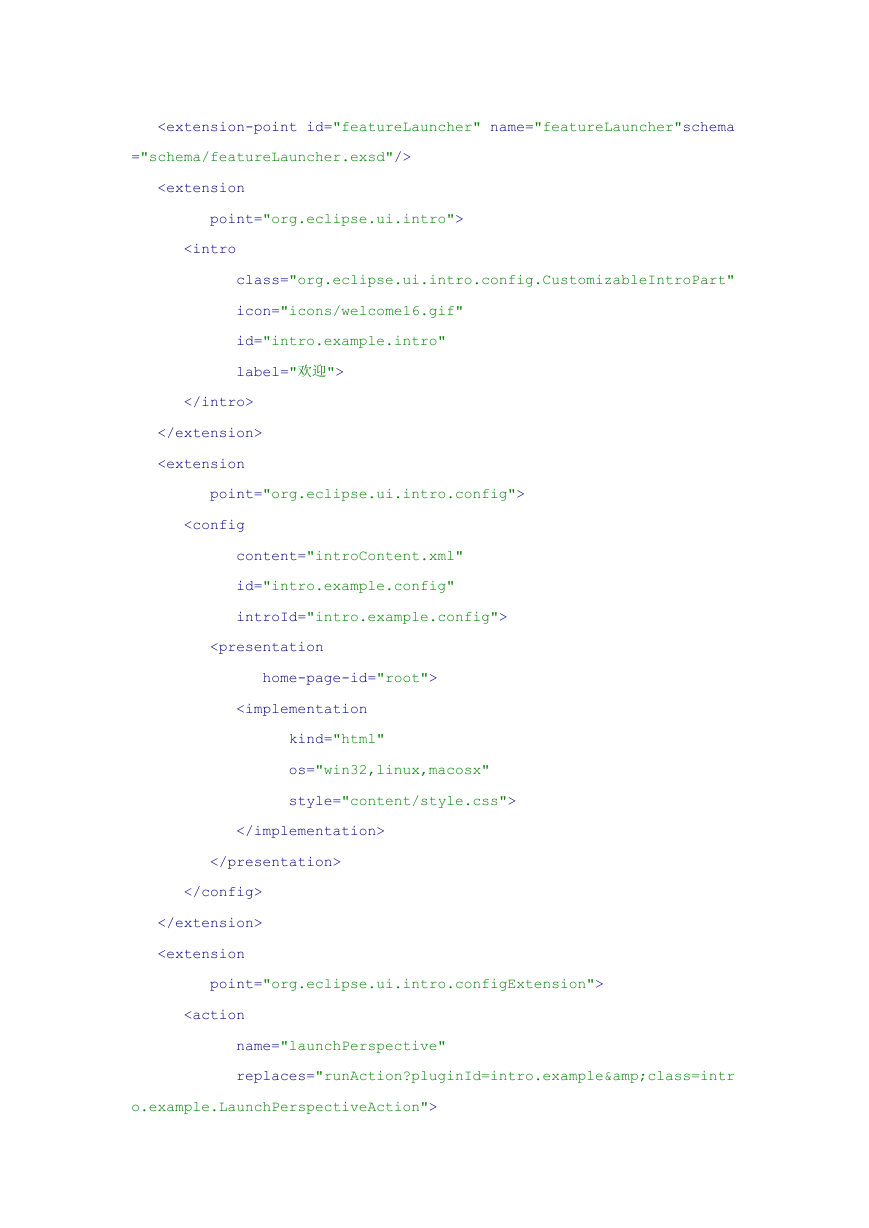
9, 在项目 intro.example 的 Extensions 页面中增加扩展点三个扩展点,分别
是"org.eclipse.ui.intro","org.eclipse.ui.intro.config"和
"org.eclipse.ui.intro.configExtension"。整个 plugin.xml 内容如下:
�
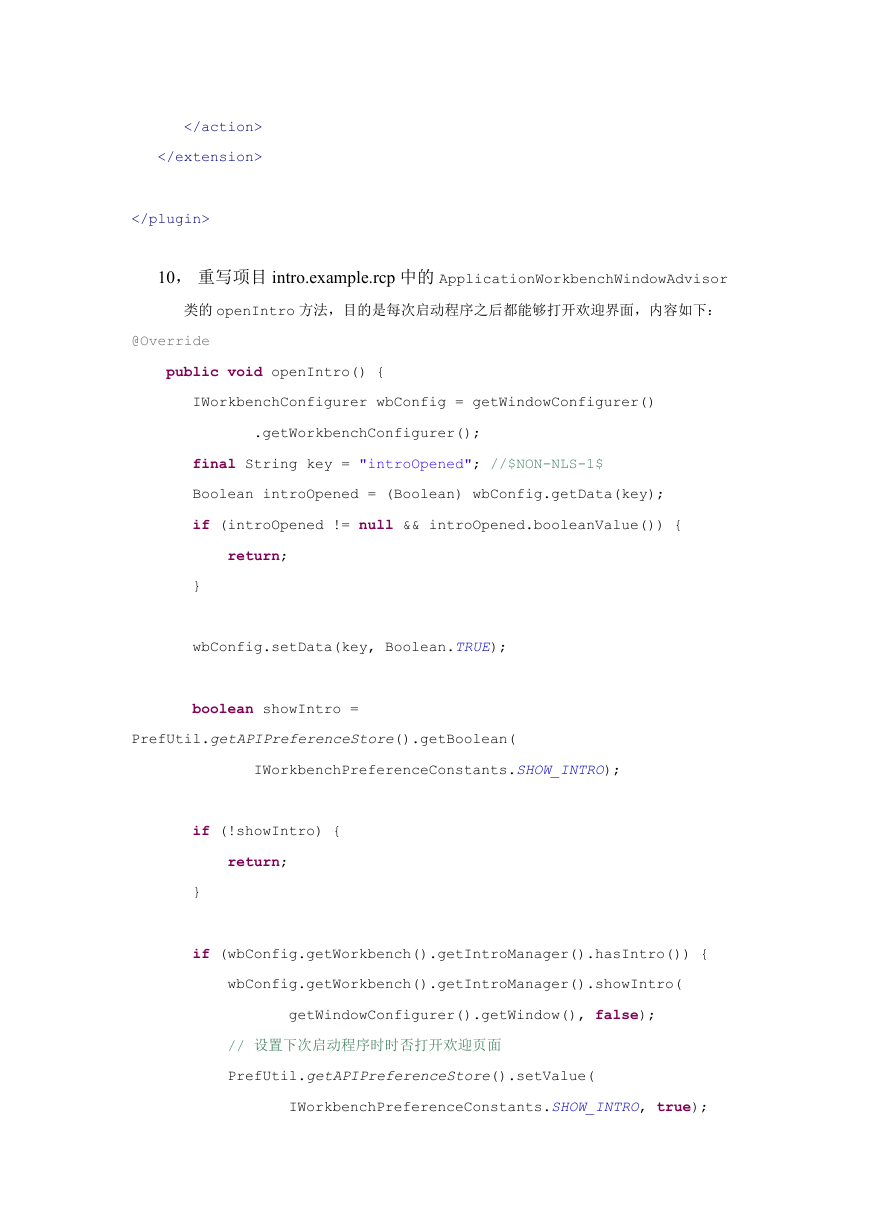
10, 重写项目 intro.example.rcp 中的 ApplicationWorkbenchWindowAdvisor
类的 openIntro 方法,目的是每次启动程序之后都能够打开欢迎界面,内容如下:
@Override
public void openIntro() {
IWorkbenchConfigurer wbConfig = getWindowConfigurer()
.getWorkbenchConfigurer();
final String key = "introOpened"; //$NON-NLS-1$
Boolean introOpened = (Boolean) wbConfig.getData(key);
if (introOpened != null && introOpened.booleanValue()) {
return;
}
wbConfig.setData(key, Boolean.TRUE);
boolean showIntro =
PrefUtil.getAPIPreferenceStore().getBoolean(
IWorkbenchPreferenceConstants.SHOW_INTRO);
if (!showIntro) {
return;
}
if (wbConfig.getWorkbench().getIntroManager().hasIntro()) {
wbConfig.getWorkbench().getIntroManager().showIntro(
getWindowConfigurer().getWindow(), false);
// 设置下次启动程序时时否打开欢迎页面
PrefUtil.getAPIPreferenceStore().setValue(
IWorkbenchPreferenceConstants.SHOW_INTRO, true);
�
PrefUtil.saveAPIPrefs();
}
}
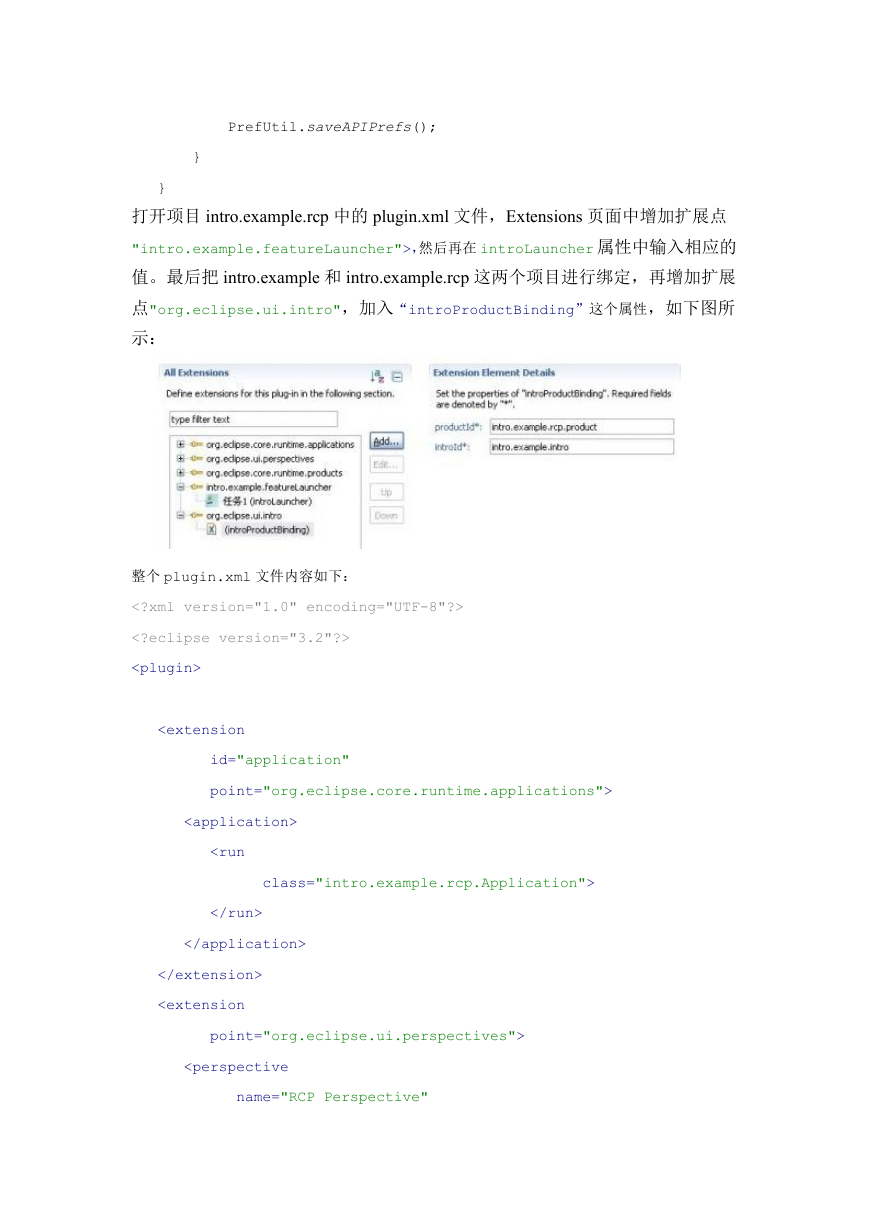
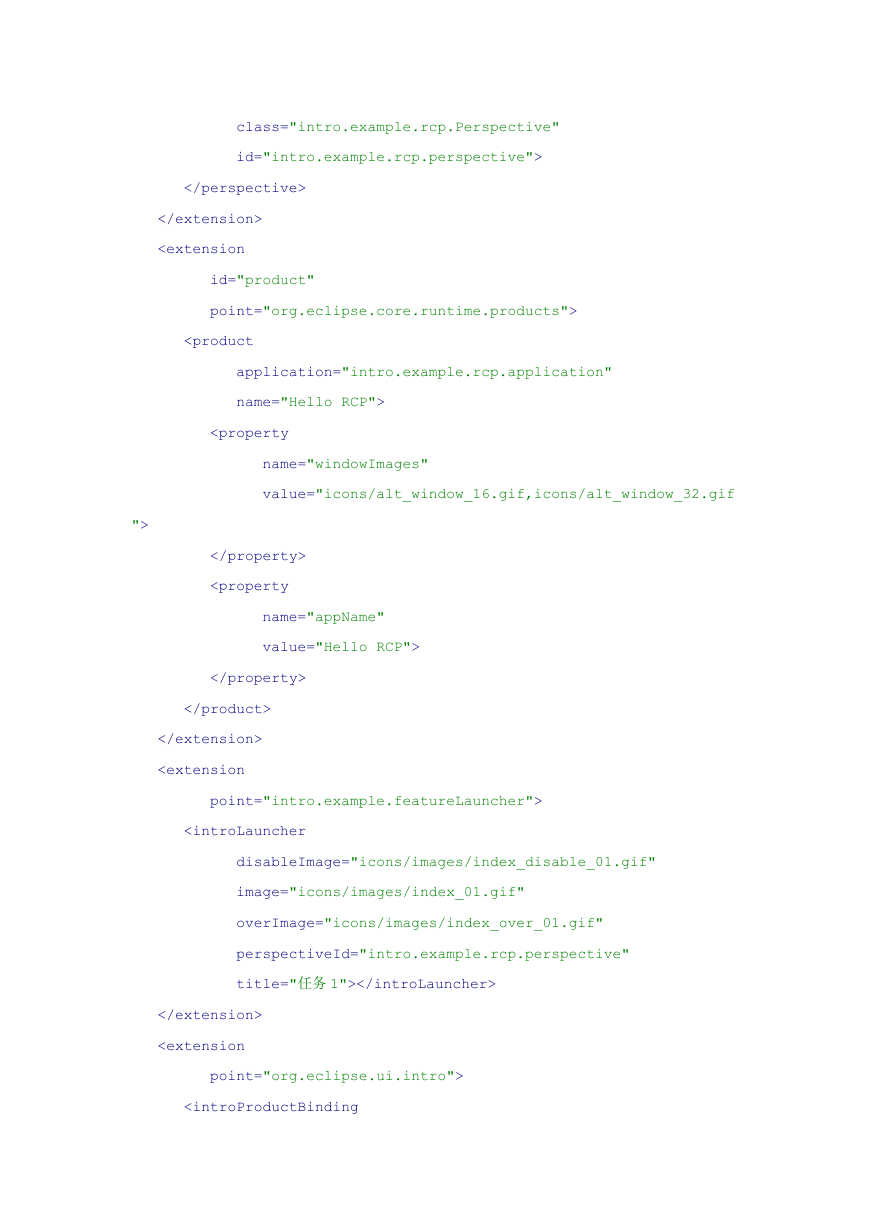
打开项目 intro.example.rcp 中的 plugin.xml 文件,Extensions 页面中增加扩展点
"intro.example.featureLauncher">,然后再在 introLauncher 属性中输入相应的
值。最后把 intro.example 和 intro.example.rcp 这两个项目进行绑定,再增加扩展
点"org.eclipse.ui.intro",加入“introProductBinding”这个属性,如下图所
示:
整个 plugin.xml 文件内容如下:
class="intro.example.rcp.Application">
class="intro.example.rcp.Perspective"
id="intro.example.rcp.perspective">
introId="intro.example.intro"
productId="intro.example.rcp.product">
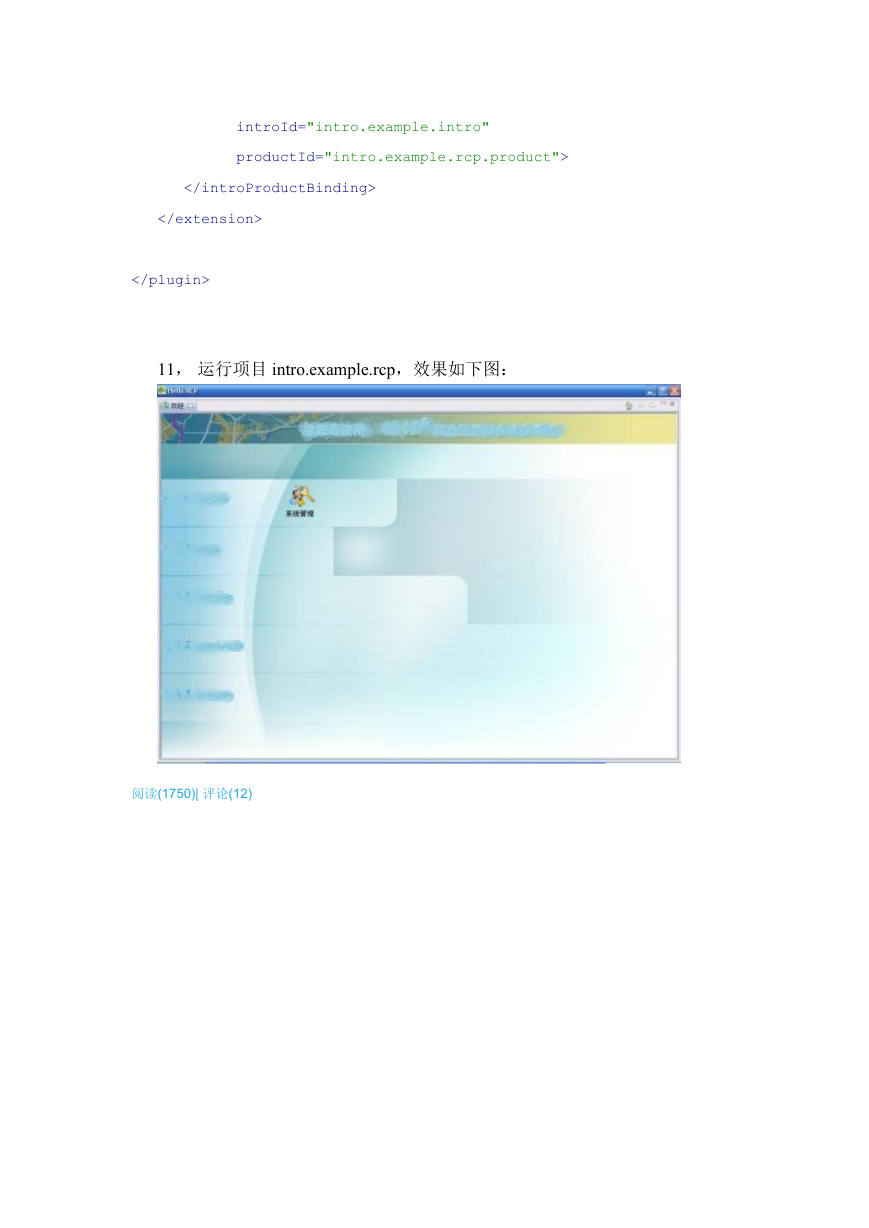
11, 运行项目 intro.example.rcp,效果如下图:
阅读(1750)| 评论(12)
�


 2023年江西萍乡中考道德与法治真题及答案.doc
 2012年重庆南川中考生物真题及答案.doc
 2013年江西师范大学地理学综合及文艺理论基础考研真题.doc
 2020年四川甘孜小升初语文真题及答案I卷.doc
 2020年注册岩土工程师专业基础考试真题及答案.doc
 2023-2024学年福建省厦门市九年级上学期数学月考试题及答案.doc
 2021-2022学年辽宁省沈阳市大东区九年级上学期语文期末试题及答案.doc
 2022-2023学年北京东城区初三第一学期物理期末试卷及答案.doc
 2018上半年江西教师资格初中地理学科知识与教学能力真题及答案.doc
 2012年河北国家公务员申论考试真题及答案-省级.doc
 2020-2021学年江苏省扬州市江都区邵樊片九年级上学期数学第一次质量检测试题及答案.doc
 2022下半年黑龙江教师资格证中学综合素质真题及答案.doc