logo资料库

SONY索尼数码摄像机-PDW-F355L说明书.pdf

第1页 / 共189页
第2页 / 共189页
第3页 / 共189页
第4页 / 共189页
第5页 / 共189页
第6页 / 共189页
第7页 / 共189页
第8页 / 共189页
资料共189页,剩余部分请下载后查看
Table of Contents
Foreword
Before Use
Frame Frequency Indications for Interlaced Signals
Chapter 1 Overview
Product Configurations
Features
Camera Features
Features of the Optical Disc Drive (VDR)
Input/Output Features
Other Features
Location and Function of Parts
Front
Right Side
Status Display on the LCD Monitor
Left Side and Upper Section
Rear
DXF-20W Viewfinder
Status Display on the Viewfinder Screen
Chapter 2 Preparations
Attaching and Replacing the Lithium Battery
Preparing a Power Supply
Using a Battery Pack
Using an AC Adaptor
Setting the Area of Use and the Frame Frequency
Using the Unit for the First Time
Setting the Frame Frequency
Setting the Date and Time of the Internal Clock
Preparing the Lens
Mounting the Lens
Adjusting the Flange Focal Length
Adjusting the Viewfinder
Detaching the Viewfinder
Adjusting the Viewfinder Position
Adjusting the Eyepiece Focus and the Screen (Brightness, Contrast, and Outline Emphasis)
Attaching a 5-inch Electronic Viewfinder
Using the Shoulder Strap
Adjusting the Shoulder Pad Position
Mounting on a Tripod
Using a Video Light
Preparing the Audio Input System
Using the Supplied Microphone
Using an External Microphone
Attaching a UHF Synthesized Tuner
Connecting Line Input Audio Equipment
Connecting the Remote Control Unit
Connecting
Connecting an External Video Monitor
Using an i.LINK Connection
Connecting Using the SDI OUT Connector
Connections for Using the PDZ-1
Chapter 3 Recording and Playback
Handling Discs
Discs Used for Recording and Playback
Notes on Handling
Write-Protecting Discs
Loading and Unloading a Disc
Formatting a Disc
Handling of Discs When Recording Does Not End Normally (Salvage Function)
Basic Procedure for Shooting
Recording - Basic Operations
Selecting the Recording Format
Adjusting the Black Balance/White Balance
Setting the Electronic Shutter
Adjusting the Iris
Adjusting the Audio Level
Setting the Time Data
Setting for Special Shooting Cases
Deleting Clips
Recording Shot Marks
Setting the Thumbnail Image at Recording Time
Recording - Advanced Operations
Time-lapse Video Recording (Interval Rec Function)
Slow & Quick Motion Shooting
Starting a Shoot with a Few Seconds of Pre-Stored Picture Data (Picture Cache Function)
Assigning User-Defined Clip Titles Automatically
Assigning User-Defined Clip and Clip List Names
Recording with the Clip Continuous Rec Function
Viewing Camera Video during Playback (Live & Play Function)
Playback
Normal Playback
Checking the Last Two Seconds of the Recording (Recording Review)
Checking the Recording on a Color Video Monitor
Thumbnail Search
Searching Using Thumbnails
Switching the Information Displayed in the Thumbnail Screen
Changing the Thumbnail Image (Index Frame) of a Clip
Cuing Up a Frame by Searching for an Essence Mark
Searching Using the Chapter Function
Searching Using the Expand Function
Clip List Playback
Locking (Write-Protecting) Clips
Deleting Clips
Chapter 4 Scene Selection
Overview
Creating Clip Lists
Including Sub Clips in the Current Clip List
Adding Sub Clips Using the Expand Function
Adding Sub Clips Using the Chapter Function
Editing Clip Lists
Reordering Sub Clips
Adjusting Sub Clip In/Out Points (Trimming)
Deleting Sub Clips
Saving the Current Clip List to Disc
Setting the Start Timecode for the Current Clip List
Switching the Information Displayed on Thumbnails
Managing Clip Lists
Loading a Clip List from the Disc as the Current Clip List
Deleting a Clip List from the Disc
Sorting the List of Clip Lists
Using the PDZ-1 Proxy Browsing Software
Chapter 5 Menu Displays and Detailed Settings
Menu Organization and Operation
TOP Menu
Menu List
Displaying Menus
Basic Menu Operations
Using the USER Menu (Example Menu Operation)
Editing the USER Menu
Resetting USER Menu Settings to the Standard Settings
Resetting USER Menu Settings to the Factory Default Settings
Setting the Status Display on the Viewfinder Screen and the LCD Monitor
Selecting the Display Items
Change Confirmation/Adjustment Progress Messages
Setting the Marker Display
Setting the Viewfinder Screen Display
Recording Shot Data Superimposed on the Color Bars
Setting the Shot ID
Showing the Status Display
Adjustments and Settings from Menus
Setting Gain Values for the GAIN Switch Positions
Selecting the Output Signals
Setting the Color Temperature Manually
Specifying an Offset for the Auto White Balance Setting
Selecting Gamma Tables
Making Low-Noise Settings
Assigning Functions to ASSIGN Switches
Selecting the Lens File
Selecting the Aspect Ratio
About the CCD Scan Mode
Chapter 6 Saving and Loading User Setting Data
Saving and Loading User Files
Handling the “Memory Stick”
Saving USER Menu Data (User File) to the “Memory Stick”
Loading Saved Data from a “Memory Stick”
Saving and Loading Scene Files
Saving a Scene File
Loading Scene Files
Resetting the Settings of the Camcorder to the Standard Settings
Chapter 7 File Operation
Overview
Directory Structure
File Operation Restrictions
File Access Mode File Operations
Recording Continuous Timecode over FAM Connections
Appendix
Important Notes on Operation
Phenomena Specific to CCD Image Sensors
Condensation
Maintenance
Testing the Camcorder Before Shooting
Maintenance
Note About the Battery Terminal
Operation Warnings
Troubleshooting
Using UMID Data
MPEG-4 License
About i.LINK
About a “Memory Stick”
Specifications
Chart of Optional Components and Accessories
Glossary
Index
3-270-573-11 (1) Professional Disc Camcorder Operating Instructions Before operating the unit, please read this manual thoroughly and retain it for future reference. PDW-F355L © 2007 Sony Corporation
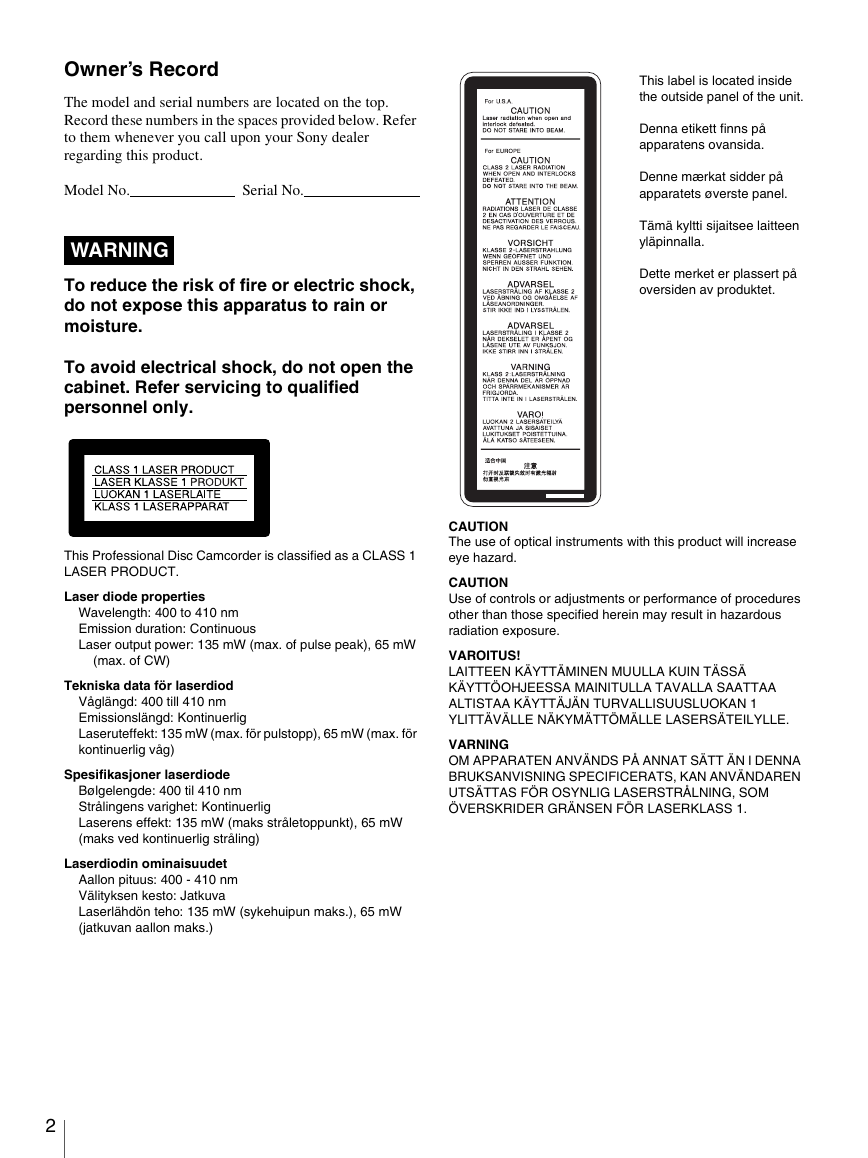
This label is located inside the outside panel of the unit. Denna etikett finns på apparatens ovansida. Denne mærkat sidder på apparatets øverste panel. Tämä kyltti sijaitsee laitteen yläpinnalla. Dette merket er plassert på oversiden av produktet. CAUTION The use of optical instruments with this product will increase eye hazard. CAUTION Use of controls or adjustments or performance of procedures other than those specified herein may result in hazardous radiation exposure. VAROITUS! LAITTEEN KÄYTTÄMINEN MUULLA KUIN TÄSSÄ KÄYTTÖOHJEESSA MAINITULLA TAVALLA SAATTAA ALTISTAA KÄYTTÄJÄN TURVALLISUUSLUOKAN 1 YLITTÄVÄLLE NÄKYMÄTTÖMÄLLE LASERSÄTEILYLLE. VARNING OM APPARATEN ANVÄNDS PÅ ANNAT SÄTT ÄN I DENNA BRUKSANVISNING SPECIFICERATS, KAN ANVÄNDAREN UTSÄTTAS FÖR OSYNLIG LASERSTRÅLNING, SOM ÖVERSKRIDER GRÄNSEN FÖR LASERKLASS 1. Owner’s Record The model and serial numbers are located on the top. Record these numbers in the spaces provided below. Refer to them whenever you call upon your Sony dealer regarding this product. Model No. Serial No. WARNING To reduce the risk of fire or electric shock, do not expose this apparatus to rain or moisture. To avoid electrical shock, do not open the cabinet. Refer servicing to qualified personnel only. This Professional Disc Camcorder is classified as a CLASS 1 LASER PRODUCT. Laser diode properties Wavelength: 400 to 410 nm Emission duration: Continuous Laser output power: 135 mW (max. of pulse peak), 65 mW (max. of CW) Tekniska data för laserdiod Våglängd: 400 till 410 nm Emissionslängd: Kontinuerlig Laseruteffekt: 135 mW (max. för pulstopp), 65 mW (max. för kontinuerlig våg) Spesifikasjoner laserdiode Bølgelengde: 400 til 410 nm Strålingens varighet: Kontinuerlig Laserens effekt: 135 mW (maks stråletoppunkt), 65 mW (maks ved kontinuerlig stråling) Laserdiodin ominaisuudet Aallon pituus: 400 - 410 nm Välityksen kesto: Jatkuva Laserlähdön teho: 135 mW (sykehuipun maks.), 65 mW (jatkuvan aallon maks.) 2
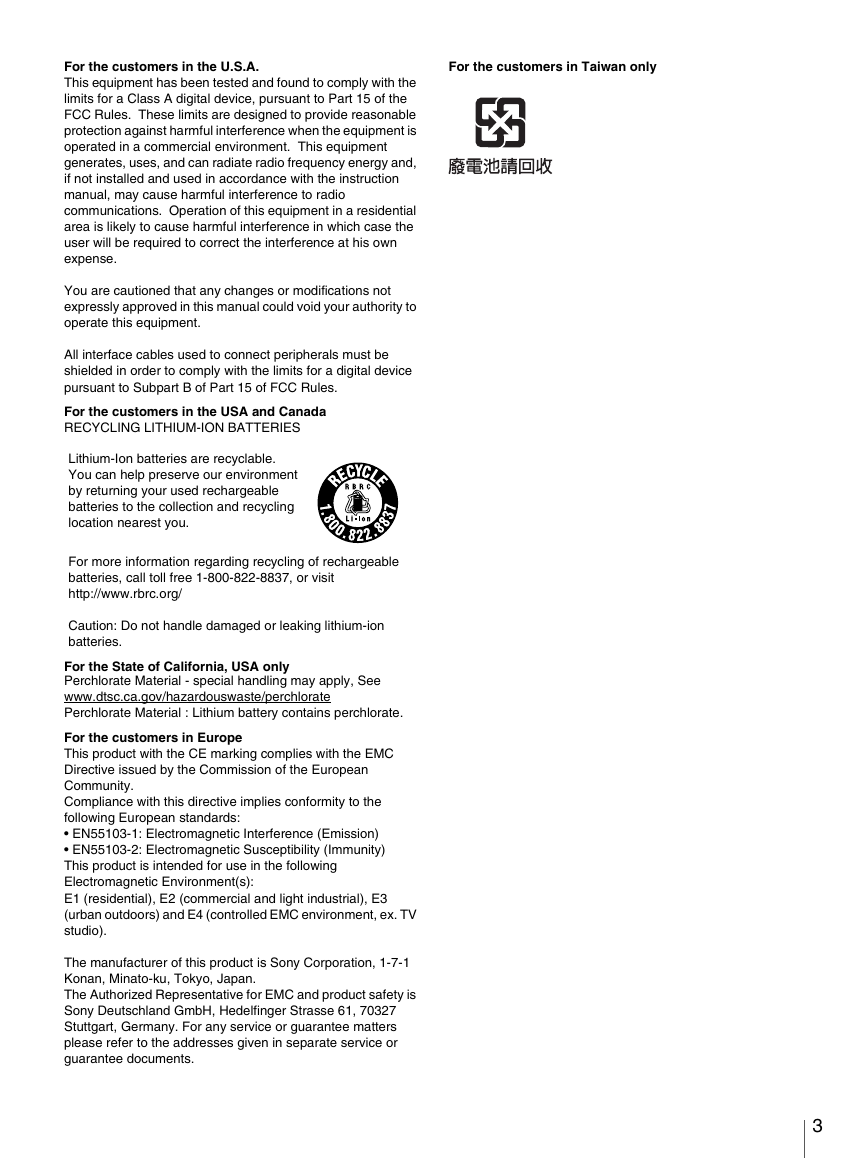
For the customers in Taiwan only For the customers in the U.S.A. This equipment has been tested and found to comply with the limits for a Class A digital device, pursuant to Part 15 of the FCC Rules. These limits are designed to provide reasonable protection against harmful interference when the equipment is operated in a commercial environment. This equipment generates, uses, and can radiate radio frequency energy and, if not installed and used in accordance with the instruction manual, may cause harmful interference to radio communications. Operation of this equipment in a residential area is likely to cause harmful interference in which case the user will be required to correct the interference at his own expense. You are cautioned that any changes or modifications not expressly approved in this manual could void your authority to operate this equipment. All interface cables used to connect peripherals must be shielded in order to comply with the limits for a digital device pursuant to Subpart B of Part 15 of FCC Rules. For the customers in the USA and Canada RECYCLING LITHIUM-ION BATTERIES Lithium-Ion batteries are recyclable. You can help preserve our environment by returning your used rechargeable batteries to the collection and recycling location nearest you. For more information regarding recycling of rechargeable batteries, call toll free 1-800-822-8837, or visit http://www.rbrc.org/ Caution: Do not handle damaged or leaking lithium-ion batteries. For the State of California, USA only Perchlorate Material - special handling may apply, See www.dtsc.ca.gov/hazardouswaste/perchlorate Perchlorate Material : Lithium battery contains perchlorate. For the customers in Europe This product with the CE marking complies with the EMC Directive issued by the Commission of the European Community. Compliance with this directive implies conformity to the following European standards: EN55103-1: Electromagnetic Interference (Emission) EN55103-2: Electromagnetic Susceptibility (Immunity) This product is intended for use in the following Electromagnetic Environment(s): E1 (residential), E2 (commercial and light industrial), E3 (urban outdoors) and E4 (controlled EMC environment, ex. TV studio). The manufacturer of this product is Sony Corporation, 1-7-1 Konan, Minato-ku, Tokyo, Japan. The Authorized Representative for EMC and product safety is Sony Deutschland GmbH, Hedelfinger Strasse 61, 70327 Stuttgart, Germany. For any service or guarantee matters please refer to the addresses given in separate service or guarantee documents. 3
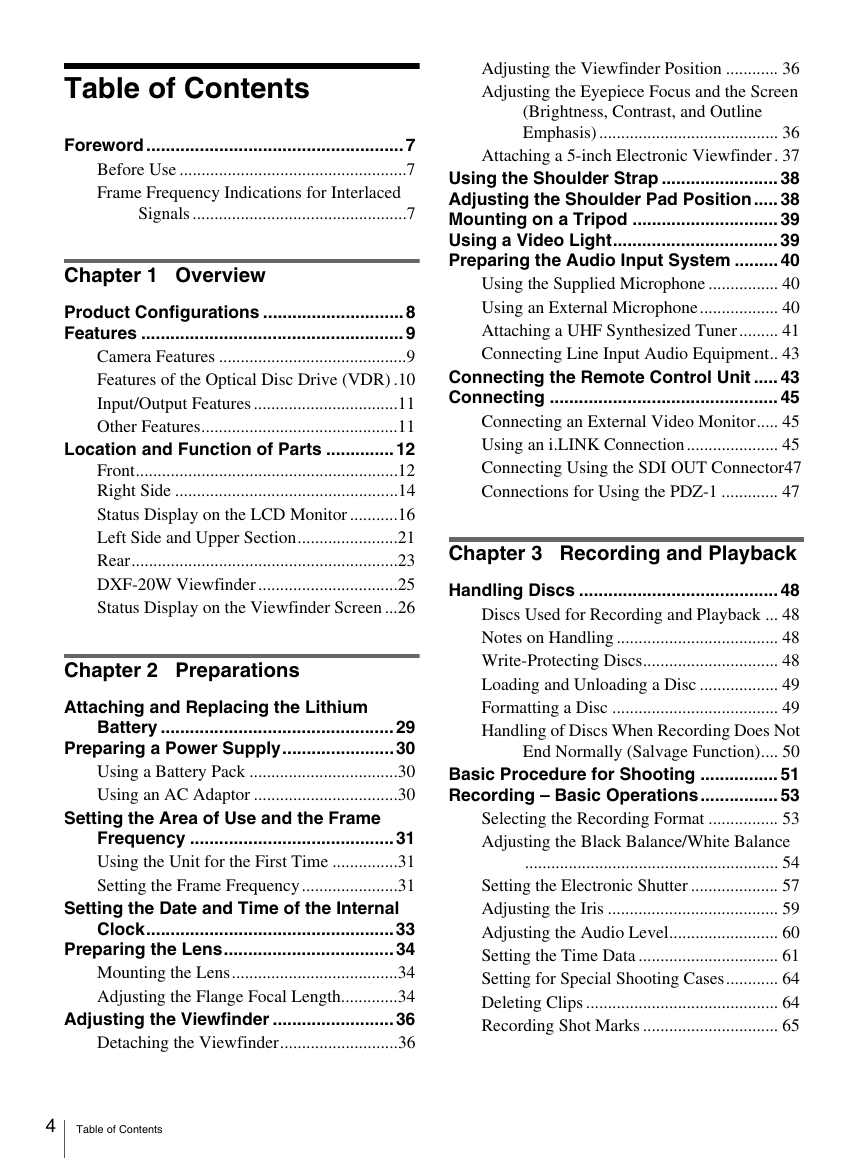
Table of Contents Foreword ..................................................... 7 Before Use ....................................................7 Frame Frequency Indications for Interlaced Signals .................................................7 Chapter 1 Overview Product Configurations ............................. 8 Features ...................................................... 9 Camera Features ...........................................9 Features of the Optical Disc Drive (VDR) .10 Input/Output Features .................................11 Other Features.............................................11 Location and Function of Parts ..............12 Front............................................................12 Right Side ...................................................14 Status Display on the LCD Monitor ...........16 Left Side and Upper Section.......................21 Rear.............................................................23 DXF-20W Viewfinder ................................25 Status Display on the Viewfinder Screen ...26 Chapter 2 Preparations Attaching and Replacing the Lithium Battery ................................................ 29 Preparing a Power Supply.......................30 Using a Battery Pack ..................................30 Using an AC Adaptor .................................30 Setting the Area of Use and the Frame Frequency ..........................................31 Using the Unit for the First Time ...............31 Setting the Frame Frequency......................31 Setting the Date and Time of the Internal Clock...................................................33 Preparing the Lens................................... 34 Mounting the Lens......................................34 Adjusting the Flange Focal Length.............34 Adjusting the Viewfinder ......................... 36 Detaching the Viewfinder...........................36 Adjusting the Viewfinder Position ............ 36 Adjusting the Eyepiece Focus and the Screen (Brightness, Contrast, and Outline Emphasis) ......................................... 36 Attaching a 5-inch Electronic Viewfinder . 37 Using the Shoulder Strap ........................ 38 Adjusting the Shoulder Pad Position..... 38 Mounting on a Tripod .............................. 39 Using a Video Light.................................. 39 Preparing the Audio Input System ......... 40 Using the Supplied Microphone ................ 40 Using an External Microphone.................. 40 Attaching a UHF Synthesized Tuner......... 41 Connecting Line Input Audio Equipment.. 43 Connecting the Remote Control Unit ..... 43 Connecting ............................................... 45 Connecting an External Video Monitor..... 45 Using an i.LINK Connection..................... 45 Connecting Using the SDI OUT Connector47 Connections for Using the PDZ-1 ............. 47 Chapter 3 Recording and Playback Handling Discs ......................................... 48 Discs Used for Recording and Playback ... 48 Notes on Handling ..................................... 48 Write-Protecting Discs............................... 48 Loading and Unloading a Disc .................. 49 Formatting a Disc ...................................... 49 Handling of Discs When Recording Does Not End Normally (Salvage Function).... 50 Basic Procedure for Shooting ................ 51 Recording – Basic Operations................ 53 Selecting the Recording Format ................ 53 Adjusting the Black Balance/White Balance .......................................................... 54 Setting the Electronic Shutter .................... 57 Adjusting the Iris ....................................... 59 Adjusting the Audio Level......................... 60 Setting the Time Data ................................ 61 Setting for Special Shooting Cases............ 64 Deleting Clips ............................................ 64 Recording Shot Marks ............................... 65 4 Table of Contents
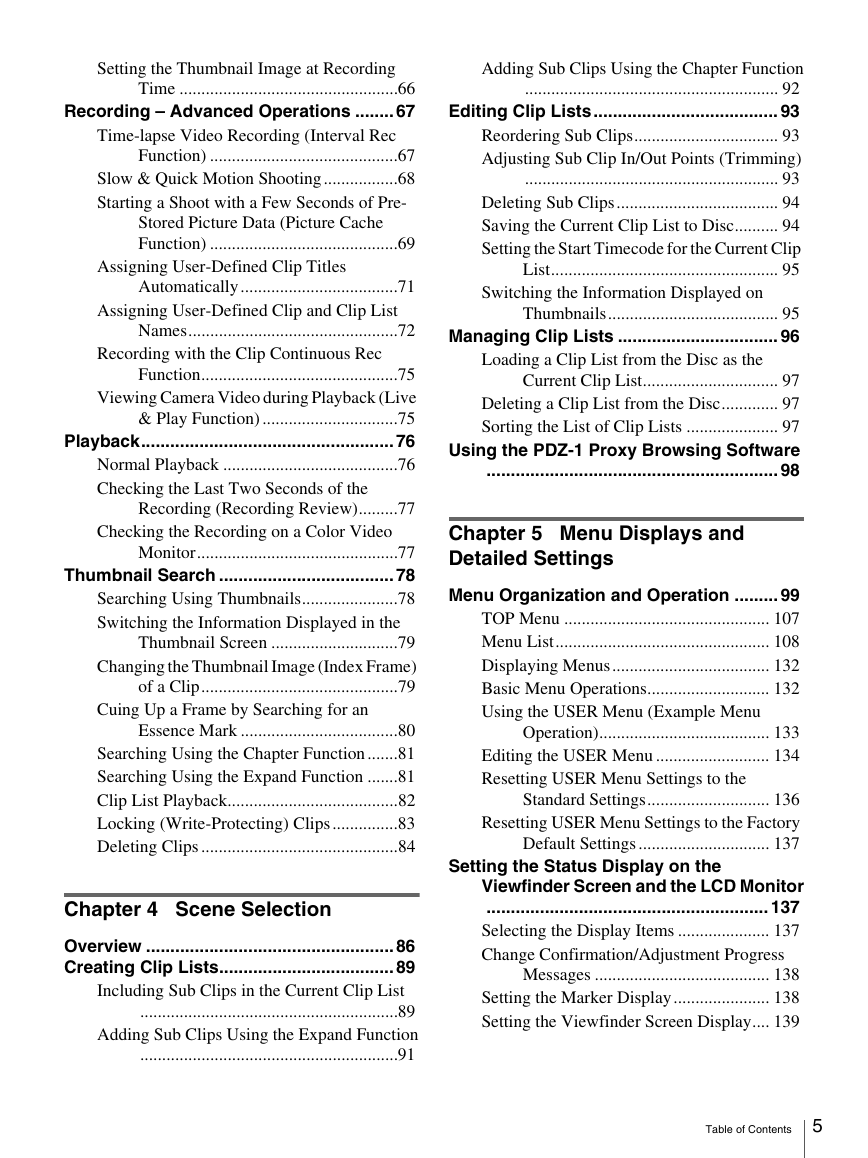
Setting the Thumbnail Image at Recording Time ..................................................66 Recording – Advanced Operations ........ 67 Time-lapse Video Recording (Interval Rec Function) ...........................................67 Slow & Quick Motion Shooting.................68 Starting a Shoot with a Few Seconds of Pre- Stored Picture Data (Picture Cache Function) ...........................................69 Assigning User-Defined Clip Titles Automatically....................................71 Assigning User-Defined Clip and Clip List Names................................................72 Recording with the Clip Continuous Rec Function.............................................75 Viewing Camera Video during Playback (Live & Play Function) ...............................75 Playback.................................................... 76 Normal Playback ........................................76 Checking the Last Two Seconds of the Recording (Recording Review).........77 Checking the Recording on a Color Video Monitor..............................................77 Thumbnail Search .................................... 78 Searching Using Thumbnails......................78 Switching the Information Displayed in the Thumbnail Screen .............................79 Changing the Thumbnail Image (Index Frame) of a Clip.............................................79 Cuing Up a Frame by Searching for an Essence Mark ....................................80 Searching Using the Chapter Function .......81 Searching Using the Expand Function .......81 Clip List Playback.......................................82 Locking (Write-Protecting) Clips...............83 Deleting Clips .............................................84 Chapter 4 Scene Selection Overview ...................................................86 Creating Clip Lists.................................... 89 Including Sub Clips in the Current Clip List ...........................................................89 Adding Sub Clips Using the Expand Function ...........................................................91 Adding Sub Clips Using the Chapter Function .......................................................... 92 Editing Clip Lists...................................... 93 Reordering Sub Clips................................. 93 Adjusting Sub Clip In/Out Points (Trimming) .......................................................... 93 Deleting Sub Clips..................................... 94 Saving the Current Clip List to Disc.......... 94 Setting the Start Timecode for the Current Clip List.................................................... 95 Switching the Information Displayed on Thumbnails....................................... 95 Managing Clip Lists ................................. 96 Loading a Clip List from the Disc as the Current Clip List............................... 97 Deleting a Clip List from the Disc............. 97 Sorting the List of Clip Lists ..................... 97 Using the PDZ-1 Proxy Browsing Software ............................................................ 98 Chapter 5 Menu Displays and Detailed Settings Menu Organization and Operation ......... 99 TOP Menu ............................................... 107 Menu List................................................. 108 Displaying Menus.................................... 132 Basic Menu Operations............................ 132 Using the USER Menu (Example Menu Operation)....................................... 133 Editing the USER Menu .......................... 134 Resetting USER Menu Settings to the Standard Settings............................ 136 Resetting USER Menu Settings to the Factory Default Settings .............................. 137 Setting the Status Display on the Viewfinder Screen and the LCD Monitor .......................................................... 137 Selecting the Display Items ..................... 137 Change Confirmation/Adjustment Progress Messages ........................................ 138 Setting the Marker Display...................... 138 Setting the Viewfinder Screen Display.... 139 Table of Contents 5
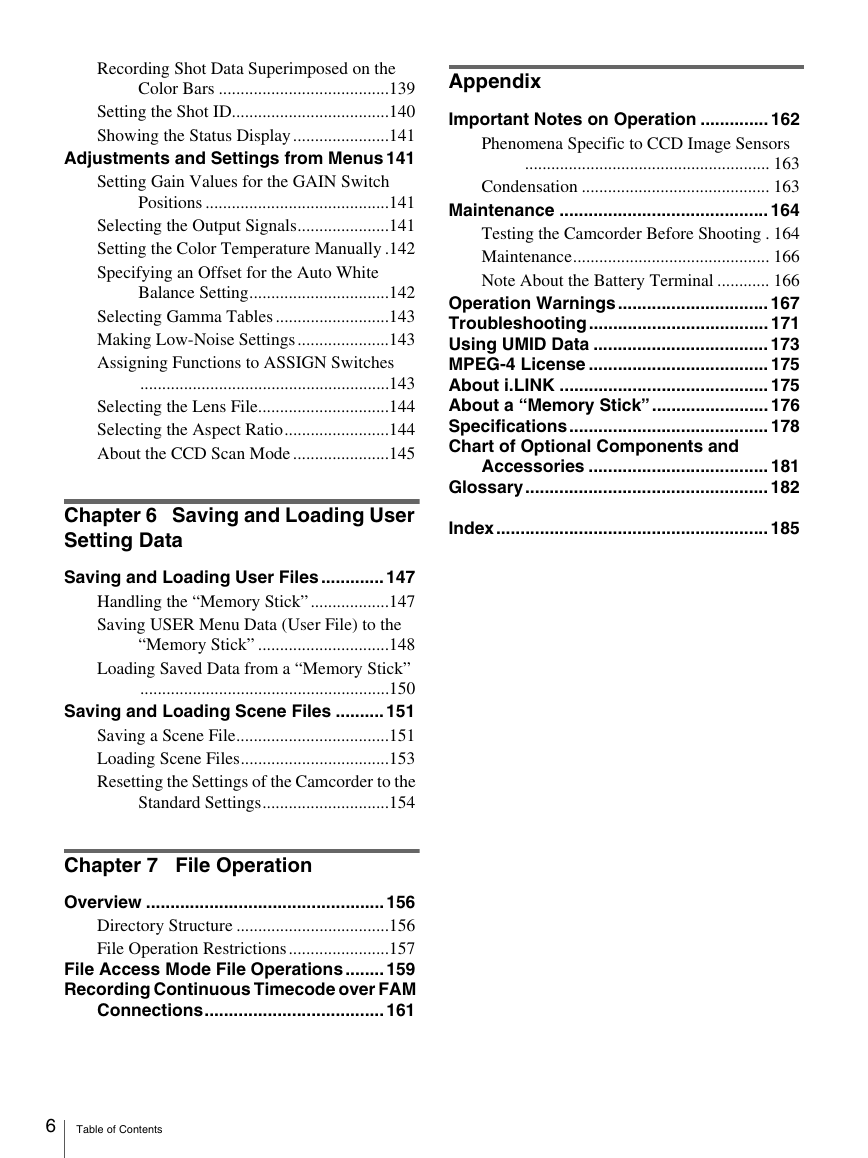
Appendix Important Notes on Operation .............. 162 Phenomena Specific to CCD Image Sensors ........................................................ 163 Condensation ........................................... 163 Maintenance ........................................... 164 Testing the Camcorder Before Shooting . 164 Maintenance............................................. 166 Note About the Battery Terminal ............ 166 Operation Warnings............................... 167 Troubleshooting..................................... 171 Using UMID Data .................................... 173 MPEG-4 License ..................................... 175 About i.LINK ........................................... 175 About a “Memory Stick”........................ 176 Specifications......................................... 178 Chart of Optional Components and Accessories ..................................... 181 Glossary.................................................. 182 Index........................................................ 185 Recording Shot Data Superimposed on the Color Bars .......................................139 Setting the Shot ID....................................140 Showing the Status Display......................141 Adjustments and Settings from Menus 141 Setting Gain Values for the GAIN Switch Positions ..........................................141 Selecting the Output Signals.....................141 Setting the Color Temperature Manually .142 Specifying an Offset for the Auto White Balance Setting................................142 Selecting Gamma Tables ..........................143 Making Low-Noise Settings.....................143 Assigning Functions to ASSIGN Switches .........................................................143 Selecting the Lens File..............................144 Selecting the Aspect Ratio........................144 About the CCD Scan Mode ......................145 Chapter 6 Saving and Loading User Setting Data Saving and Loading User Files ............. 147 Handling the “Memory Stick” ..................147 Saving USER Menu Data (User File) to the “Memory Stick” ..............................148 Loading Saved Data from a “Memory Stick” .........................................................150 Saving and Loading Scene Files .......... 151 Saving a Scene File...................................151 Loading Scene Files..................................153 Resetting the Settings of the Camcorder to the Standard Settings.............................154 Chapter 7 File Operation Overview .................................................156 Directory Structure ...................................156 File Operation Restrictions.......................157 File Access Mode File Operations ........ 159 Recording Continuous Timecode over FAM Connections..................................... 161 6 Table of Contents
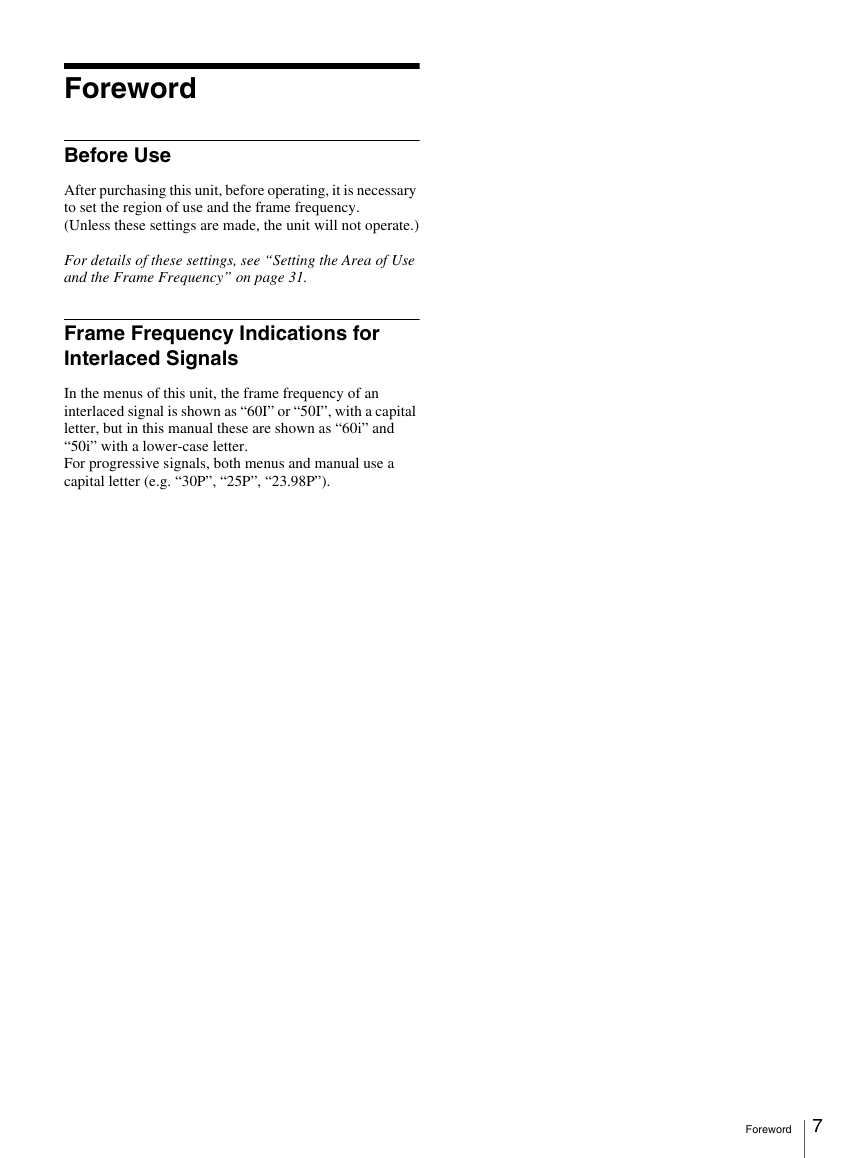
Foreword Before Use After purchasing this unit, before operating, it is necessary to set the region of use and the frame frequency. (Unless these settings are made, the unit will not operate.) For details of these settings, see “Setting the Area of Use and the Frame Frequency” on page 31. Frame Frequency Indications for Interlaced Signals In the menus of this unit, the frame frequency of an interlaced signal is shown as “60I” or “50I”, with a capital letter, but in this manual these are shown as “60i” and “50i” with a lower-case letter. For progressive signals, both menus and manual use a capital letter (e.g. “30P”, “25P”, “23.98P”). Foreword 7
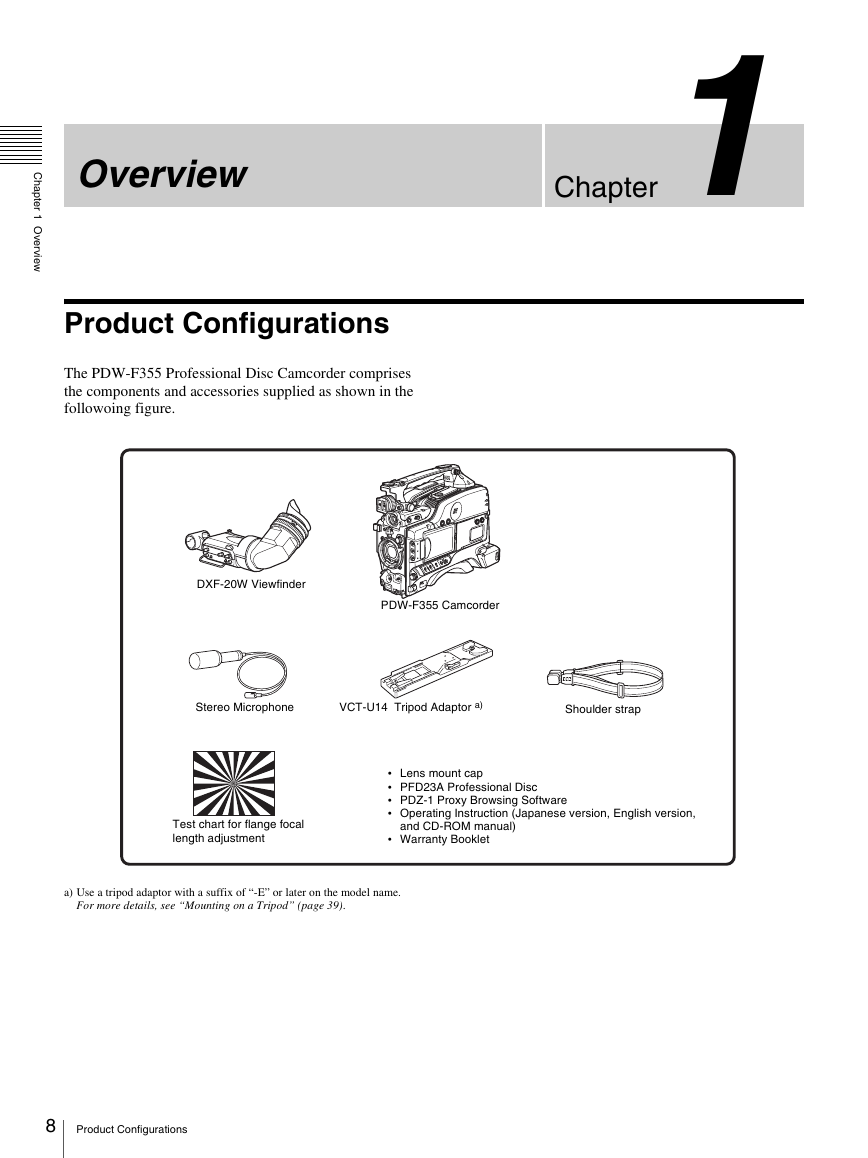
Chapter1 Overview C h a p t e r 1 O v e r v e w i Product Configurations The PDW-F355 Professional Disc Camcorder comprises the components and accessories supplied as shown in the followoing figure. DXF-20W Viewfinder PDW-F355 Camcorder Stereo Microphone VCT-U14 Tripod Adaptor a) Shoulder strap Test chart for flange focal length adjustment Lens mount cap PFD23A Professional Disc PDZ-1 Proxy Browsing Software Operating Instruction (Japanese version, English version, and CD-ROM manual) Warranty Booklet a) Use a tripod adaptor with a suffix of “-E” or later on the model name. For more details, see “Mounting on a Tripod” (page 39). 8 Product Configurations
分享到:
收藏