★ ISE 详细步骤、作用及其理解:
这里把仿真单独编号
1) 新建工程
2) 生成原文件
手段 CORE Generator Module
Language Templates
3) check syntax
① Behavioral simulate
我觉得从 Synthesis and Simulation Design Guide 文件看,应该先 RTL Simulation (that is, Behavioral simulate )。其实没
有关系,综合和 RTL 仿真的顺序无所谓,这两个不一定要谁在前
己见:注意跑行为仿真前是不需要综合的,仅是 RTL 代码仿真
参考:[In-Depth Tutorial] Chapter 4 P91
4) Synthesis
步骤:Entering Constraints (xcf 格式) -> Entering Synthesis Options -> Synthsizing
参考:[In-Depth Tutorial]P43-P50
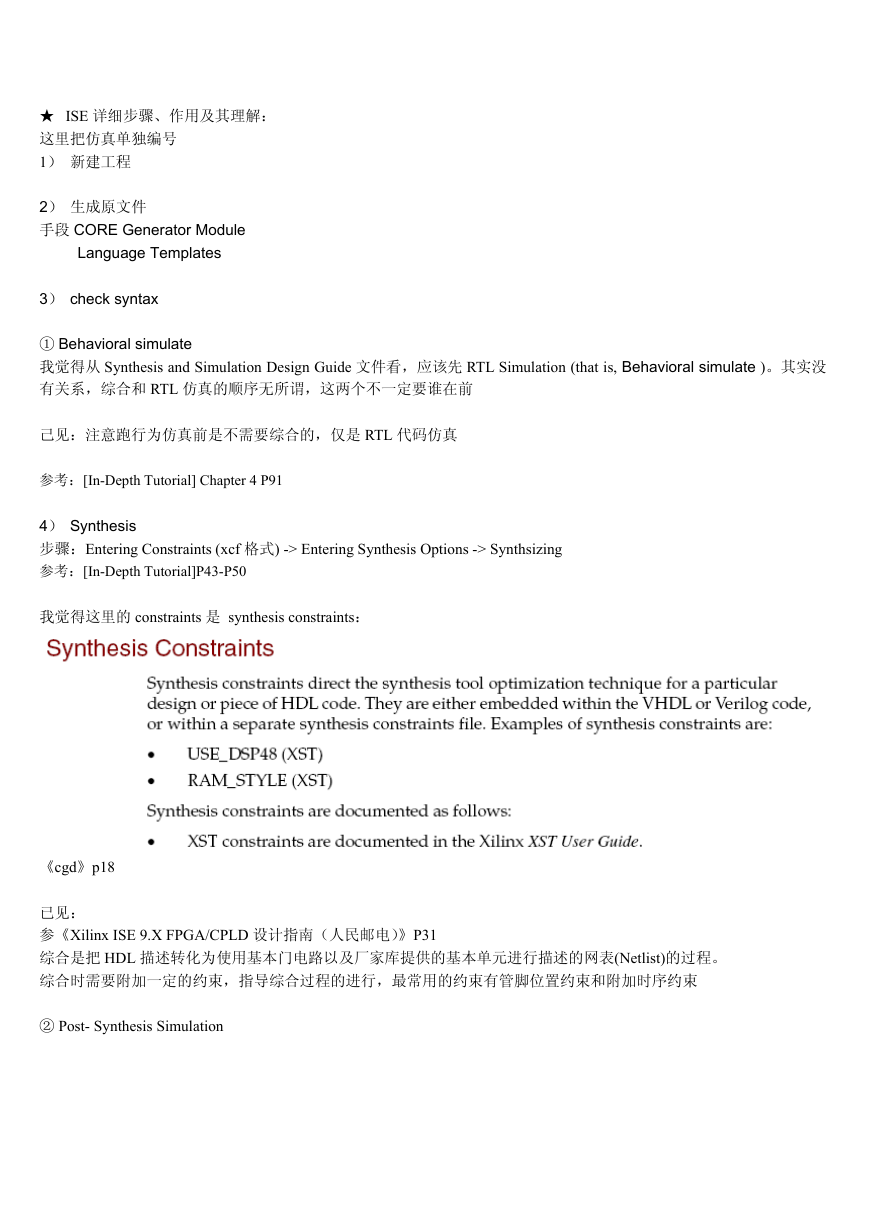
我觉得这里的 constraints 是 synthesis constraints:
《cgd》p18
已见:
参《Xilinx ISE 9.X FPGA/CPLD 设计指南(人民邮电)》P31
综合是把 HDL 描述转化为使用基本门电路以及厂家库提供的基本单元进行描述的网表(Netlist)的过程。
综合时需要附加一定的约束,指导综合过程的进行,最常用的约束有管脚位置约束和附加时序约束
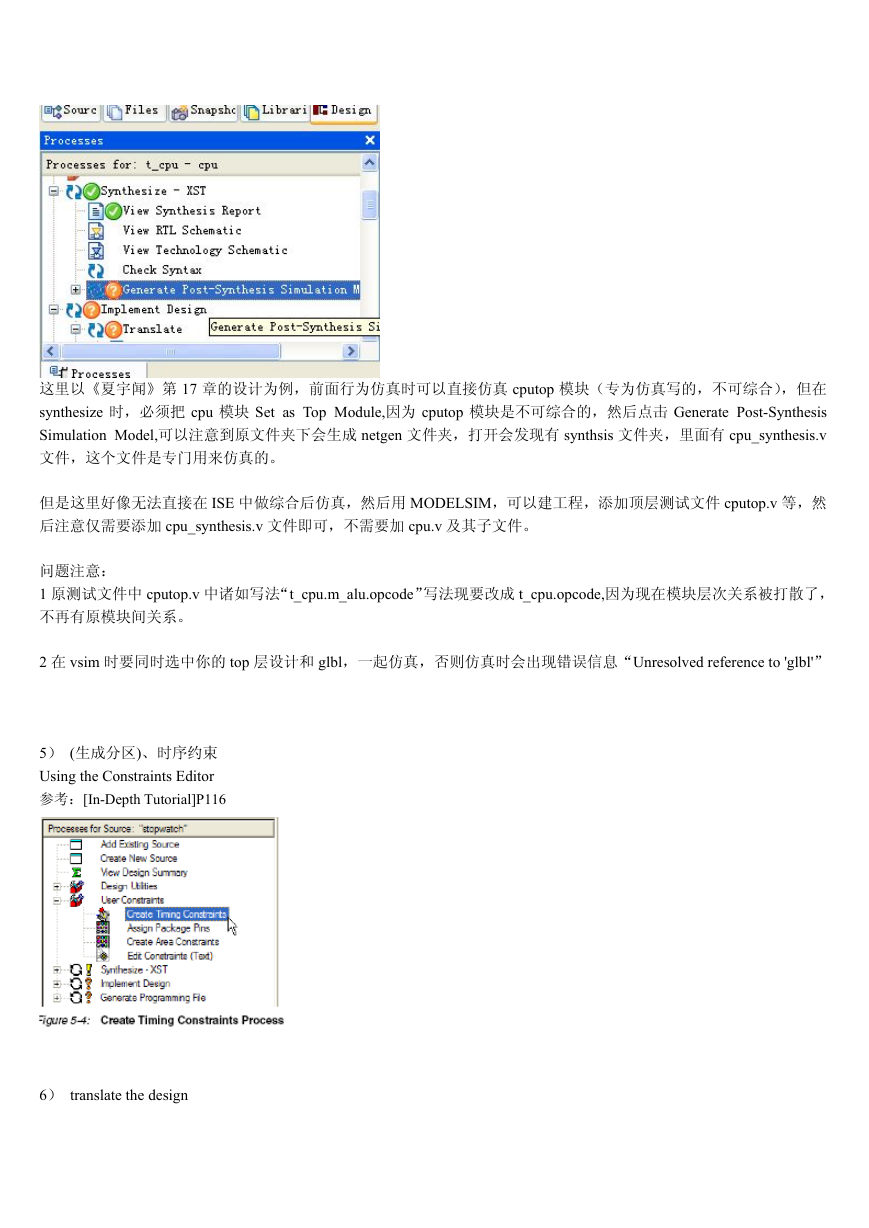
② Post- Synthesis Simulation
�
这里以《夏宇闻》第 17 章的设计为例,前面行为仿真时可以直接仿真 cputop 模块(专为仿真写的,不可综合),但在
synthesize 时,必须把 cpu 模块 Set as Top Module,因为 cputop 模块是不可综合的,然后点击 Generate Post-Synthesis
Simulation Model,可以注意到原文件夹下会生成 netgen 文件夹,打开会发现有 synthsis 文件夹,里面有 cpu_synthesis.v
文件,这个文件是专门用来仿真的。
但是这里好像无法直接在 ISE 中做综合后仿真,然后用 MODELSIM,可以建工程,添加顶层测试文件 cputop.v 等,然
后注意仅需要添加 cpu_synthesis.v 文件即可,不需要加 cpu.v 及其子文件。
问题注意:
1 原测试文件中 cputop.v 中诸如写法“t_cpu.m_alu.opcode”写法现要改成 t_cpu.opcode,因为现在模块层次关系被打散了,
不再有原模块间关系。
2 在 vsim 时要同时选中你的 top 层设计和 glbl,一起仿真,否则仿真时会出现错误信息“Unresolved reference to 'glbl'”
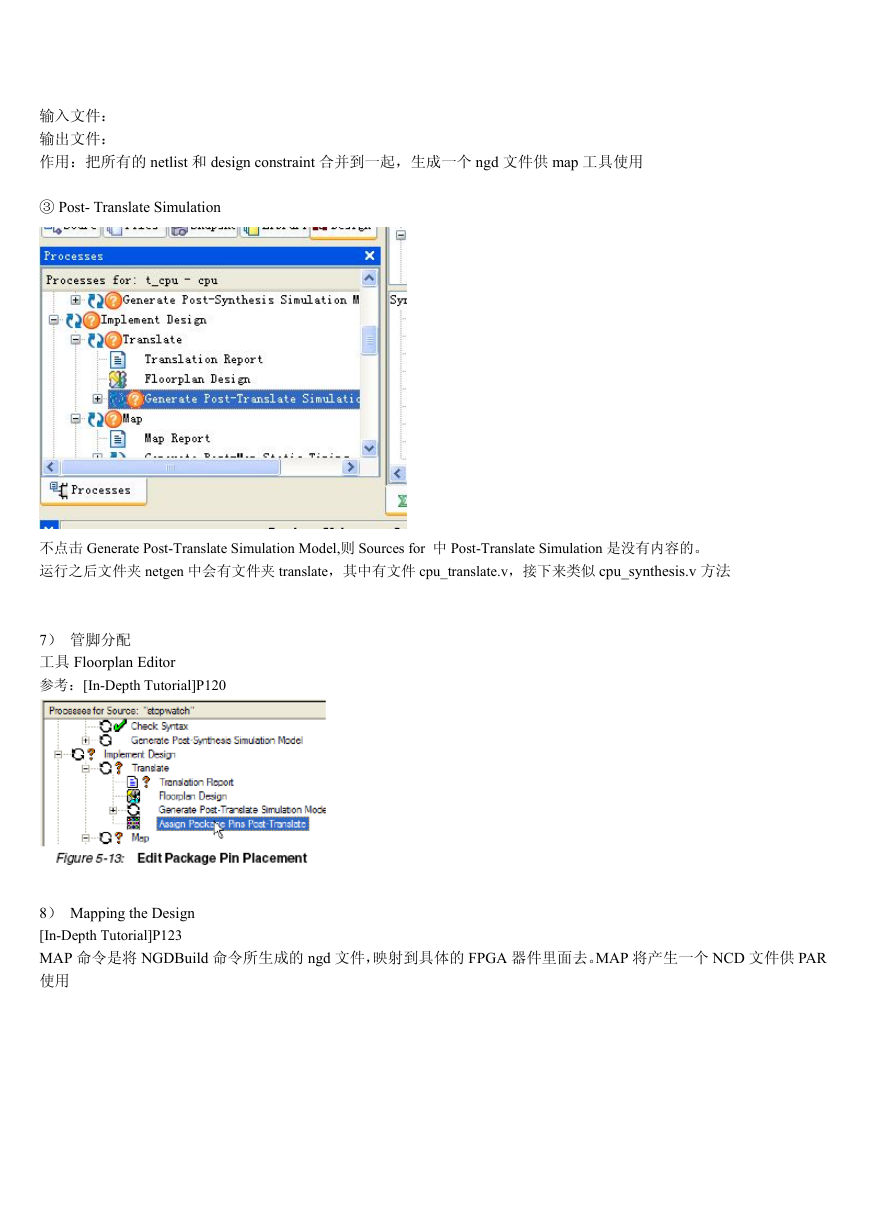
5) (生成分区)、时序约束
Using the Constraints Editor
参考:[In-Depth Tutorial]P116
6) translate the design
�
输入文件:
输出文件:
作用:把所有的 netlist 和 design constraint 合并到一起,生成一个 ngd 文件供 map 工具使用
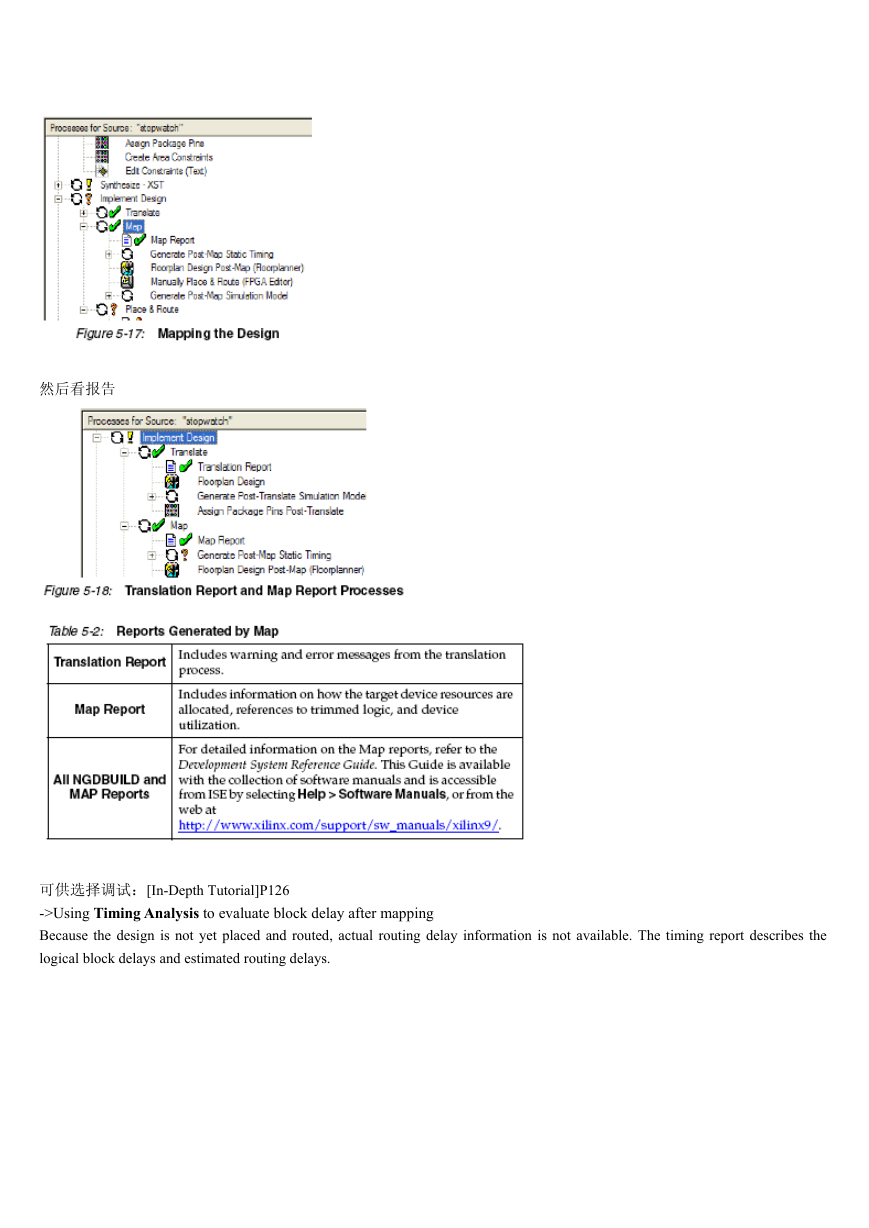
③ Post- Translate Simulation
不点击 Generate Post-Translate Simulation Model,则 Sources for 中 Post-Translate Simulation 是没有内容的。
运行之后文件夹 netgen 中会有文件夹 translate,其中有文件 cpu_translate.v,接下来类似 cpu_synthesis.v 方法
7) 管脚分配
工具 Floorplan Editor
参考:[In-Depth Tutorial]P120
8) Mapping the Design
[In-Depth Tutorial]P123
MAP 命令是将 NGDBuild 命令所生成的 ngd 文件,映射到具体的 FPGA 器件里面去。MAP 将产生一个 NCD 文件供 PAR
使用
�
然后看报告
可供选择调试:[In-Depth Tutorial]P126
->Using Timing Analysis to evaluate block delay after mapping
Because the design is not yet placed and routed, actual routing delay information is not available. The timing report describes the
logical block delays and estimated routing delays.
�
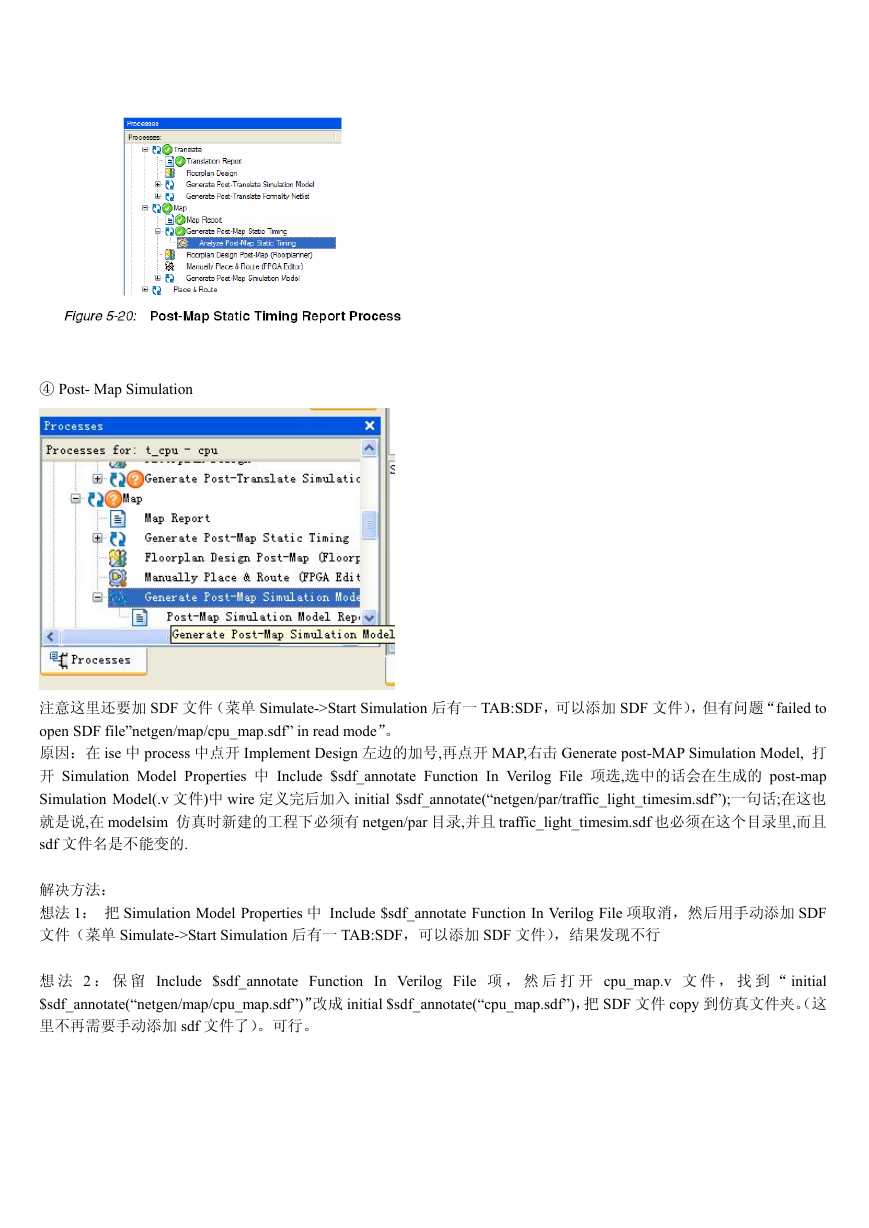
④ Post- Map Simulation
注意这里还要加 SDF 文件(菜单 Simulate->Start Simulation 后有一 TAB:SDF,可以添加 SDF 文件),但有问题“failed to
open SDF file”netgen/map/cpu_map.sdf” in read mode”。
原因:在 ise 中 process 中点开 Implement Design 左边的加号,再点开 MAP,右击 Generate post-MAP Simulation Model, 打
开 Simulation Model Properties 中 Include $sdf_annotate Function In Verilog File 项选,选中的话会在生成的 post-map
Simulation Model(.v 文件)中 wire 定义完后加入 initial $sdf_annotate(“netgen/par/traffic_light_timesim.sdf”);一句话;在这也
就是说,在 modelsim 仿真时新建的工程下必须有 netgen/par 目录,并且 traffic_light_timesim.sdf 也必须在这个目录里,而且
sdf 文件名是不能变的.
解决方法:
想法 1: 把 Simulation Model Properties 中 Include $sdf_annotate Function In Verilog File 项取消,然后用手动添加 SDF
文件(菜单 Simulate->Start Simulation 后有一 TAB:SDF,可以添加 SDF 文件),结果发现不行
想 法 2 : 保 留 Include $sdf_annotate Function In Verilog File 项 , 然 后 打 开 cpu_map.v 文 件 , 找 到 “ initial
$sdf_annotate(“netgen/map/cpu_map.sdf”)”改成 initial $sdf_annotate(“cpu_map.sdf”),把 SDF 文件 copy 到仿真文件夹。(这
里不再需要手动添加 sdf 文件了)。可行。
�
9) Placing and Routing the Design
[In-Depth Tutorial]P127
启动后可看报告
可供选择调试:
->Using FPGA Editor to Verify the Place and Route[In-Depth Tutorial]P129
-> Evaluating Post-Layout Timing 考虑了走线延迟后的仿真[In-Depth Tutorial]P131
(我自己生成的)
�
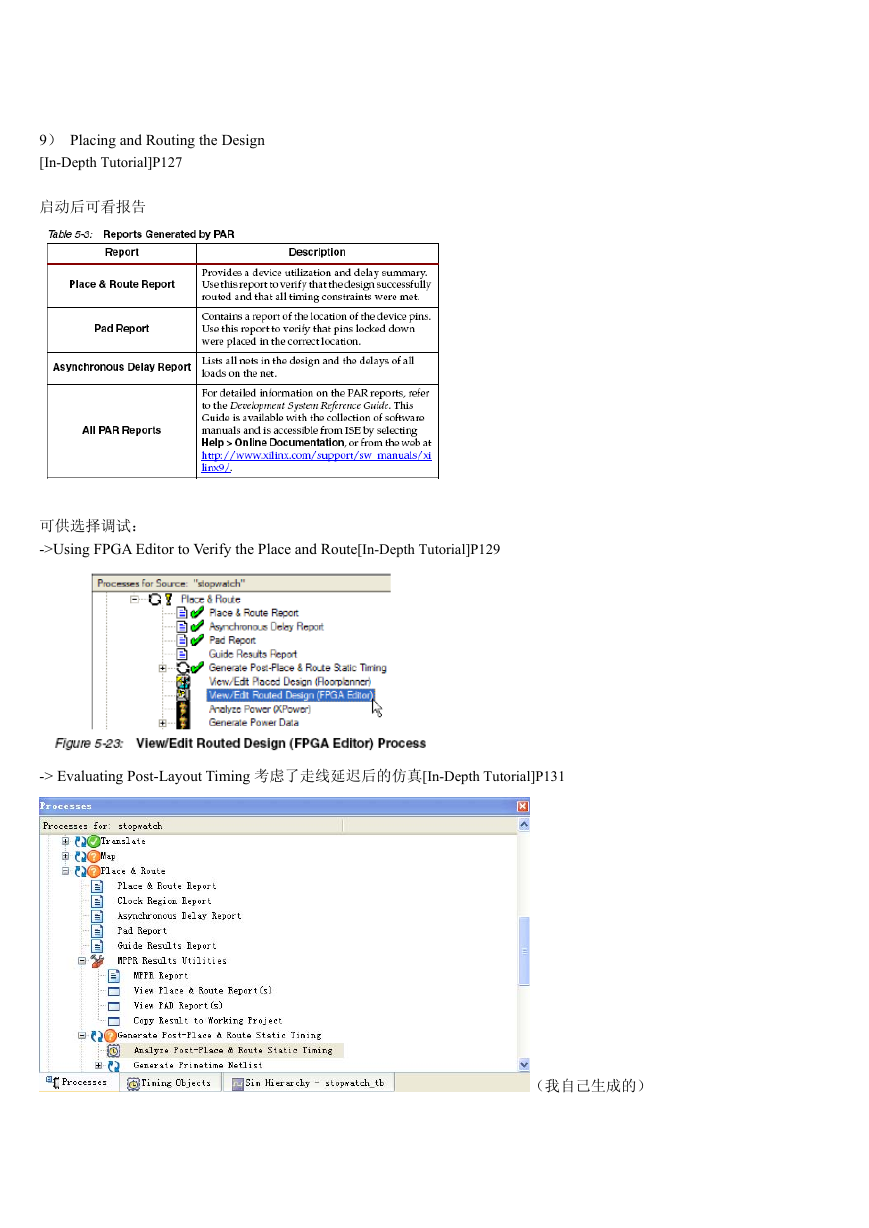
⑤Post- Place&Route Simulation
Programming
与 Post-Map 的仿真情况类似
参考:[In-Depth Tutorial] Chapter 6 P139
10)
补充:
各仿真步骤的区别和联系
以夏宇闻第 17 章的 RISC_CPU 为例
(1)比较 Behavorial 仿真和综合后仿真
Behavorial 仿真
需要文件:除了用于仿真的 cputop.v, ram.v, rom.v 的文件外,还要 cpu.v 及描述其子模块的各 verilog 文件,包括 alu.v,
addr.v, register.v 等,在这里不需要任何库文件(UNISIM, XilinxCoreLib)(但若原文件中有实例化文件则需要), 仿真时
只需要仿真 work 库中的 cputop 模块
综合后仿真
需要文件:除了用于仿真的 cputop.v, ram.v, rom.v 的文件外,只需要 cpu_synthesis.v 文件,不再需要描述下级模块的 alu.v,
addr.v, register.v 等,但这里需要库文件 UNISIM,仿真时需要同时仿真 work 库中的 cputop 和 glbl 模块
(2)比较 post-synthesis 仿真和 post-translate 后仿真
所需要的库文件不同
(3)比较 post-translate 仿真和 post-map 后仿真
Post-map 仿真还需要添加 SDF 延时文件
�


 2023年江西萍乡中考道德与法治真题及答案.doc
 2012年重庆南川中考生物真题及答案.doc
 2013年江西师范大学地理学综合及文艺理论基础考研真题.doc
 2020年四川甘孜小升初语文真题及答案I卷.doc
 2020年注册岩土工程师专业基础考试真题及答案.doc
 2023-2024学年福建省厦门市九年级上学期数学月考试题及答案.doc
 2021-2022学年辽宁省沈阳市大东区九年级上学期语文期末试题及答案.doc
 2022-2023学年北京东城区初三第一学期物理期末试卷及答案.doc
 2018上半年江西教师资格初中地理学科知识与教学能力真题及答案.doc
 2012年河北国家公务员申论考试真题及答案-省级.doc
 2020-2021学年江苏省扬州市江都区邵樊片九年级上学期数学第一次质量检测试题及答案.doc
 2022下半年黑龙江教师资格证中学综合素质真题及答案.doc