HITACHI
Instruction Manual
8mm Video Camcorder
HITACHI (HSC) CANADA INC.
6740 Campobello Road
Missisauga, Ontario, L5N 2L8
CANADA
Tel. 905-821-4545
VMVMVMVM----E535LA / VM
E535LA / VM----E635LA
E635LA
E535LA / VM
E535LA / VM
E635LA
E635LA
HITACHI HOME ELECTRONICS (AMERICA),
Inc.
3890 Steve Reynolds Blvd., Norcross, GA 30093
Tel. 770-279-5600
HITACHI SALES CORPORATION OF
HAWAII, INC
3219 Koapaka Street, Honolulu, Hawaii 96819
Tel. 808-836-3621
Thank you for buying a Hitachi product. Please take time to become familiar with the manual
and how it is set up. Keep it handy for feature reference.
QR17263 © Hitachi, Ltd. 1997
Printed in Japan NR-S(N)
1
�
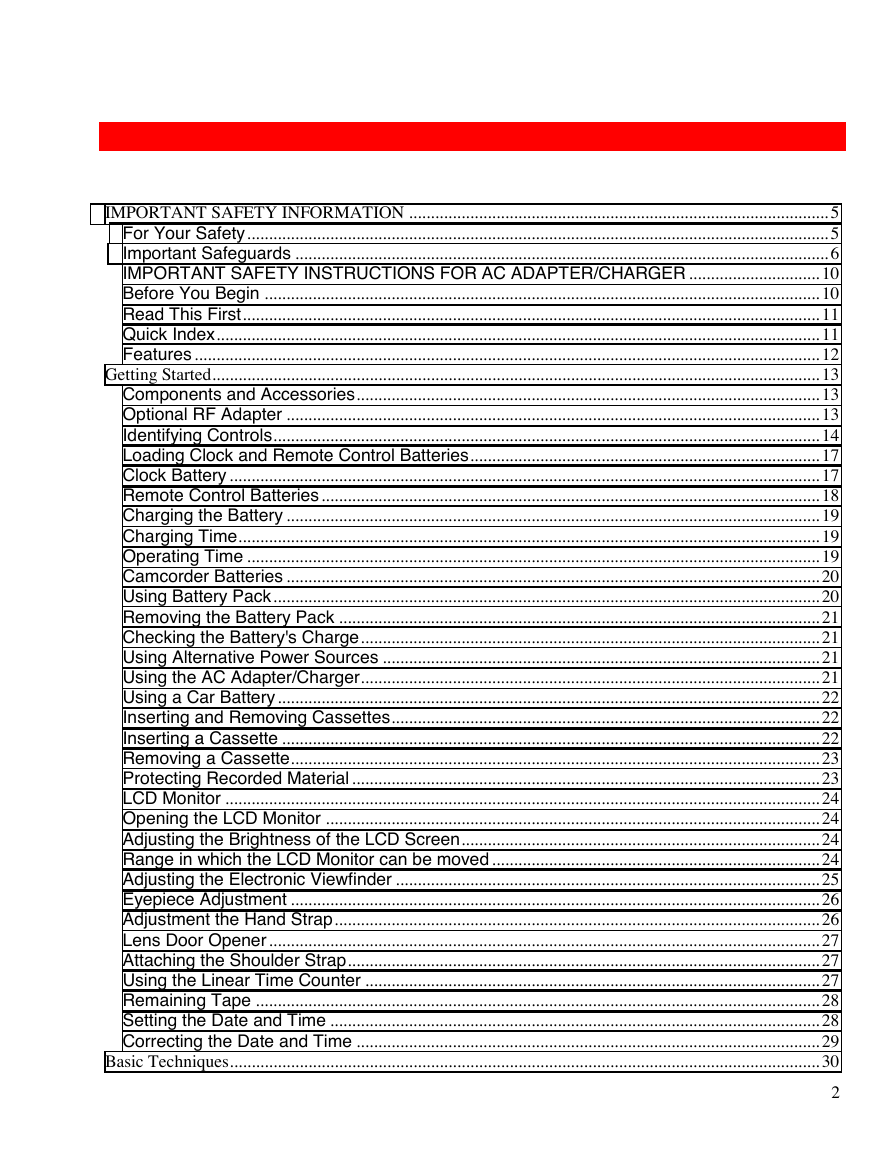
IMPORTANT SAFETY INFORMATION ................................................................................................5
For Your Safety.....................................................................................................................................5
Important Safeguards ..........................................................................................................................6
IMPORTANT SAFETY INSTRUCTIONS FOR AC ADAPTER/CHARGER ..............................10
Before You Begin ...............................................................................................................................10
Read This First....................................................................................................................................11
Quick Index..........................................................................................................................................11
Features...............................................................................................................................................12
Getting Started...........................................................................................................................................13
Components and Accessories..........................................................................................................13
Optional RF Adapter ..........................................................................................................................13
Identifying Controls.............................................................................................................................14
Loading Clock and Remote Control Batteries................................................................................17
Clock Battery.......................................................................................................................................17
Remote Control Batteries..................................................................................................................18
Charging the Battery ..........................................................................................................................19
Charging Time.....................................................................................................................................19
Operating Time ...................................................................................................................................19
Camcorder Batteries ..........................................................................................................................20
Using Battery Pack.............................................................................................................................20
Removing the Battery Pack ..............................................................................................................21
Checking the Battery's Charge.........................................................................................................21
Using Alternative Power Sources ....................................................................................................21
Using the AC Adapter/Charger.........................................................................................................21
Using a Car Battery............................................................................................................................22
Inserting and Removing Cassettes..................................................................................................22
Inserting a Cassette ...........................................................................................................................22
Removing a Cassette.........................................................................................................................23
Protecting Recorded Material...........................................................................................................23
LCD Monitor ........................................................................................................................................24
Opening the LCD Monitor .................................................................................................................24
Adjusting the Brightness of the LCD Screen..................................................................................24
Range in which the LCD Monitor can be moved...........................................................................24
Adjusting the Electronic Viewfinder .................................................................................................25
Eyepiece Adjustment .........................................................................................................................26
Adjustment the Hand Strap...............................................................................................................26
Lens Door Opener..............................................................................................................................27
Attaching the Shoulder Strap............................................................................................................27
Using the Linear Time Counter ........................................................................................................27
Remaining Tape .................................................................................................................................28
Setting the Date and Time ................................................................................................................28
Correcting the Date and Time ..........................................................................................................29
Basic Techniques.......................................................................................................................................30
2
�
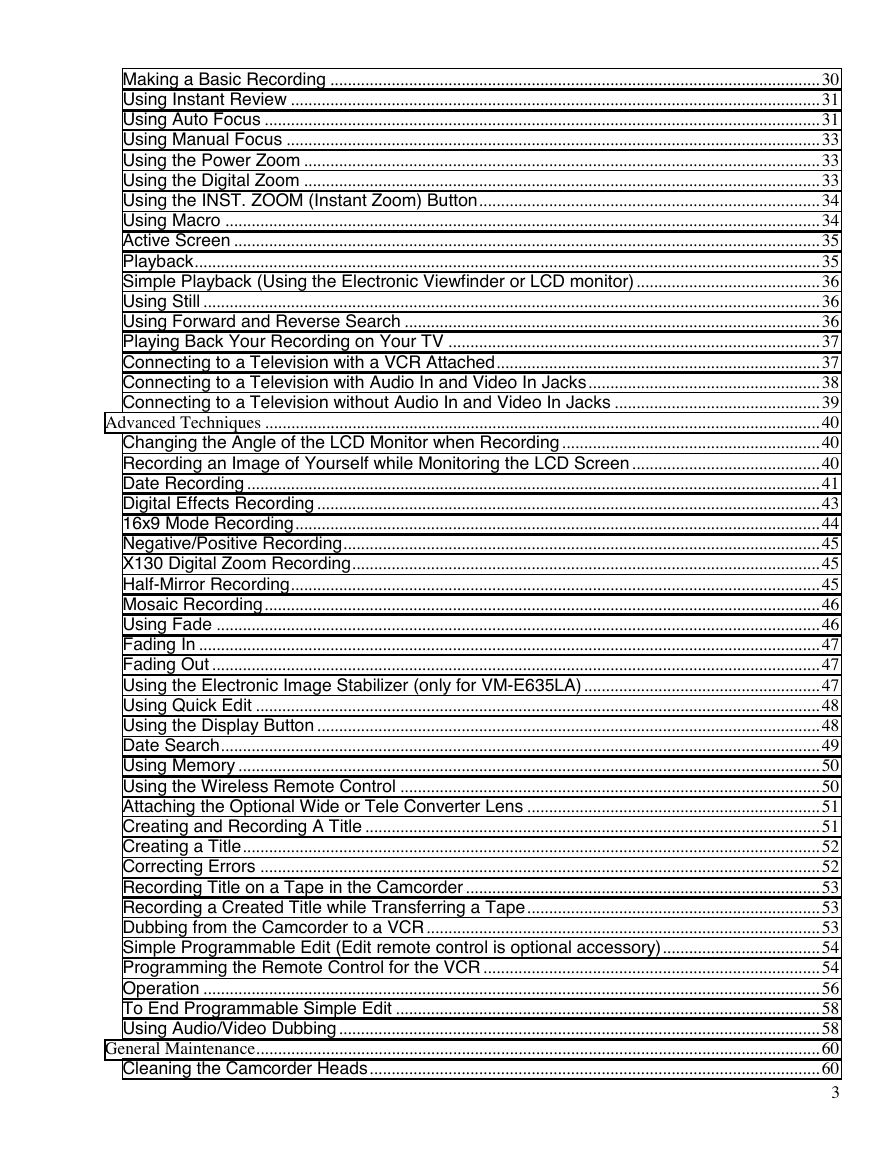
Making a Basic Recording ................................................................................................................30
Using Instant Review .........................................................................................................................31
Using Auto Focus ...............................................................................................................................31
Using Manual Focus ..........................................................................................................................33
Using the Power Zoom ......................................................................................................................33
Using the Digital Zoom ......................................................................................................................33
Using the INST. ZOOM (Instant Zoom) Button..............................................................................34
Using Macro ........................................................................................................................................34
Active Screen ......................................................................................................................................35
Playback...............................................................................................................................................35
Simple Playback (Using the Electronic Viewfinder or LCD monitor)..........................................36
Using Still .............................................................................................................................................36
Using Forward and Reverse Search ...............................................................................................36
Playing Back Your Recording on Your TV .....................................................................................37
Connecting to a Television with a VCR Attached..........................................................................37
Connecting to a Television with Audio In and Video In Jacks.....................................................38
Connecting to a Television without Audio In and Video In Jacks ...............................................39
Advanced Techniques ...............................................................................................................................40
Changing the Angle of the LCD Monitor when Recording...........................................................40
Recording an Image of Yourself while Monitoring the LCD Screen...........................................40
Date Recording...................................................................................................................................41
Digital Effects Recording...................................................................................................................43
16x9 Mode Recording........................................................................................................................44
Negative/Positive Recording.............................................................................................................45
X130 Digital Zoom Recording...........................................................................................................45
Half-Mirror Recording.........................................................................................................................45
Mosaic Recording...............................................................................................................................46
Using Fade ..........................................................................................................................................46
Fading In ..............................................................................................................................................47
Fading Out...........................................................................................................................................47
Using the Electronic Image Stabilizer (only for VM-E635LA)......................................................47
Using Quick Edit .................................................................................................................................48
Using the Display Button...................................................................................................................48
Date Search.........................................................................................................................................49
Using Memory .....................................................................................................................................50
Using the Wireless Remote Control ................................................................................................50
Attaching the Optional Wide or Tele Converter Lens ...................................................................51
Creating and Recording A Title ........................................................................................................51
Creating a Title....................................................................................................................................52
Correcting Errors ................................................................................................................................52
Recording Title on a Tape in the Camcorder.................................................................................53
Recording a Created Title while Transferring a Tape...................................................................53
Dubbing from the Camcorder to a VCR..........................................................................................53
Simple Programmable Edit (Edit remote control is optional accessory)....................................54
Programming the Remote Control for the VCR.............................................................................54
Operation .............................................................................................................................................56
To End Programmable Simple Edit .................................................................................................58
Using Audio/Video Dubbing..............................................................................................................58
General Maintenance.................................................................................................................................60
Cleaning the Camcorder Heads.......................................................................................................60
3
�
Cleaning the Lens and Picture Tube of the Electronic Viewfinder .............................................60
Periodic Maintenance ........................................................................................................................61
Troubleshooting ..................................................................................................................................61
Specifications ......................................................................................................................................64
General Specifications.......................................................................................................................64
Video Recorder Specifications .........................................................................................................64
Camera Specifications.......................................................................................................................64
Available Accessories........................................................................................................................65
To Order in the United States...........................................................................................................65
By Phone .............................................................................................................................................65
By Mail..................................................................................................................................................65
FOR AUTHORIZED HITACHI SERVICE IN CANADA.................................................................65
4
�
IMPORTANT SAFETY INFORMATION
IMPORTANT SAFETY INFORMATION
For Your Safety
The CAM/OFF/VIDEO switch turns the camcorder on and off, leaving the date/time
feature unaffected. If the unit is to be left unattended for a long period of time, turn the
camcorder off and close the lens door.
WARNING: TO PREVENT FIRE OR SHOCK HAZARD, DO NOT EXPOSE THIS UNIT TO
RAIN OR MOISTURE.
The camcorder and AC adapter/charger have the following caution marks.
Identifications of caution marks
This symbol warms the user that uninsulated voltage within the unit may have
sufficient magnitude to cause electrical shock. Therefore, it is dangerous to make any kind
of contact with any inside part of this unit.
This symbol alerts the user that important literature concerning the operation and
maintenance of this unit has been included. Therefore, it should be read carefully to avoid
any problems.
WARNING: Many television programs and films are copyrighted. In certain circumstances,
copyright law may apply to private in-home videotaping of copyrighted materials.
This Class B digital apparatus meets all requirements of the Canadian Interference-
Causing Equipment Regulations.
CAUTION: TO REDUCE THE RISK OF ELECTRIC SHOCK, DO NOT OPEN.
NO USER-SERVICEABLE PARTS INSIDE.
REFER SERVICING TO QUALIFIED SERVICE PERSONNEL.
WARNING: TO PREVENT FIRE OR ELECTRIC SHOCK, MATCH WIDE BLADE OF
PLUG TO WIDE SLOT, AND FULLY INSERT PLUG.
The liquid crystal display (LCD) panel is made by highly precise technology. More than
99.99% of its picture elements (pixels) are effective, but some (less than 0.01%) may
appear as colored bright dots. This does not indicate a fault as the LCD panel stretches
5
�
IMPORTANT SAFETY INFORMATION
the limits of current technology.
Warning: This device complies with Part 15 of the FCC Rules. Operation is subject to the
following two conditions: (1) This device may not cause harmful interference, and (2) this
device must accept any interference received, including interference that may cause
undesired operation.
Note: This equipment has been tested and found to comply with the limits for a Class B
digital device, pursuant of Part 15 of the FCC Rules. These limits are designed to provide
reasonable protection against harmful interference in a residential installation. This
equipment generates, uses, and can radiate radio frequency energy and, if not installed
and used in accordance with the instructions, may cause harmful interference to radio
communications. However, there is no guarantee that interference will not occur in a
particular installation. If this equipment does cause harmful interference to radio or
television reception, which can be determined by turning the equipment off and on, the user
is encouraged to try to correct by one or more of the following measures:
-- Reorient or relocate the receiving antenna.
-- Increase the separation between the equipment and receiver.
-- Connect the equipment into an outlet on a circuit different from that to which the receiver
is connected.
-- Consult the dealer or an experienced radio/TV technician for help.
Caution to the user: Changes or modifications not expressly approved by the manufacture
could void the user's authority to operate the equipment.
"Note to CATV system installer: This reminder is provided to call the CATV system
installer's attention to Article 820-40 of the NEC that provides guidelines for proper
grounding and, in particular, specifies that the cable ground shall be connected to the
grounding system of the building, as close to the point of cable entry as practical".
Notes:
• This unit uses 8mm video format cassettes.
• It records and plays back in the SP mode (14.3 mm/sec).
• It cannot record and play back in the LP mode (7.2 mm/sec).
MOISTURE
Avoid operating your camcorder immediately after moving it from a cold place to a
warm, humid place. Give the camcorder 2 to 3 hours to stabilize in the ambient
conditions of the surroundings before inserting a cassette. When moved from a cold
place to a warm, humid place, moisture may condense on the head drum inside the
machine. This moisture could cause the tape to stick to the headwheel and damage the
headwheel or tape.
When a small amount of moisture is sensed, "TAPE" flashes in the viewfinder or LCD
monitor. Remove the cassette and set the CAM/OFF/VIDEO switch to OFF, then wait
for about one hour.
Important Safeguards
In addition to the careful attention devoted to quality standards in the manufacture of
your video product, safety is a major factor in the design of every instrument. But,
6
�
IMPORTANT SAFETY INFORMATION
safety is your responsibility too.
This page lists important information that will help to assure your enjoyment and proper
use of a Video camcorder and accessory equipment. Please read it carefully before
operating your video product and keep it in a handy place for future reference.
INSTALLATION
1 Read and Follow Instructions -- All the safety and operating instructions should be
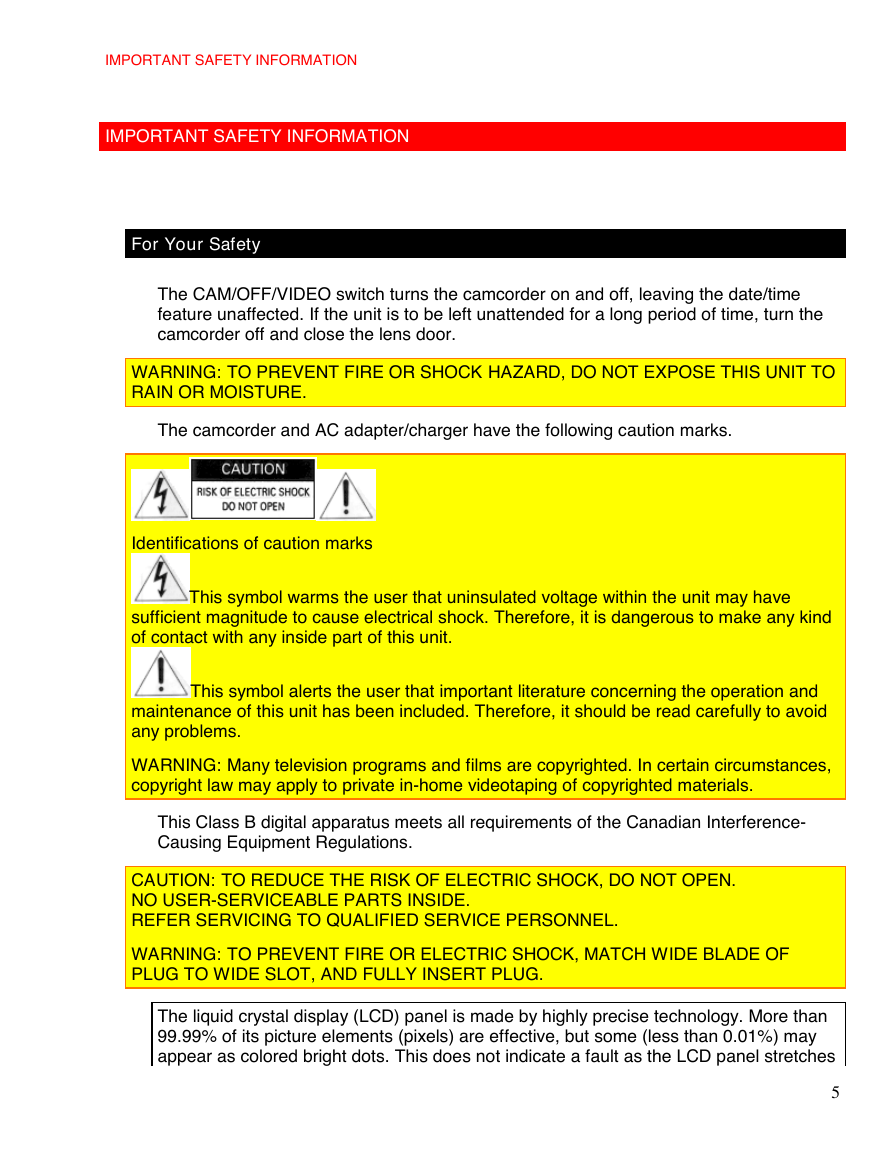
read before the video product is operated. Follow-all operating and use instructions.
2 Retain Instructions -- The safety and operating instructions should be retained for
future reference.
3 Heed Warnings -- Comply with all warnings on the video product and in the operating
instructions.
4 Polarized Plug -- This video product is equipped with a polarized alternating-current
line plug (a plug having one blade wider than the other). This plug will fit into the power
outlet only one way. This is a safety feature. If you are unable to insert the plug fully into
the outlet, try reversing the plug. If the plug should still fail to fit, contact your electrician
to replace your obsolete outlet. To prevent electric shock do not use this polarized plug
with an extension cord, receptacle or other outlet unless the blades can be fully inserted
without blade exposure. If you need an extension, use a polarized cord.
5 Power Sources -- This video product should be operated only from the type of power
source indicated on the marking label. If you are not sure of the type of power supply to
your home, consult your video dealer or local power company. For video products
intended to operate from battery power, or other sources, refer to the operating
instructions.
6 Overloading -- Do not overload wall outlets and extension cords as this can result in
a risk of fire or electric shock. Overloaded AC outlets and extension cords are
dangerous, and so are frayed power cords, damaged or cracked wire insulation and
broken plugs. They may result in a shock or fire hazard. Periodically examine the cord
and have it replaced by your service technician if appearance indicates damage or
deteriorated insulation.
7 Power-Cord Protection -- Power-supply cords should be routed so that they are not
likely to be walked on or pinched by items placed upon or against them, paying
particular attention to cords at plugs, convenience receptacles, and the point where they
exit from the appliance.
8 Ventilation -- Slots and openings in the cabinet are provided for ventilation to ensure
7
�
IMPORTANT SAFETY INFORMATION
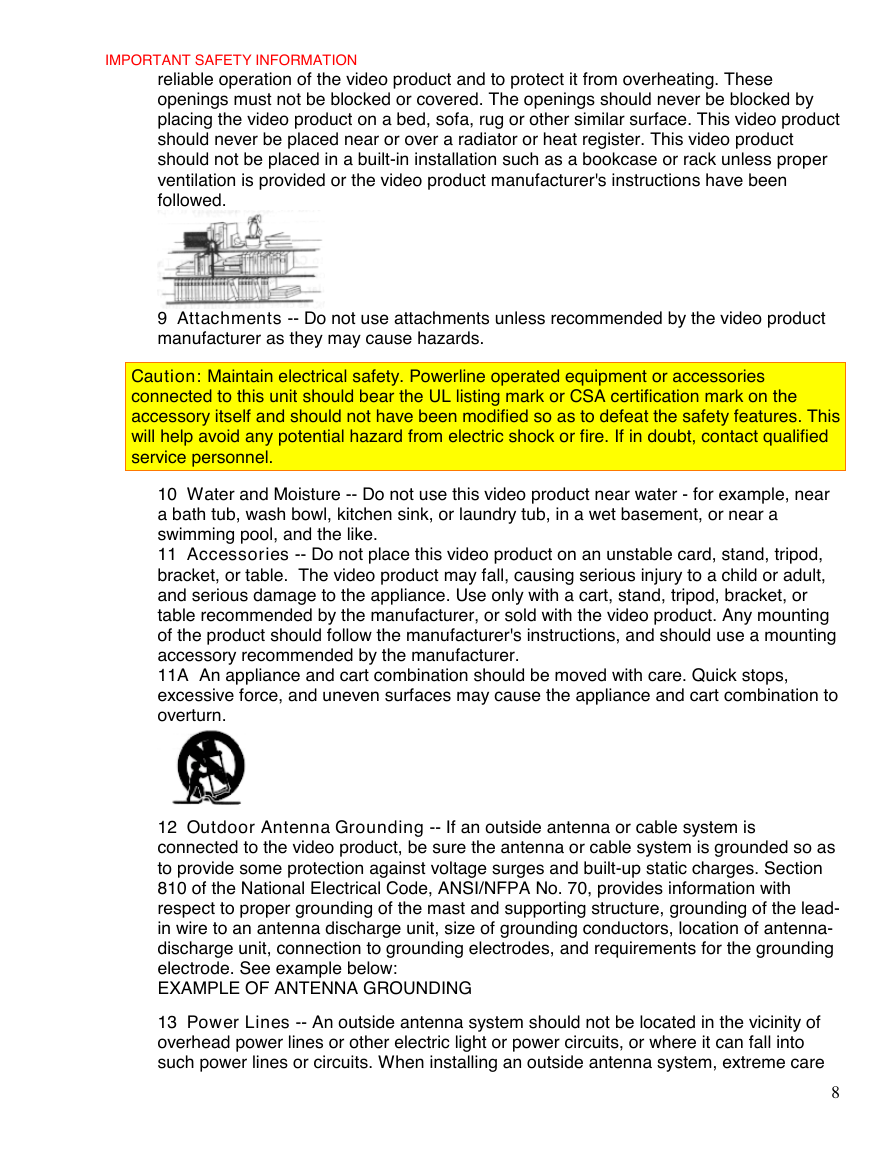
reliable operation of the video product and to protect it from overheating. These
openings must not be blocked or covered. The openings should never be blocked by
placing the video product on a bed, sofa, rug or other similar surface. This video product
should never be placed near or over a radiator or heat register. This video product
should not be placed in a built-in installation such as a bookcase or rack unless proper
ventilation is provided or the video product manufacturer's instructions have been
followed.
9 Attachments -- Do not use attachments unless recommended by the video product
manufacturer as they may cause hazards.
Caution: Maintain electrical safety. Powerline operated equipment or accessories
connected to this unit should bear the UL listing mark or CSA certification mark on the
accessory itself and should not have been modified so as to defeat the safety features. This
will help avoid any potential hazard from electric shock or fire. If in doubt, contact qualified
service personnel.
10 Water and Moisture -- Do not use this video product near water - for example, near
a bath tub, wash bowl, kitchen sink, or laundry tub, in a wet basement, or near a
swimming pool, and the like.
11 Accessories -- Do not place this video product on an unstable card, stand, tripod,
bracket, or table. The video product may fall, causing serious injury to a child or adult,
and serious damage to the appliance. Use only with a cart, stand, tripod, bracket, or
table recommended by the manufacturer, or sold with the video product. Any mounting
of the product should follow the manufacturer's instructions, and should use a mounting
accessory recommended by the manufacturer.
11A An appliance and cart combination should be moved with care. Quick stops,
excessive force, and uneven surfaces may cause the appliance and cart combination to
overturn.
12 Outdoor Antenna Grounding -- If an outside antenna or cable system is
connected to the video product, be sure the antenna or cable system is grounded so as
to provide some protection against voltage surges and built-up static charges. Section
810 of the National Electrical Code, ANSI/NFPA No. 70, provides information with
respect to proper grounding of the mast and supporting structure, grounding of the lead-
in wire to an antenna discharge unit, size of grounding conductors, location of antenna-
discharge unit, connection to grounding electrodes, and requirements for the grounding
electrode. See example below:
EXAMPLE OF ANTENNA GROUNDING
13 Power Lines -- An outside antenna system should not be located in the vicinity of
overhead power lines or other electric light or power circuits, or where it can fall into
such power lines or circuits. When installing an outside antenna system, extreme care
8
�


 2023年江西萍乡中考道德与法治真题及答案.doc
 2012年重庆南川中考生物真题及答案.doc
 2013年江西师范大学地理学综合及文艺理论基础考研真题.doc
 2020年四川甘孜小升初语文真题及答案I卷.doc
 2020年注册岩土工程师专业基础考试真题及答案.doc
 2023-2024学年福建省厦门市九年级上学期数学月考试题及答案.doc
 2021-2022学年辽宁省沈阳市大东区九年级上学期语文期末试题及答案.doc
 2022-2023学年北京东城区初三第一学期物理期末试卷及答案.doc
 2018上半年江西教师资格初中地理学科知识与教学能力真题及答案.doc
 2012年河北国家公务员申论考试真题及答案-省级.doc
 2020-2021学年江苏省扬州市江都区邵樊片九年级上学期数学第一次质量检测试题及答案.doc
 2022下半年黑龙江教师资格证中学综合素质真题及答案.doc