OWNER'S MANUAL
LC-XNB4000N
LC-XNB3500N
LC-WNB3000N
�
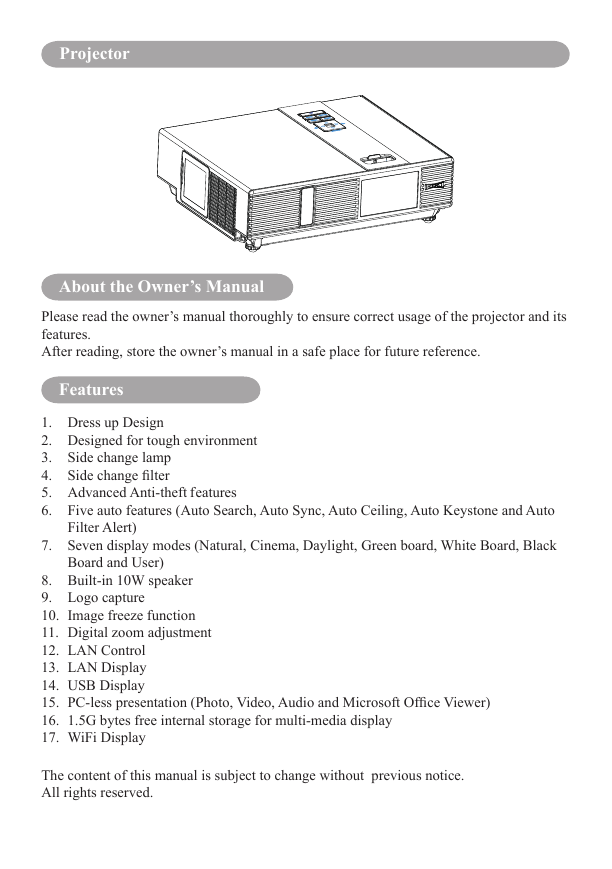
Projector
About the Owner’s Manual
Please read the owner’s manual thoroughly to ensure correct usage of the projector and its
features.
After reading, store the owner’s manual in a safe place for future reference.
Features
1.
2.
3.
4.
5.
6.
7.
8.
9.
10.
11.
12.
13.
14.
15.
16.
17.
Dress up Design
Designed for tough environment
Side change lamp
Side change filter
Advanced Anti-theft features
Five auto features (Auto Search, Auto Sync, Auto Ceiling, Auto Keystone and Auto
Filter Alert)
Seven display modes (Natural, Cinema, Daylight, Green board, White Board, Black
Board and User)
Built-in 10W speaker
Logo capture
Image freeze function
Digital zoom adjustment
LAN Control
LAN Display
USB Display
PC-less presentation (Photo, Video, Audio and Microsoft Office Viewer)
1.5G bytes free internal storage for multi-media display
WiFi Display
The content of this manual is subject to change without previous notice.
All rights reserved.
�
Contents
About Owner’s Manual
Contents .....................................................................................................................1
Contents of Your Box ................................................................................................ 3
Safety Instructions ....................................................................................................4
Safety Labels..............................................................................................................8
Part Names ................................................................................................................9
Projector .................................................................................................................. 9
Control Panel ........................................................................................................ 10
Rear ........................................................................................................................11
Setting Up ................................................................................................................12
Arrangement ..........................................................................................................12
Power ON / OFF ....................................................................................................14
Setting Up The Projector .......................................................................................15
Ceiling Mounted Installation Guide ......................................................................16
Adjusting The Projector’s Elevation .....................................................................17
How To Connect ....................................................................................................18
Remote Control .......................................................................................................20
EZ Suit .....................................................................................................................22
Main Menu Layout and Function Definition .......................................................... 22
EZ Media .................................................................................................................23
Layout and Behavior .............................................................................................. 23
EZ Display ...............................................................................................................31
Layout and Behavior .............................................................................................. 31
Setting and Configuration ......................................................................................47
System setting ......................................................................................................... 47
Video setting ........................................................................................................... 48
Photo setting ........................................................................................................... 49
Audio setting ........................................................................................................... 49
WiFi setting ............................................................................................................ 50
Connect PC setting ................................................................................................. 58
1
�
Contents
Menu Operation ......................................................................................................59
How To Operate On-Screen Display ......................................................................59
MENU (PC Mode) ...................................................................................................60
Picture Menu (PC Mode) ........................................................................................ 60
Audio Menu (PC Mode) ......................................................................................... 61
Setting Menu (PC Mode) ........................................................................................ 62
MENU (Video Mode) ..............................................................................................63
Picture Menu (Video Mode) .................................................................................... 63
Audio Menu (Video Mode) ..................................................................................... 64
Setting Menu (Video Mode) .................................................................................... 65
MENU ......................................................................................................................66
Advanced Menu .....................................................................................................66
Presentation Menu .................................................................................................70
Security Menu ........................................................................................................72
PIN Key In Operation ............................................................................................76
Network Control Software Application ................................................................77
Procedure to utilize this function ...........................................................................77
Browser Control ....................................................................................................78
Maintenance Of Projector ......................................................................................89
Filter / How to clean or replace the filiters ............................................................. 89
Lamp / Replacing New Lamp ................................................................................. 90
Troubleshooting .......................................................................................................92
Indicator .................................................................................................................. 92
Error For Machine Defects ..................................................................................... 93
List of Supported Monitor Displays ....................................................................... 95
Appendix
2
�
Safety Instructions
Contents of Your Box
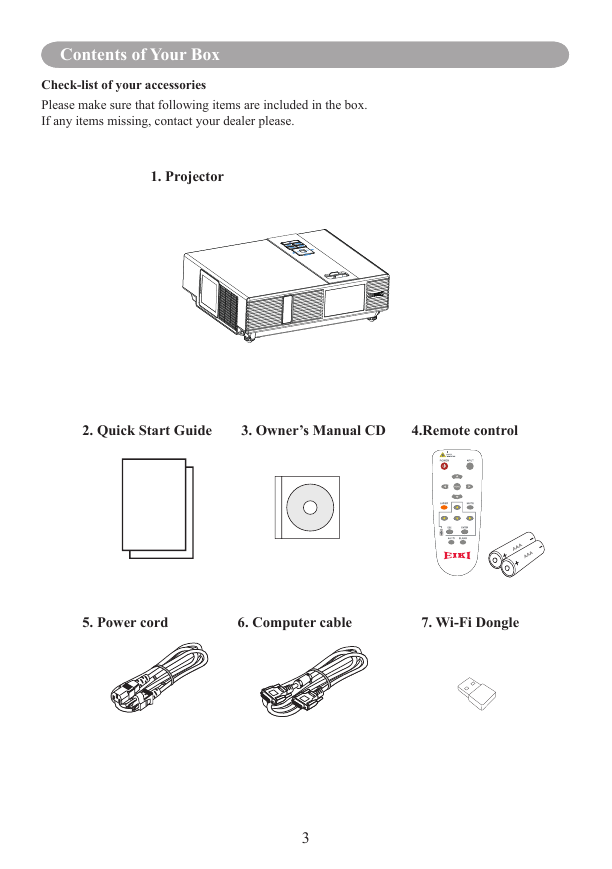
Check-list of your accessories
Please make sure that following items are included in the box.
If any items missing, contact your dealer please.
1. Projector
2. Quick Start Guide 3. Owner’s Manual CD 4.Remote control
5. Power cord 6. Computer cable 7. Wi-Fi Dongle
3
�
Safety Instructions
The projector is designed and tested to meet the latest standards for safety of information
technology equipment. However, to ensure safe use of this product, it is important that you
follow the instructions mentioned in this manual and marked on the product.
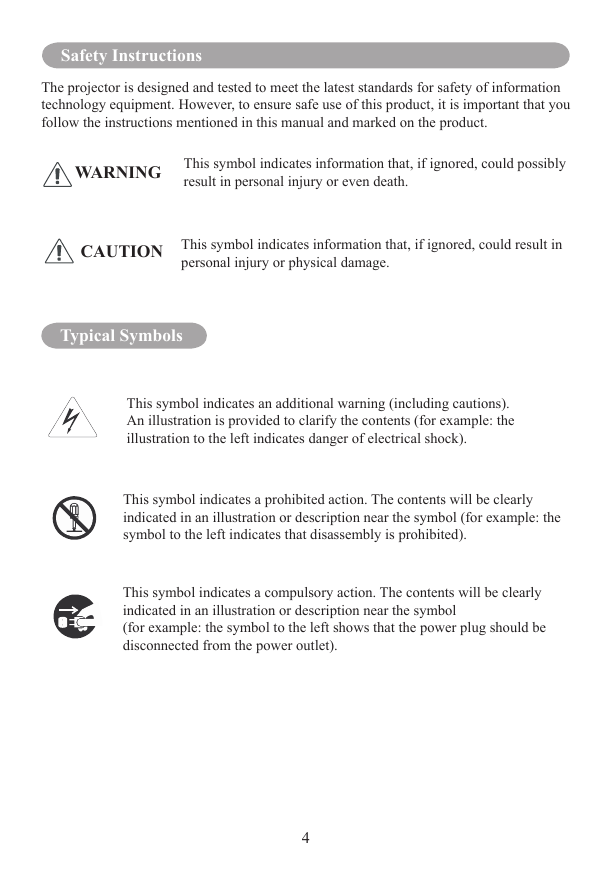
WARNING
This symbol indicates information that, if ignored, could possibly
result in personal injury or even death.
CAUTION
This symbol indicates information that, if ignored, could result in
personal injury or physical damage.
Typical Symbols
This symbol indicates an additional warning (including cautions).
An illustration is provided to clarify the contents (for example: the
illustration to the left indicates danger of electrical shock).
This symbol indicates a prohibited action. The contents will be clearly
indicated in an illustration or description near the symbol (for example: the
symbol to the left indicates that disassembly is prohibited).
This symbol indicates a compulsory action. The contents will be clearly
indicated in an illustration or description near the symbol
(for example: the symbol to the left shows that the power plug should be
disconnected from the power outlet).
4
�
Safety Labels
WARNING
If a problem should occur
If smoke or strange odors arise, continued use could result in fire or electrical shock. In
such case, immediately turn off the power switch and then disconnect the power plug
from the power outlet. After making sure that the smoke or odor has stopped, contact your
dealer for repairs. Never attempt to make repairs yourself because this is dangerous.
Do not use this projector if there is no image or sound, or if the sound is distorted.
Continued use could result in fire or electrical shock. In such case, immediately turn off
the power switch; disconnect the power plug from the power outlet and contact your
dealer.
If water would enter the inside of this projector, immediately turn off the power switch,
disconnect the power plug from the power outlet and contact your dealer.
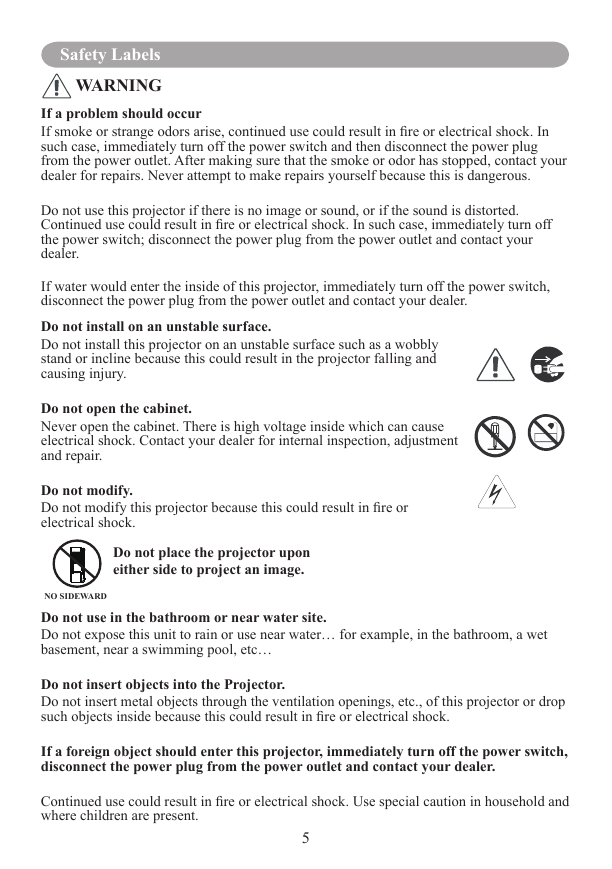
Do not install on an unstable surface.
Do not install this projector on an unstable surface such as a wobbly
stand or incline because this could result in the projector falling and
causing injury.
Do not open the cabinet.
Never open the cabinet. There is high voltage inside which can cause
electrical shock. Contact your dealer for internal inspection, adjustment
and repair.
Do not modify.
Do not modify this projector because this could result in fire or
electrical shock.
Do not place the projector upon
either side to project an image.
NO SIDEWARD
Do not use in the bathroom or near water site.
Do not expose this unit to rain or use near water… for example, in the bathroom, a wet
basement, near a swimming pool, etc…
Do not insert objects into the Projector.
Do not insert metal objects through the ventilation openings, etc., of this projector or drop
such objects inside because this could result in fire or electrical shock.
If a foreign object should enter this projector, immediately turn off the power switch,
disconnect the power plug from the power outlet and contact your dealer.
Continued use could result in fire or electrical shock. Use special caution in household and
where children are present.
5
�
Safety Labels
WARNING
Do not look through the lens when the lamp is on.
Never look through the lens when the lamp is on. The powerful light could
adversely affect vision. Use special caution in households where children are
present.
Avoid shock or impact on the projector.
If the projector should fall, resulting in damage to the cabinet, immediately
turn off the power switch, disconnect the power plug from the power outlet
and contact your dealer.
Continued use could result in fire or electrical shock.
Do not place this projector in a container containing liquid. Do not place flower
vases, flowerpots, cups, cosmetics, liquids such as water, etc., on top of this projector.
Do not use any power cable except those supplied with the projector.
The use of any other power cable could result in fire or electrical shock.
Do not shine the laser beam onto yourself or other.
The laser pointer function of projector remote control emits class II laser beam.
Do not look directly into the laser beam outlet or direct the laser beam at other people.
Vision can be impaired if the laser beam enters the eyes. Especially pay attention if
children are present.
High temperatures are generated when the lamp is lit; so do not place objects in
front of the lens.
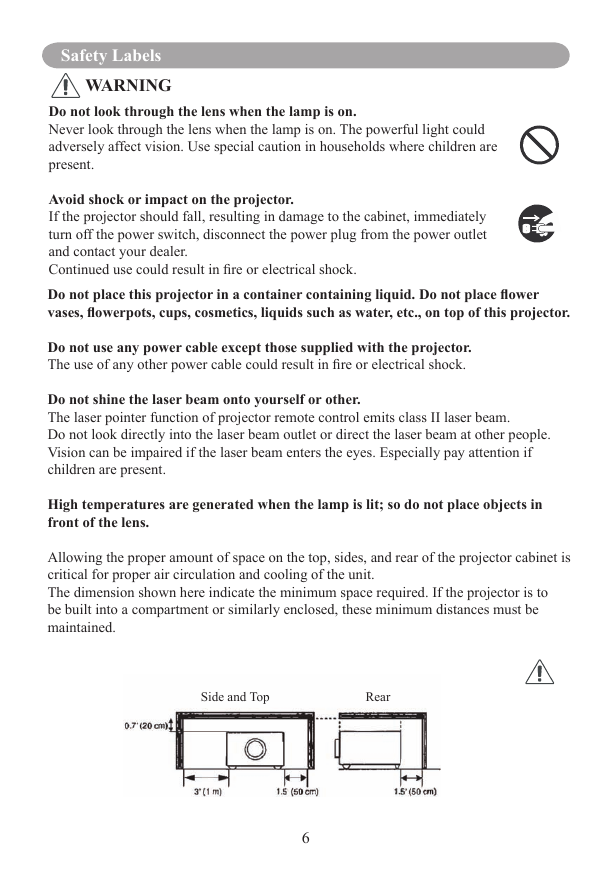
Allowing the proper amount of space on the top, sides, and rear of the projector cabinet is
critical for proper air circulation and cooling of the unit.
The dimension shown here indicate the minimum space required. If the projector is to
be built into a compartment or similarly enclosed, these minimum distances must be
maintained.
Side and Top
Rear
6
�


 2023年江西萍乡中考道德与法治真题及答案.doc
 2012年重庆南川中考生物真题及答案.doc
 2013年江西师范大学地理学综合及文艺理论基础考研真题.doc
 2020年四川甘孜小升初语文真题及答案I卷.doc
 2020年注册岩土工程师专业基础考试真题及答案.doc
 2023-2024学年福建省厦门市九年级上学期数学月考试题及答案.doc
 2021-2022学年辽宁省沈阳市大东区九年级上学期语文期末试题及答案.doc
 2022-2023学年北京东城区初三第一学期物理期末试卷及答案.doc
 2018上半年江西教师资格初中地理学科知识与教学能力真题及答案.doc
 2012年河北国家公务员申论考试真题及答案-省级.doc
 2020-2021学年江苏省扬州市江都区邵樊片九年级上学期数学第一次质量检测试题及答案.doc
 2022下半年黑龙江教师资格证中学综合素质真题及答案.doc