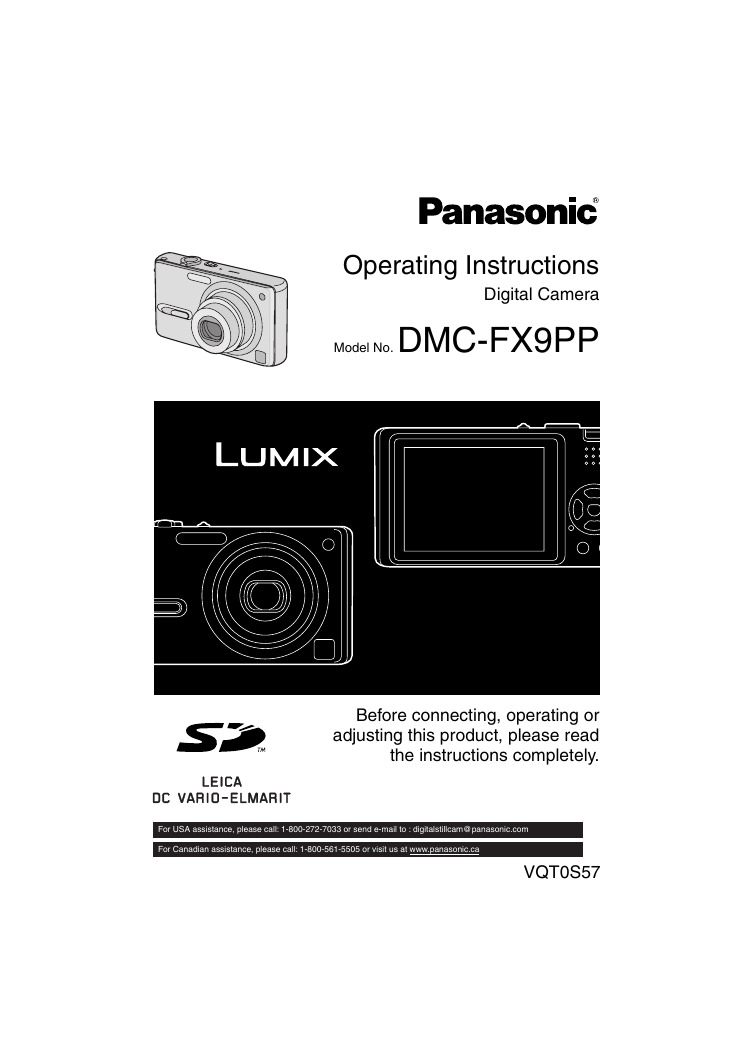
Operating Instructions
Digital Camera
Model No. DMC-FX9PP
Before connecting, operating or
adjusting this product, please read
the instructions completely.
For USA assistance, please call: 1-800-272-7033 or send e-mail to : digitalstillcam@panasonic.com
For Canadian assistance, please call: 1-800-561-5505 or visit us at www.panasonic.ca
VQT0S57
�
Before Use
Before Use
Dear Customer,
We would like to take this opportunity to
thank you for purchasing this Panasonic
Digital Camera. Please read these
Operating Instructions carefully and keep
them handy for future reference.
Information for Your
Safety
WARNING
TO REDUCE THE RISK OF FIRE OR
SHOCK HAZARD AND ANNOYING
INTERFERENCE, USE ONLY THE
RECOMMENDED ACCESSORIES
AND DO NOT EXPOSE THIS
EQUIPMENT TO RAIN OR
MOISTURE. DO NOT REMOVE THE
COVER (OR BACK); THERE ARE NO
USER SERVICEABLE PARTS INSIDE.
REFER SERVICING TO QUALIFIED
SERVICE PERSONNEL.
Carefully observe copyright laws.
Recording of pre-recorded tapes or
discs or other published or broadcast
material for purposes other than your
own private use may infringe copyright
laws. Even for the purpose of private
use, recording of certain material may
be restricted.
• Please note that the actual controls and
components, menu items, etc. of your
Digital Camera may look somewhat
different from those shown in the
illustrations in these Operating
Instructions.
SD Logo is a trademark.
Other names, company names, and
product names printed in these
instructions are trademarks or registered
trademarks of the companies concerned.
THE SOCKET OUTLET SHALL BE
INSTALLED NEAR THE EQUIPMENT
AND SHALL BE EASILY ACCESSIBLE.
CAUTION
Danger of explosion if battery is
incorrectly replaced. Replace only with
the same or equivalent type
recommended by the manufacturer.
Dispose of used batteries according to
the manufacturer’s instructions.
R B R C
T M
L i - i o n
A lithium ion/polymer battery that is recyclable powers the
product you have purchased. Please call 1-800-8-BATTERY for
information on how to recycle this battery.
2
VQT0S57
�
Before Use
FCC Note: (U.S. only)
This equipment has been tested and
found to comply with the limits for a
Class B digital device, pursuant to Part
15 of the FCC Rules. These limits are
designed to provide reasonable
protection against harmful interference
in a residential installation. This
equipment generates, uses, and can
radiate radio frequency energy and, if
not installed and used in accordance
with the instructions, may cause harmful
interference to radio communications.
However, there is no guarantee that
interference will not occur in a particular
installation. If this equipment does
cause harmful interference to radio or
television reception, which can be
determined by turning the equipment off
and on, the user is encouraged to try to
correct the interference by one or more
of the following measures:
Reorient or relocate the receiving
antenna.
Increase the separation between the
equipment and receiver.
Connect the equipment into an outlet
on a circuit different from that to which
the receiver is connected.
Consult the dealer or an experienced
radio/TV technician for help.
FCC Caution: To assure continued
compliance, follow the
attached installation
instructions and use only
shielded interface cables
with ferrite core when
connecting to computer or
peripheral devices.
Any changes or modifications not
expressly approved by the party
responsible for compliance could void
the user’s authority to operate this
equipment.
Panasonic
Trade Name:
Model No.:
DMC-FX9
Responsible party: Panasonic
Corporation of
North America
One Panasonic
Way, Secaucus, NJ
07094
Support Contact: Panasonic
Consumer
Electronics
Company
1-800-272-7033
This device complies with Part 15 of the
FCC Rules. Operation is subject to the
following two conditions: (1) This device
may not cause harmful interference,
and (2) this device must accept any
interference received, including
interference that may cause undesired
operation.
This Class B digital apparatus complies
with Canadian ICES-003
3
VQT0S57
�
Before Use
-If you see this symbol-
Information on Disposal in other
Countries outside the European
Union
This symbol is only valid in the European
Union.
If you wish to discard this product, please
contact your local authorities or dealer
and ask for the correct method of
disposal.
∫ Care for the camera
Do not shake or cause impact to the
camera. The camera may not be
operated normally or recording of pictures
may be disabled, or the lens may be
damaged.
• Sand or dust may cause a malfunction
of the camera. When you use the
camera on a beach etc., take care so
that sand or dust does not get into the
camera.
When you use the camera on a rainy day
or on a beach, take care so that water
does not get into the camera.
If seawater splashes onto the camera,
wet a soft cloth with tap water, wring it
well, and use it to wipe the camera
body carefully. Then, wipe it again with
a dry cloth.
∫ About the LCD monitor
Do not press the LCD monitor strongly.
It may cause uneven colors on the LCD
monitor or a malfunction of the LCD
monitor.
In a place with drastic temperature
changes, condensation may form on the
LCD monitor. Wipe it with a soft, dry cloth.
If the camera is extremely cold when you
turn the camera on, the picture on the
LCD monitor is slightly darker than usual
at first. However, as the internal
temperature increases, it goes back to the
normal brightness.
Extremely high precision technology is
employed to produce the LCD monitor
screen. The result is more than 99.99%
effective pixels with a mere 0.01% of the
pixels inactive or always lit. However,
this will not be recorded on the pictures
in the card.
4
VQT0S57
�
Before Use
∫ If you will not be using the camera for
a long time
Store the battery in a cool and dry place
with a relatively stable temperature.
[Recommended temperature:
15 oC to 25 oC (59 oF to 77 oF),
Recommended humidity: 40% to 60%]
Be sure to remove the battery and the
card from the camera.
When the battery is left inserted in the
camera for a long time, discharge takes
place even if the camera is turned off. If
you leave the battery inserted for an
extended period of time, it will be
excessively discharged and it may
become unusable even after it is charged.
To store the battery for a long period of
time, we recommend charging it once
every year and storing it again after you
completely use up the charged capacity.
When you keep the camera in a closet or
a cabinet, we recommend storing it with
the desiccant (silica gel).
∫ About the Lens
Do not direct the lens to the sun or strong
light sources. It may cause not only a
malfunction of the camera but irreversible
damage to your eye.
Do not press the lens strongly.
Leaving the camera with the lens facing
the sun may cause a malfunction. Be
careful when you put the camera outside
or near a window.
∫ About Condensation (When the lens
is fogged up)
Condensation takes place when the
ambient temperature or humidity is
changed as follows:
Be careful of condensation since it causes
stains on the lens, fungus or malfunction.
When the camera is brought inside from
the cold to a warm room.
When the camera is moved from outside
to an air-conditioned car.
When cool wind from an air conditioner or
other is directly blown onto the camera.
In humid places
Put the camera into plastic bag until the
temperature of the camera is close to the
ambient temperature to avoid
condensation. In case of condensation,
turn the camera off and then leave it for
about 2 hours.
When the camera becomes close to the
ambient temperature, the fog disappears
naturally.
5
VQT0S57
�
About These Operating Instructions
Before Use
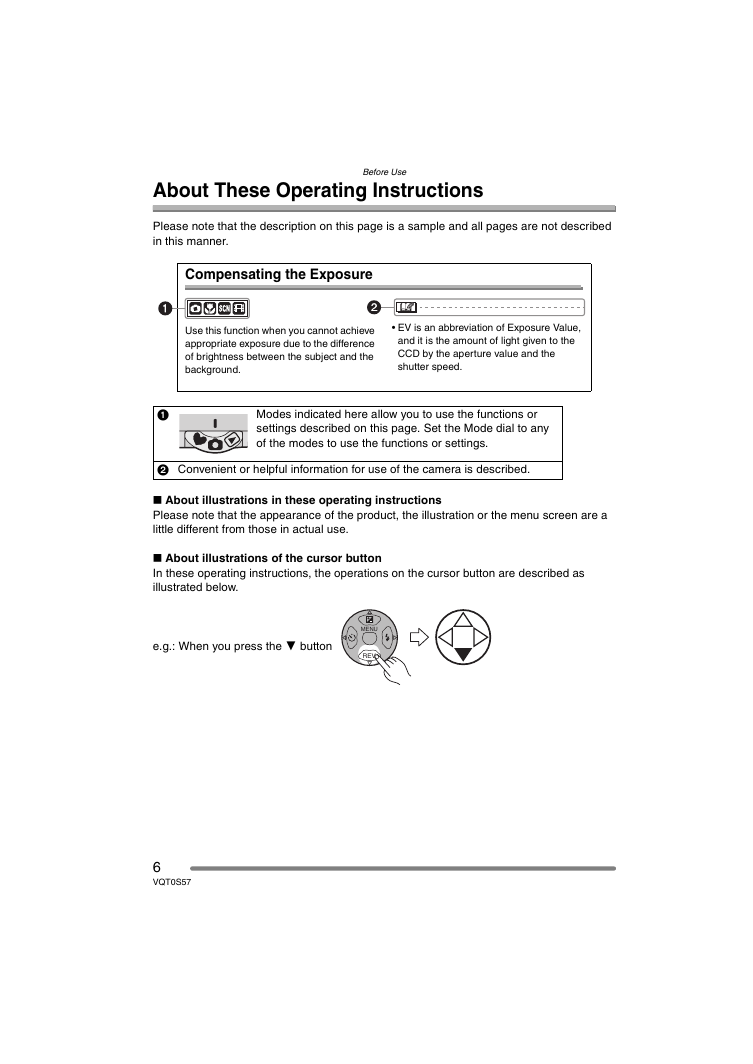
Please note that the description on this page is a sample and all pages are not described
in this manner.
Compensating the Exposure
Use this function when you cannot achieve
appropriate exposure due to the difference
of brightness between the subject and the
background.
EV is an abbreviation of Exposure Value,
and it is the amount of light given to the
CCD by the aperture value and the
shutter speed.
1
Modes indicated here allow you to use the functions or
settings described on this page. Set the Mode dial to any
of the modes to use the functions or settings.
2 Convenient or helpful information for use of the camera is described.
∫ About illustrations in these operating instructions
Please note that the appearance of the product, the illustration or the menu screen are a
little different from those in actual use.
∫ About illustrations of the cursor button
In these operating instructions, the operations on the cursor button are described as
illustrated below.
e.g.: When you press the 4 button
MENU
REV
6
VQT0S57
�
Contents
Before Use
Using the Playback Zoom .......................50
Deleting Pictures.....................................51
Information for Your Safety.......................2
About These Operating Instructions ......... 6
Recording pictures (advanced)
Preparation
Standard Accessories...............................9
Names of the Components .....................10
Quick Guide ............................................12
Charging the Battery with the Charger ... 13
About the Battery (charging/
number of recordable pictures) ........... 14
Inserting/Removing the Battery ..............15
Inserting/Removing the Card .................. 16
About the Card........................................ 17
Approximate number
of recordable pictures and the size ..... 18
Setting Date/Time (Clock Set) ................ 20
About the Setup Menu ............................ 21
About the LCD Monitor ...........................25
Recording pictures (basic)
Taking Pictures ....................................... 28
Taking Pictures in Simple Mode ............. 33
Checking the Recorded Picture
(Review) ..............................................36
Using the Optical Zoom .......................... 37
Taking Pictures
using the Built-in Flash........................ 38
Taking Pictures with the Self-timer ......... 41
Compensating the Exposure .................. 42
Taking Pictures using Auto Bracket........43
Optical Image Stabilizer.......................... 44
Taking Pictures using Burst Mode ..........45
Playback (basic)
Playing Back Pictures .............................47
Multi Playback
(9 screens, 16 screens,
and 25 screens) .................................. 48
Using the Mode Dial ...............................53
Macro mode...................................... 53
Motion picture mode ......................... 53
Scene mode...................................... 56
– Portrait mode ................................. 57
– Sports mode .................................. 57
– Food mode .................................... 58
– Scenery mode ............................... 58
– Night portrait mode ........................ 59
– Night scenery mode....................... 59
– Baby mode .................................... 60
– Soft skin mode............................... 61
– Candle light mode.......................... 61
– Party mode .................................... 62
– Fireworks mode ............................. 62
– Snow mode.................................... 63
– Starry sky mode............................. 63
– Self portrait mode .......................... 64
Recording Menu Settings
Using the [REC] mode menu ..................66
White Balance [W.BALANCE] .......... 67
ISO Sensitivity [SENSITIVITY] ......... 69
Aspect Ratio [ASPECT RATIO] ........ 69
Picture Size [PICT.SIZE] .................. 70
Quality [QUALITY] ............................ 72
Audio Recording [AUDIO REC.] ....... 72
AF Mode [AF MODE]........................ 73
AF Assist Lamp
[AF ASSIST LAMP] .......................... 74
Slow Shutter [SLOW SHUTTER]...... 75
Digital Zoom [D.ZOOM] .................... 75
Color Effect [COL.EFFECT].............. 76
Picture Adjustment [PICT.ADJ.]........ 76
7
VQT0S57
�
Playback (advanced)
Others
Screen Display...................................... 100
Cautions for Use ................................... 103
Message Display .................................. 105
Troubleshooting .................................... 107
Specifications........................................ 111
Digital Camera Accessory System ....... 113
Digital Camera Accessory Order Form
(For USA Customers)........................ 114
Request for Service Notice
(For USA Only).................................. 115
Limited Warranty (For USA Only) ......... 116
Customer Services Directory
(For USA Only).................................. 118
Index ..................................................... 119
Spanish Quick Use Guide/
Guía rápida en español..................... 121
Playing Back Pictures with Audio/
Motion Pictures ................................... 77
Using the [PLAY] mode menu ................ 78
Playing Back with Slide Show
[SLIDE SHOW]................................. 79
Setting Favorites [FAVORITE].......... 80
Displaying pictures in a direction
at the time of recording
[ROTATE DISP.] .............................. 81
Rotating the Picture [ROTATE] ........ 82
Setting the Picture to be Printed
and the Number of Prints
[DPOF PRINT].................................. 83
Preventing Accidental Erasure
of the Picture [PROTECT] ................ 85
Adding Audio to Recorded Pictures
[AUDIO DUB.] .................................. 86
Resizing the Pictures [RESIZE] ........ 87
Trimming the Pictures
[TRIMMING] ..................................... 88
Clean-up [CLEAN UP] ...................... 90
Initializing the Card [FORMAT] ......... 91
Playing Back Pictures on a TV Screen ... 92
Connecting to a PC or Printer
Before Connecting to the PC
or the Printer [USB MODE] ................. 93
Connecting to a PC................................. 94
Connecting to a PictBridge-compliant
Printer.................................................. 96
8
VQT0S57
�


 2023年江西萍乡中考道德与法治真题及答案.doc
 2012年重庆南川中考生物真题及答案.doc
 2013年江西师范大学地理学综合及文艺理论基础考研真题.doc
 2020年四川甘孜小升初语文真题及答案I卷.doc
 2020年注册岩土工程师专业基础考试真题及答案.doc
 2023-2024学年福建省厦门市九年级上学期数学月考试题及答案.doc
 2021-2022学年辽宁省沈阳市大东区九年级上学期语文期末试题及答案.doc
 2022-2023学年北京东城区初三第一学期物理期末试卷及答案.doc
 2018上半年江西教师资格初中地理学科知识与教学能力真题及答案.doc
 2012年河北国家公务员申论考试真题及答案-省级.doc
 2020-2021学年江苏省扬州市江都区邵樊片九年级上学期数学第一次质量检测试题及答案.doc
 2022下半年黑龙江教师资格证中学综合素质真题及答案.doc