ANSYS ICEM CFD Tutorial Manual
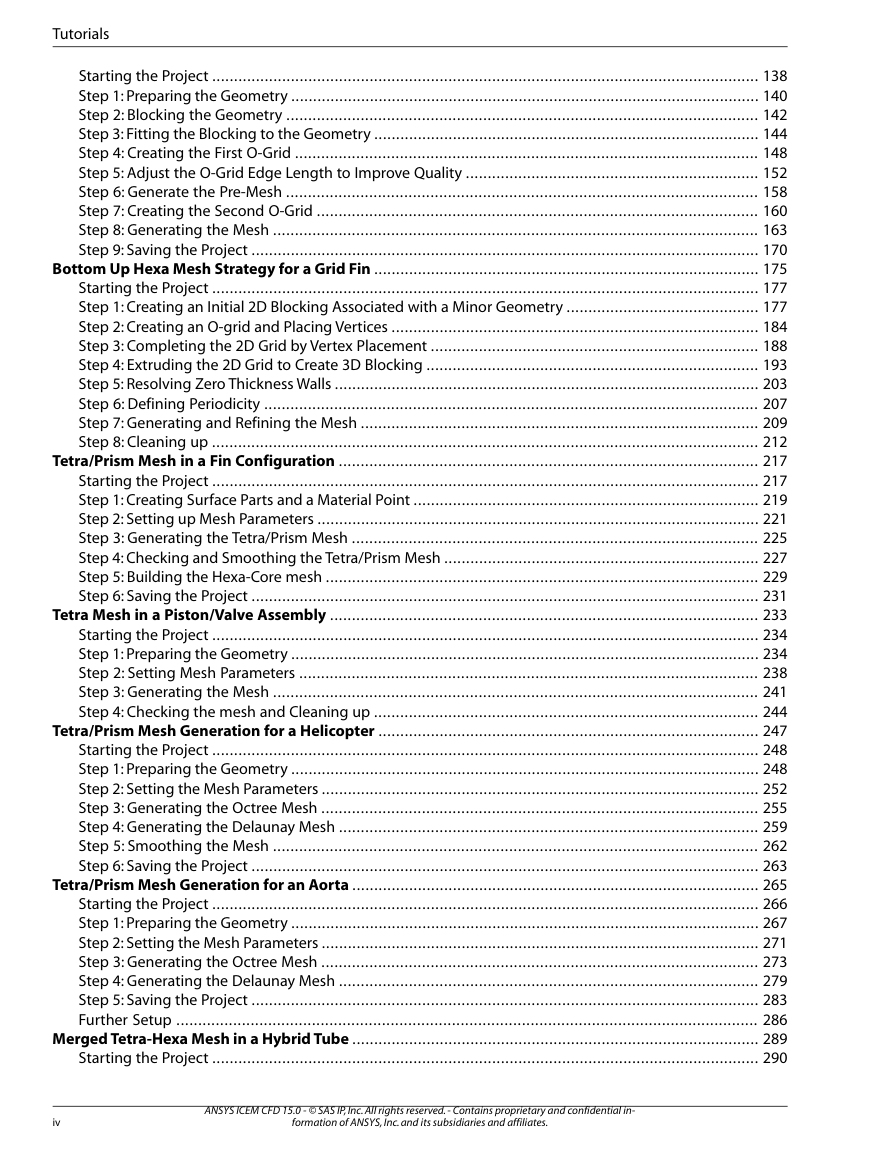
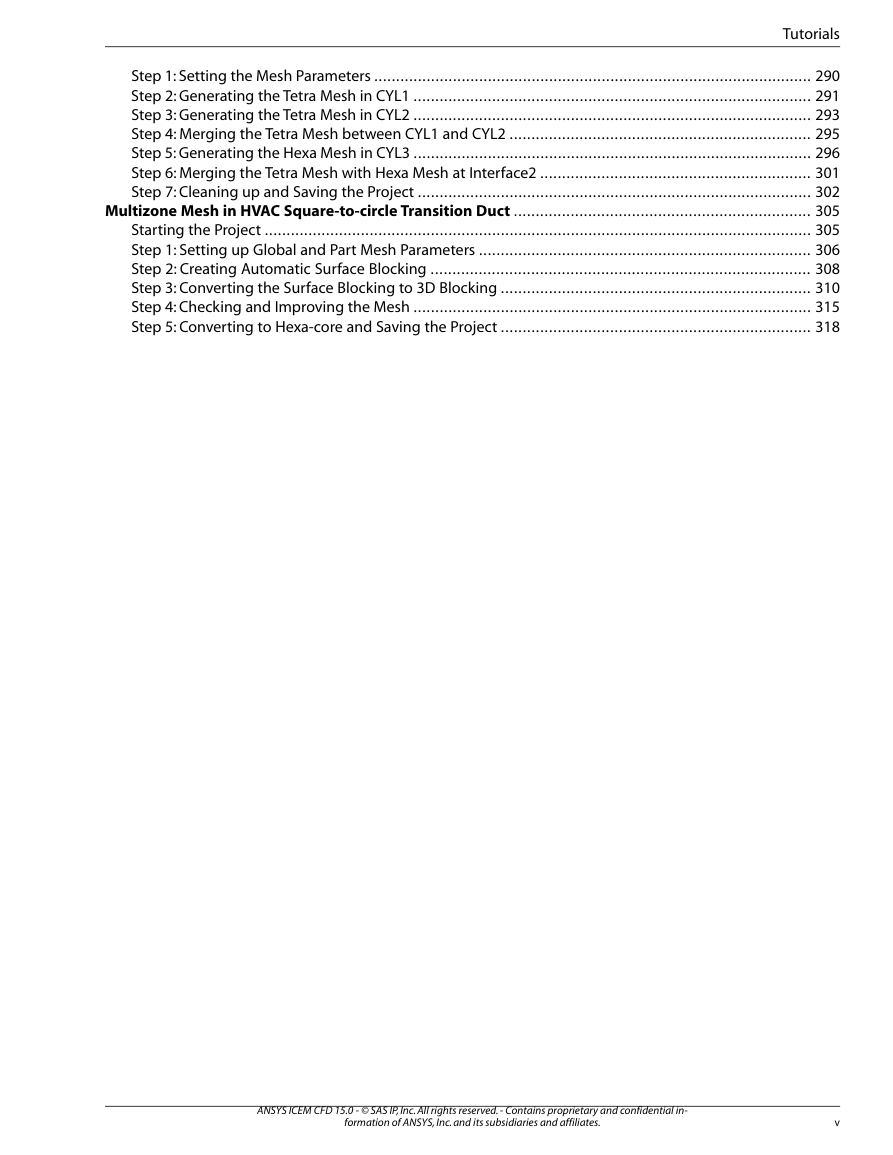
Table of Contents
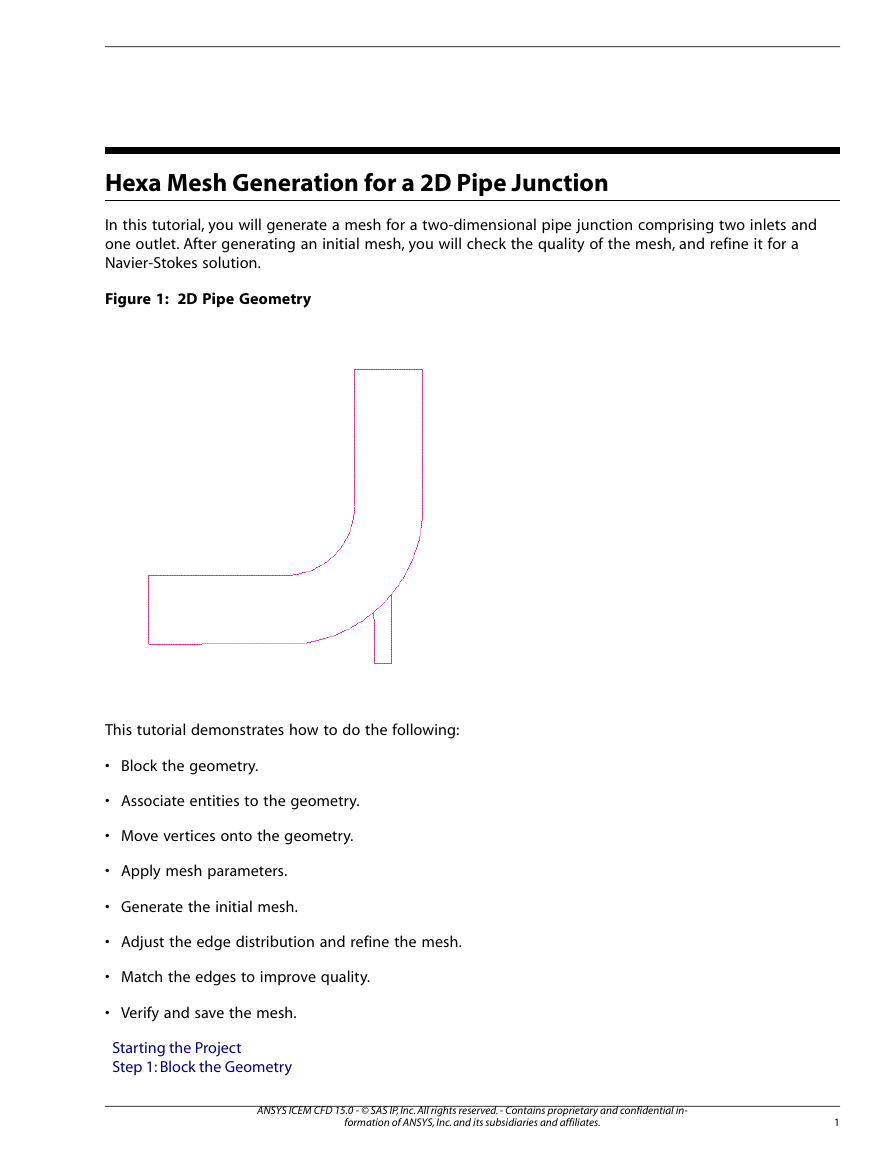
Hexa Mesh Generation for a 2D Pipe Junction
Starting the Project
Step 1: Block the Geometry
Step 2: Associate Entities to the Geometry
Step 3: Move the Vertices
Step 4: Apply Mesh Parameters
Step 5: Generate the Initial Mesh
Step 6: Adjust the Edge Distribution and Refine the Mesh
Step 7: Match the Edges to Improve Quality
Step 8: Verify and Save the Mesh and Blocking
Hexa Mesh Generation for a 2D Car
Starting the Project
Step 1: Create and Split the Blocking to Resemble the Geometry
Step 2: Associate and Fit the Blocking to the Geometry
Step 3: Align the Vertices
Step 4: Set Mesh Parameters and Generate the Initial Mesh
Step 5: Create an O-grid
Step 6: Refine the Mesh using Edge Parameters
Step 7: Save the Replay File and Use it for Design Iteration
Step 8: Create Output Data for a Solver
Hexa Mesh Generation for a 3D Pipe Junction
Starting the Project
Step 1: Preparing the Geometry
Step 2: Creating the Initial Blocking
Step 3: Fitting the Blocking to the Geometry
Step 4: Generating the Initial Mesh
Step 5: Checking the Mesh Quality
Step 6: Creating an O-Grid in the Blocking
Step 7: Verifying and Saving the Mesh
Hexa Mesh Generation for a Sphere Cube Geometry
Starting the Project
Step 1: Preparing the Geometry
Step 2: Blocking the Geometry
Step 3: Fitting the Blocking to the Geometry
Step 4: Creating the O-Grid
Step 5: Generating the Mesh
Step 6: Viewing the Scan Planes
Step 7: Verifying and Saving the Mesh
Hexa Mesh Generation for a Pipe with Embedded Blade
Starting the Project
Step 1: Creating Parts in the Mesh Editor
Step 2: Initial Blocking and Associations
Step 3: Splitting and Collapsing Blocks around the Blade
Step 4: Fit the Blocking to the Blade geometry
Step 5: Generating the O-Grid
Step 6: Defining the Mesh using Surface Parameters
Step 7: Refining the Mesh using Edge Parameters
Step 8: Checking and Improving Mesh Quality
Step 9: Saving your Work
Hexa Mesh Generation for an Elbow Part
Starting the Project
Step 1: Preparing the Geometry
Step 2: Blocking the Geometry
Step 3: Fitting the Blocking to the Geometry
Step 4: Creating the First O-Grid
Step 5: Adjust the O-Grid Edge Length to Improve Quality
Step 6: Generate the Pre-Mesh
Step 7: Creating the Second O-Grid
Step 8: Generating the Mesh
Step 9: Saving the Project
Bottom Up Hexa Mesh Strategy for a Grid Fin
Starting the Project
Step 1: Creating an Initial 2D Blocking Associated with a Minor Geometry
Step 2: Creating an O-grid and Placing Vertices
Step 3: Completing the 2D Grid by Vertex Placement
Step 4: Extruding the 2D Grid to Create 3D Blocking
Step 5: Resolving Zero Thickness Walls
Step 6: Defining Periodicity
Step 7: Generating and Refining the Mesh
Step 8: Cleaning up
Tetra/Prism Mesh in a Fin Configuration
Starting the Project
Step 1: Creating Surface Parts and a Material Point
Step 2: Setting up Mesh Parameters
Step 3: Generating the Tetra/Prism Mesh
Step 4: Checking and Smoothing the Tetra/Prism Mesh
Step 5: Building the Hexa-Core mesh
Step 6: Saving the Project
Tetra Mesh in a Piston/Valve Assembly
Starting the Project
Step 1: Preparing the Geometry
Step 2: Setting Mesh Parameters
Step 3: Generating the Mesh
Step 4: Checking the mesh and Cleaning up
Tetra/Prism Mesh Generation for a Helicopter
Starting the Project
Step 1: Preparing the Geometry
Step 2: Setting the Mesh Parameters
Step 3: Generating the Octree Mesh
Step 4: Generating the Delaunay Mesh
Step 5: Smoothing the Mesh
Step 6: Saving the Project
Tetra/Prism Mesh Generation for an Aorta
Starting the Project
Step 1: Preparing the Geometry
Step 2: Setting the Mesh Parameters
Step 3: Generating the Octree Mesh
Step 4: Generating the Delaunay Mesh
Step 5: Saving the Project
Further Setup
Merged Tetra-Hexa Mesh in a Hybrid Tube
Starting the Project
Step 1: Setting the Mesh Parameters
Step 2: Generating the Tetra Mesh in CYL1
Step 3: Generating the Tetra Mesh in CYL2
Step 4: Merging the Tetra Mesh between CYL1 and CYL2
Step 5: Generating the Hexa Mesh in CYL3
Step 6: Merging the Tetra Mesh with Hexa Mesh at Interface2
Step 7: Cleaning up and Saving the Project
Multizone Mesh in HVAC Square-to-circle Transition Duct
Starting the Project
Step 1: Setting up Global and Part Mesh Parameters
Step 2: Creating Automatic Surface Blocking
Step 3: Converting the Surface Blocking to 3D Blocking
Step 4: Checking and Improving the Mesh
Step 5: Converting to Hexa-core and Saving the Project




 2023年江西萍乡中考道德与法治真题及答案.doc
 2012年重庆南川中考生物真题及答案.doc
 2013年江西师范大学地理学综合及文艺理论基础考研真题.doc
 2020年四川甘孜小升初语文真题及答案I卷.doc
 2020年注册岩土工程师专业基础考试真题及答案.doc
 2023-2024学年福建省厦门市九年级上学期数学月考试题及答案.doc
 2021-2022学年辽宁省沈阳市大东区九年级上学期语文期末试题及答案.doc
 2022-2023学年北京东城区初三第一学期物理期末试卷及答案.doc
 2018上半年江西教师资格初中地理学科知识与教学能力真题及答案.doc
 2012年河北国家公务员申论考试真题及答案-省级.doc
 2020-2021学年江苏省扬州市江都区邵樊片九年级上学期数学第一次质量检测试题及答案.doc
 2022下半年黑龙江教师资格证中学综合素质真题及答案.doc