Cg Programming in Unity
An Introduction to Real-Time 3D Graphics
PDF generated using the open source mwlib toolkit. See http://code.pediapress.com/ for more information.
PDF generated at: Thu, 23 Aug 2012 03:27:02 UTC
�
Contents
Articles
Introduction
1 Basics
1.1 Minimal Shader
1.2 RGB Cube
1.3 Debugging of Shaders
1.4 Shading in World Space
2 Transparent Surfaces
2.1 Cutaways
2.2 Transparency
2.3 Order-Independent Transparency
2.4 Silhouette Enhancement
3 Basic Lighting
3.1 Diffuse Reflection
3.2 Specular Highlights
3.3 Two-Sided Surfaces
3.4 Smooth Specular Highlights
3.5 Two-Sided Smooth Surfaces
3.6 Multiple Lights
4 Basic Texturing
4.1 Textured Spheres
4.2 Lighting Textured Surfaces
4.3 Glossy Textures
4.4 Transparent Textures
4.5 Layers of Textures
5 Textures in 3D
5.1 Lighting of Bumpy Surfaces
5.2 Projection of Bumpy Surfaces
5.3 Cookies
5.4 Light Attenuation
5.5 Projectors
1
3
3
6
10
16
23
23
28
34
38
44
44
57
64
74
80
91
99
99
104
111
118
127
132
132
142
154
168
176
�
6 Environment Mapping
6.1 Reflecting Surfaces
6.2 Curved Glass
6.3 Skyboxes
6.4 Many Light Sources
7 Variations on Lighting
7.1 Brushed Metal
7.2 Specular Highlights at Silhouettes
7.3 Diffuse Reflection of Skylight
7.4 Translucent Surfaces
7.5 Translucent Bodies
7.6 Soft Shadows of Spheres
7.7 Toon Shading
8 Non-Standard Vertex Transformations
8.1 Screen Overlays
8.2 Billboards
8.3 Nonlinear Deformations
8.4 Shadows on Planes
8.5 Mirrors
Appendix on the Programmable Graphics Pipeline and Cg Syntax
A.1 Programmable Graphics Pipeline
A.2 Vertex Transformations
A.3 Vector and Matrix Operations
A.4 Applying Matrix Transformations
A.5 Rasterization
A.6 Per-Fragment Operations
References
Article Sources and Contributors
Image Sources, Licenses and Contributors
Article Licenses
License
181
181
184
187
189
206
206
215
223
227
235
250
260
270
270
275
277
281
287
296
296
299
308
313
318
320
323
324
326
�
Introduction
Introduction
1
About Cg
Nvidia's programming language Cg (C for graphics) is one of several commonly used shading languages for
real-time rendering (other examples are Direct3D's HLSL and OpenGL's GLSL). These shading languages are used
to program shaders (i.e. more or less small programs) that are executed on a GPU (graphics processing unit), i.e. the
processor of the graphics system of a computer – as opposed to the CPU (central processing unit) of a computer.
GPUs are massively parallel processors, which are extremely powerful. Most of today's real-time graphics in games
and other interactive graphical applications would not be possible without GPUs. However, to take full advantage of
the performance of GPUs, it is necessary to program them directly. This means that small programs (i.e. shaders)
have to be written that can be executed by GPUs. The programming languages to write these shaders are shading
languages. Cg is one of them. In fact, it was one of the first high-level shading languages for GPUs and is
implemented for several 3D graphics APIs (application programming interfaces), most importantly OpenGL and
Direct3D. Today, the main reason for its popularity is its similarity to HLSL, which is the shading language of
Microsoft's Direct3D. In practice, there is usually no difference between Cg and HLSL shaders.
About this Wikibook
This wikibook was written with students in mind, who like neither programming nor mathematics. The basic
motivation for this book is the observation that students are much more motivated to learn programming
environments, programming languages and APIs if they are working on specific projects. Such projects are usually
developed on specific platforms and therefore the approach of this book is to present Cg within the game engine
Unity.
Chapters 1 to 8 of the book consist of tutorials with working examples that produce certain effects. Note that these
tutorials assume that you read them in the order in which they are presented, i.e. each tutorial will assume that you
are familiar with the concepts and techniques introduced by previous tutorials. If you are new to Cg or Unity you
should at least read through the tutorials in Chapter 1, “Basics”.
More details about the programmable graphics pipeline and Cg syntax in general are included in an “Appendix on
the Programmable Graphics Pipeline and Cg Syntax”. Readers who are not familiar with GPUs or Cg might want to
at least skim this part since a basic understanding of the this pipeline and Cg syntax is very useful for understanding
the tutorials.
About Cg in Unity
Cg programming in the game engine Unity is considerably easier than Cg programming for an OpenGL or Direct3D
application. Import of meshes and images (i.e. textures) is supported by a graphical user interface; mipmaps and
normal maps can be computed automatically; the most common vertex attributes and uniforms are predefined;
OpenGL and Direct3D states can be set by very simple commands; etc.
A free version of Unity can be downloaded for Windows and MacOS at Unity's download page [1]. All of the
included tutorials work with the free version. Three points should be noted:
• First, the tutorials assume that readers are somewhat familiar with Unity. If this is not the case, readers should
consult the first three sections of Unity's User Guide [2] (Unity Basics, Building Scenes, Asset Import and
Creation).
•• Second, Unity doesn't distinguish between Cg (the shading language by Nvidia) and HLSL (the shading language
in Direct3D) since the two languages are very similar; thus, most of these tutorials also apply to HLSL.
• Furthermore, Cg is documented by Nvidia's Cg Tutorial [3] and Nvidia's Cg Language Specification [4]. However,
these descriptions are missing the details specific to Unity. On the other hand, Unity's shader documentation [5]
�
Introduction
2
focuses on shaders written in Unity's own “surface shader” format, while the documentation of shaders in
Cg/HLSL is very limited [6]. Thus, learning Cg programming in Unity without prior knowledge of Cg can be
rather difficult. This wikibook tries to close this gap by providing an introduction to Cg programming in Unity
without requiring prior knowledge of Cg.
Martin Kraus, August 2012
References
[1] http:/ / unity3d. com/ unity/ download/
[2] http:/ / unity3d. com/ support/ documentation/ Manual/ User%20Guide. html
[3] http:/ / http. developer. nvidia. com/ CgTutorial/ cg_tutorial_chapter01. html
[4] http:/ / http. developer. nvidia. com/ Cg/ Cg_language. html
[5] http:/ / unity3d. com/ support/ documentation/ Components/ SL-Reference. html
[6] http:/ / unity3d. com/ support/ documentation/ Components/ SL-ShaderPrograms. html
�
3
1 Basics
1.1 Minimal Shader
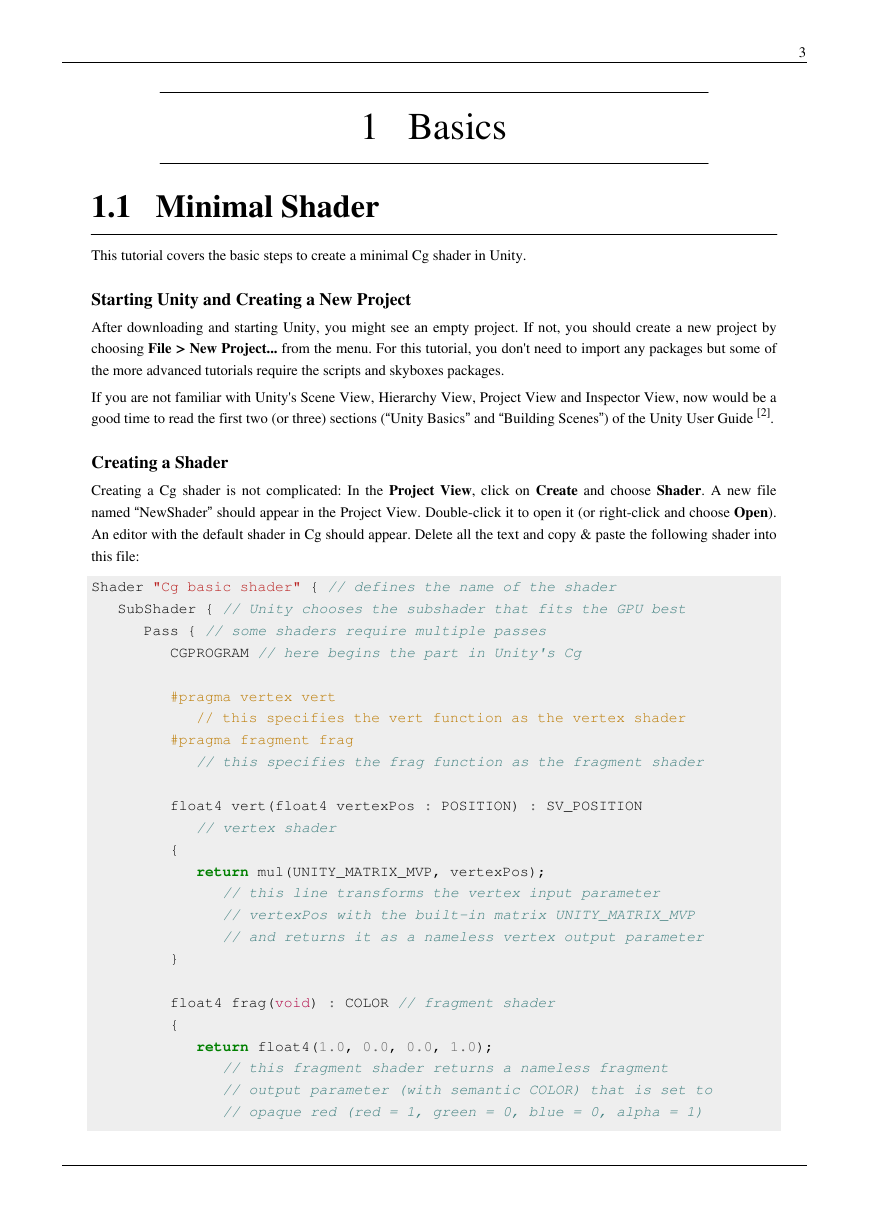
This tutorial covers the basic steps to create a minimal Cg shader in Unity.
Starting Unity and Creating a New Project
After downloading and starting Unity, you might see an empty project. If not, you should create a new project by
choosing File > New Project... from the menu. For this tutorial, you don't need to import any packages but some of
the more advanced tutorials require the scripts and skyboxes packages.
If you are not familiar with Unity's Scene View, Hierarchy View, Project View and Inspector View, now would be a
good time to read the first two (or three) sections (“Unity Basics” and “Building Scenes”) of the Unity User Guide [2].
Creating a Shader
Creating a Cg shader is not complicated: In the Project View, click on Create and choose Shader. A new file
named “NewShader” should appear in the Project View. Double-click it to open it (or right-click and choose Open).
An editor with the default shader in Cg should appear. Delete all the text and copy & paste the following shader into
this file:
Shader "Cg basic shader" { // defines the name of the shader
SubShader { // Unity chooses the subshader that fits the GPU best
Pass { // some shaders require multiple passes
CGPROGRAM // here begins the part in Unity's Cg
#pragma vertex vert
// this specifies the vert function as the vertex shader
#pragma fragment frag
// this specifies the frag function as the fragment shader
float4 vert(float4 vertexPos : POSITION) : SV_POSITION
// vertex shader
{
return mul(UNITY_MATRIX_MVP, vertexPos);
// this line transforms the vertex input parameter
// vertexPos with the built-in matrix UNITY_MATRIX_MVP
// and returns it as a nameless vertex output parameter
}
float4 frag(void) : COLOR // fragment shader
{
return float4(1.0, 0.0, 0.0, 1.0);
// this fragment shader returns a nameless fragment
// output parameter (with semantic COLOR) that is set to
// opaque red (red = 1, green = 0, blue = 0, alpha = 1)
�
1.1 Minimal Shader
}
ENDCG // here ends the part in Cg
}
}
}
4
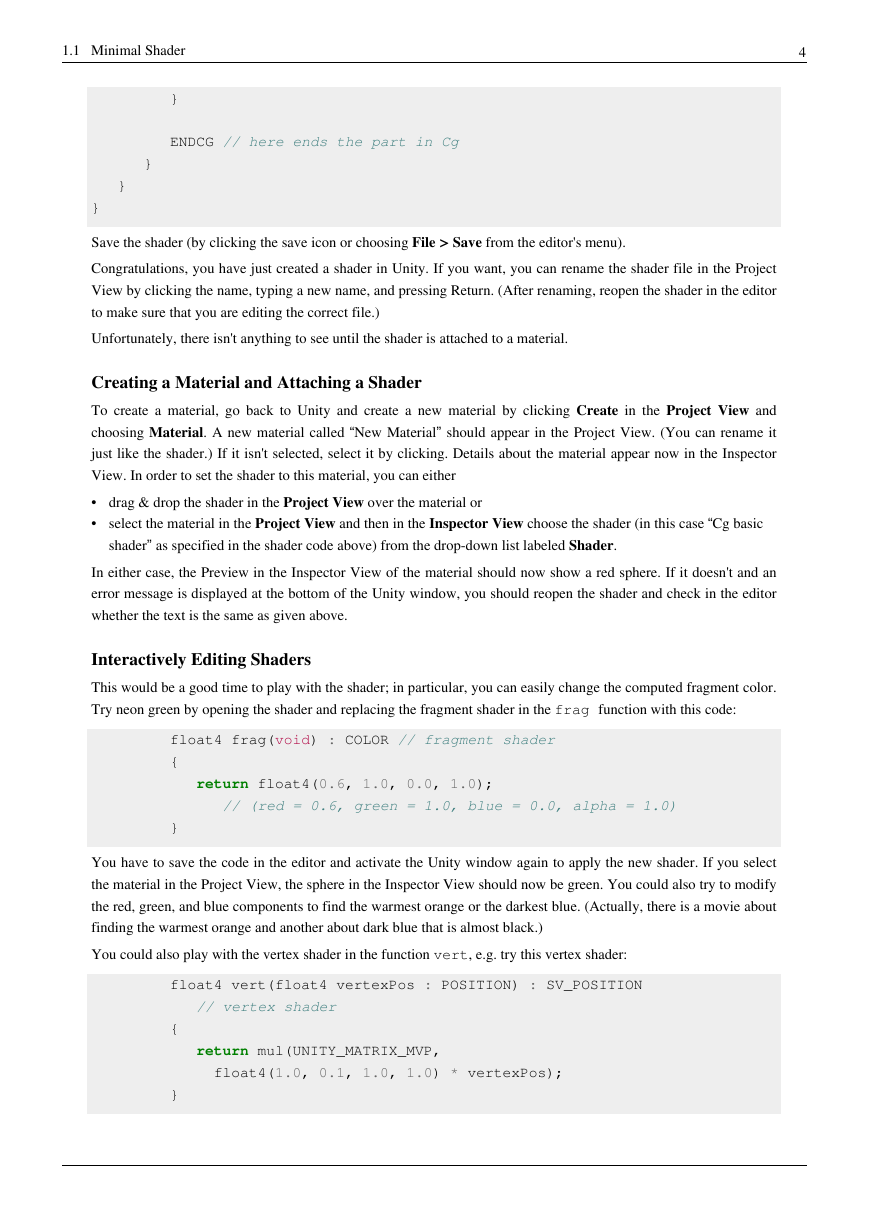
Save the shader (by clicking the save icon or choosing File > Save from the editor's menu).
Congratulations, you have just created a shader in Unity. If you want, you can rename the shader file in the Project
View by clicking the name, typing a new name, and pressing Return. (After renaming, reopen the shader in the editor
to make sure that you are editing the correct file.)
Unfortunately, there isn't anything to see until the shader is attached to a material.
Creating a Material and Attaching a Shader
To create a material, go back to Unity and create a new material by clicking Create in the Project View and
choosing Material. A new material called “New Material” should appear in the Project View. (You can rename it
just like the shader.) If it isn't selected, select it by clicking. Details about the material appear now in the Inspector
View. In order to set the shader to this material, you can either
• drag & drop the shader in the Project View over the material or
•
select the material in the Project View and then in the Inspector View choose the shader (in this case “Cg basic
shader” as specified in the shader code above) from the drop-down list labeled Shader.
In either case, the Preview in the Inspector View of the material should now show a red sphere. If it doesn't and an
error message is displayed at the bottom of the Unity window, you should reopen the shader and check in the editor
whether the text is the same as given above.
Interactively Editing Shaders
This would be a good time to play with the shader; in particular, you can easily change the computed fragment color.
Try neon green by opening the shader and replacing the fragment shader in the frag function with this code:
float4 frag(void) : COLOR // fragment shader
{
return float4(0.6, 1.0, 0.0, 1.0);
// (red = 0.6, green = 1.0, blue = 0.0, alpha = 1.0)
}
You have to save the code in the editor and activate the Unity window again to apply the new shader. If you select
the material in the Project View, the sphere in the Inspector View should now be green. You could also try to modify
the red, green, and blue components to find the warmest orange or the darkest blue. (Actually, there is a movie about
finding the warmest orange and another about dark blue that is almost black.)
You could also play with the vertex shader in the function vert, e.g. try this vertex shader:
float4 vert(float4 vertexPos : POSITION) : SV_POSITION
// vertex shader
{
return mul(UNITY_MATRIX_MVP,
float4(1.0, 0.1, 1.0, 1.0) * vertexPos);
}
�
1.1 Minimal Shader
5
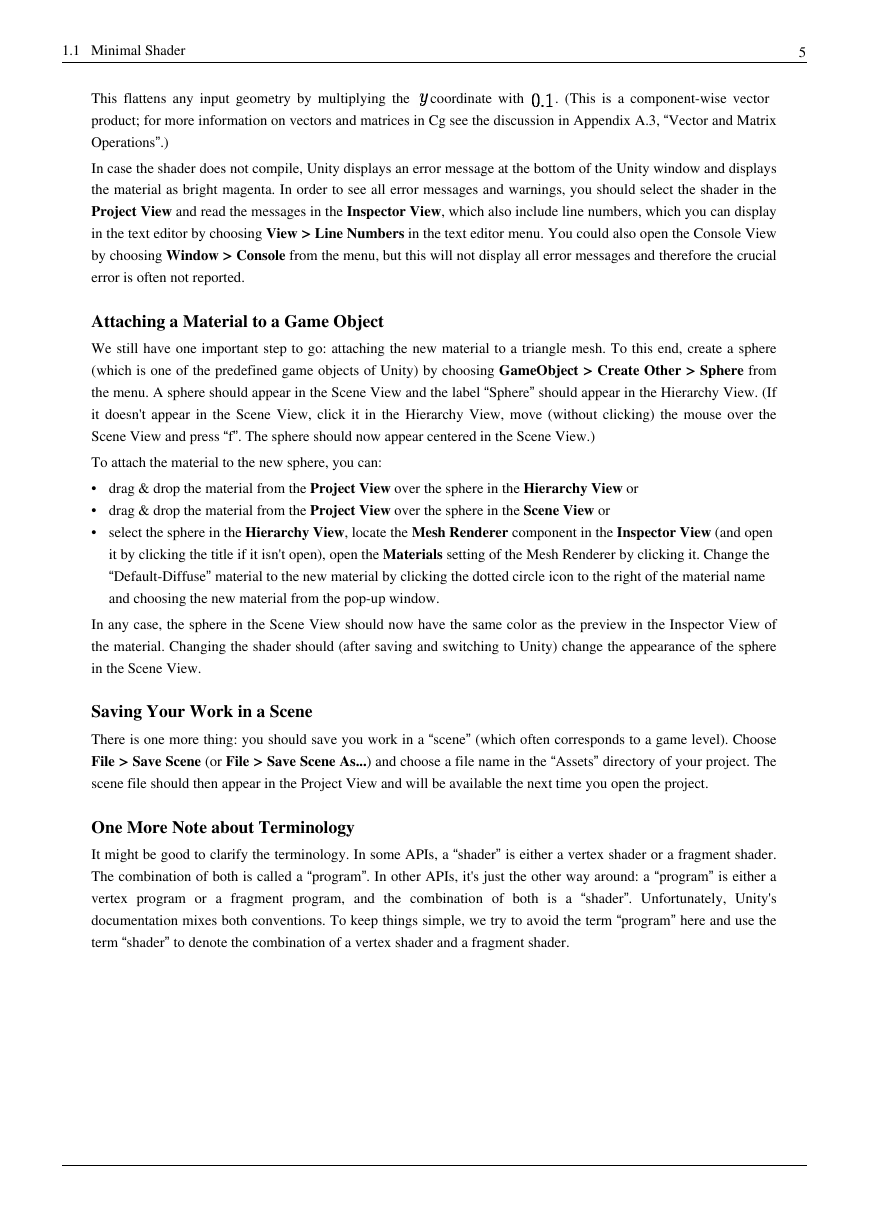
coordinate with
This flattens any input geometry by multiplying the
. (This is a component-wise vector
product; for more information on vectors and matrices in Cg see the discussion in Appendix A.3, “Vector and Matrix
Operations”.)
In case the shader does not compile, Unity displays an error message at the bottom of the Unity window and displays
the material as bright magenta. In order to see all error messages and warnings, you should select the shader in the
Project View and read the messages in the Inspector View, which also include line numbers, which you can display
in the text editor by choosing View > Line Numbers in the text editor menu. You could also open the Console View
by choosing Window > Console from the menu, but this will not display all error messages and therefore the crucial
error is often not reported.
Attaching a Material to a Game Object
We still have one important step to go: attaching the new material to a triangle mesh. To this end, create a sphere
(which is one of the predefined game objects of Unity) by choosing GameObject > Create Other > Sphere from
the menu. A sphere should appear in the Scene View and the label “Sphere” should appear in the Hierarchy View. (If
it doesn't appear in the Scene View, click it in the Hierarchy View, move (without clicking) the mouse over the
Scene View and press “f”. The sphere should now appear centered in the Scene View.)
To attach the material to the new sphere, you can:
• drag & drop the material from the Project View over the sphere in the Hierarchy View or
• drag & drop the material from the Project View over the sphere in the Scene View or
•
select the sphere in the Hierarchy View, locate the Mesh Renderer component in the Inspector View (and open
it by clicking the title if it isn't open), open the Materials setting of the Mesh Renderer by clicking it. Change the
“Default-Diffuse” material to the new material by clicking the dotted circle icon to the right of the material name
and choosing the new material from the pop-up window.
In any case, the sphere in the Scene View should now have the same color as the preview in the Inspector View of
the material. Changing the shader should (after saving and switching to Unity) change the appearance of the sphere
in the Scene View.
Saving Your Work in a Scene
There is one more thing: you should save you work in a “scene” (which often corresponds to a game level). Choose
File > Save Scene (or File > Save Scene As...) and choose a file name in the “Assets” directory of your project. The
scene file should then appear in the Project View and will be available the next time you open the project.
One More Note about Terminology
It might be good to clarify the terminology. In some APIs, a “shader” is either a vertex shader or a fragment shader.
The combination of both is called a “program”. In other APIs, it's just the other way around: a “program” is either a
vertex program or a fragment program, and the combination of both is a “shader”. Unfortunately, Unity's
documentation mixes both conventions. To keep things simple, we try to avoid the term “program” here and use the
term “shader” to denote the combination of a vertex shader and a fragment shader.
�




 2023年江西萍乡中考道德与法治真题及答案.doc
 2012年重庆南川中考生物真题及答案.doc
 2013年江西师范大学地理学综合及文艺理论基础考研真题.doc
 2020年四川甘孜小升初语文真题及答案I卷.doc
 2020年注册岩土工程师专业基础考试真题及答案.doc
 2023-2024学年福建省厦门市九年级上学期数学月考试题及答案.doc
 2021-2022学年辽宁省沈阳市大东区九年级上学期语文期末试题及答案.doc
 2022-2023学年北京东城区初三第一学期物理期末试卷及答案.doc
 2018上半年江西教师资格初中地理学科知识与教学能力真题及答案.doc
 2012年河北国家公务员申论考试真题及答案-省级.doc
 2020-2021学年江苏省扬州市江都区邵樊片九年级上学期数学第一次质量检测试题及答案.doc
 2022下半年黑龙江教师资格证中学综合素质真题及答案.doc