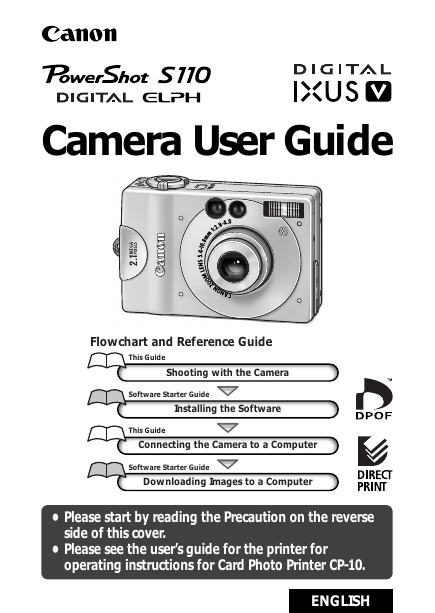
Camera User Guide
Flowchart and Reference Guide
This Guide
Shooting with the Camera
Software Starter Guide
Installing the Software
This Guide
Connecting the Camera to a Computer
Software Starter Guide
Downloading Images to a Computer
• Please start by reading the Precaution on the reverse
side of this cover.
• Please see the user’s guide for the printer for
operating instructions for Card Photo Printer CP-10.
ENGLISH
�
Precautions
Camera Body Temperature
If your camera is used for prolonged periods, the camera body may
become warm. Please be aware of this and take care when operating
the camera for an extended period.
About the LCD monitor
The LCD monitor is produced with extremely high-precision
manufacturing techniques. With more than 99.99% of the pixels
operating to specifications, less than 0.01% of the pixels may
occasionally misfire or appear as black, red or green dots. This has no
effect on the recorded image and does not constitute a malfunction.
Notice: Please ensure that you read and follow the handling and
safety precautions on pages 5 to 9 of this guide before
attempting to use the camera.
Video Format
Please set the camera’s video signal format to the one used in your
region before using it with a TV monitor (p. 82).
Language Setting
Please see page 83 to change the language setting.
Charging the Date/Time Battery
• The camera has a built-in rechargeable lithium battery that
maintains the date, time and other camera settings. This battery
recharges when the main battery pack is inserted into the
camera. When you first purchase the camera, place a charged
battery pack in it or use the AC adapter kit (sold separately) for
at least 4 hours to charge the date/time battery. It will charge
even when the camera power is set to Off.
• If the Set Date/Time menu appears when the camera power is
turned on, it means that the date/time battery charge is
depleted. Recharge it as described above.
�
1
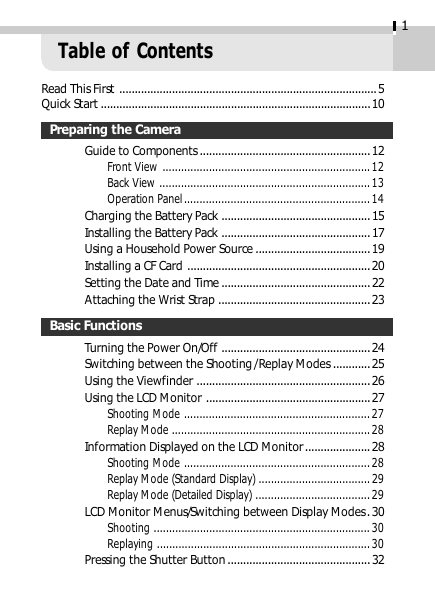
Table of Contents
Read This First ................................................................................... 5
Quick Start ....................................................................................... 10
Preparing the Camera
Guide to Components ....................................................... 12
Front View ................................................................... 12
Back View .................................................................... 13
Operation Panel ............................................................ 14
Charging the Battery Pack ................................................ 15
Installing the Battery Pack ................................................ 17
Using a Household Power Source ..................................... 19
Installing a CF Card ........................................................... 20
Setting the Date and Time ................................................ 22
Attaching the Wrist Strap ................................................. 23
Basic Functions
Turning the Power On/Off ................................................ 24
Switching between the Shooting / Replay Modes ............ 25
Using the Viewfinder ........................................................ 26
Using the LCD Monitor ..................................................... 27
Shooting Mode ............................................................ 27
Replay Mode ................................................................ 28
Information Displayed on the LCD Monitor..................... 28
Shooting Mode ............................................................ 28
Replay Mode (Standard Display) .................................... 29
Replay Mode (Detailed Display) ..................................... 29
LCD Monitor Menus/Switching between Display Modes . 30
Shooting ...................................................................... 30
Replaying ..................................................................... 30
Pressing the Shutter Button .............................................. 32
�
2
Table of Contents
Reviewing an Image Immediately after Recording It ...... 33
Changing the Default Review Setting ............................ 34
Adjusting the Zoom (Angle of View) ............................... 35
Telephoto / Wide Angle ................................................. 35
Digital Zoom ................................................................ 35
Shooting
Shooting
Close-Ups/
Selecting a Shooting Mode ............................................... 36
Changing Resolution/Compression Settings..................... 37
Using the Flash .............................................................. 39
Infinity Shots ........................... 41
Shooting Continuously ................................................ 42
Using the Self-Timer ..................................................... 43
Adjusting the Exposure Compensation ............................ 44
Setting the White Balance ................................................ 45
Shooting in Stitch Assist Mode ......................................... 46
Framing a Subject ......................................................... 46
Shooting ...................................................................... 47
Shooting a Movie .............................................................. 49
Functions Available in Each Shooting Mode .................... 51
Replaying
Displaying Images Singly (Single Image Replay) .............. 52
Zooming an Image ................................................... 53
Displaying Images in Sets of Nine (Index Replay) ....... 54
Switching between Sets of Nine Images ........................ 55
Replaying a Movie ............................................................. 56
Rotating Images in the Display ......................................... 57
Automating Playback (Auto Play) .................................... 58
Protecting Images ............................................................. 60
Erasing Images
Erasing Images Singly ........................................................ 61
Erasing All Images ............................................................. 62
�
Table of Contents
3
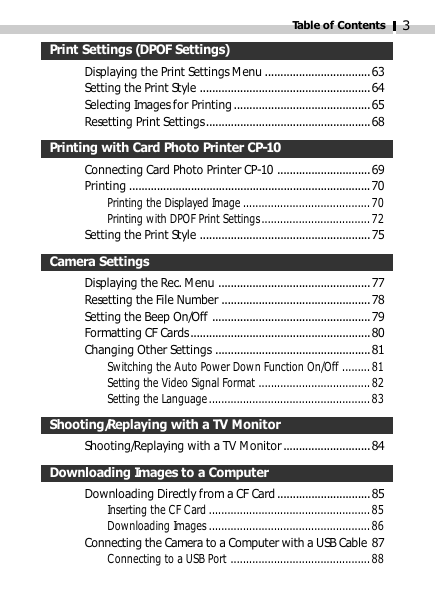
Print Settings (DPOF Settings)
Displaying the Print Settings Menu .................................. 63
Setting the Print Style ....................................................... 64
Selecting Images for Printing ............................................ 65
Resetting Print Settings ..................................................... 68
Printing with Card Photo Printer CP-10
Connecting Card Photo Printer CP-10 .............................. 69
Printing .............................................................................. 70
Printing the Displayed Image ......................................... 70
Printing with DPOF Print Settings ................................... 72
Setting the Print Style ....................................................... 75
Camera Settings
Displaying the Rec. Menu ................................................. 77
Resetting the File Number ................................................ 78
Setting the Beep On/Off ................................................... 79
Formatting CF Cards .......................................................... 80
Changing Other Settings .................................................. 81
Switching the Auto Power Down Function On/Off ......... 81
Setting the Video Signal Format .................................... 82
Setting the Language.................................................... 83
Shooting/Replaying with a TV Monitor
Shooting/Replaying with a TV Monitor ............................ 84
Downloading Images to a Computer
Downloading Directly from a CF Card .............................. 85
Inserting the CF Card .................................................... 85
Downloading Images .................................................... 86
Connecting the Camera to a Computer with a USB Cable 87
Connecting to a USB Port ............................................. 88
�
4
Table of Contents
Appendices
Care and Maintenance of the Camera ............................. 90
Troubleshooting ................................................................ 91
List of Messages................................................................. 95
Specifications ..................................................................... 98
Index ................................................................................ 101
Canon Customer Support Help Desk .............................. 104
�
5
Read This First
Please Read
Test Shots
Before you shoot images of subjects of importance to you, we strongly
recommend that you shoot several trial images to confirm that you are
operating the camera correctly. Please note that Canon Inc., its
subsidiaries and affiliates, and distributors of its digital cameras are not
liable for any consequential damages arising from any malfunction of
the Canon digital camera or CompactFlash™ card (CF card) resulting in
the failure of an image to be recorded or to be recorded in a format
that is machine sensible.
Warning Against Copyright Infringement
Please note that Canon digital cameras are intended for personal use
and must be used in a manner that respects international and domestic
copyright laws and regulations. Please be advised that in certain cases
the copying of images from performances, exhibitions, or commercial
properties by means of a camera or other device may contravene
copyright or other legal rights even if the image was recorded for
personal use.
Warranty Limitations
This camera’s warranty is only effective in the country of sale. If a
problem arises while the camera is in use abroad, please convey it back
to the country of sale before proceeding with a warranty claim to a
Canon Customer Support Help Desk.
Safety Precautions
• Before using the camera, please ensure that you have read and
understood the safety precautions described below. Always ensure that
the camera is operated correctly.
• The safety precautions noted on the following pages are intended to
instruct you in the safe and correct operation of the camera and its
accessories to prevent injuries or damage to yourself, other persons
and equipment.
• In the next few pages, the term “equipment” refers primarily to the
camera, battery charger and optional compact power adapter.
�
6
Read This First
WARNINGS
• Do not aim the camera directly into the sun or at other intense light
sources which could damage your eyesight.
• Do not trigger the flash in close proximity to human or animal eyes.
Exposure to the intense light produced by the flash may damage
eyesight. In particular, remain at least one meter (39 inches) away from
infants when using the flash.
• Store this equipment out of the reach of children and infants.
Accidental damage to the camera or batteries by a child could result in
serious injury. In addition, placement of the wrist strap around the
child’s neck could result in asphyxiation.
• Do not attempt to disassemble or alter any part of the equipment that
is not expressly described in this guide. Disassembly or alteration may
result in high-voltage electrical shock. Internal inspections, alterations
and repairs should be conducted by qualified service personnel
authorized by your camera distributor or a Canon Customer Support
Help Desk.
• To avoid the risk of high-voltage electrical shock, do not touch the flash
portion of the camera if it has been damaged. Similarly, never touch
internal portions of the equipment which become exposed as a result
of damage. There is a risk of high-voltage electrical shock. Please take
the first opportunity to consult your camera distributor or a Canon
Customer Support Help Desk.
• Stop operating the equipment immediately in the event that it emits
smoke or noxious fumes. Failure to do so may result in fire or electrical
shock. Immediately turn the camera’s power off and remove the camera
battery or unplug the power cord from the electrical outlet. Confirm
that smoke or fume emissions have ceased. Please consult your camera
distributor or the closest Canon Customer Support Help Desk.
• Stop operating the equipment if it is dropped or the casing is
damaged. Failure to do so may result in fire or electrical shock.
Immediately turn the camera’s power off and remove the camera
battery or unplug the power cord from the electrical outlet. Please
consult your camera distributor or the closest Canon Customer Support
Help Desk.
�





 2023年江西萍乡中考道德与法治真题及答案.doc
 2012年重庆南川中考生物真题及答案.doc
 2013年江西师范大学地理学综合及文艺理论基础考研真题.doc
 2020年四川甘孜小升初语文真题及答案I卷.doc
 2020年注册岩土工程师专业基础考试真题及答案.doc
 2023-2024学年福建省厦门市九年级上学期数学月考试题及答案.doc
 2021-2022学年辽宁省沈阳市大东区九年级上学期语文期末试题及答案.doc
 2022-2023学年北京东城区初三第一学期物理期末试卷及答案.doc
 2018上半年江西教师资格初中地理学科知识与教学能力真题及答案.doc
 2012年河北国家公务员申论考试真题及答案-省级.doc
 2020-2021学年江苏省扬州市江都区邵樊片九年级上学期数学第一次质量检测试题及答案.doc
 2022下半年黑龙江教师资格证中学综合素质真题及答案.doc