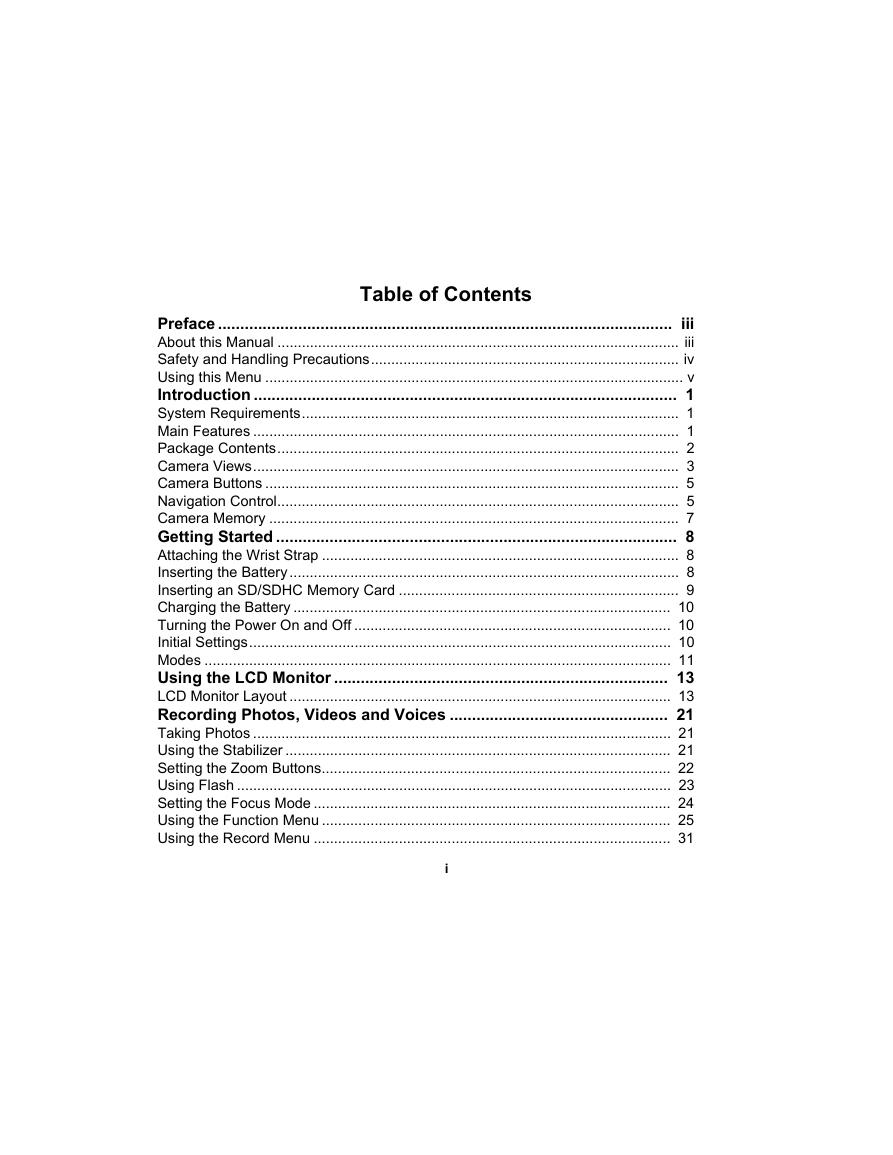
Table of Contents
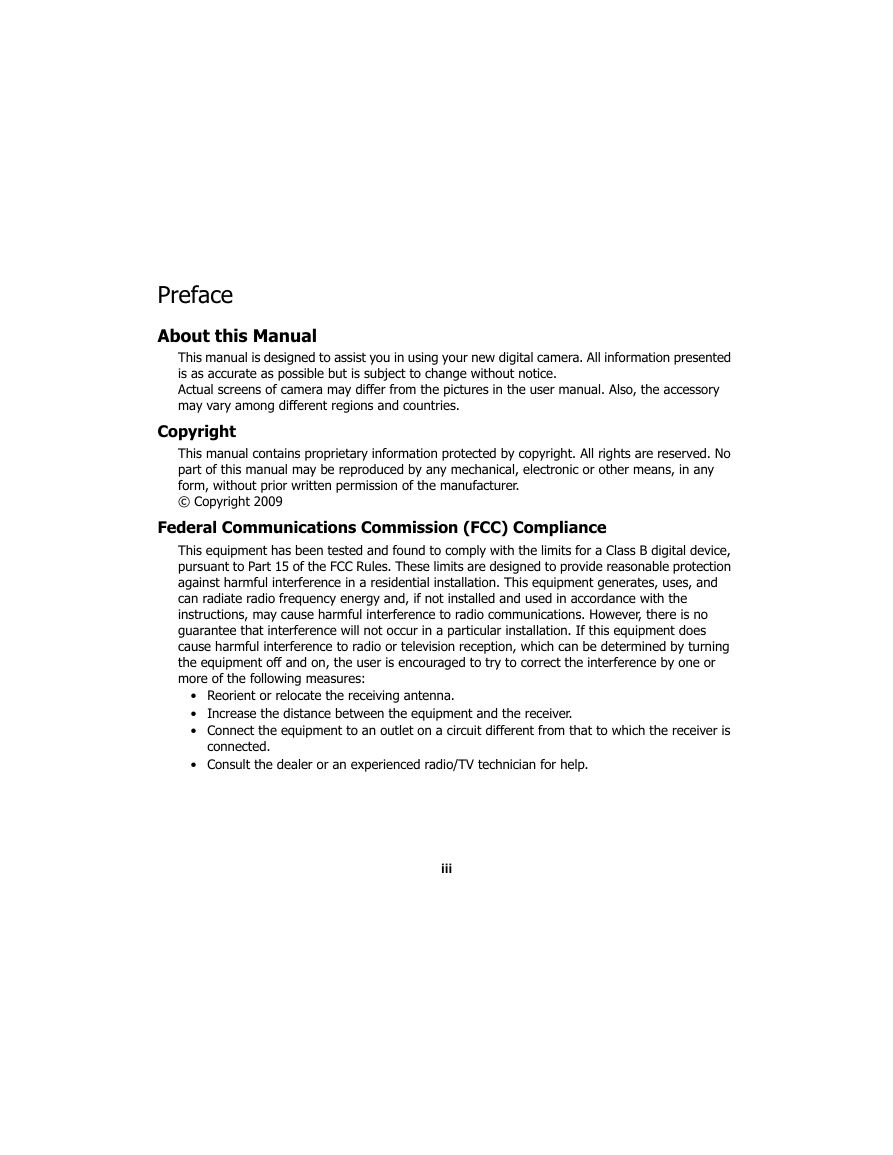
Preface
About this Manual
Copyright
Federal Communications Commission (FCC) Compliance
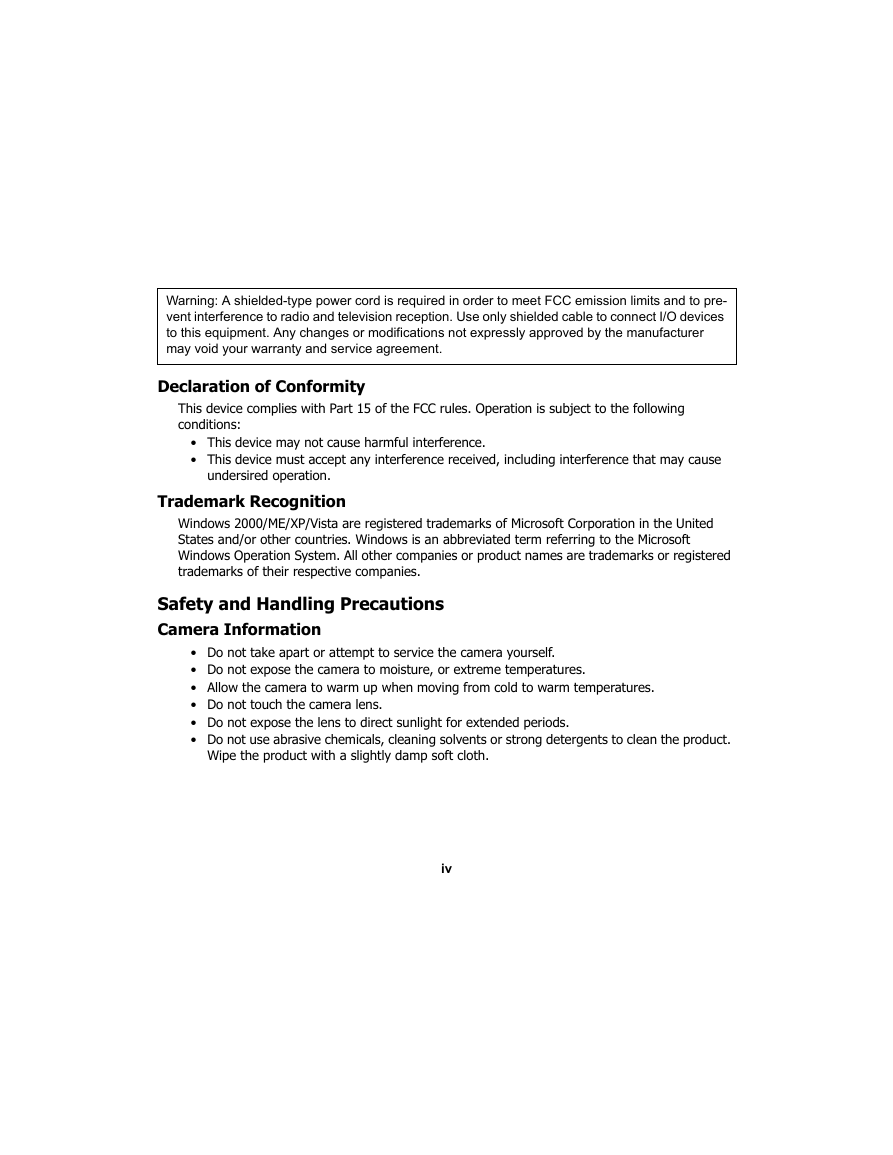
Declaration of Conformity
Trademark Recognition
Safety and Handling Precautions
Camera Information
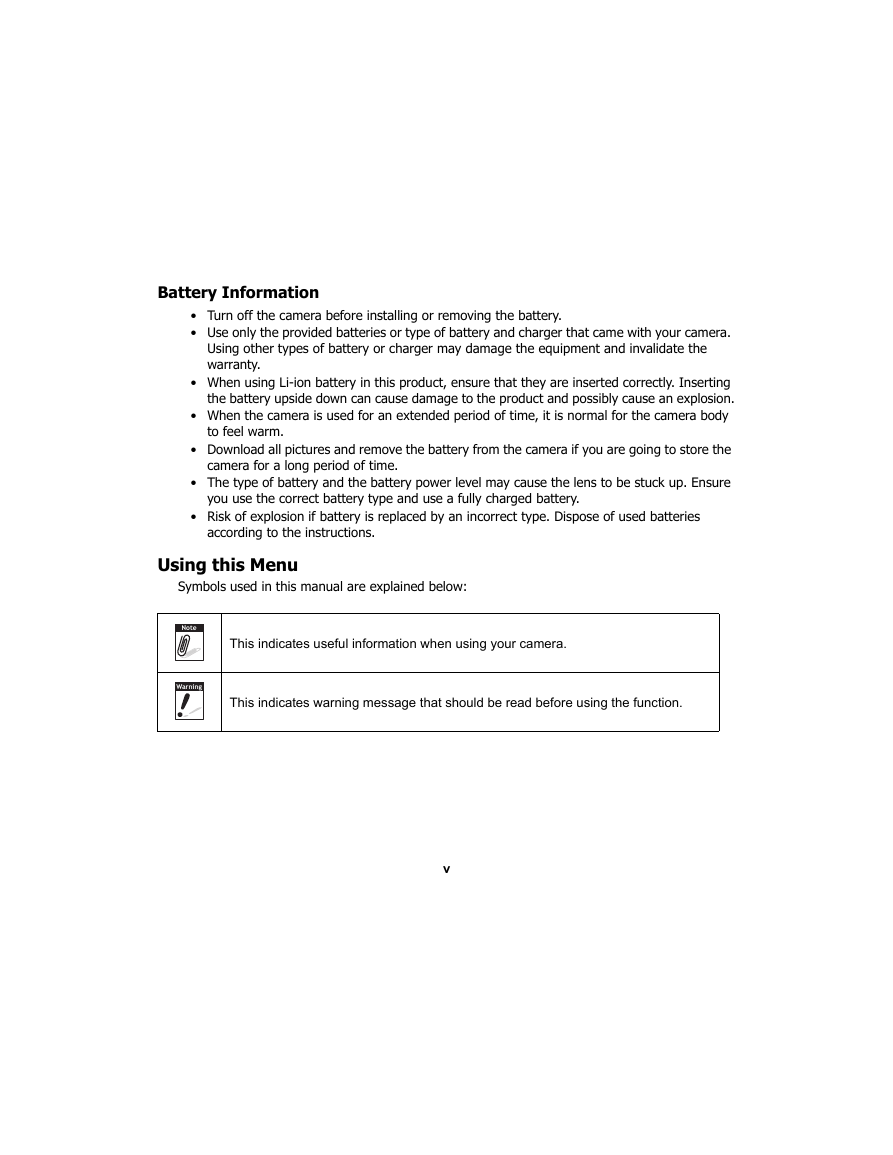
Battery Information
Using this Menu
Introduction
System Requirements
Main Features
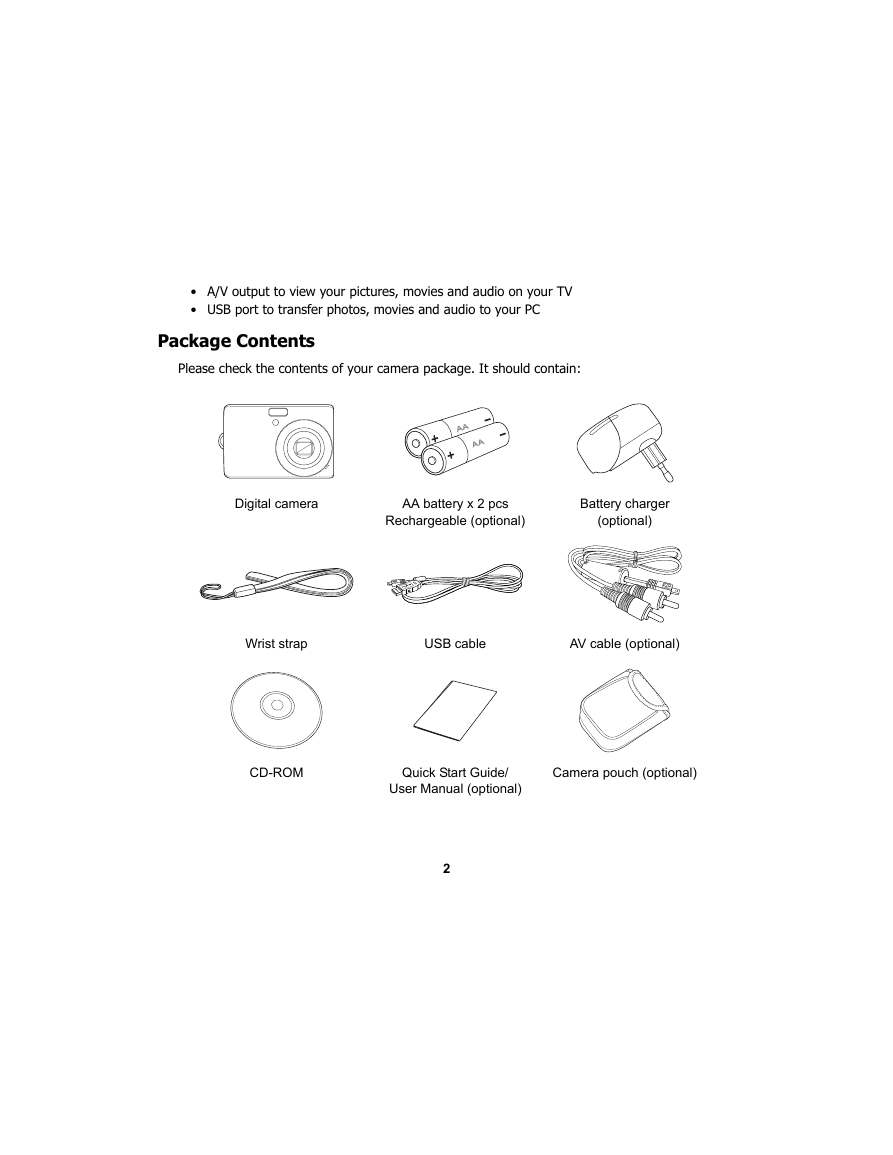
Package Contents
Camera Views
Front View
Back View
Top View
Bottom View
Left/Right View
Camera Buttons
Navigation Control
1. Confirm a selection when using the OSD menus.
1. In Record mode, press to scroll through the flash mode options. (Auto, Anti Red-eye, Fill, Slow Sync and Off)
2. In Playback mode, press to view the next image, video or audio clip.
3. In Playback Video mode, press to fast forward video playback
4. In Menu, press to enter the submenu or to navigate through the menu selections.
1. In Record mode, press to scroll through the focus mode options. (Macro, Pan Focus, Infinite, Normal)
2. In Playback mode, press to view the previous image, video or audio clip.
3. In playback video mode, press to Rewind video playback.
4. In Menu, press to exit a submenu or to navigate through the menu selections.
1. In Menu, press to navigate through the menu and submenu selections.
2. In Record mode, press to turn the face tracking function on and off.
3. In Playback Video/ Audio mode, press to Start/Pause video or audio playback.
4. In Playback photo mode, press to rotate the image clockwise 90 degrees by each press of the button. This feature is applicable for still images only.
1. The LCD display can be changed into 5 different types such as Basic, Full, None, Guideline and Help screen.
2. In Menu, press to navigate through the menu and submenu selections.
3. In Playback Video/ Audio mode, press to stop video/audio playback.
Camera Memory
Internal memory
External storage
Getting Started
Attaching the Wrist Strap
1. Insert the short loop of the strap in the strap eyelet.
2. Thread the larger loop of the strap though the short loop and pull tight to attach the strap to the camera.
Inserting the Battery
1. Make sure the power is off before inserting the battery.
2. Open the battery compartment at the bottom of the camera.
3. Insert the battery into the compartment with the terminal facing inside the camera.
4. Close the battery compartment.
Inserting an SD/SDHC Memory Card
1. Open the SD card compartment at the bottom of the camera.
2. Insert the SD/SDHC card into the memory card slot with the metallic part facing the front side of the camera.
3. Push the SD/SDHC card into the memory slot until it clicks into place.
4. Close the SD card compartment.
1. Open the battery compartment.
2. Gently push the card until it pops out.
3. Pull out the card carefully.
Charging the Battery
1. Insert the battery into the battery charger as shown.
2. Plug the adaptor to the main outlet.
Turning the Power On and Off
Initial Settings
Setting the Language
1. Press , , or to move through the selection.
2. Select a language, then press SET to apply.
Setting the Date & Time
1. Press or to move through the selection.
2. Press the or keys to change the value for the date and time.
3. Press SET to apply.
4. If necessary, press to close the menu.
Modes
Switching Between Modes
Selecting the Photo Record mode options
1. Set the camera to Photo Record mode.
2. Press to launch Record Mode Menu.
3. Select Record Mode, then press to enter submenu.
4. Select a mode.
5. Press the SET button to apply selected mode.
Using the LCD Monitor
LCD Monitor Layout
Record Mode Screen Layout
Playback Mode Screen Layout
Changing the LCD Monitor Display
Recording Photos, Videos and Voices
Taking Photos
1. Turn on the camera by pressing the Power button.
2. Adjust the switch mode to Photo Record.
3. Frame the shot on the LCD monitor. See illustration on the right.
4. Half press the Shutter button. The camera automatically adjusts the focus and exposure. When the camera is ready to take the photo, the frame bracket turns green, the shutter speed and aperture value are displayed.
5. Fully press the Shutter button to capture image.
Using the Stabilizer
Setting the Zoom Buttons
1. Press the Zoom buttons to zoom in or zoom out an image.
2. The zoom indicator appears on the LCD monitor.
1. Activate digital zoom. See “Setting the Digital Zoom” on page 47.
2. Press the "T" button to optically zoom in an image to its maximum until it stops.
3. Release the zoom buttons.
4. Press the "T" button to switch to digital zoom automaically.
Using Flash
Setting the Focus Mode
Using the Function Menu
My Mode
Resolution
Quality
EV Compensation
White Balance
ISO
Metering
Color Mode
Using the Record Menu
Record Menu
1. Press to launch the Record Menu.
2. Use the or keys to move through the menu selections.
3. To select an item, press .
4. Change the submenu settings using the 4-way navigation control.
5. Press the SET button to save and apply settings.
Setting the Scene Mode
1. From the Record Menu, press to select Record Mode.
2. Use the navigation controls to move through the selection.
3. Press the SET button to save and apply changes.
Using Smile Capture Mode
1. Select from the Scene Mode submenu.
2. Focus the camera on the subject to capture.
3. The white focus frame turns green to denote camera activity.
4. When a smile is detected, the camera will automatically take a shot of the image.
Using Intelligent Scene Mode
1. Select from the Scene Mode submenu.
2. Focus the camera on the subject to capture.
3. The camera detects the shooting conditions and switches to an appropriate scene mode.
4. Half press the shutter button to focus the subject. The frame turns green to indicate focus is set.
5. Press the shutter button to take the shot.
Using Blink Detection Mode
1. Select from the Scene Mode submenu.
2. Half press the shutter button to focus the subject. The frame turns green to indicate focus is set.
3. Press the shutter button to capture the image and automatically save the image. Unless the camera detects that the subject blinked an eye, then the screen on the right will be displayed.
4. Select Save Image to save or Cancel to disregard.
Using Aperture Priority Mode
1. Select from the Scene Mode submenu.
2. Press SET button to enter the adjust mode.
3. Use the or keys to select the aperture value options.
4. Press the shutter button to capture the image.
Using Shutter Priority Mode
1. Select from the Scene Mode submenu.
2. Press SET button to enter the adjust mode.
3. Use the or keys to select the shutter speed options.
4. Press the shutter button to capture the image.
Using Manual Exposure Mode
1. Select from the Scene Mode submenu.
2. Press SET button to enter the adjust mode.
3. Use the or keys to select the shutter speed options or use the or keys to select the aperture value options.
4. Use the or keys to adjust the aperture or use the or keys to adjust the shutter speed.
5. Use the SET button to switch between aperture and shutter speed adjustment and vice versa.
6. Press the shutter button to capture the image.
Pre-Composition
1. Select from the Scene Mode submenu.
2. Press SET to enter the function.
3. Compose the background you want first then press the Shutter button.
4. The temporarily image shows on the screen.
5. Align the captured image to the reference point.
6. Press the Shutter button to take the shot.
Setting the Drive Mode
1. From the Record menu, select Drive Mode.
2. Use the or keys to go through the selection.
3. Press the SET button to save and apply changes.
Setting the AEB
1. From the Record menu, select AEB.
2. Use the or keys to go through the selection.
3. Press the SET button to save and apply changes.
Setting the AF Area
1. From the Record menu, select AF Area.
2. Use the or keys to go through the selection.
3. Press the SET button to save and apply changes.
Setting the AF Lamp
1. From the Record menu, select AF Lamp.
2. Use the or keys to go through the selection.
3. Press the SET button to save and apply changes.
Setting Sharpness
1. From the Record menu, select Sharpness.
2. Use the or keys to go through the selection.
3. Press the SET button to save and apply changes.
Setting Saturation
1. From the Record menu, select Saturation.
2. Use the or keys to go through the selection.
3. Press the SET button to save and apply changes.
Setting Contrast
1. From the Record menu, select Contrast.
2. Use the or keys to go through the selection.
3. Press the SET button to save and apply changes.
Setting the Digital Zoom
1. From the Record menu, select Digital Zoom.
2. Use the or keys to go through the selection.
3. Press the SET button to save and apply changes.
Setting the Date Stamp
1. From the Record menu, select Date Stamp.
2. Use the or keys to go through the selection.
3. Press the SET button to save and apply changes.
Setting Auto Review
1. From the Record menu, select Auto Review.
2. Use the or keys to go through the selection.
3. Press the SET button to save and apply changes.
Recording Movies
1. Adjust the switch mode to Movie Record.
2. Focus your camera on the subject that you want to take.
3. Press the Shutter button to start recording.
4. Use the button to zoom in and zoom out an image.
5. To pause recording, press the key.
6. To continue recording, press the key again.
7. To stop recording, press the Shutter button.
Setting the Movie Size
Internet Mode
Recording Voices
1. From the Record mode menu, select Voice. The Voice Recording screen layout is displayed on the LCD monitor.
2. Press the Shutter button to start recording.
3. Press the Shutter button again to stop recording.
Playback
Viewing in Single Navigation
1. Press the Play button to set or turn on the camera to Playback mode.
2. The LCD monitor displays an image. To understand the icons and other information on the screen, please see “Record Mode Screen Layout” on page 13.
3. Use the or keys to view next/previous image/video/audio.
4. Press Set key to play video and audio. See “Playing Movies” on page 56 and “Playing Voice Recording” on page 57 for more details.
Viewing thumbnails
1. In single navigation, press W key to enter a 9-image thumbnail screen.
2. Use the navigation controls to move through the items.
3. Press the SET button to select the image and view it normally.
Zooming images
Playing Movies
1. Set the camera to Playback mode.
2. Use the navigation controls to scroll through the saved images. A movie clip has a movie icon displayed on screen. See picture on the right.
3. Press the SET button to play the movie.
4. During playback, press the or keys to fast forward or rewind the movie. The camera supports forward and rewind speed of up to 4x.
5. During playback, use the to control volume. Press the "T" button to increase volume. Press the "W" button to decrease volume.
6. Press the key to pause playback. Press the key again to resume. When paused, the play info will remain on screen.
7. To forward or rewind the movie frame by frame, press the key to pause playback, then press the or keys.
8. Press the key to stop the playback. The LCD monitor displays the movie frame image in Single navigation mode.
To capture screenshot image from a movie clip
1. During playback of movie, press the key to pause playback on your desired movie frame to capture.
2. Press the Shutter button to capture screenshot.
3. The camera will automatically stop playback. The LCD monitor displays the captured image in Single navigation mode.
Playing Voice Recording
1. Set the camera to Playback mode.
2. Use the navigation controls to scroll through the saved images. When viewing a voice recording file, the LCD monitor displays the screen layout of Audio clips. See picture on the right.
3. Press the SET button to play the voice recording.
4. During playback, use the to control volume. Press the "T" button to increase volume. Press the "W" button to decrease volume.
5. Press the key to pause playback. Press the key again to resume. When paused, the play info will remain on screen.
6. Press the key to stop the playback. The LCD monitor displays the audio file in Single navigation mode.
Playing Voice Memo
1. Set the camera to Playback mode.
2. Use the navigation controls to scroll through the saved images. An image file with voice memo has a voice memo icon located on the top center of the LCD monitor. See picture on the right.
3. Press the SET button to play the voice recording.
4. During playback, use the to control volume. Press the "T" button to increase volume. Press the "W" button to decrease volume.
5. Press the key to pause playback. Press the key again to resume. When paused, the play info will remain on screen.
6. Press the key to stop the playback. The LCD monitor displays the image in Single navigation mode.
Deleting an Image/Video/Audio
Using the Delete Button
1. Set the camera to Playback mode.
2. View images/videos/audio clips in Single navigation mode.
3. Use the or keys to scroll the display.
4. When the desired image/video/audio clip is displayed on the LCD monitor, press the Delete button.
5. A confirmation selection appears on screen.
6. Select Delete.
7. Press the SET button to delete.
8. The next image is displayed on the LCD monitor. To delete another file, use the or keys to scroll through the images/videos/audio clips. Then, repeat steps 4 to 7.
9. To close the Delete function and go back to viewing in single navigation mode, select Cancel.
Playback Menu
1. Set the camera to Playback mode.
2. Press to launch the Playback Menu.
3. Use the or keys to move through the menu selections.
4. To select a menu, press or the SET button.
5. Change the submenu settings using the 4-way navigation control.
6. Press the SET button to save and apply settings.
Slideshow
1. From the Playback menu, select Slideshow. The Slideshow menu appears.
2. Set the slideshow settings.
3. Select Start, then press the SET button to start the slideshow.
4. During slideshow, press the SET button to pause slideshow.
5. While stop playing, use or keys to move through the options. Select whether to Continue or Exit the slideshow.
6. Press the SET button to apply selected option.
1. From the Slideshow menu, use the or keys to move through the selections.
2. Select Interval setting. Press the or keys to adjust. Choose among the available interval settings: 1 sec., 3 sec., 5 sec., and 10 sec.
3. Select Transition setting. Press the or keys to adjust. Choose among the available transition settings:
4. Select Repeat setting. Press the or keys to adjust. Available settings are: Yes, No.
Delete
1. From the Playback menu, select Delete.
2. The Delete submenu is displayed on the LCD monitor. Select available settings:
1. Select Single in the Delete submenu, the images are displayed on the LCD monitor in single navigation mode.
2. Use the or keys to scroll the display.
3. When the desired image/video/audio clip is displayed on the LCD monitor, select Delete.
4. Press the SET button to delete.
5. The next image is displayed on the LCD monitor. To delete another file, use the or keys to scroll through the images/videos/audio clips. Repeat steps 3 to 4.
6. To close the Delete function and go back Playback menu, select Cancel.
1. Set the camera to Playback mode.
2. View images/videos/audio clips in Single navigation mode.
3. Use the or keys to scroll until the desired image with voice memo is displayed on the screen.
4. Press to launch the Playback Menu.
5. Use the or keys to move through the Playback menu selections then select Delete.
6. From the Delete submenu, select Voice only.
7. A confirmation selection appears, please select Yes.
8. Press the SET button to delete the attached voice memo and go back to Playback mode.
1. Select Multi in the Delete submenu, the images are displayed in thumbnail view on the LCD monitor.
2. Use the navigation control to move through the files.
3. When the image/video/audio clip to be deleted is moved, press the SET button to mark image/video/ audio clip for deletion.
4. Repeat step 3 until all desired images for deletion are marked.
5. Press the MENU button. A confirmation selection appears.
6. Select Yes to confirm.
7. Press the SET button to delete marked files.
1. Select All in the Delete submenu. A confirmation message appears.
2. Select Yes.
3. Press the SET button to delete all files.
Protect
1. From the Playback menu, select Protect.
2. The Protect submenu is displayed on the LCD monitor. Select available settings:
1. Select Single in the Protect submenu, the images are displayed on the LCD monitor in single navigation mode.
2. Use the or keys to scroll the display.
3. When the desired file is displayed on the LCD monitor, select Lock/Unlock.
4. Press the SET button to select Exit or press Menu key to leave.
1. Select Multi in the Protect submenu, the images are displayed in thumbnail view on the LCD monitor.
2. Use the navigation control to move through the files.
3. When moved to the file to be protected, press the SET button to mark/unmark the file clip for protection.
4. Repeat step 3 until all desired files to protect are marked.
5. Press the MENU button. A confirmation selection appears.
6. Select Yes.
7. Press the SET button to lock files and go back to Playback mode.
1. Select Lock all in the Protect submenu. A confirmation message appears.
2. Select Yes.
3. Press the SET button to protect all files.
1. Select Unlock all in the Protect submenu. A confirmation message appears.
2. Select Yes.
3. Press the SET button to unlock all protected files.
Red Eye Correction
1. Set the camera to Playback mode.
2. Press the or keys to scroll and select an image.
3. Press the MENU button to launch the Playback menu.
4. Select Red Eye Correction.
5. Select Start.
6. Press the SET button to start correction.
7. After completing Red eye correction, a menu selection appears. Select whether to:
8. Press the SET button to save/cancel changes.
Voice Memo
1. Set the camera to Playback mode.
2. Press the or keys to scroll and select an image to attach voice memo to.
3. Press the MENU button to launch the Playback menu.
4. Select Voice Memo.
5. Select Start, then press the SET button to start recording.
6. Select Cancel, then press the SET button to stop recording.
Photo Edit
1. Set the camera to Playback mode.
2. Press the or keys to scroll and select an image to edit.
3. Press the MENU button to launch the Playback menu.
4. Select Photo Edit. The Photo Edit submenu appears.
5. Press the or keys to scroll and select an option. As you move through the selection, the preview on the LCD monitor changes synchronously.
Trim
1. Set the camera to Playback mode.
2. Use the or keys to scroll and select an image to trim.
3. Press the MENU button to launch the Playback menu.
4. Select Trim. The Trim screen layout is displayed on the LCD monitor.
5. Use the control to change size.
6. Use the navigation controls to move the image.
7. Press the SET button to apply changes. A menu selection appears.
8. Select whether to:
9. Press the SET button to save/cancel changes.
Resize
1. Set the camera to Playback mode.
2. Use the or keys to scroll and select an image to resize.
3. Press the MENU button to launch the Playback menu.
4. Select Resize. The Resize submenu is displayed on the LCD monitor.
5. Select size among: 8M, 5M, 3M, and VGA. Available size settings may vary depending on original image size. Unavailable settings appear as gray icons in Resize submenu.
6. After selecting size, a menu selection appears. Select whether to:
7. Press the SET button to save/cancel changes.
Startup Image
1. Press the MENU button to launch the Playback menu.
2. Select Startup Image. The menu selection appears.
3. Select options:
4. Press the SET button to apply changes.
DPOF
1. Press the MENU button to launch the Playback menu.
2. Select DPOF. The submenu appears. Available settings are as follows:
1. Select Single or All on the DPOF submenu.
2. For single image, use the or keys to scroll and select an image to mark for printing.
3. Specify the number of copies. Use the or to increase/decrease number.
4. Press the FUNC button to toggle between turning on/off the date stamp.
5. Press the SET button to save DPOF settings.
1. Select Reset on the DPOF submenu. A confirmation message appears.
2. Select Yes.
3. Press the SET button to reset DPOF settings.
PictBridge
Using the Setup Menu
1. Press to launch the Record/Playback Menu.
2. In Photo Record or Playback mode, use the or keys to change the menu tab to Setup menu. In Movie Record mode, Setup menu is automatically displayed.
3. Use the or keys to move through the menu selections.
4. To select an item, press the SET button or .
5. Change the submenu settings using the 4-way navigation control.
6. Press the SET button to save and apply settings.
Setting Sounds
1. From the Settings menu, select Sounds.
2. Adjusts sound settings.
3. Press the SET button to apply changes.
Setting Power Save
Setting LCD Save
Setting Date & Time
1. Press the or keys to adjust date and time value. By pressing the or keys, the numeric values changes continuously.
2. Press the SET button to apply changes.
Setting Language
Setting File Numbering
Setting TV Out
Setting LCD Brightness
Setting Battery Type
Setting Memory Kit
Reset All
Making Connections
Connecting the Camera to a TV
1. Turn on the camera.
2. Set the TV out to match the TV’s video out format. See “Setting TV Out” on page 78.
3. Connect the USB/AV 3-in-1 cable to the camera USB port.
4. Connect the other end of the cable to the TV’s AV input port.
5. The LCD monitor turns black and all images, video clips and audio file are displayed on the TV.
Connecting the Camera a PC
1. Connect the camera to a PC using the USB cable.
2. Turn on the camera.
3. The PC detecs the connection. The camera’s internal memory and memory card display as removable drives in the file manager. LCD monitor displays black screen.
Connecting the Camera to a Printer
1. Turn on your camera.
2. Connect your camera with printer.
3. After connected, please press SET button to set Printer option in USB mode to PicBridge menu.
Appendix
About Folder and File Names
Folder Structure
File Naming
Troubleshooting
Specifications




 2023年江西萍乡中考道德与法治真题及答案.doc
 2012年重庆南川中考生物真题及答案.doc
 2013年江西师范大学地理学综合及文艺理论基础考研真题.doc
 2020年四川甘孜小升初语文真题及答案I卷.doc
 2020年注册岩土工程师专业基础考试真题及答案.doc
 2023-2024学年福建省厦门市九年级上学期数学月考试题及答案.doc
 2021-2022学年辽宁省沈阳市大东区九年级上学期语文期末试题及答案.doc
 2022-2023学年北京东城区初三第一学期物理期末试卷及答案.doc
 2018上半年江西教师资格初中地理学科知识与教学能力真题及答案.doc
 2012年河北国家公务员申论考试真题及答案-省级.doc
 2020-2021学年江苏省扬州市江都区邵樊片九年级上学期数学第一次质量检测试题及答案.doc
 2022下半年黑龙江教师资格证中学综合素质真题及答案.doc