考试说明
https://www.redhat.com/en/services/training/ex280-red-hat-certified-specialist-in-openshift-ad
ministration-exam
考试时长:3H
考试版本:OCP 3.9
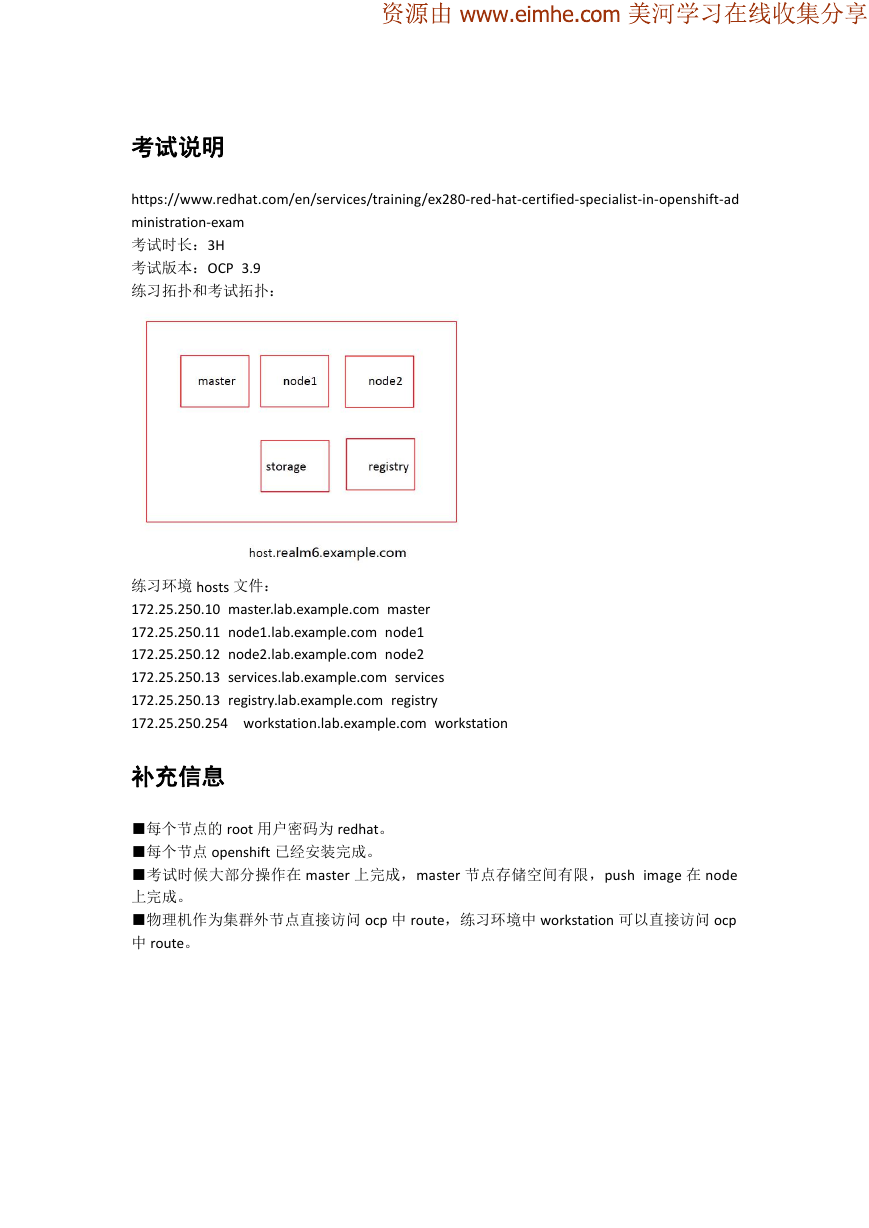
练习拓扑和考试拓扑:
练习环境 hosts 文件:
172.25.250.10 master.lab.example.com master
172.25.250.11 node1.lab.example.com node1
172.25.250.12 node2.lab.example.com node2
172.25.250.13 services.lab.example.com services
172.25.250.13 registry.lab.example.com registry
172.25.250.254 workstation.lab.example.com workstation
补充信息
■每个节点的 root 用户密码为 redhat。
■每个节点 openshift 已经安装完成。
■考试时候大部分操作在 master 上完成,master 节点存储空间有限,push image 在 node
上完成。
■物理机作为集群外节点直接访问 ocp 中 route,练习环境中 workstation 可以直接访问 ocp
中 route。
�
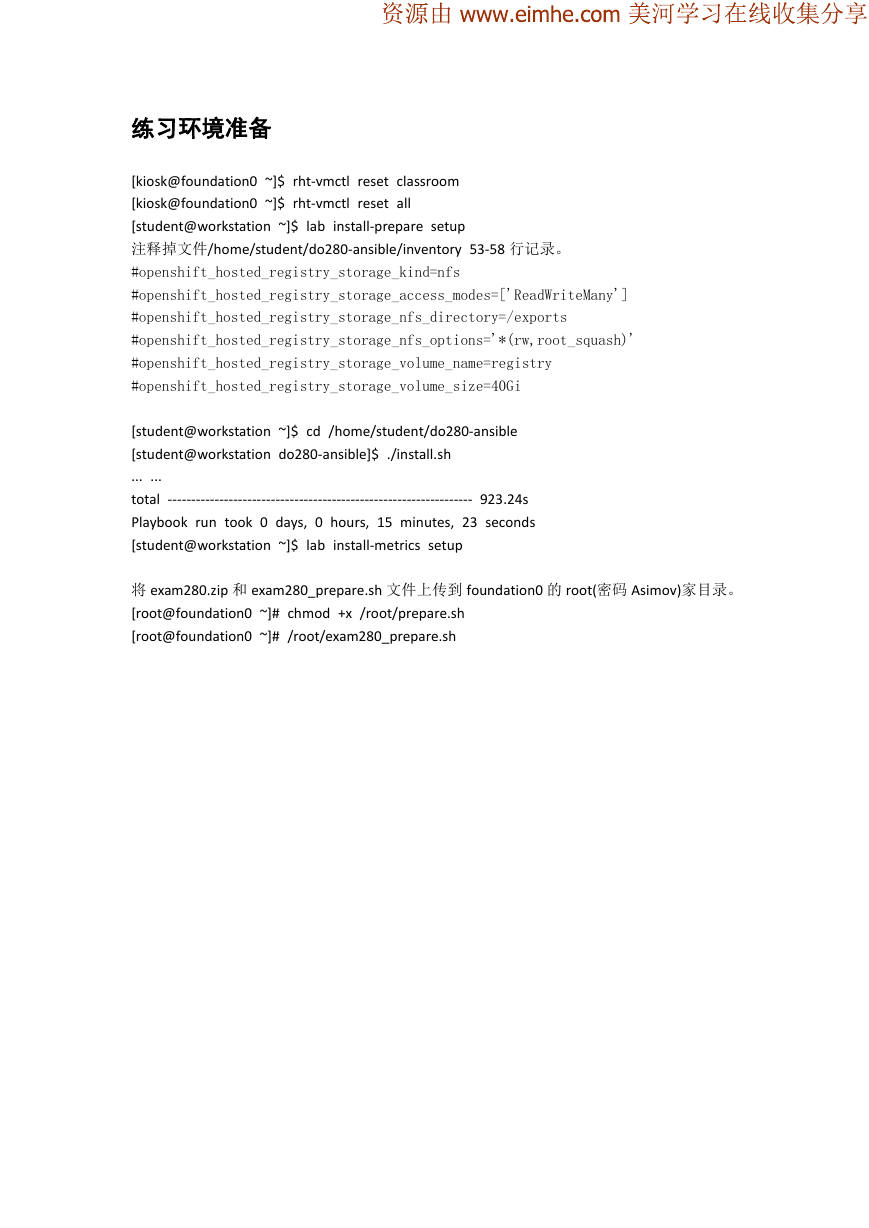
练习环境准备
[kiosk@foundation0 ~]$ rht-vmctl reset classroom
[kiosk@foundation0 ~]$ rht-vmctl reset all
[student@workstation ~]$ lab install-prepare setup
注释掉文件/home/student/do280-ansible/inventory 53-58 行记录。
#openshift_hosted_registry_storage_kind=nfs
#openshift_hosted_registry_storage_access_modes=['ReadWriteMany']
#openshift_hosted_registry_storage_nfs_directory=/exports
#openshift_hosted_registry_storage_nfs_options='*(rw,root_squash)'
#openshift_hosted_registry_storage_volume_name=registry
#openshift_hosted_registry_storage_volume_size=40Gi
...
[student@workstation ~]$ cd /home/student/do280-ansible
[student@workstation do280-ansible]$ ./install.sh
...
total ----------------------------------------------------------------- 923.24s
Playbook run took 0 days, 0 hours, 15 minutes, 23 seconds
[student@workstation ~]$ lab install-metrics setup
将 exam280.zip 和 exam280_prepare.sh 文件上传到 foundation0 的 root(密码 Asimov)家目录。
[root@foundation0 ~]# chmod +x /root/prepare.sh
[root@foundation0 ~]# /root/exam280_prepare.sh
�
1. Create OpenShift users
Create additional OpenShift users with the following characteristics:
The regular user salvo with password redhat
The regular user ayumi with password redhat
You must use the existing authentication file at /etc/origin/master/htpasswd while preserv
ing its original content.
Both users must be able to authenticate to the OpenShift instance via CLI and on the w
eb console at https://master.lab.example.com.
Regular users must NOT be able to create projects themselves.
答案:
[root@master ~]#
创建用户
htpasswd 命令由 httpd-tools 提供
htpasswd -b /etc/origin/master/htpasswd salvo redhat
htpasswd -b /etc/origin/master/htpasswd ayumi redhat
默认创建的用户是有创建 project 权限的。
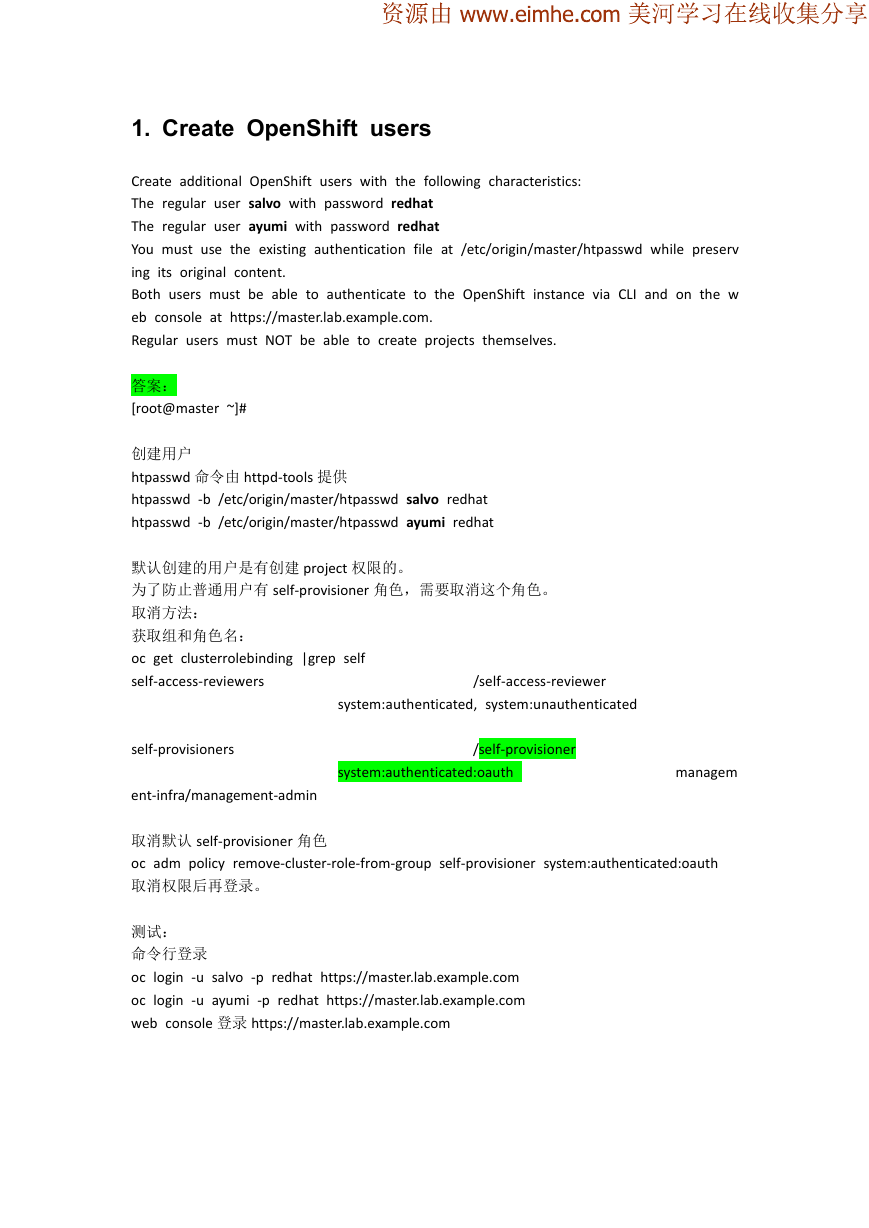
为了防止普通用户有 self-provisioner 角色,需要取消这个角色。
取消方法:
获取组和角色名:
oc get clusterrolebinding |grep self
self-access-reviewers
/self-access-reviewer
system:authenticated, system:unauthenticated
self-provisioners
/self-provisioner
system:authenticated:oauth
managem
ent-infra/management-admin
取消默认 self-provisioner 角色
oc adm policy remove-cluster-role-from-group self-provisioner system:authenticated:oauth
取消权限后再登录。
测试:
命令行登录
oc login -u salvo -p redhat https://master.lab.example.com
oc login -u ayumi -p redhat https://master.lab.example.com
web console 登录 https://master.lab.example.com
�
2. Configure persistent storage for the local registr
y
Associate the share named /exports/registry to the built-in registry running within your
OpenShift Enterprise instance so that it will be used for permanent storage.
Use exam-registry-volume for the volume name and exam-registry-claim for the
claim name. You can find sample YAML files on http://materials.example.com/exam280/sto
rage (Note: This task needs to be solved before any applications are created)
整个考试用到 4 个永久存储,最后一个要求是 5Gi,其他没要求。
容量规划如下:6Gi 7Gi 8Gi 5Gi
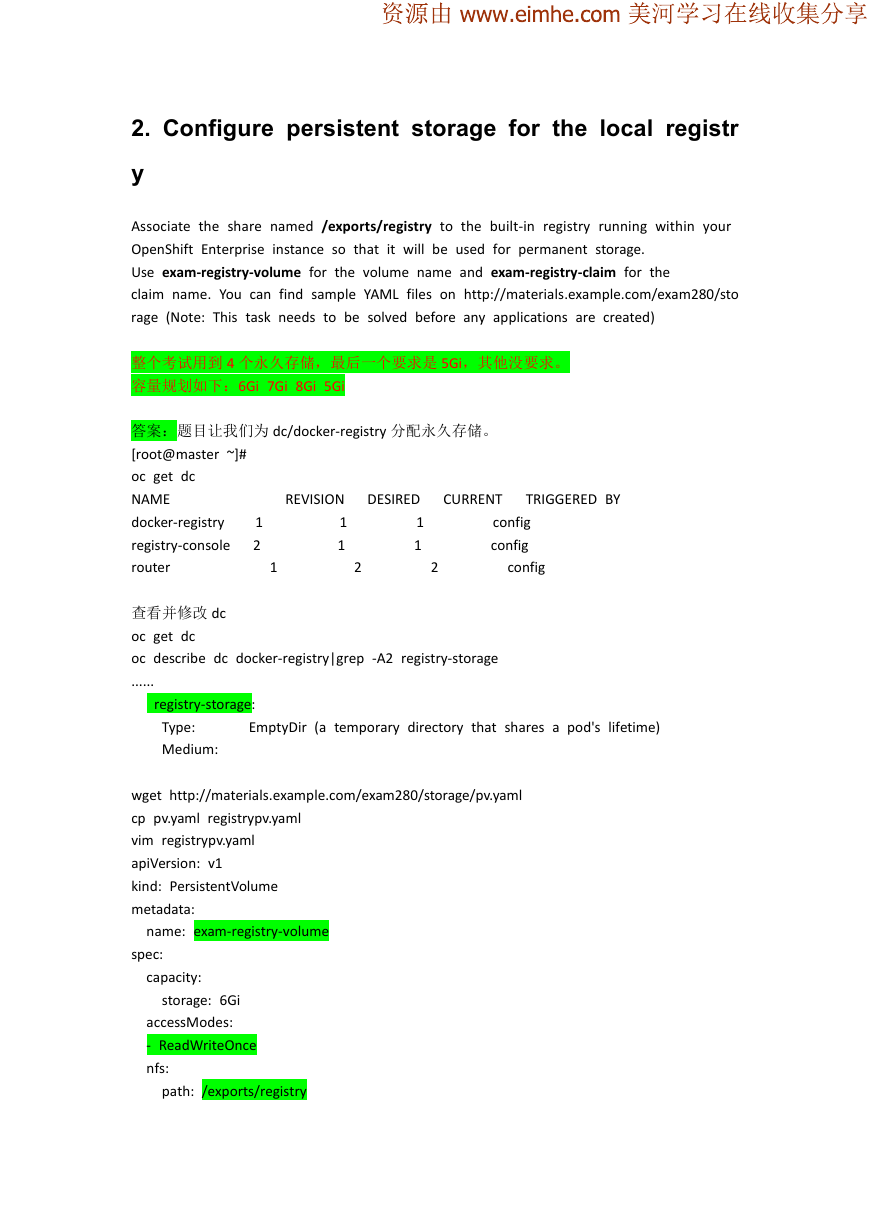
答案:题目让我们为 dc/docker-registry 分配永久存储。
[root@master ~]#
oc get dc
NAME
docker-registry
registry-console
router
REVISION
1
1
DESIRED
1
1
2
1
2
1
CURRENT
TRIGGERED BY
config
config
config
2
查看并修改 dc
oc get dc
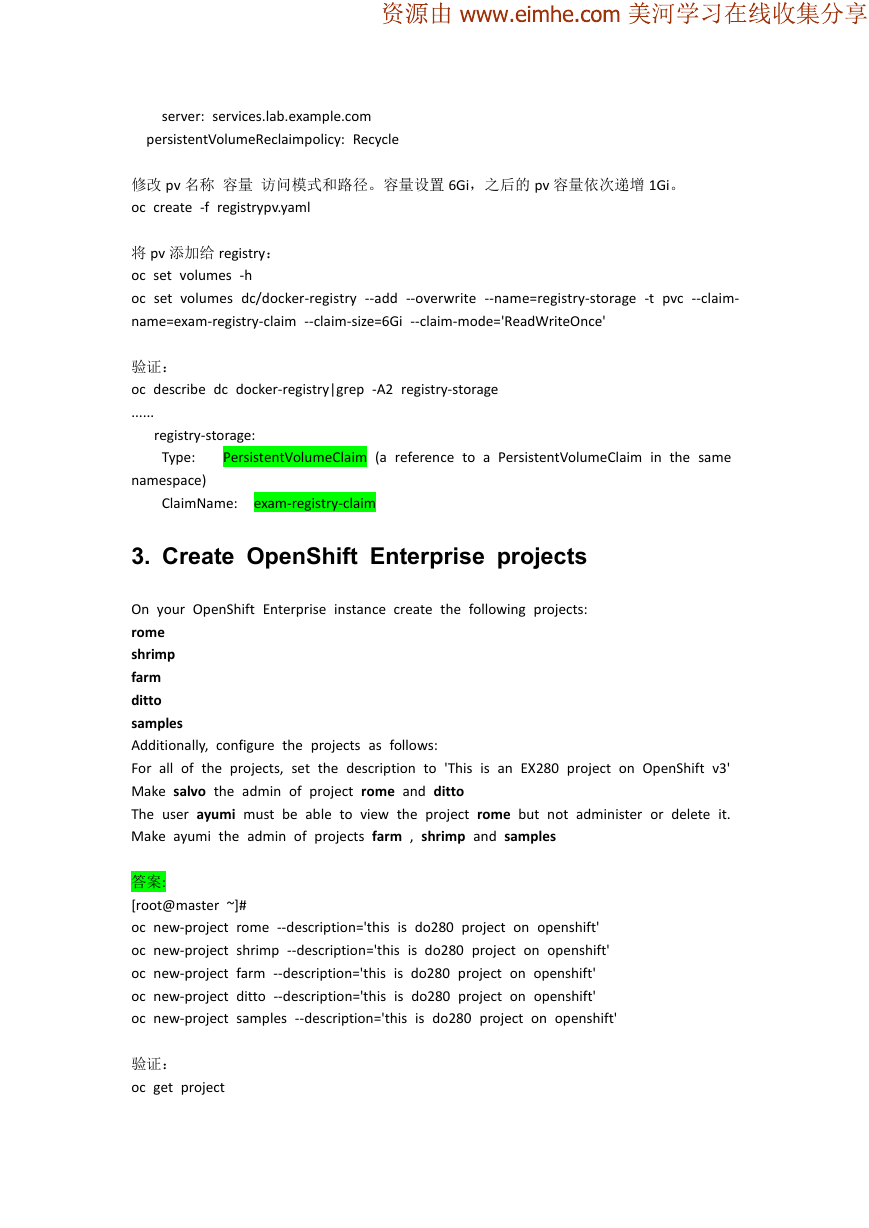
oc describe dc docker-registry|grep -A2 registry-storage
......
registry-storage:
Type:
Medium:
EmptyDir (a temporary directory that shares a pod's lifetime)
wget http://materials.example.com/exam280/storage/pv.yaml
cp pv.yaml registrypv.yaml
vim registrypv.yaml
apiVersion: v1
kind: PersistentVolume
metadata:
name: exam-registry-volume
spec:
capacity:
storage: 6Gi
accessModes:
- ReadWriteOnce
nfs:
path: /exports/registry
�
server: services.lab.example.com
persistentVolumeReclaimpolicy: Recycle
修改 pv 名称 容量 访问模式和路径。容量设置 6Gi,之后的 pv 容量依次递增 1Gi。
oc create -f registrypv.yaml
将 pv 添加给 registry:
oc set volumes -h
oc set volumes dc/docker-registry --add --overwrite --name=registry-storage -t pvc --claim-
name=exam-registry-claim --claim-size=6Gi --claim-mode='ReadWriteOnce'
验证:
oc describe dc docker-registry|grep -A2 registry-storage
......
registry-storage:
Type:
PersistentVolumeClaim (a reference to a PersistentVolumeClaim in the same
namespace)
ClaimName:
exam-registry-claim
3. Create OpenShift Enterprise projects
On your OpenShift Enterprise instance create the following projects:
rome
shrimp
farm
ditto
samples
Additionally, configure the projects as follows:
For all of the projects, set the description to 'This is an EX280 project on OpenShift v3'
Make salvo the admin of project rome and ditto
The user ayumi must be able to view the project rome but not administer or delete it.
Make ayumi the admin of projects farm , shrimp and samples
答案:
[root@master ~]#
oc new-project rome --description='this is do280 project on openshift'
oc new-project shrimp --description='this is do280 project on openshift'
oc new-project farm --description='this is do280 project on openshift'
oc new-project ditto --description='this is do280 project on openshift'
oc new-project samples --description='this is do280 project on openshift'
验证:
oc get project
�
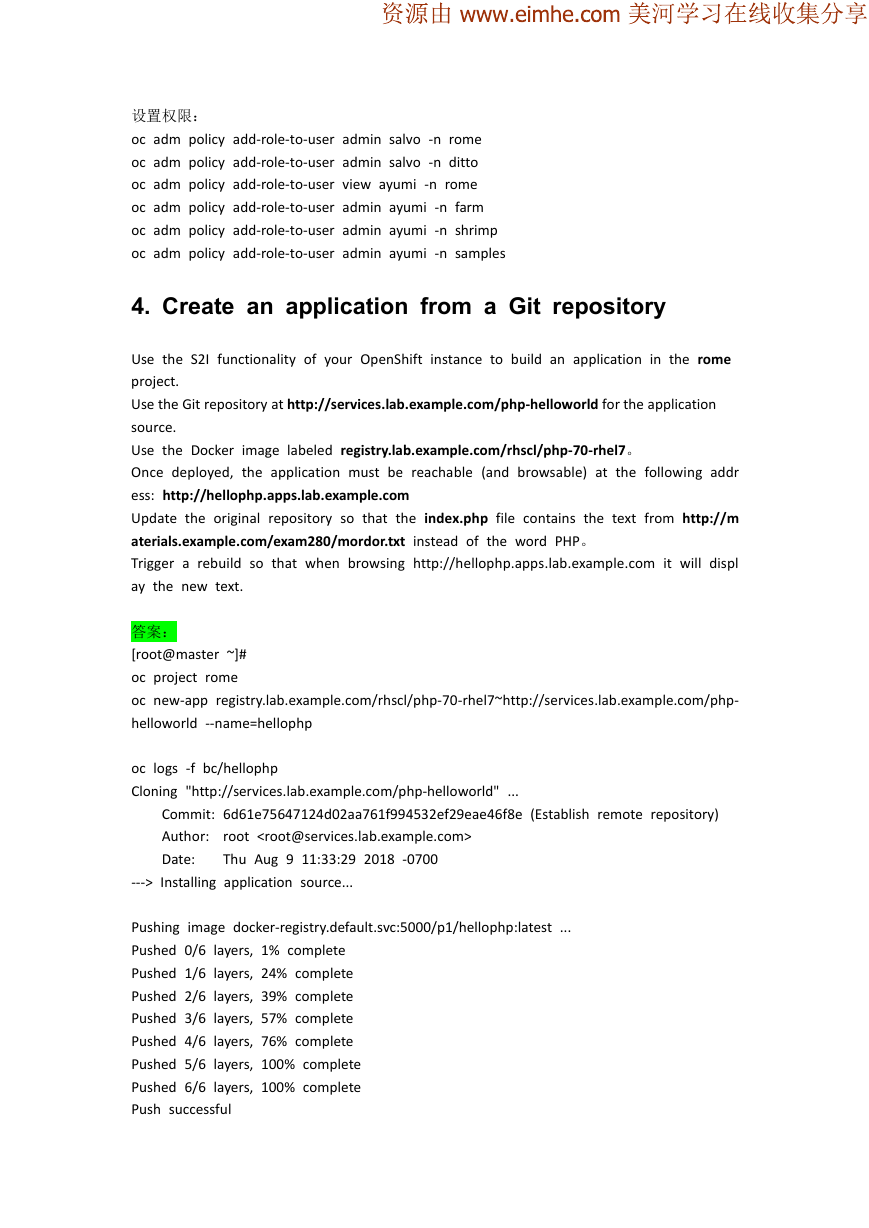
设置权限:
oc adm policy add-role-to-user admin salvo -n rome
oc adm policy add-role-to-user admin salvo -n ditto
oc adm policy add-role-to-user view ayumi -n rome
oc adm policy add-role-to-user admin ayumi -n farm
oc adm policy add-role-to-user admin ayumi -n shrimp
oc adm policy add-role-to-user admin ayumi -n samples
4. Create an application from a Git repository
Use the S2I functionality of your OpenShift instance to build an application in the rome
project.
Use the Git repository at http://services.lab.example.com/php-helloworld for the application
source.
Use the Docker image labeled registry.lab.example.com/rhscl/php-70-rhel7。
Once deployed, the application must be reachable (and browsable) at the following addr
ess: http://hellophp.apps.lab.example.com
Update the original repository so that the index.php file contains the text from http://m
aterials.example.com/exam280/mordor.txt instead of the word PHP。
Trigger a rebuild so that when browsing http://hellophp.apps.lab.example.com it will displ
ay the new text.
答案:
[root@master ~]#
oc project rome
oc new-app registry.lab.example.com/rhscl/php-70-rhel7~http://services.lab.example.com/php-
helloworld --name=hellophp
oc logs -f bc/hellophp
Cloning "http://services.lab.example.com/php-helloworld" ...
Commit: 6d61e75647124d02aa761f994532ef29eae46f8e (Establish remote repository)
Author:
Date:
root
Thu Aug 9 11:33:29 2018 -0700
---> Installing application source...
Pushing image docker-registry.default.svc:5000/p1/hellophp:latest ...
Pushed 0/6 layers, 1% complete
Pushed 1/6 layers, 24% complete
Pushed 2/6 layers, 39% complete
Pushed 3/6 layers, 57% complete
Pushed 4/6 layers, 76% complete
Pushed 5/6 layers, 100% complete
Pushed 6/6 layers, 100% complete
Push successful
�
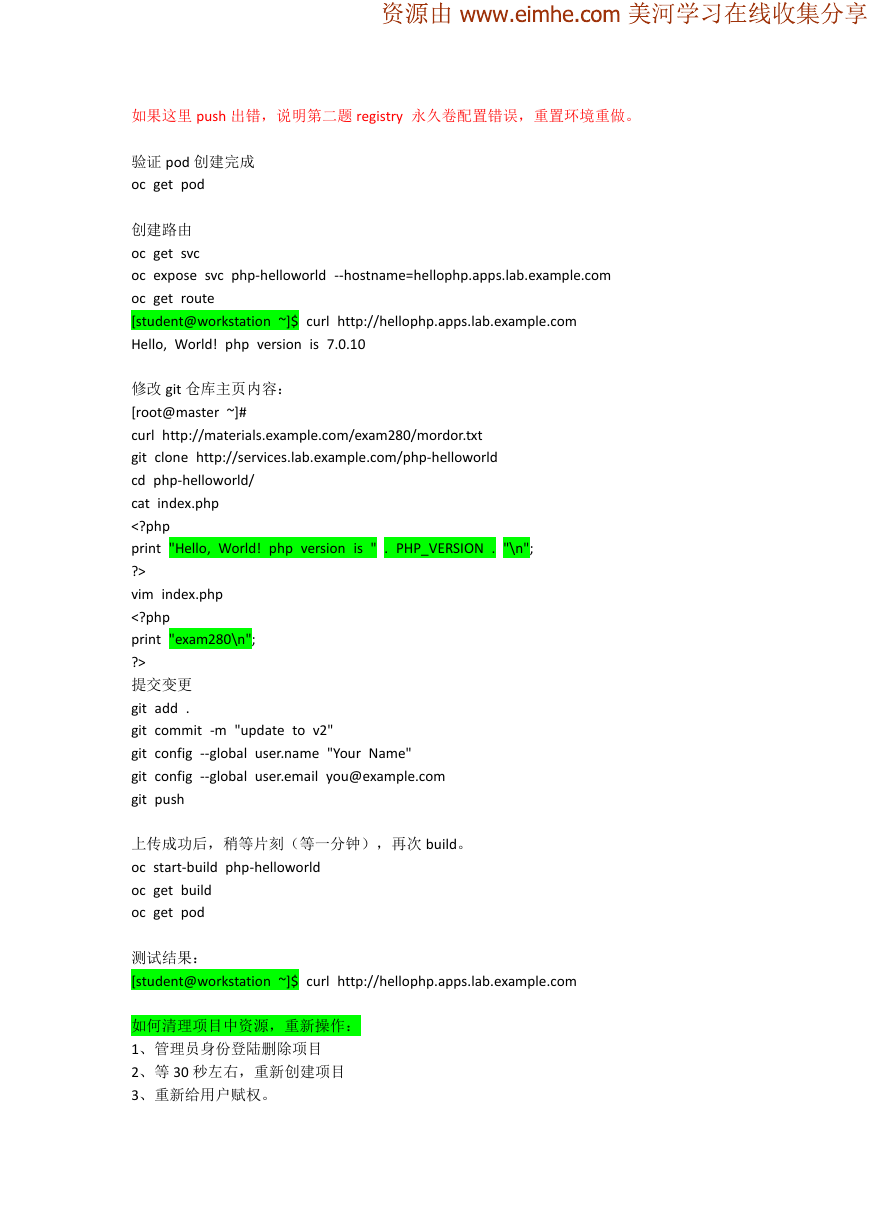
如果这里 push 出错,说明第二题 registry 永久卷配置错误,重置环境重做。
验证 pod 创建完成
oc get pod
创建路由
oc get svc
oc expose svc php-helloworld --hostname=hellophp.apps.lab.example.com
oc get route
[student@workstation ~]$ curl http://hellophp.apps.lab.example.com
Hello, World! php version is 7.0.10
修改 git 仓库主页内容:
[root@master ~]#
curl http://materials.example.com/exam280/mordor.txt
git clone http://services.lab.example.com/php-helloworld
cd php-helloworld/
cat index.php
vim index.php
提交变更
git add .
git commit -m "update to v2"
git config --global user.name "Your Name"
git config --global user.email you@example.com
git push
上传成功后,稍等片刻(等一分钟),再次 build。
oc start-build php-helloworld
oc get build
oc get pod
测试结果:
[student@workstation ~]$ curl http://hellophp.apps.lab.example.com
如何清理项目中资源,重新操作:
1、管理员身份登陆删除项目
2、等 30 秒左右,重新创建项目
3、重新给用户赋权。
�
5. Create an application using Docker images and
definition files
Using the example files from the wordpress directory under http://materials.example.com/
exam280/wordpress create a WordPress application in the farm project.
For permanent storage use the the NFS shares /exports/wordpress and /exports/mysql fr
om services.lab.example.com. Use the files from http://materials.example.com/exam280/
wordpress for the volumes.
For the WordPress pod, use the Docker image from http://materials.example.com/exam2
80/wordpress.tar (Note: It is normal
if the WordPress pod initially restarts a couple of ti
mes due to permission issues)
For the MySQL pod use the Docker image rhscl/mysql-57-rhel7,Once deployed, the applic
ation must be reachable at the following address: http://blog.apps.lab.example.com。
Finally, complete the WordPress installation by setting ayumi as the admin user with pas
sword redhat and ayumi@master.lab.example.com for the email address.
Set the blog name to EX280 Blog
Create your first post with title faber est quisque fortunae suae. The text in the post d
oes not matter.
答案:
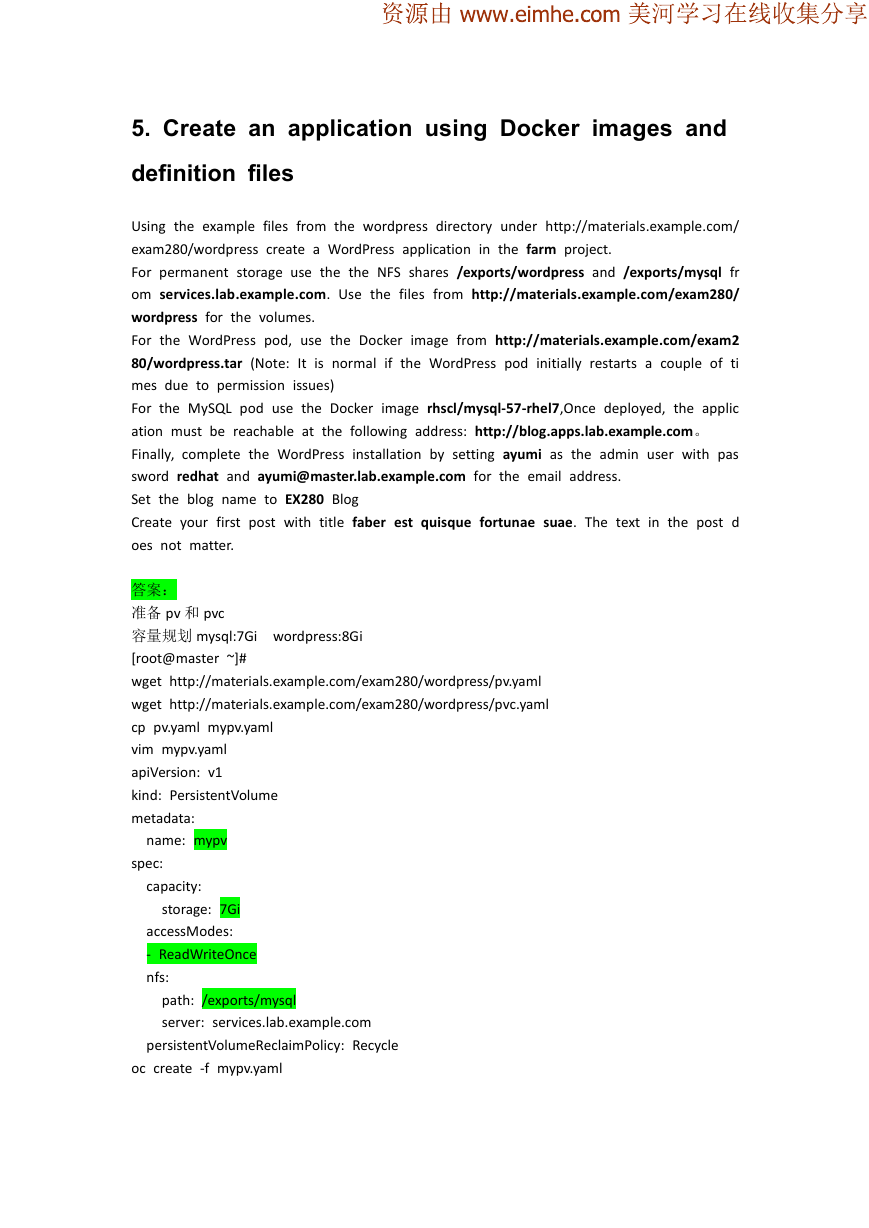
准备 pv 和 pvc
容量规划 mysql:7Gi wordpress:8Gi
[root@master ~]#
wget http://materials.example.com/exam280/wordpress/pv.yaml
wget http://materials.example.com/exam280/wordpress/pvc.yaml
cp pv.yaml mypv.yaml
vim mypv.yaml
apiVersion: v1
kind: PersistentVolume
metadata:
name: mypv
spec:
capacity:
storage: 7Gi
accessModes:
- ReadWriteOnce
nfs:
path: /exports/mysql
server: services.lab.example.com
persistentVolumeReclaimPolicy: Recycle
oc create -f mypv.yaml
�


 2023年江西萍乡中考道德与法治真题及答案.doc
 2012年重庆南川中考生物真题及答案.doc
 2013年江西师范大学地理学综合及文艺理论基础考研真题.doc
 2020年四川甘孜小升初语文真题及答案I卷.doc
 2020年注册岩土工程师专业基础考试真题及答案.doc
 2023-2024学年福建省厦门市九年级上学期数学月考试题及答案.doc
 2021-2022学年辽宁省沈阳市大东区九年级上学期语文期末试题及答案.doc
 2022-2023学年北京东城区初三第一学期物理期末试卷及答案.doc
 2018上半年江西教师资格初中地理学科知识与教学能力真题及答案.doc
 2012年河北国家公务员申论考试真题及答案-省级.doc
 2020-2021学年江苏省扬州市江都区邵樊片九年级上学期数学第一次质量检测试题及答案.doc
 2022下半年黑龙江教师资格证中学综合素质真题及答案.doc