4
Advanced
fax
Broadcasting
Use this feature to send your documents to multiple locations. After send-
ing, the documents are automatically erased from the memory.
1. Load the document face down. If necessary, adjust Resolution, or
Contrast. For details, see page 3.2.
2. Press Advanced FAX on the control panel.
The display shows the first menu; BROADCASTING.
3. Press Start/Enter to access the broadcasting menu.
4. Enter the number of the remote machine using the number keypad.
To enter the number, you can also press a one-touch button including
group dial button. Otherwise, press Speed, enter a 2-digit speed dial
number, then press Start/Enter. The stored number appears on the dis-
play.
5. Press Start/Enter to confirm the number. The display asks you to
enter another fax number to send the document to another location.
6. Enter another fax number using the number keypad, one-touch dial,
or 2-digit speed dial number. Note that you cannot use group dial
numbers for another fax number.
The number appears on the display. Press Start/Enter to confirm the
number.
Or
To send to one location or when you complete the last fax number
setting, press Start/Enter.
7. The document will be scanned into the memory before transmission.
The display shows the memory capacity and the number of pages
being stored in the memory, then the machine begins sending the docu-
ment in order of the numbers you entered.
Advanced fax 4.1
Note: If ‘MEMORY FULL’ occurs while scanning into the memory, the display
will show:
JOB❿CANCEL ❿DONE
Press ➛ or ❿ to select the option you want. If you select CANCEL,
broadcasting is cancelled. If you select DONE, your machine performs
broadcasting only with the pages already scanned.
If an error occurs while sending to a specific number, the machine trans-
mits the document to all the other numbers, then retries the number that
previously recorded an error. After completing transmission, your machine
prints the multi-communication report.
Delayed fax
You can set your machine to send a fax at a later time when you will not
be present.
1. Load the document face down. If necessary, adjust Resolution, or
Contrast. For details, see page 3.2.
2. Press Advanced FAX on the control panel.
The display shows the first menu; BROADCASTING.
3. Press ➛ or ❿ until ‘DELAYED FAX’ appears, then press Start/Enter.
4. Enter the number of the remote machine, then press Start/Enter.
To enter the number, you can also press a one-touch button including
Group dial button. Otherwise, press Speed, enter a 2-digit speed dial
number, then press Start/Enter. The stored number appears on the
display.
5. Press Start/Enter to confirm the number. The display asks you to
enter another fax number to send the document to another location.
4.2 Advanced fax
6. If you want to send to more than one location, enter another fax
number using the number keypad, one-touch dial, or 2-digit speed
dial number. Note that you cannot use group dial numbers for another
fax number.
The number appears on the display. Press Start/Enter to confirm the
number.
Or
To send to one location or when you complete the last fax number
setting, press Start/Enter.
7. The display asks you to enter a name. If you want to assign a name to
the transmission, enter the name. If not, skip over this step.
For details on how to enter the name using the number keypad, see
page 2.3.
8. Press Start/Enter. The display shows the current time and asks you to
enter the time when the fax is to be sent.
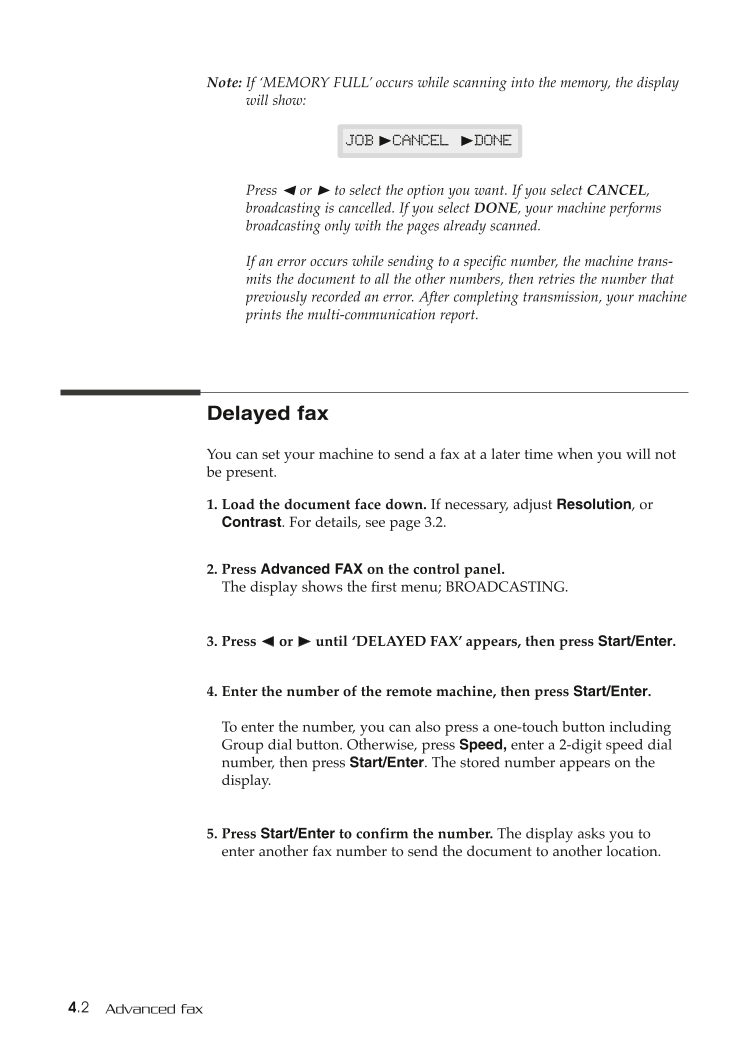
TIME(13:30)13:30
9. Enter the time by using the number keypad, then press Start/Enter.
Enter the time in 24-hour format. For example, enter 2230 for 10:30 P.M.
If you set a time earlier than the current time, the document will be
sent at that time on the following day.
10. The document will be scanned into the memory before transmission.
The display shows the memory capacity and the number of pages
being stored in the memory.
11. The machine returns to standby mode and the display alternates
between messages to remind you that you are in standby mode and
that delayed transmission is set.
Note: If you want to cancel the delayed fax, see ‘Cancelling a scheduled
operation’ on page 4.7.
Advanced fax 4.3
Priority fax
When the priority fax is enabled, a high priority document can be trans-
mitted ahead of reserved operations. The document is scanned into the
memory, then transmitted when the current operation is concluded. In
addition, a priority transmission will interrupt a broadcast operation
between stations (i.e., when transmission to station A ends, before trans-
mission to station B begins) or between redial attempts.
1. Load the document face down. If necessary, adjust Resolution, or
Contrast. For details, see page 3.2.
2. Press Advanced FAX on the control panel.
The display shows the first menu; BROADCASTING.
3. Press ➛ or ❿ until ‘PRIORITY FAX’ appears, then press Start/Enter.
4. Enter the number of the remote machine, then press Start/Enter.
To enter the number you can also press a one-touch button including
group dial button. Otherwise, press Speed, enter a 2-digit speed dial
number, then press Start/Enter. The stored number appears on the
display.
5. Press Start/Enter to confirm the number. The display asks you to
enter a name.
6. If you want to assign a name to the transmission, enter the name. If
not, skip over this step.
For details on how to enter a name using the number keypad,
see page 2.3.
7. Press Start/Enter. The document will be scanned into the memory
before transmission. The display shows the memory capacity and the
number of pages being stored in the memory.
8. The machine shows the number being dialled, then begins sending the
document.
4.4 Advanced fax
Polling
What is polling?
Polling is used when one fax machine requests another to send a docu-
ment. This is useful when the person with the original document to be sent
is not in the office. The person who wants to receive the document calls the
machine holding the original and requests that the document be sent. In
other words, it “polls” the machine holding the original.
Send polling
You can programme your fax machine to send documents in your
absence when polled by a remote fax machine. It is possible to use a poll
code to prevent unauthorized polling of your fax machine. When you
secure your machine in this manner, only those who know the poll code
can poll your machine.
1. Load the document face down. If necessary, use Resolution, or
Contrast. For details, see page 3.2.
2. Press Advanced FAX on the control panel.
The display shows the first menu; BROADCASTING.
3. Press ➛ or ❿ until ‘SEND POLLING’ appears, and press Start/Enter.
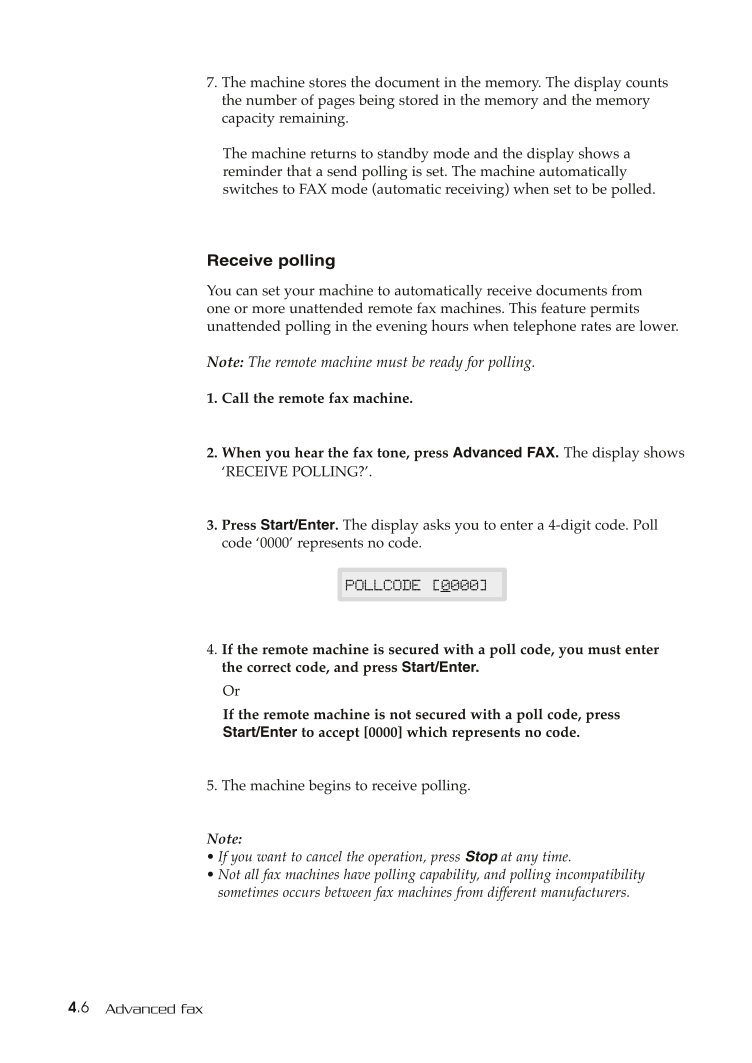
4. The display asks you to enter a 4-digit poll code. The poll code is preset
to 0000 at the factory, which represents no poll code.
POLLCODE [0000]
5. If you want to use a poll code, enter the 4-digit code (except for 0000),
then press Start/Enter. Or
If you do not want to secure the transmission with a poll code, press
Start/Enter when the display shows 0000 for the poll code, or press
0000.
6. The display asks you to store the document in the machine’s bulletin
memory.
If you store the document in the bulletin board memory, more than one
remote station can poll that document from your machine. If not, the
document will be automatically erased after being polled by a remote
machine.
Press ➛ or ❿ to select YES or NO.
Advanced fax 4.5
7. The machine stores the document in the memory. The display counts
the number of pages being stored in the memory and the memory
capacity remaining.
The machine returns to standby mode and the display shows a
reminder that a send polling is set. The machine automatically
switches to FAX mode (automatic receiving) when set to be polled.
Receive polling
You can set your machine to automatically receive documents from
one or more unattended remote fax machines. This feature permits
unattended polling in the evening hours when telephone rates are lower.
Note: The remote machine must be ready for polling.
1. Call the remote fax machine.
2. When you hear the fax tone, press Advanced FAX. The display shows
‘RECEIVE POLLING?’.
3. Press Start/Enter. The display asks you to enter a 4-digit code. Poll
code ‘0000’ represents no code.
POLLCODE [0000]
4. If the remote machine is secured with a poll code, you must enter
the correct code, and press Start/Enter.
Or
If the remote machine is not secured with a poll code, press
Start/Enter to accept [0000] which represents no code.
5. The machine begins to receive polling.
Note:
• If you want to cancel the operation, press Stop at any time.
• Not all fax machines have polling capability, and polling incompatibility
sometimes occurs between fax machines from different manufacturers.
4.6 Advanced fax
Adding documents to a scheduled operation
You can add documents to the delayed transmission previously reserved
in your machine’s memory.
1. Load the document face down. If necessary, adjust Resolution, or
Contrast. For details, see page 3.2.
2. Press Advanced FAX on the control panel.
The display shows the first menu; BROADCASTING.
3. Press ➛ or ❿ until ‘ADD SCHEDULE’ appears, then press
Start/Enter. The display shows the operation, time and number
currently reserved in the memory.
4. Press ➛ or ❿ repeatedly until you find the operation to which you
want to add documents, then press Start/Enter.
The machine automatically stores the documents in the memory, and
the display shows the memory capacity and the number of pages.
5. After storing, the machine displays the number of total pages, then
returns to standby mode.
Cancelling a scheduled operation
1. Press Advanced FAX on the control panel.
The display shows the first menu; BROADCASTING.
2. Press ➛ or ❿ until you find ‘CANCEL SCHEDULE’, then
press Start/Enter.
3. Press ➛ or ❿ repeatedly until you find the operation you want to
cancel, then press Start/Enter. The display asks you to confirm your
selection.
4. Press Start/Enter to cancel the operation.
Advanced fax 4.7




 2023年江西萍乡中考道德与法治真题及答案.doc
 2012年重庆南川中考生物真题及答案.doc
 2013年江西师范大学地理学综合及文艺理论基础考研真题.doc
 2020年四川甘孜小升初语文真题及答案I卷.doc
 2020年注册岩土工程师专业基础考试真题及答案.doc
 2023-2024学年福建省厦门市九年级上学期数学月考试题及答案.doc
 2021-2022学年辽宁省沈阳市大东区九年级上学期语文期末试题及答案.doc
 2022-2023学年北京东城区初三第一学期物理期末试卷及答案.doc
 2018上半年江西教师资格初中地理学科知识与教学能力真题及答案.doc
 2012年河北国家公务员申论考试真题及答案-省级.doc
 2020-2021学年江苏省扬州市江都区邵樊片九年级上学期数学第一次质量检测试题及答案.doc
 2022下半年黑龙江教师资格证中学综合素质真题及答案.doc