FCC Information
1. This device may not cause harmful interference....
2. This device must accept any interference receiv...
User Information
Canadian Radio Interference Regulations Statement
1-Year Limited Hardware Warranty
1. abuses or modifies Product or Software;
2. operates the system in an environment with exce...
3. supplies other Software or Interfacing.
4. Uses any adapter other than the Agfa ePhoto AC ...
Contents
FCC Information 2
User Information 2
Canadian Radio Interference Regulations Statement ...
1-Year Limited Hardware Warranty 3
Introduction 7
Other Documents 7
Safety Information 8
Batteries and Battery Charger 8
Camera 9
Camera Parts 10
Memory Cards 12
Inserting a Memory Card 12
Memory Card Capacity 12
Memory Card Conditions 13
Batteries and Battery Charger 14
Battery Recommendations 15
Battery Tips 15
Camera Buttons and Controls 16
Mode Switch 16
EasyPilot Button 16
Zoom Buttons 17
Shutter Button 17
Info Button 17
Information Displays 18
REC Mode Information Symbols 18
Taking Pictures 20
Basic Settings 21
Camera Controls 21
Resolution 21
Flash 22
Digital Zoom 22
Preview 23
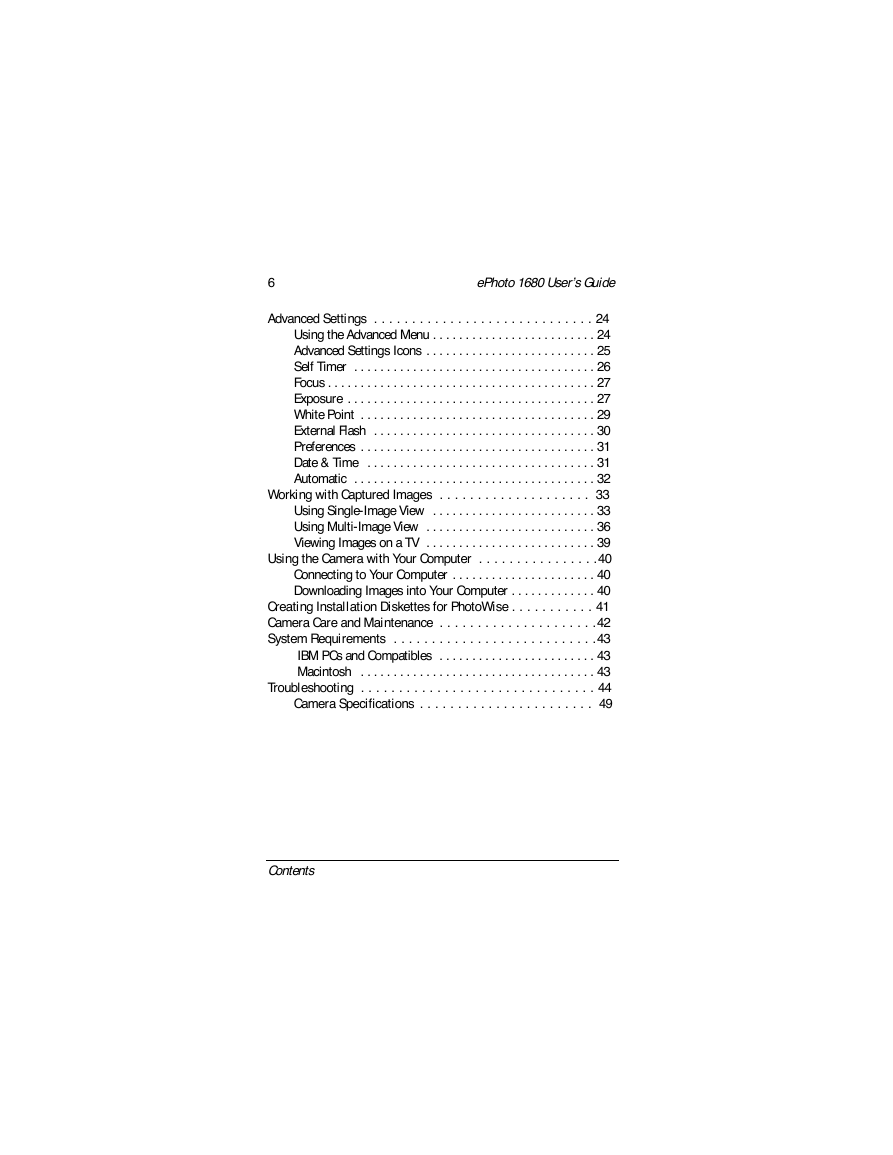
Advanced Settings 24
Using the Advanced Menu 24
Advanced Settings Icons 25
Self Timer 26
Focus 27
Exposure 27
White Point 29
External Flash 30
Preferences 31
Date & Time 31
Automatic 32
Working with Captured Images 33
Using Single-Image View 33
Using Multi-Image View 36
Viewing Images on a TV 39
Using the Camera with Your Computer 40
Connecting to Your Computer 40
Downloading Images into Your Computer 40
Creating Installation Diskettes for PhotoWise 41
Camera Care and Maintenance 42
System Requirements 43
IBM PCs and Compatibles 43
Macintosh 43
Troubleshooting 44
Camera Specifications 49
Introduction
Other Documents
User’s Guide
PhotoWise
Safety Information
Batteries and Battery Charger
Camera
Camera Parts
1. Shutter Button: takes pictures.
2. Battery Compartment: holds 4 size AA alkaline o...
3. Memory Card Slot: holds a removable memory card...
4. Built-in Flash: with 4 settings (automatic, fil...
5. FlashTrack™ Swivel Zoom Lens: swivels independe...
6. EasyPilot™ Button (on side of camera): scrolls ...
7. Mode Switch: turns the camera on (REC to take p...
8. LCD: functions as the viewfinder, and displays ...
9. Port Cover: for the SERIAL, POWER (AC adapter) ...
10. Info Button: displays information about the ca...
11. Zoom Buttons: zoom the lens in (+) or out (–)....
Memory Cards
Inserting a Memory Card
To insert a memory card:
1. Swivel the lens up to expose the memory card sl...
2. Open the door covering the memory slot and hold...
3. Insert the memory card as shown on the door and...
4. Release the door. Make sure it closes completel...
Memory Card Capacity
Memory Card Conditions
Batteries and Battery Charger
To install the batteries:
Battery Recommendations
Battery Tips
Camera Buttons and Controls
Mode Switch
EasyPilot Button
To use the EasyPilot button:
Zoom Buttons
Shutter Button
Info Button
Information Displays
REC Mode Information Symbols
Taking Pictures
To take pictures:
1. Turn the Mode switch to REC. The LCD briefly sh...
2. Swivel the lens and use the zoom buttons (+ to ...
3. Hold the camera still and fully press the shutt...
To discard an image during processing:
1. While the image is processing press the Easy�Pi...
2. Turn the EasyPilot button to select Discard ima...
3. Press in the EasyPilot button. The image is del...
Basic Settings
Camera Controls
To change a setting for a picture to be taken:
1. In REC, press in the EasyPilot button. A row of...
2. Turn the EasyPilot button to highlight an icon....
3. Press in the EasyPilot button to select the ico...
4. Turn the EasyPilot button to highlight an icon ...
5. Press in the EasyPilot button to select the set...
Resolution
Flash
Digital Zoom
Preview
Advanced Settings
To access the advanced settings:
1. Set the Mode switch to REC.
2. Press in the EasyPilot button. A row of green i...
3. Turn the EasyPilot button until the icon is hig...
4. Press in the EasyPilot button. The Advanced men...
Using the Advanced Menu
Advanced Settings Icons
Self Timer
To turn on the self timer:
1. Select Self timer in the Advanced menu.
2. Select a delay time.
3. Frame the picture and press the shutter button....
Focus
To select a focus setting:
1. Select Focus in the Advanced menu.
2. Select a focal distance in the FOCUS menu.
Exposure
Time value
To set a time value:
1. Select Exposure in the Advanced menu.
2. Select Time value in the EXPOSURE menu.
3. Select a time value.
Aperture value
To set an aperture value:
1. Select Exposure in the Advanced menu.
2. Select Aperture val. in the EXPOSURE menu.
3. Select your desired aperture.
Manual
To set the exposure manually:
1. Select Exposure in the Advanced menu.
2. Select Manual in the EXPOSURE menu.
3. Scroll the EasyPilot button up (+) to increase ...
4. To take the picture with the sliding bar active...
5. To set the manual exposure for more pictures, p...
White Point
To set the white point manually:
1. Select White point in the Advanced menu.
2. Select Set white bal. A message prompts you to ...
3. Aim the lens at a white area that fills the LCD...
4. To save the white point, select Yes. To ignore ...
5. The image on the LCD changes to reflect the new...
External Flash
To use an external flash:
1. Select Ext. flash in the Advanced menu.
2. Select a large, medium or small aperture based ...
3. Select your shutter speed based on these criter...
4. Adjust the energy of the external flash power s...
Preferences
To keep settings:
1. Set your advanced settings.
2. Select Preferences in the Advanced menu.
3. Select Yes in the PREFERENCES menu. Your advanc...
Date & Time
To set the date and time:
1. Select Date & Time in the Advanced menu. The SE...
2. Turn the EasyPilot button until the desired mon...
3. Press in the EasyPilot button to set the month ...
4. Continue to turn and press the EasyPilot button...
5. Select Set to confirm the date and time or Exit...
Automatic
Working with Captured Images
To switch from single-image to multi-image view:
1. Press in the EasyPilot button. A row of green i...
2. Press in the EasyPilot button. A series of thum...
3. To return to single-image view, press in the Ea...
Using Single-Image View
Viewing Images
To review stored images individually in succession...
1. Scroll through the images using the zoom button...
2. When you reach the last image stored, as indica...
Zooming in on an Image
To zoom in on an image digitally:
1. Press in the EasyPilot button. A row of green i...
2. Turn the EasyPilot button to highlight the icon...
3. Press in the EasyPilot button. The center of th...
Deleting Images
To delete images:
1. Press in the EasyPilot button. A row of green i...
2. Turn the EasyPilot button to highlight the icon...
3. Press in the EasyPilot button. The DELETE PICTU...
4. Select the desired option:
5. In the confirmation screen that appears, select...
Locking/Unlocking Images
To lock/unlock images in single-image mode:
1. Press in the EasyPilot button. A row of green i...
2. Turn the EasyPilot button to highlight the icon...
3. Select the desired option:
4. If you selected Lock all or Unlock all, in the ...
Using Multi-Image View
Viewing Images
To view multiple images at one time:
1. Press in the EasyPilot button. A row of green i...
2. Press in the EasyPilot button. The LCD now disp...
3. Turn the EasyPilot button in either direction t...
Deleting Images
To delete images in multi-image mode:
1. Press in the EasyPilot button. A row of green i...
2. Turn the EasyPilot button to highlight the icon...
3. Press in the EasyPilot button. The DELETE PICTU...
4. Select the desired option:
5. If you selected Mark & Delete, use the EasyPilo...
6. Select Mark. The option changes to Unmark.
7. To mark and delete more images, select Next and...
8. When you are done marking images, select Done. ...
9. Select Yes to delete the image(s). A progress s...
10. If you selected All, in the confirmation scree...
Locking/Unlocking Images
To lock/unlock images:
1. Press in the EasyPilot button. A row of green i...
2. Turn the EasyPilot button to highlight the icon...
3. Press in the EasyPilot button. The LOCK/UNLOCK ...
4. Select the desired option:
5. If you selected Lock/Unlock, in the screen that...
6. In the confirmation screen that appears, select...
7. To lock/unlock more images, select Next and rep...
8. When you are finished locking/unlocking, select...
Viewing Images on a TV
To view images on a TV:
1. Plug one end of the video cable into the VIDEO ...
2. Plug the other end of the video cable into the ...
3. The TV screen now takes the place of the camera...
Using the Camera with Your Computer
Connecting to Your Computer
To connect the camera to your computer:
1. Plug the jack at one end of the serial cable in...
2. Depending on your operating system:
Downloading Images into Your Computer
Creating Installation Diskettes for PhotoWise
To create PhotoWise installation floppy disks:
Windows
1. Place the PhotoWise CD in the CD-ROM drive of y...
2. In the Start menu, select Run.
3. In the dialog window that appears, type:
4. Click on OK.
5. Follow the prompts.
Macintosh
1. Place the PhotoWise CD in the CD-ROM drive of y...
2. Double-click on the Make Floppies application i...
3. Follow the prompts.
Camera Care and Maintenance
System Requirements
IBM PCs and Compatibles
Macintosh
Troubleshooting
Camera Specifications
Physical
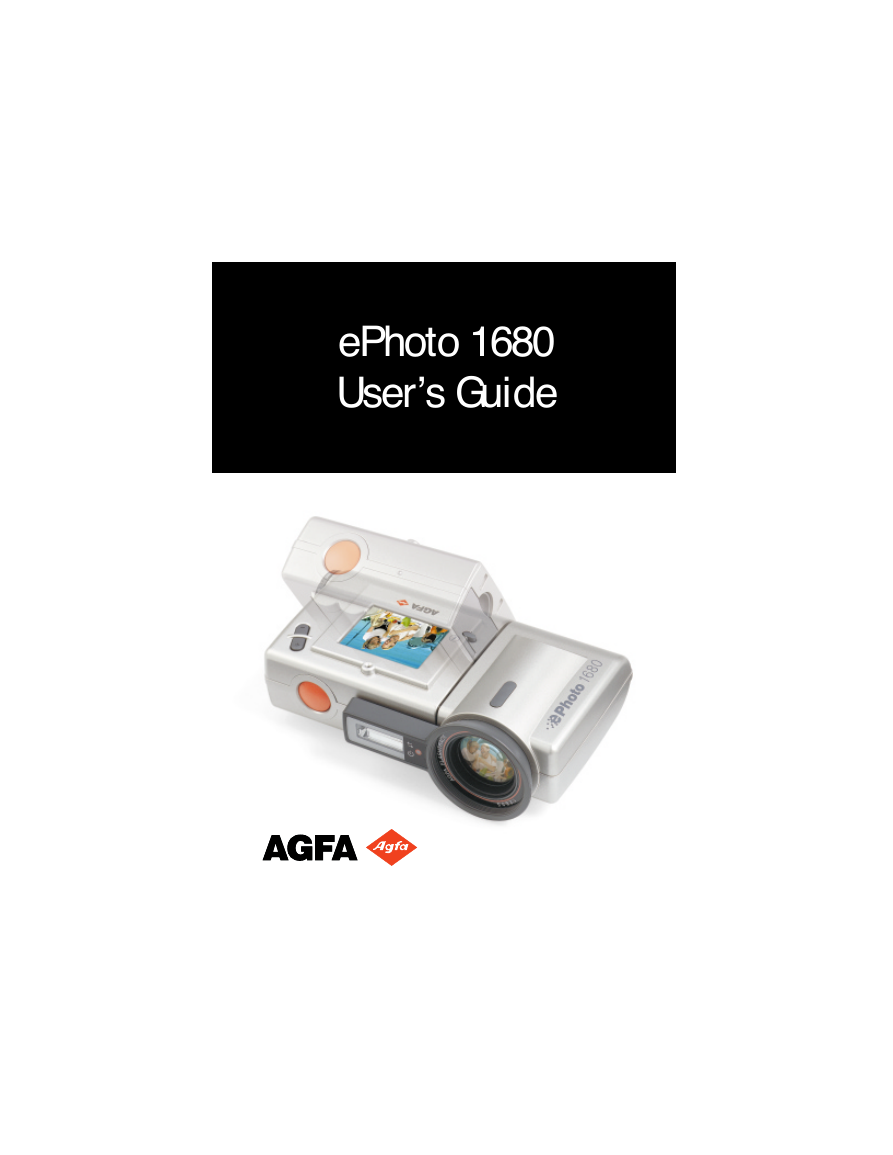
ePhoto 1680 User’s Guide



 2023年江西萍乡中考道德与法治真题及答案.doc
 2012年重庆南川中考生物真题及答案.doc
 2013年江西师范大学地理学综合及文艺理论基础考研真题.doc
 2020年四川甘孜小升初语文真题及答案I卷.doc
 2020年注册岩土工程师专业基础考试真题及答案.doc
 2023-2024学年福建省厦门市九年级上学期数学月考试题及答案.doc
 2021-2022学年辽宁省沈阳市大东区九年级上学期语文期末试题及答案.doc
 2022-2023学年北京东城区初三第一学期物理期末试卷及答案.doc
 2018上半年江西教师资格初中地理学科知识与教学能力真题及答案.doc
 2012年河北国家公务员申论考试真题及答案-省级.doc
 2020-2021学年江苏省扬州市江都区邵樊片九年级上学期数学第一次质量检测试题及答案.doc
 2022下半年黑龙江教师资格证中学综合素质真题及答案.doc