0.关闭所有的防火墙
1. 下载相关的包
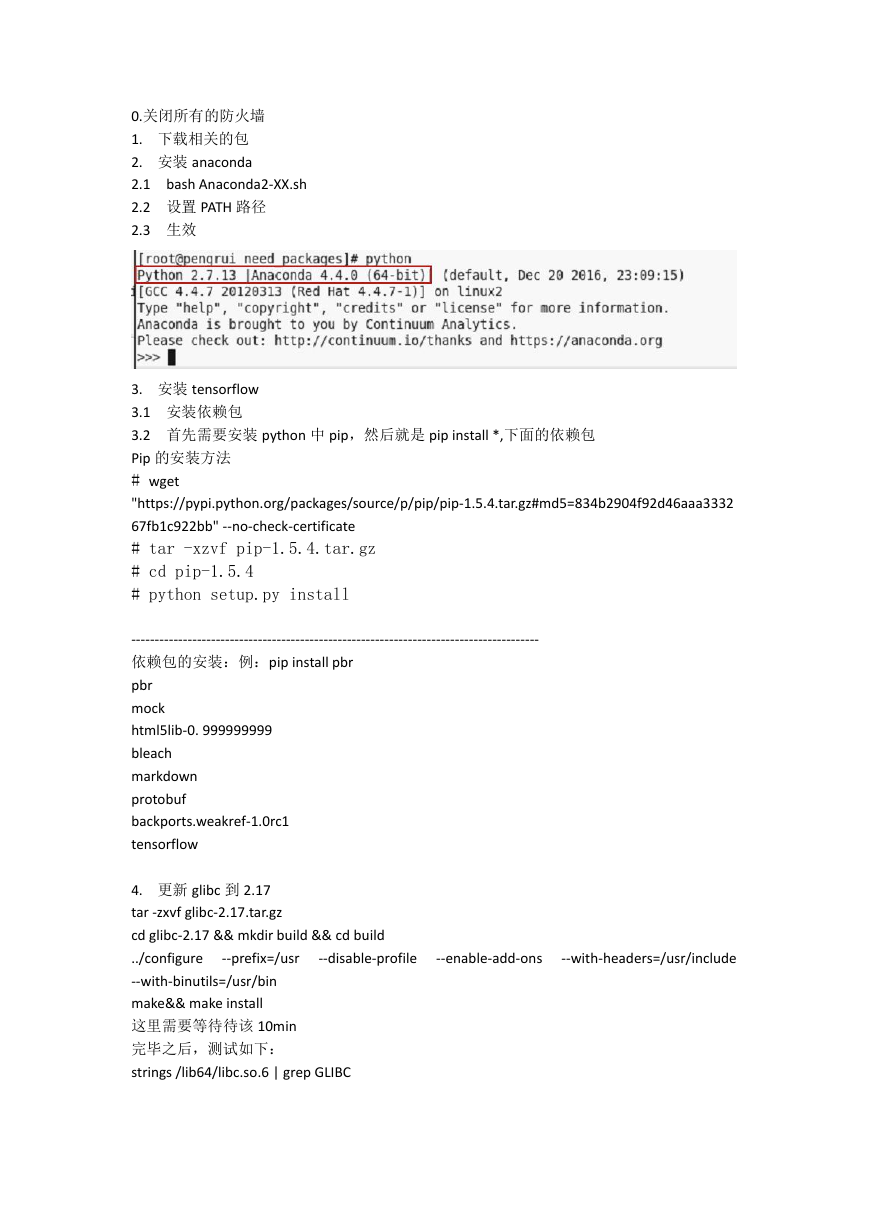
2. 安装 anaconda
2.1 bash Anaconda2-XX.sh
2.2 设置 PATH 路径
2.3 生效
3. 安装 tensorflow
3.1 安装依赖包
3.2 首先需要安装 python 中 pip,然后就是 pip install *,下面的依赖包
Pip 的安装方法
# wget
"https://pypi.python.org/packages/source/p/pip/pip-1.5.4.tar.gz#md5=834b2904f92d46aaa3332
67fb1c922bb" --no-check-certificate
# tar -xzvf pip-1.5.4.tar.gz
# cd pip-1.5.4
# python setup.py install
---------------------------------------------------------------------------------------
依赖包的安装:例:pip install pbr
pbr
mock
html5lib-0. 999999999
bleach
markdown
protobuf
backports.weakref-1.0rc1
tensorflow
--prefix=/usr
4. 更新 glibc 到 2.17
tar -zxvf glibc-2.17.tar.gz
cd glibc-2.17 && mkdir build && cd build
../configure
--with-binutils=/usr/bin
make&& make install
这里需要等待待该 10min
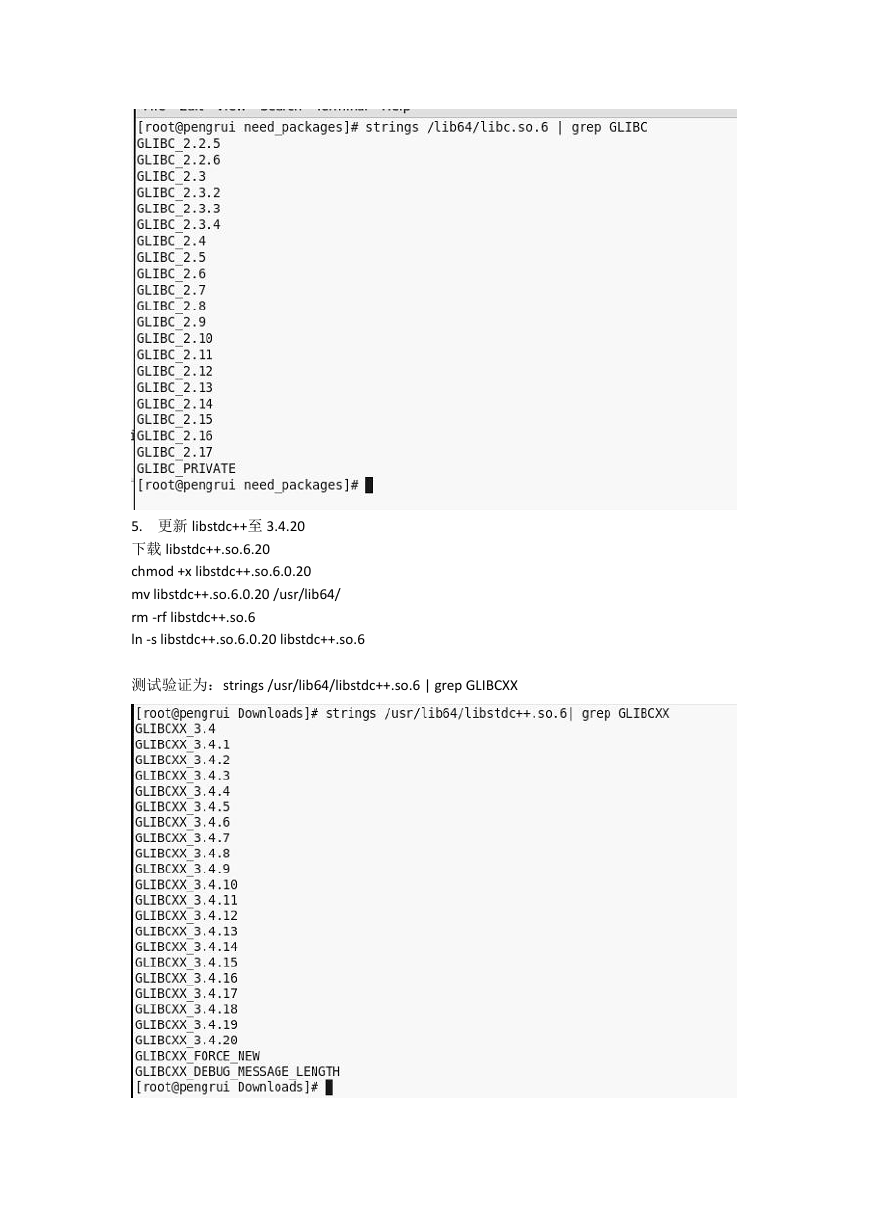
完毕之后,测试如下:
strings /lib64/libc.so.6 | grep GLIBC
--disable-profile
--enable-add-ons
--with-headers=/usr/include
�
5. 更新 libstdc++至 3.4.20
下载 libstdc++.so.6.20
chmod +x libstdc++.so.6.0.20
mv libstdc++.so.6.0.20 /usr/lib64/
rm -rf libstdc++.so.6
ln -s libstdc++.so.6.0.20 libstdc++.so.6
测试验证为:strings /usr/lib64/libstdc++.so.6 | grep GLIBCXX
�
6. 测试 tensorflow 进入 python 试试
import tensorflow as tf
hello=tf.constant(‘hello world’)
sess=tf.Session()
sess.run(hello)
�


 2023年江西萍乡中考道德与法治真题及答案.doc
 2012年重庆南川中考生物真题及答案.doc
 2013年江西师范大学地理学综合及文艺理论基础考研真题.doc
 2020年四川甘孜小升初语文真题及答案I卷.doc
 2020年注册岩土工程师专业基础考试真题及答案.doc
 2023-2024学年福建省厦门市九年级上学期数学月考试题及答案.doc
 2021-2022学年辽宁省沈阳市大东区九年级上学期语文期末试题及答案.doc
 2022-2023学年北京东城区初三第一学期物理期末试卷及答案.doc
 2018上半年江西教师资格初中地理学科知识与教学能力真题及答案.doc
 2012年河北国家公务员申论考试真题及答案-省级.doc
 2020-2021学年江苏省扬州市江都区邵樊片九年级上学期数学第一次质量检测试题及答案.doc
 2022下半年黑龙江教师资格证中学综合素质真题及答案.doc