FCC RF Interference Statement
Manual Order Number, Edition, and Publication Date
Trademark Acknowledgment
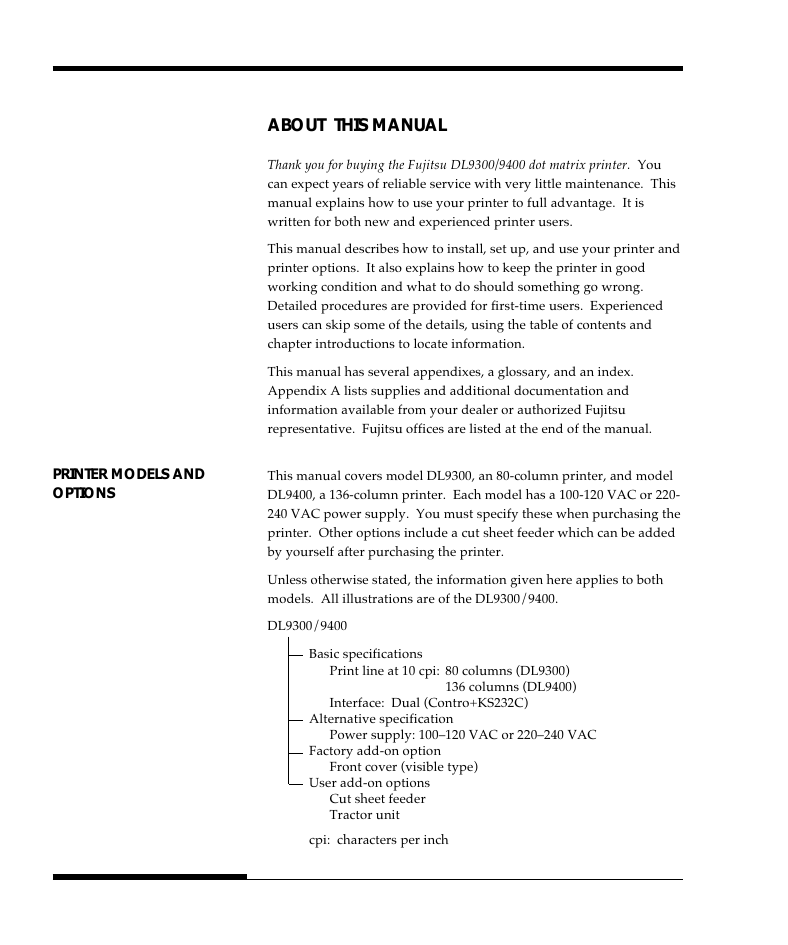
About This Manual
Printer Models and Options
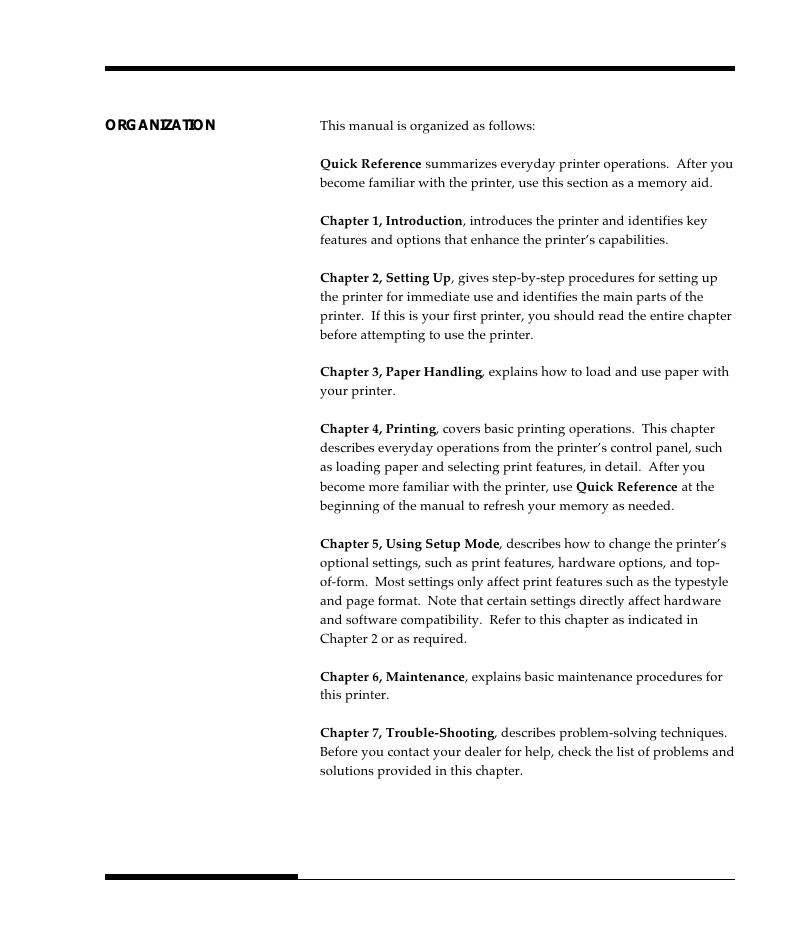
Organization
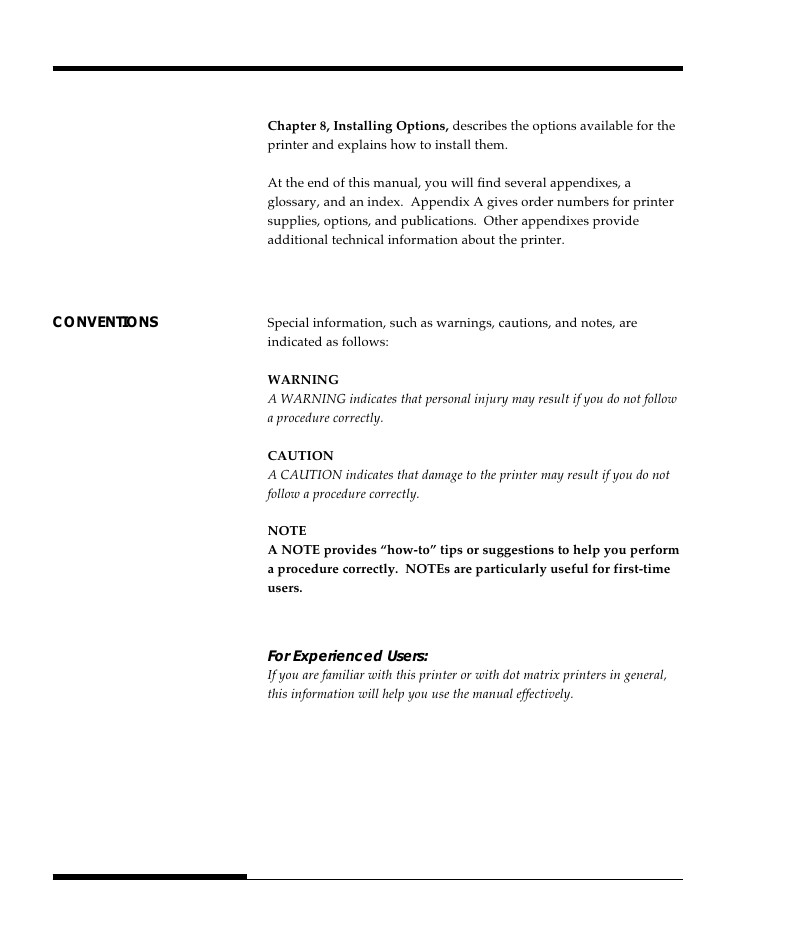
Conventions
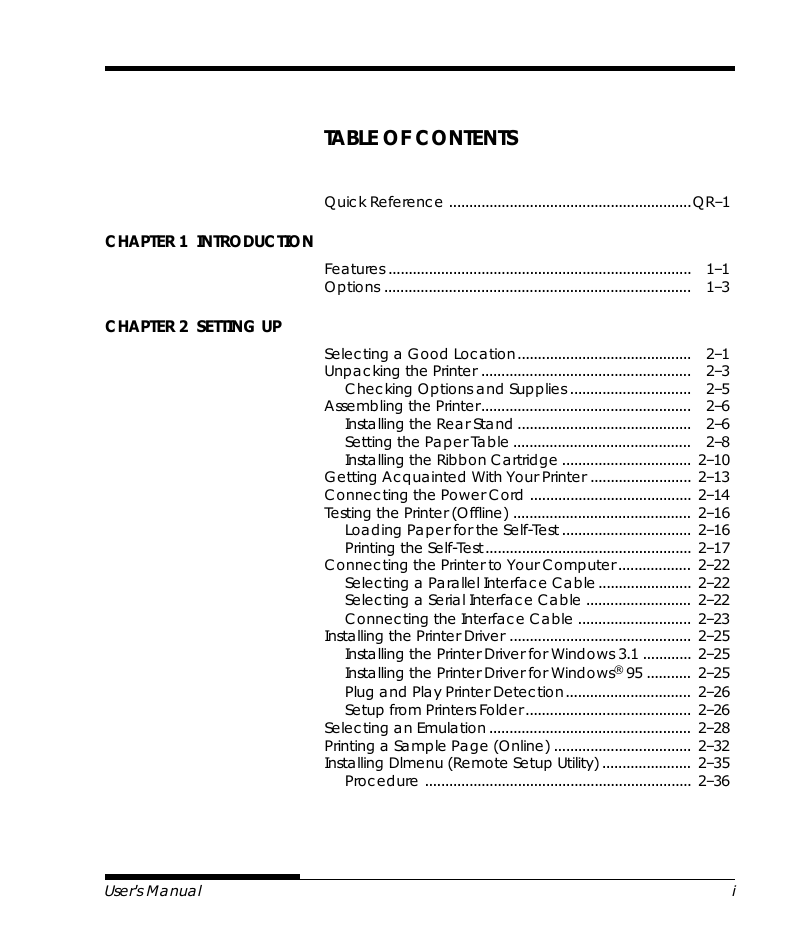
Table of Contents
Quick Reference
Chapter 1 Introduction
Features
Options
Chapter 2 Setting Up
Selecting a Good Location
Unpacking the Printer
Checking Options and Supplies
Assembling the Printer
Installing the Rear Stacker
Setting the Paper Table
Installing the Ribbon Cartridge
Getting Acquainted with Your Printer
Connecting the Power Cord
Testing the Printer (Offline)
Loading Paper for the Self-Test
Printing the Self-Test
Connecting the Printer to Your Computer
Selecting a Parallel Interface Cable
Selecting a Serial Interface Cable
Connecting the Interface Cable
Installing the Printer Driver
Installing the Printer Driver for Windows 3.1
Installing the Printer Driver for Windows® 95
Plug and Play Printer Detection
Setup from Printers Folder
Selecting an Emulation
Printing a Sample Page (Online)
Installing DLMENU (Remote Setup Utility)
Procedure
Chapter 3 Paper Handling
Selecting Paper
Overview of Paper Operations
Selecting Paper Path
Paper Paths and Feed Directions
Adjusting for Paper Thickness
Using Single Sheets
Loading a Single Sheet of Paper
Loading Paper from the Cut Sheet Feeder (Option)
Ejecting Single Sheets
Using Continuous Forms
Positioning the Paper Stack
Loading Continuous Forms (Front Feed)
Loading Continuous Forms (Rear Feed)
Unloading Continuous Forms
Tearing Off Continuous Forms
Feeding and Positioning Paper
Line Feed/Form Feed
Micro Feed
Load Position Adjust
Tips on Paper Handling
General Tips
Multipart Forms
Envelopes
Labels
Chapter 4 Printing
Using Multipart Form (Multi Copy Mode)
Starting or Stopping Printing
Starting Printing
Stopping Printing
Resuming from a Paper-Out
Printing the remaining lines on a page
Continuing printing after supplying paper
Removing Printed Pages
Removing Single Sheets
Removing Continuous Forms
Clearing the Print Buffer
Chapter 5 Using Setup Mode
How to Use This Chapter
Entering Setup Mode
Overview of Setup Mode
Setup Mode Example
Points to Remember
Printing a List of Selected Options
Deciding Which Options to Change
Menu1 and Menu2 Items and Options
Resetting Menu1 and Menu2
Hardware Items and Options
Print Position Adjustment Items and Options
Configuration Items and Options
Head Gap Adjustment Items and Options
Exiting and Saving
Resetting Defaults
Resetting Power-On Defaults
Resetting Factory Defaults
Resetting Factory Defaults in Menu1 and Menu2
Using the Diagnostic Functions
Printing the Self-Test
Printing Hex Dumps
Checking Vertical Print Alignment (V-ALMNT)
Setup Mode Reference
DPL24C PLUS Organization
Differences in IBM Proprinter XL24E Emulation
Differences in Epson ESC/P2 Emulation
Online Setup Mode
Chapter 6 Maintenance
Cleaning
Cleaning and Vacuuming the Printer
Cleaning the Platen
Replacing the Ribbon
Replacing the Print Head
Chapter 7 Trouble-Shooting
Solving Problems
Print Quality Problems
Paper Handling Problems
Operating Problems
Printer Failures
Diagnostic Functions
Getting Help
Chapter8 Installing Options
Installing the Cut Sheet Feeder
Installing the Tractor Unit
Appendix A Supplies, Options, and Publications
Supplies
Options
Publications
Appendix B Printer and Paper Specifications
Physical Specifications
Functional Specifications
Performance Specifications
Paper Specifications
Print Area
Paper Thickness
Appendix C Command Sets
FUJITSU DPL24C PLUS
IBM Proprinter XL24E Emulation
EPSON ESC/P2 Emulation
Appendix D Interface Information
Parallel Interface
Data Transmission Timing
Serial Interface
Serial Options
Cable Wiring
Serial Protocols
Appendix E Character Sets
Character Sets 1 and 2 (DPL24C PLUS and IBM XL24E Emulation)
Italic and Graphics Character Sets (ESC/P2 Emulation)
National Character Sets (All Emulations)
National Character Sets (DPL24C PLUS and IBM XL24E Emulation)
National Character Sets (ESC/P2 Emulation)
National Character Sets and Supported Resident Fonts (All Emulations)
Appendix F Resident Fonts
Glossary of Terms
Index
Fujitsu Offices


 2023年江西萍乡中考道德与法治真题及答案.doc
 2012年重庆南川中考生物真题及答案.doc
 2013年江西师范大学地理学综合及文艺理论基础考研真题.doc
 2020年四川甘孜小升初语文真题及答案I卷.doc
 2020年注册岩土工程师专业基础考试真题及答案.doc
 2023-2024学年福建省厦门市九年级上学期数学月考试题及答案.doc
 2021-2022学年辽宁省沈阳市大东区九年级上学期语文期末试题及答案.doc
 2022-2023学年北京东城区初三第一学期物理期末试卷及答案.doc
 2018上半年江西教师资格初中地理学科知识与教学能力真题及答案.doc
 2012年河北国家公务员申论考试真题及答案-省级.doc
 2020-2021学年江苏省扬州市江都区邵樊片九年级上学期数学第一次质量检测试题及答案.doc
 2022下半年黑龙江教师资格证中学综合素质真题及答案.doc