logo资料库

柯达打印机-EasyShare G600说明书.pdf

第1页 / 共76页
第2页 / 共76页
第3页 / 共76页
第4页 / 共76页
第5页 / 共76页
第6页 / 共76页
第7页 / 共76页
第8页 / 共76页
资料共76页,剩余部分请下载后查看
Kodak EasyShare 600 printer dock
Product features
Front/top/side view
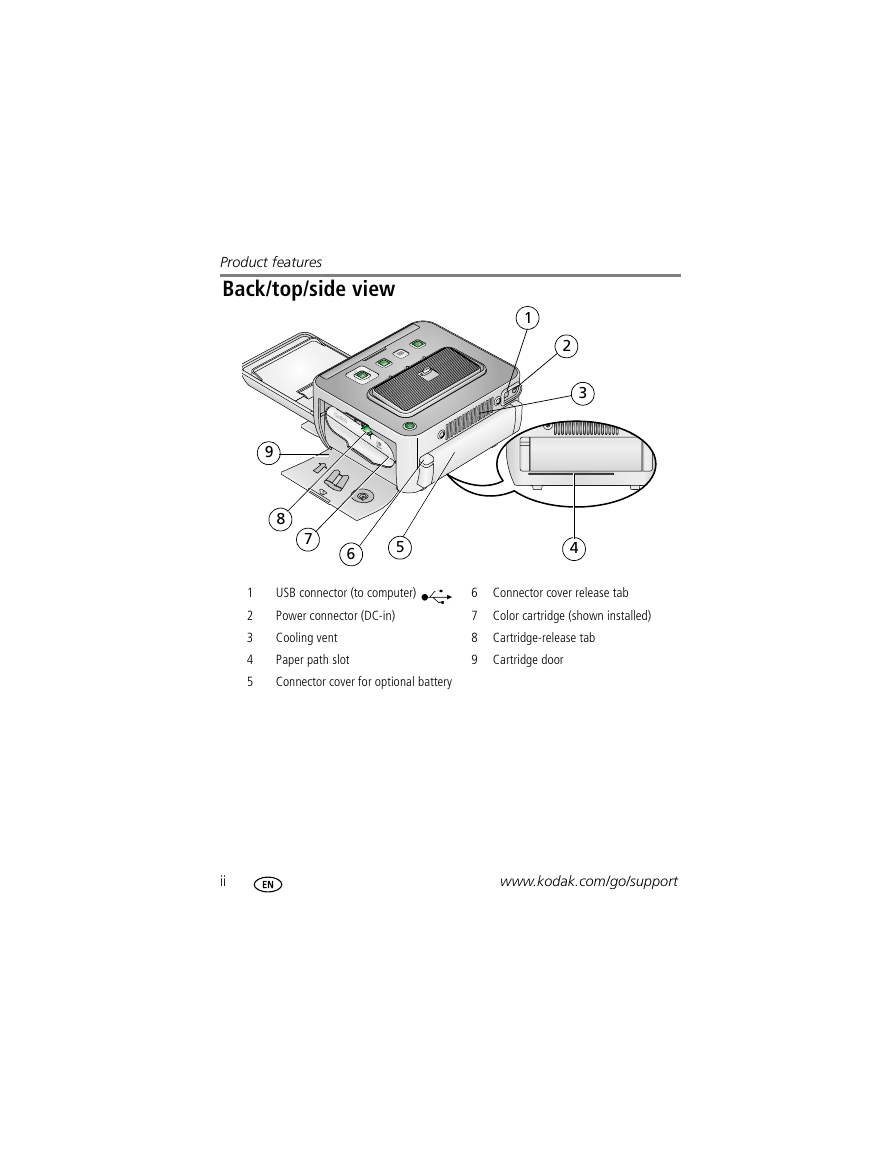
Back/top/side view
Table of contents
Getting started
Finding a location for your printer dock
Handling and storing the cartridge and paper
Cartridge
Paper
Attaching the custom camera insert
Connecting the power
Loading the paper and cartridge
Paper:
Cartridge:
Inserting and removing the paper tray
Inserting the paper tray
Removing the paper-tray
Setting up your digital camera
Docking and charging the camera
Docking the camera
Charging the camera
Refreshing the Kodak Ni-MH rechargeable camera battery
Best camera setting for 4 x 6 inch (10 x 15 cm) prints
Printing without a computer
Printing from your digital camera
Selecting pictures on your camera for printing
Printing tagged pictures
Printing from a PictBridge compatible device
Changing the printed picture layout
Effect of picture layout on number of copies
Printing pictures on the same sheet
Different pictures on the same sheet
Duplicate pictures on the same sheet
Method 1: using the digital camera
Method 2: using the printer dock and docked camera
Reducing red eye in your prints
Canceling printing
Installing software
Installing the software
Using the printer dock with a computer
Connecting to a computer
Transferring pictures from your digital camera
Printing from a computer
Printing with Kodak EasyShare software
Printing tagged pictures from your computer
Printing with other applications
Choosing a color mode
Canceling printing
Using the printer dock with a USB flash drive
Printing pictures from a USB flash drive
Canceling printing
Copying pictures to a USB flash drive
Copying without a computer connected
Copying with a computer connected
Canceling copying to a USB flash drive
Printer dock portability
Taking your printer dock with you
Transporting your printer dock
Powering your printer dock with a battery
Attaching the printer battery (optional)
Printer battery information
Battery charging
Print number
Battery safety and handling
Maintenance and firmware upgrade
Maintaining your printer dock
Cleaning the paper-feed rollers
Upgrading your printer dock firmware
From your computer
From your USB flash drive
Troubleshooting
Printing problems
Transfer/communication problems
Printer-dock-status lights
Getting help
Helpful links
Telephone customer support
Appendix
Printer dock specifications
Important safety instructions
Using this product
Battery safety and handling
Extending battery life
Upgrading your software and firmware
Additional care and maintenance
Warranty
Limited Warranty
Limited warranty coverage
Limitations
Your rights
Outside the United States and Canada
Regulatory information
FCC compliance and advisory
Canadian DOC statement
Australian C-Tick
Waste Electrical and Electronic Equipment labeling
Korea Class B ITE
VCCI Class B ITE
Index
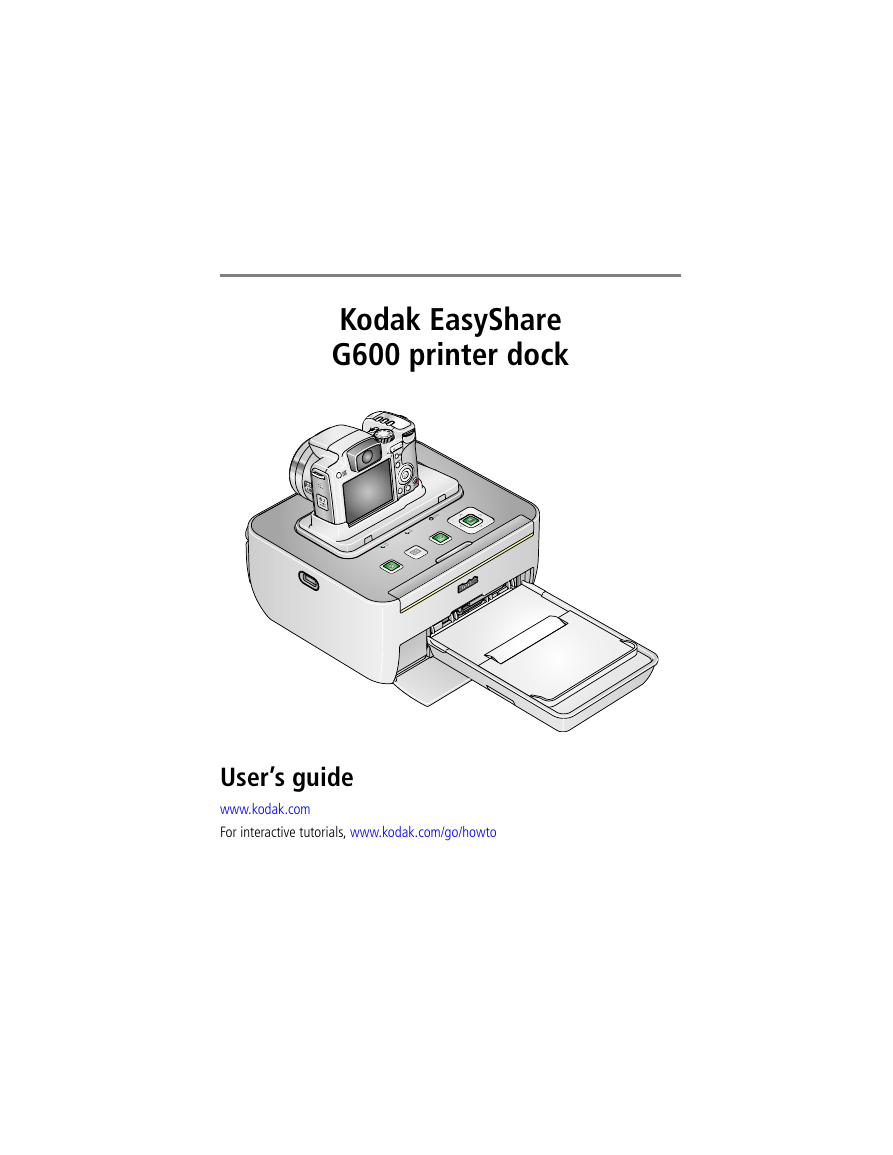
Kodak EasyShare G600 printer dock User’s guide www.kodak.com For interactive tutorials, www.kodak.com/go/howto
Eastman Kodak Company Rochester, New York 14650 © Eastman Kodak Company, 2006 All screen images are simulated. Kodak, EasyShare, ImageLink, and XtraLife are trademarks of Eastman Kodak Company. P/N 4J4599_en
Product features Front/top/side view 16 15 1 2 3 4 5 6 14 13 12 11 10 9 8 7 1 Power button/light 2 3 Print button/light 4 Red-eye reduction button/ (4-way button) light 5 Print Layout button 6 Transfer button/light 7 Paper tray 8 Paper-tray cover Paper-tray door 9 10 Paper-tray chamber 11 Pull-out handle 12 USB device connector (for compatible USB devices) 13 Paper status indicator light 14 Camera connector 15 Camera battery status light 16 Cartridge status indicator light www.kodak.com/go/support i
Product features Back/top/side view 9 8 7 6 5 1 2 3 4 1 2 3 4 5 USB connector (to computer) Power connector (DC-in) Cooling vent Paper path slot Connector cover for optional battery 6 7 8 9 Connector cover release tab Color cartridge (shown installed) Cartridge-release tab Cartridge door ii www.kodak.com/go/support
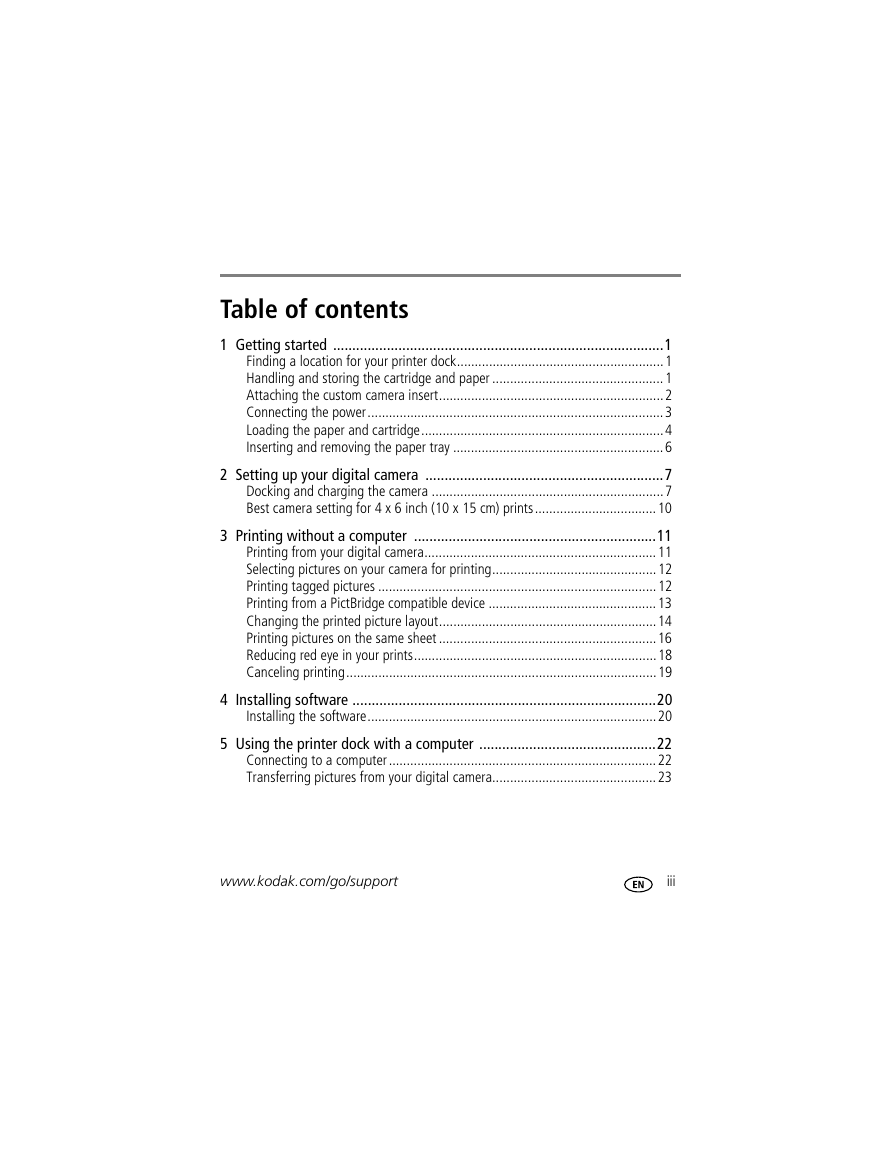
1 Table of contents 1 Getting started ......................................................................................1 Finding a location for your printer dock..........................................................1 Handling and storing the cartridge and paper ................................................1 Attaching the custom camera insert...............................................................2 Connecting the power...................................................................................3 Loading the paper and cartridge....................................................................4 Inserting and removing the paper tray ...........................................................6 2 Setting up your digital camera ..............................................................7 Docking and charging the camera .................................................................7 Best camera setting for 4 x 6 inch (10 x 15 cm) prints..................................10 3 Printing without a computer ...............................................................11 Printing from your digital camera.................................................................11 Selecting pictures on your camera for printing..............................................12 Printing tagged pictures ..............................................................................12 Printing from a PictBridge compatible device ...............................................13 Changing the printed picture layout.............................................................14 Printing pictures on the same sheet .............................................................16 Reducing red eye in your prints....................................................................18 Canceling printing.......................................................................................19 4 Installing software ...............................................................................20 Installing the software.................................................................................20 5 Using the printer dock with a computer ..............................................22 Connecting to a computer ...........................................................................22 Transferring pictures from your digital camera..............................................23 www.kodak.com/go/support iii
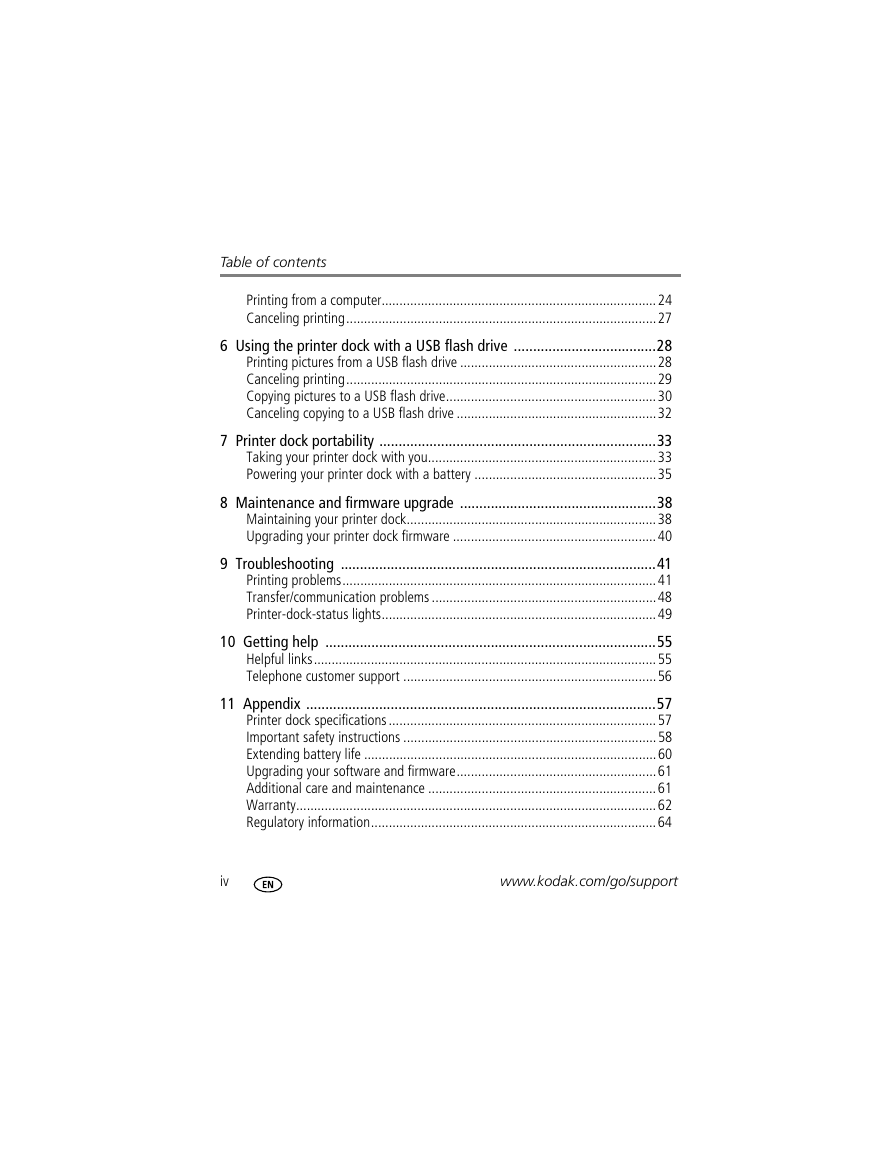
Table of contents Printing from a computer.............................................................................24 Canceling printing.......................................................................................27 6 Using the printer dock with a USB flash drive .....................................28 Printing pictures from a USB flash drive .......................................................28 Canceling printing.......................................................................................29 Copying pictures to a USB flash drive...........................................................30 Canceling copying to a USB flash drive ........................................................32 7 Printer dock portability ........................................................................33 Taking your printer dock with you................................................................33 Powering your printer dock with a battery ...................................................35 8 Maintenance and firmware upgrade ...................................................38 Maintaining your printer dock......................................................................38 Upgrading your printer dock firmware .........................................................40 9 Troubleshooting ..................................................................................41 Printing problems........................................................................................41 Transfer/communication problems ...............................................................48 Printer-dock-status lights.............................................................................49 10 Getting help ......................................................................................55 Helpful links................................................................................................55 Telephone customer support .......................................................................56 11 Appendix ...........................................................................................57 Printer dock specifications ...........................................................................57 Important safety instructions .......................................................................58 Extending battery life ..................................................................................60 Upgrading your software and firmware........................................................61 Additional care and maintenance ................................................................61 Warranty.....................................................................................................62 Regulatory information................................................................................64 iv www.kodak.com/go/support
1 Getting started Finding a location for your printer dock I Place the printer dock on a flat, clean, dust-free surface, in a dry location, and out of direct sunlight. 5 in. (12.7 cm) I Allow at least 5 in. (12.7 cm) clearance from the back of the printer dock for paper travel. I For proper ventilation, make sure the top and back of the printer dock are not blocked. I When connecting power or USB cables, keep the cables clear of the paper path to the front and rear of the printer dock. I Avoid areas where ventilation ducts, open doors, or frequent passersby might expose the printer dock and paper to high levels of dust and debris. Airborne dirt particles can affect picture quality. I Allow enough space on all sides of the printer dock to let you connect and disconnect cables, change the cartridge, and add paper. Handling and storing the cartridge and paper Cartridge I Keep cartridges out of the reach of children. I For best quality prints, store the cartridge in a location where the temperature does not exceed 85°F (30°C). I To avoid getting fingerprints on the ribbon, handle the cartridge by the spool ends. I Keep the cartridge away from direct sunlight and out of high-temperature environments (such as a vehicle parked in the sun). www.kodak.com/go/support 1
Getting started Paper I To avoid fingerprints on the paper, handle it by the edges. Do not touch the glossy side of the paper. I To store paper, remove the tray and close the cover and door to keep out dust and debris. Store paper flat. I Keep the paper away from direct sunlight and out of high-temperature environments (such as a vehicle parked in the sun). Attaching the custom camera insert IMPORTANT: Use the custom insert that came with your digital camera to dock the camera. Depending on your camera connector, you may need the Kodak dock adapter kit D-26. See the instructions included with the dock adapter. I Place the insert tabs into the back slots of the dock. I Then press the front tabs down and snap into place. Purchase a custom camera insert for your Kodak EasyShare digital camera and other accessories at www.kodak.com/go/accessories. 2 www.kodak.com/go/support
分享到:
收藏