logo资料库

柯尼卡美能达数码相机-柯尼卡 KD-400Z说明书.pdf

第1页 / 共117页
第2页 / 共117页
第3页 / 共117页
第4页 / 共117页
第5页 / 共117页
第6页 / 共117页
第7页 / 共117页
第8页 / 共117页
资料共117页,剩余部分请下载后查看
Getting Started
Contents
Important Safety Precautions
Preparation
Necessary Accessories
Names of Parts
Camera Body
Operation Buttons
Attaching the Strap
Preparing the Power Supply
Charging the (supplied) Battery Pack
Installing the (supplied) Battery Pack
Connecting the AC Adapter (sold separately)
Turning the Power ON/OFF
Setting the Menu Language/Date and Time
Inserting/Removing Cards
Basic Operation
Taking Pictures
Holding Your Camera
Viewfinder and Indicator LEDs
Taking Pictures using the Viewfinder
Shooting with Focus Lock
Taking Pictures using the LCD Monitor
Selecting the Shooting Mode
AUTO (Auto Flash)
Red-Eye Reduction
Fill-In
Slow-Sync
Off (Flash Override)
Macro-photo Mode
Distant View Mode
Self-Timer Mode
Advanced Shooting
Using the REC Menu
Setting with the REC (BASIC) Menu
Selecting the Image Size
Shooting Movies
Adjusting the Brightness of the LCD Monitor
Selecting the Set-up Menu
Setting with the REC (DETAILS) Menu
Returning to Default Settings
Selecting a Combination of Image Sizes and Compression Ratios
Adjusting Exposure Compensation
Adjusting White Balance
Using the Digital Zoom
Changing Auto-Exposure (AE) Modes
Changing to the Slow Shutter Speed Mode
Making Voice Memos
Using After Recording
Taking Sepia Tone Photos
Basic Playback/Erasing
Playback
Playing Back Pre-recorded Images
Playing Back Movies
Playing Back Voice Memos
Playing Back Enlarged Images (Digital Zoom)
Using the Quick-view Function
Erasing the Playback Image
Advanced Playback/Erasing
Using the PLAY Menu
Viewing Multiple Pages at Once (Index Playback)
Copying an Image
Erasing Unwanted Images
Adjusting LCD Monitor Brightness
Selecting/Deselecting Images to Print (DPOF)
Reducing Image Size (Resizing)
Setting/Canceling Protection for Your Important Images
Moving the Image Data to Another Memory Card
Playing a Slide Show
Using the After Recording Function
Selecting the Set-up Menu
Advanced Operations
Using the Set-up Menu
Formatting a Memory Card
REC Menu Settings
Quick View Settings
Make so the Image Information is not displayed
Setting the Operation Sounds
Adjusting the Date and Time
Setting the Self-timer Delay Time
Setting the Auto Power-OFF Time
Resetting the File Numbers
Setting Memory Priority
Changing Languages
Taking Still Images with Sound
Restoring the Default Settings
Others
Connecting to your PC
Operating Environments
Connecting with a USB cable
Downloading (transferring) Images
Installing software from the CD-ROM supplied
Installing USB Driver Software
Using Windows
Using Macintosh
When Carrying the Camera Overseas
Care and Storage
Troubleshooting
Main Specifications
Warranty and After-sales Service
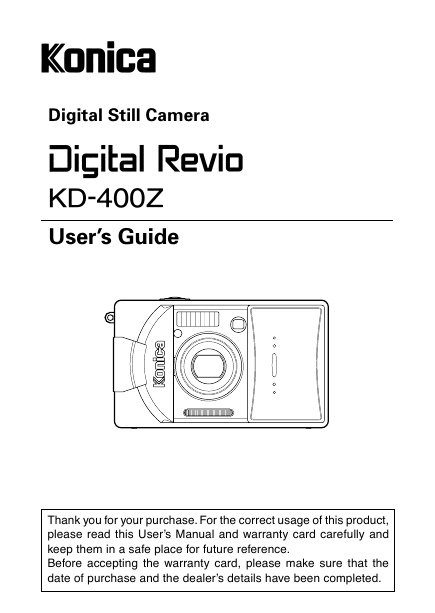
Digital Still Camera User’s Guide Thank you for your purchase. For the correct usage of this product, please read this User’s Manual and warranty card carefully and keep them in a safe place for future reference. Before accepting the warranty card, please make sure that the date of purchase and the dealer’s details have been completed.
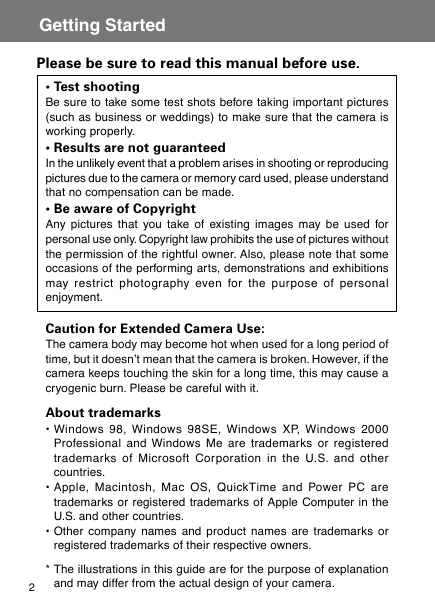
Getting Started Please be sure to read this manual before use. • Test shooting Be sure to take some test shots before taking important pictures (such as business or weddings) to make sure that the camera is working properly. • Results are not guaranteed In the unlikely event that a problem arises in shooting or reproducing pictures due to the camera or memory card used, please understand that no compensation can be made. • Be aware of Copyright Any pictures that you take of existing images may be used for personal use only. Copyright law prohibits the use of pictures without the permission of the rightful owner. Also, please note that some occasions of the performing arts, demonstrations and exhibitions may restrict photography even for the purpose of personal enjoyment. Caution for Extended Camera Use: The camera body may become hot when used for a long period of time, but it doesn’t mean that the camera is broken. However, if the camera keeps touching the skin for a long time, this may cause a cryogenic burn. Please be careful with it. About trademarks • Windows 98, Windows 98SE, Windows XP, Windows 2000 Professional and Windows Me are trademarks or registered trademarks of Microsoft Corporation in the U.S. and other countries. • Apple, Macintosh, Mac OS, QuickTime and Power PC are trademarks or registered trademarks of Apple Computer in the U.S. and other countries. • Other company names and product names are trademarks or registered trademarks of their respective owners. * The illustrations in this guide are for the purpose of explanation and may differ from the actual design of your camera. 2
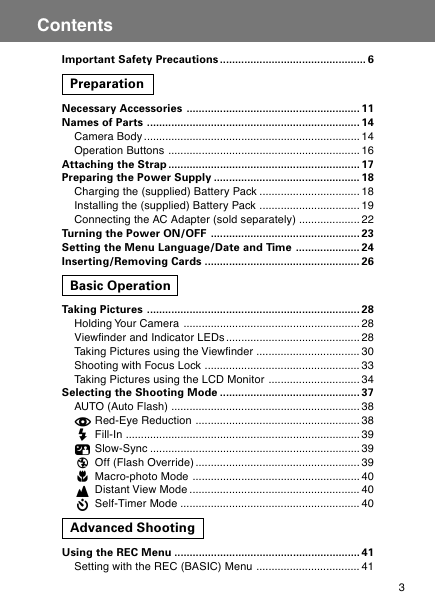
Contents Important Safety Precautions ................................................ 6 Preparation Necessary Accessories ......................................................... 11 Names of Parts ...................................................................... 14 Camera Body ....................................................................... 14 Operation Buttons ............................................................... 16 Attaching the Strap ............................................................... 17 Preparing the Power Supply ................................................ 18 Charging the (supplied) Battery Pack ................................. 18 Installing the (supplied) Battery Pack ................................. 19 Connecting the AC Adapter (sold separately) .................... 22 Turning the Power ON/OFF ................................................. 23 Setting the Menu Language/Date and Time ..................... 24 Inserting/Removing Cards ................................................... 26 Basic Operation Taking Pictures ...................................................................... 28 Holding Your Camera .......................................................... 28 Viewfinder and Indicator LEDs ............................................ 28 Taking Pictures using the Viewfinder .................................. 30 Shooting with Focus Lock ................................................... 33 Taking Pictures using the LCD Monitor .............................. 34 Selecting the Shooting Mode .............................................. 37 AUTO (Auto Flash) .............................................................. 38 Red-Eye Reduction ...................................................... 38 Fill-In ............................................................................. 39 Slow-Sync ..................................................................... 39 Off (Flash Override) ...................................................... 39 Macro-photo Mode ....................................................... 40 Distant View Mode ........................................................ 40 Self-Timer Mode ........................................................... 40 Advanced Shooting Using the REC Menu ............................................................. 41 Setting with the REC (BASIC) Menu .................................. 41 3
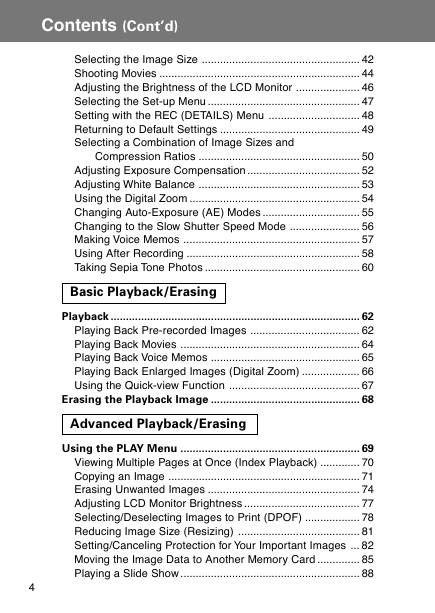
Contents (Cont’d) Selecting the Image Size .................................................... 42 Shooting Movies .................................................................. 44 Adjusting the Brightness of the LCD Monitor ..................... 46 Selecting the Set-up Menu .................................................. 47 Setting with the REC (DETAILS) Menu .............................. 48 Returning to Default Settings .............................................. 49 Selecting a Combination of Image Sizes and Compression Ratios ..................................................... 50 Adjusting Exposure Compensation ..................................... 52 Adjusting White Balance ..................................................... 53 Using the Digital Zoom ........................................................ 54 Changing Auto-Exposure (AE) Modes ................................ 55 Changing to the Slow Shutter Speed Mode ....................... 56 Making Voice Memos .......................................................... 57 Using After Recording ......................................................... 58 Taking Sepia Tone Photos ................................................... 60 Basic Playback/Erasing Playback .................................................................................. 62 Playing Back Pre-recorded Images .................................... 62 Playing Back Movies ........................................................... 64 Playing Back Voice Memos ................................................. 65 Playing Back Enlarged Images (Digital Zoom) ................... 66 Using the Quick-view Function ........................................... 67 Erasing the Playback Image ................................................. 68 Advanced Playback/Erasing Using the PLAY Menu ........................................................... 69 Viewing Multiple Pages at Once (Index Playback) ............. 70 Copying an Image ............................................................... 71 Erasing Unwanted Images .................................................. 74 Adjusting LCD Monitor Brightness ...................................... 77 Selecting/Deselecting Images to Print (DPOF) .................. 78 Reducing Image Size (Resizing) ........................................ 81 Setting/Canceling Protection for Your Important Images ... 82 Moving the Image Data to Another Memory Card .............. 85 Playing a Slide Show ........................................................... 88 4
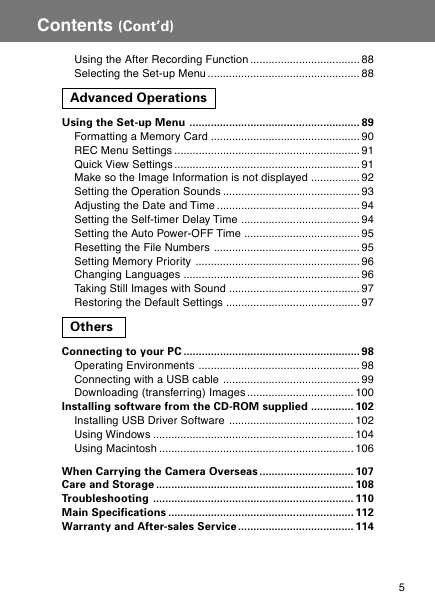
Contents (Cont’d) Using the After Recording Function .................................... 88 Selecting the Set-up Menu .................................................. 88 Advanced Operations Using the Set-up Menu ........................................................ 89 Formatting a Memory Card ................................................. 90 REC Menu Settings ............................................................. 91 Quick View Settings ............................................................. 91 Make so the Image Information is not displayed ................ 92 Setting the Operation Sounds ............................................. 93 Adjusting the Date and Time ............................................... 94 Setting the Self-timer Delay Time ....................................... 94 Setting the Auto Power-OFF Time ...................................... 95 Resetting the File Numbers ................................................ 95 Setting Memory Priority ...................................................... 96 Changing Languages .......................................................... 96 Taking Still Images with Sound ........................................... 97 Restoring the Default Settings ............................................ 97 Others Connecting to your PC .......................................................... 98 Operating Environments ..................................................... 98 Connecting with a USB cable ............................................. 99 Downloading (transferring) Images ................................... 100 Installing software from the CD-ROM supplied .............. 102 Installing USB Driver Software ......................................... 102 Using Windows .................................................................. 104 Using Macintosh ................................................................ 106 When Carrying the Camera Overseas ............................... 107 Care and Storage ................................................................. 108 Troubleshooting .................................................................. 110 Main Specifications ............................................................. 112 Warranty and After-sales Service ...................................... 114 5
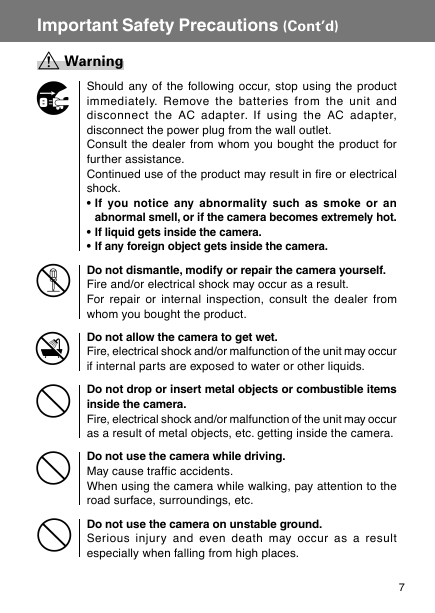
Important Safety Precautions This product has been designed with safety in mind; however, please read the following display marks, warnings and cautions for its correct usage. The following warning and caution symbols are to prevent damage to the user, other persons and property. ! Definitions of the symbols The following categories explain the degree of danger or damage that may occur if the displayed content is not followed or the product is misused. Warning This symbol indicates that misuse may result in serious injury and even death. Caution This symbol indicates that misuse may result in bodily injury or physical damage. The following categories explain the contents to be followed using symbols. This symbol indicates that the content requires caution when performed. This symbol indicates that the content is prohibited. This symbol indicates that the content must always be followed. 6
Important Safety Precautions (Cont’d) Warning Should any of the following occur, stop using the product immediately. Remove the batteries from the unit and disconnect the AC adapter. If using the AC adapter, disconnect the power plug from the wall outlet. Consult the dealer from whom you bought the product for further assistance. Continued use of the product may result in fire or electrical shock. • If you notice any abnormality such as smoke or an abnormal smell, or if the camera becomes extremely hot. • If liquid gets inside the camera. • If any foreign object gets inside the camera. Do not dismantle, modify or repair the camera yourself. Fire and/or electrical shock may occur as a result. For repair or internal inspection, consult the dealer from whom you bought the product. Do not allow the camera to get wet. Fire, electrical shock and/or malfunction of the unit may occur if internal parts are exposed to water or other liquids. Do not drop or insert metal objects or combustible items inside the camera. Fire, electrical shock and/or malfunction of the unit may occur as a result of metal objects, etc. getting inside the camera. Do not use the camera while driving. May cause traffic accidents. When using the camera while walking, pay attention to the road surface, surroundings, etc. Do not use the camera on unstable ground. Serious injury and even death may occur as a result especially when falling from high places. 7
Important Safety Precautions (Cont’d) Warning Do not directly look at the sun through the viewfinder. Loss of or impaired eyesight may result. Do not touch the metal parts on the camera during thunder and lighting. Death may occur if lighting strikes the camera. Do not use AC adapters other than those specified. Fire may occur as a result of AC adapters other than those specified being used. Do not dismantle, short-circuit, coat (solder, etc.), apply heat, apply pressure (with nail, etc.) to the battery, or throw into a fire. Furthermore, do not allow metals (wires, necklaces, etc.) to come into contact with batteries. Fluid leakage, heat, fire and damage may occur as a result. Caution Do not point the lens directly at the sun or at a strong light source. Malfunction of internal parts may occur from concentrated rays of light. Using the camera in such conditions may cause short circuits and breakdown of insulation, resulting in overheating and/or fire. Take care not to get fingers caught in the battery/card cover. Personal injury may occur as a result. When using the camera inside an airplane, follow the directions of the airline company. Electric waves emitted from the camera may affect airplane cockpit instruments. Do not use the flash near eyes. Eye injury may occur as a result. 8
分享到:
收藏