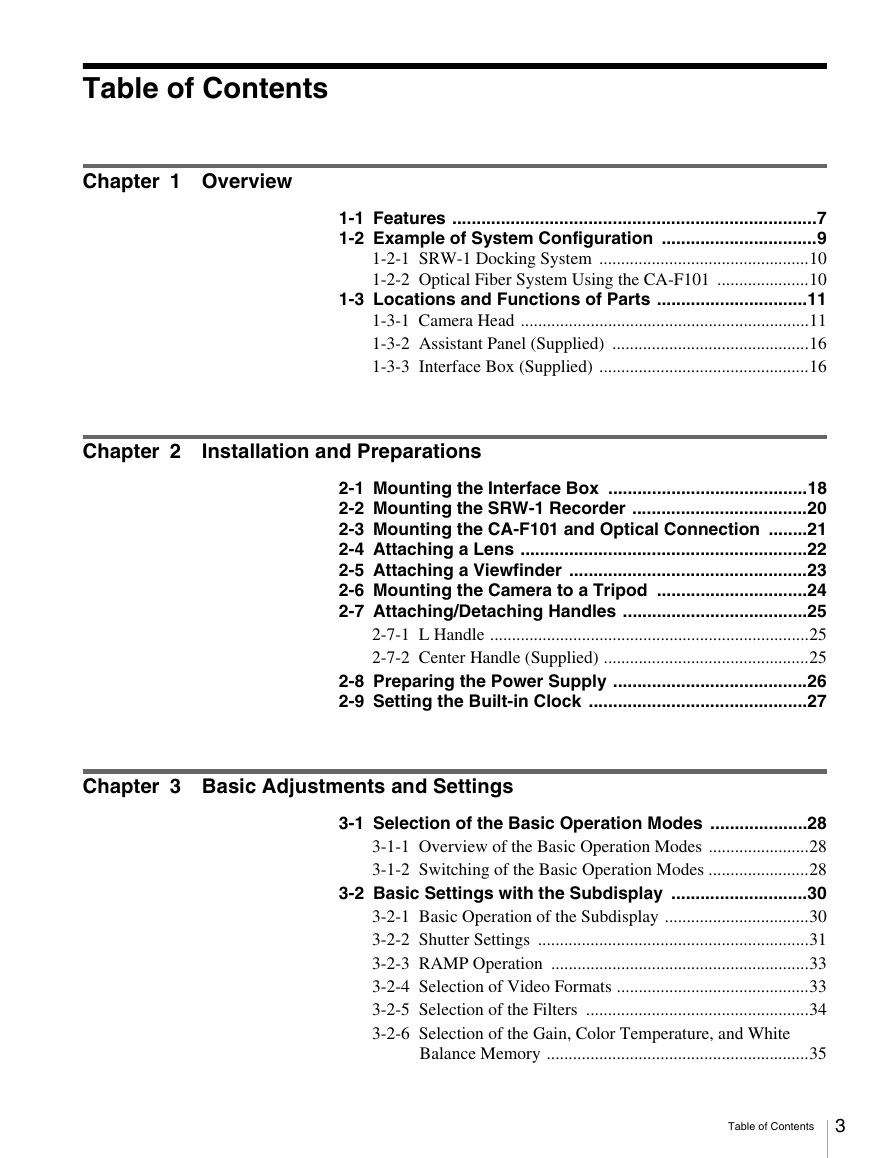
Table of Contents
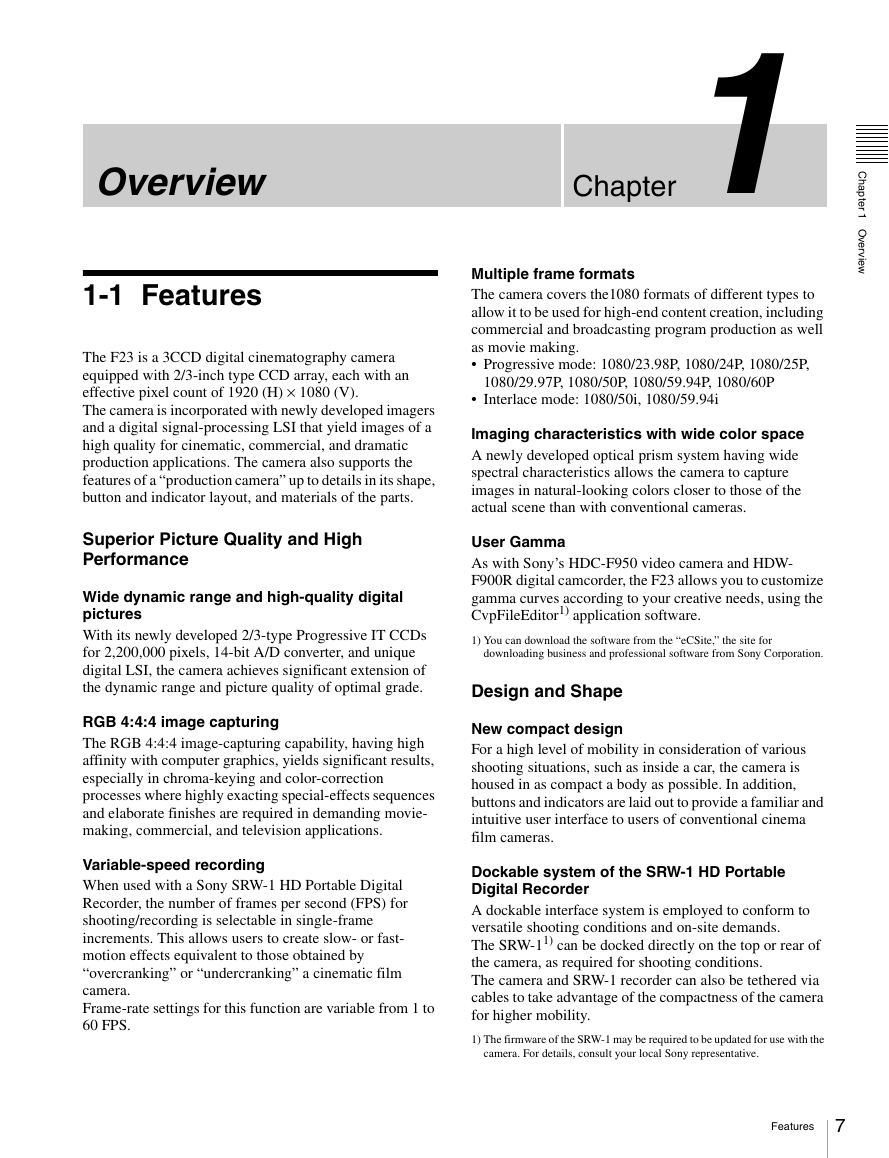
Chapter 1 Overview
1-1 Features
1-2 Example of System Configuration
1-2-1 SRW-1 Docking System
1-2-2 Optical Fiber System Using the CA-F101
1-3 Locations and Functions of Parts
1-3-1 Camera Head
1-3-2 Assistant Panel (Supplied)
1-3-3 Interface Box (Supplied)
Chapter 2 Installation and Preparations
2-1 Mounting the Interface Box
2-2 Mounting the SRW-1 Recorder
2-3 Mounting the CA- F101 and Optical Connection
2-4 Attaching a Lens
2-5 Attaching a Viewfinder
2-6 Mounting the Camera to a Tripod
2-7 Attaching/Detaching Handles
2-7-1 L Handle
2-7-2 Center Handle (Supplied)
2-8 Preparing the Power Supply
2-9 Setting the Built-in Clock
Chapter 3 Basic Adjustments and Settings
3-1 Selection of the Basic Operation Modes
3-1-1 Overview of the Basic Operation Modes
3-1-2 Switching of the Basic Operation Modes
3-2 Basic Settings with the Subdisplay
3-2-1 Basic Operation of the Subdisplay
3-2-2 Shutter Settings
3-2-3 RAMP Operation
3-2-4 Selection of Video Formats
3-2-5 Selection of the Filters
3-2-6 Selection of the Gain, Color Temperature, and White Balance Memory
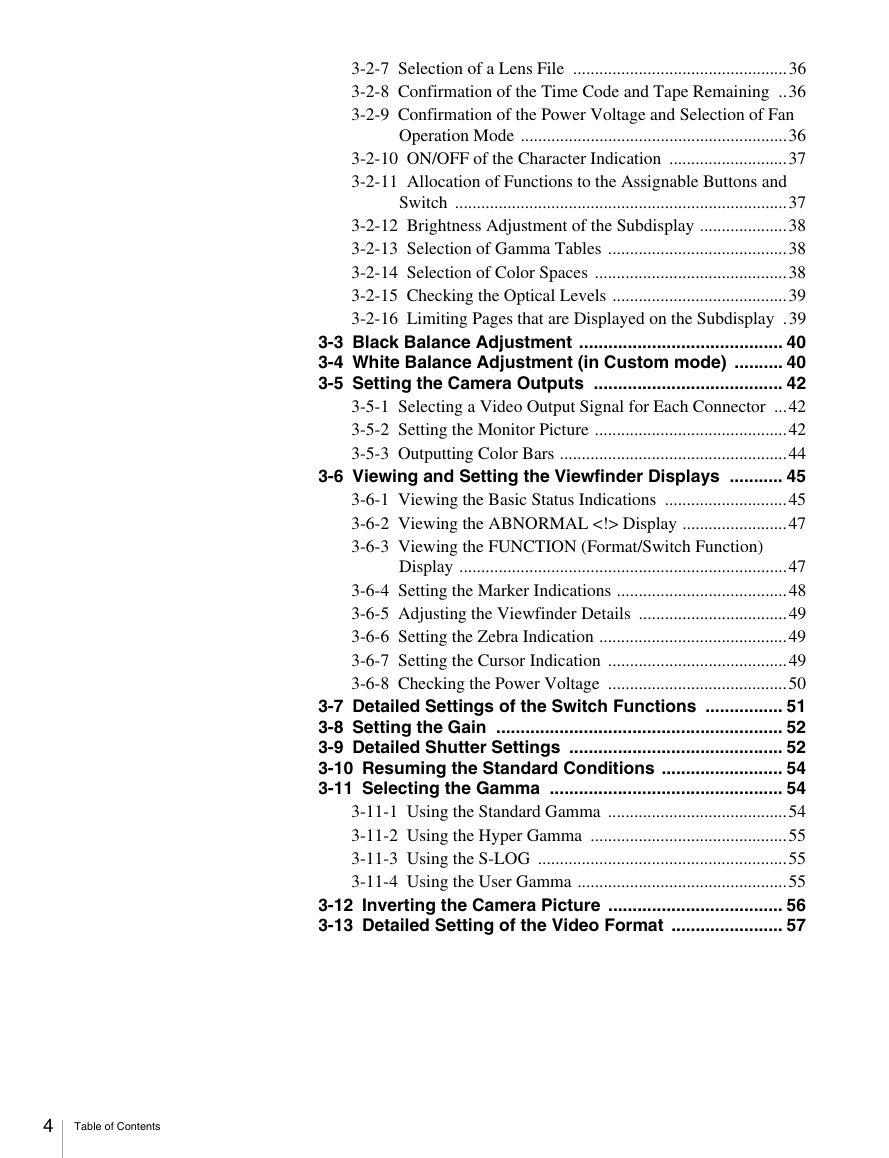
3-2-7 Selection of a Lens File
3-2-8 Confirmation of the Time Code and Tape Remaining
3-2-9 Confirmation of the Power Voltage and Selection of Fan Operation Mode
3-2-10 ON/OFF of the Character Indication
3-2-11 Allocation of Functions to the Assignable Buttons and Switch
3-2-12 Brightness Adjustment of the Subdisplay
3-2-13 Selection of Gamma Tables
3-2-14 Selection of Color Spaces
3-2-15 Checking the Optical Levels
3-2-16 Limiting Pages that are Displayed on the Subdisplay
3-3 Black Balance Adjustment
3-4 White Balance Adjustment (in Custom mode)
3-5 Setting the Camera Outputs
3-5-1 Selecting a Video Output Signal for Each Connector
3-5-2 Setting the Monitor Picture
3-5-3 Outputting Color Bars
3-6 Viewing and Setting the Viewfinder Displays
3-6-1 Viewing the Basic Status Indications
3-6-2 Viewing the ABNORMAL Display
3-6-3 Viewing the FUNCTION (Format/Switch Function) Display
3-6-4 Setting the Marker Indications
3-6-5 Adjusting the Viewfinder Details
3-6-6 Setting the Zebra Indication
3-6-7 Setting the Cursor Indication
3-6-8 Checking the Power Voltage
3-7 Detailed Settings of the Switch Functions
3-8 Setting the Gain
3-9 Detailed Shutter Settings
3-10 Resuming the Standard Conditions
3-11 Selecting the Gamma
3-11-1 Using the Standard Gamma
3-11-2 Using the Hyper Gamma
3-11-3 Using the S-LOG
3-11-4 Using the User Gamma
3-12 Inverting the Camera Picture
3-13 Detailed Setting of the Video Format
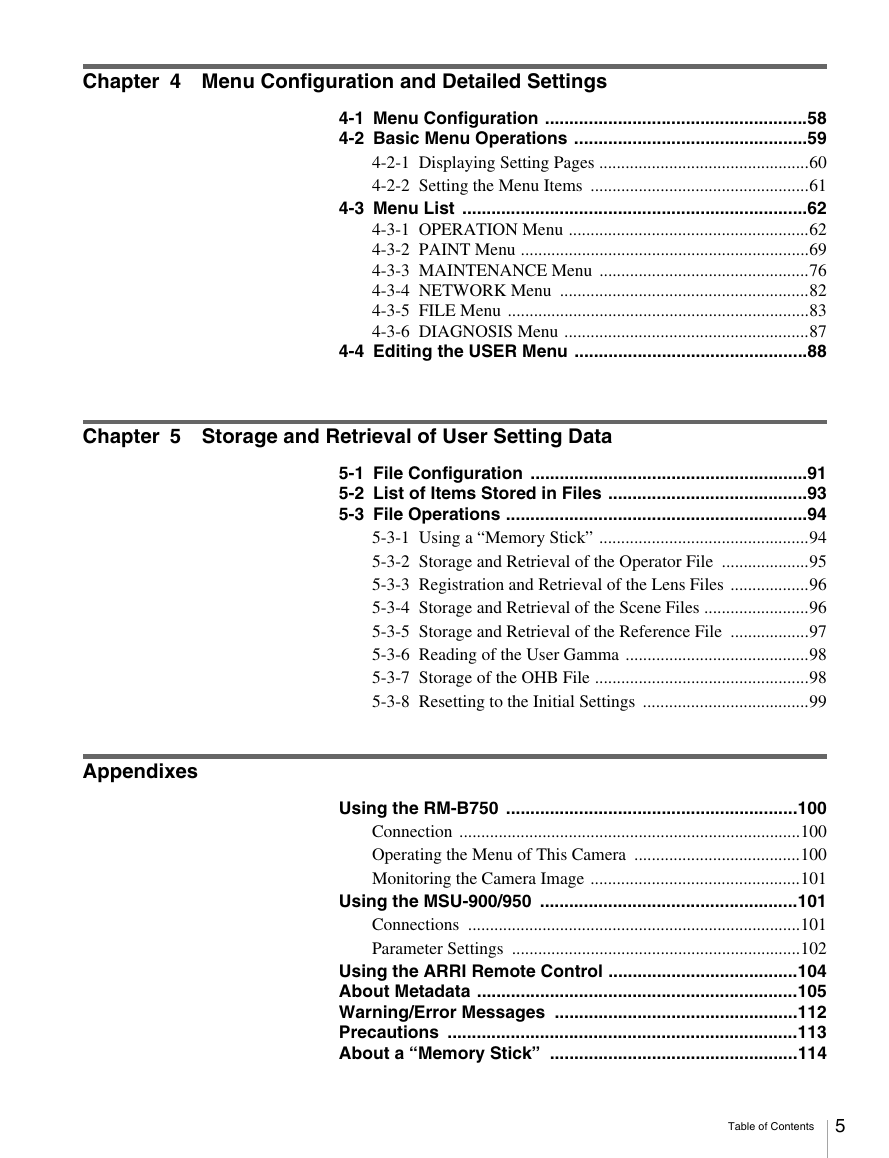
Chapter 4 Menu Configuration and Detailed Settings
4-1 Menu Configuration
4-2 Basic Menu Operations
4-2-1 Displaying Setting Pages
4-2-2 Setting the Menu Items
4-3 Menu List
4-3-1 OPERATION Menu
4-3-2 PAINT Menu
4-3-3 MAINTENANCE Menu
4-3-4 NETWORK Menu
4-3-5 FILE Menu
4-3-6 DIAGNOSIS Menu
4-4 Editing the USER Menu
Chapter 5 Storage and Retrieval of User Setting Data
5-1 File Configuration
5-2 List of Items Stored in Files
5-3 File Operations
5-3-1 Using a “Memory Stick”
5-3-2 Storage and Retrieval of the Operator File
5-3-3 Registration and Retrieval of the Lens Files
5-3-4 Storage and Retrieval of the Scene Files
5-3-5 Storage and Retrieval of the Reference File
5-3-6 Reading of the User Gamma
5-3-7 Storage of the OHB File
5-3-8 Resetting to the Initial Settings
Appendixes
Using the RM-B750
Connection
Operating the Menu of This Camera
Monitoring the Camera Image
Using the MSU-900/950
Connections
Parameter Settings
Using the ARRI Remote Control
About Metadata
Warning/Error Messages
Precautions
About a “Memory Stick”
Specifications
Camera Head
Interface Box (Supplied)
Optional Accessories
Connector Pin Assignments
Color Space According to the COLOR SPACE Settings
Lip Sync Compensation



 2023年江西萍乡中考道德与法治真题及答案.doc
 2012年重庆南川中考生物真题及答案.doc
 2013年江西师范大学地理学综合及文艺理论基础考研真题.doc
 2020年四川甘孜小升初语文真题及答案I卷.doc
 2020年注册岩土工程师专业基础考试真题及答案.doc
 2023-2024学年福建省厦门市九年级上学期数学月考试题及答案.doc
 2021-2022学年辽宁省沈阳市大东区九年级上学期语文期末试题及答案.doc
 2022-2023学年北京东城区初三第一学期物理期末试卷及答案.doc
 2018上半年江西教师资格初中地理学科知识与教学能力真题及答案.doc
 2012年河北国家公务员申论考试真题及答案-省级.doc
 2020-2021学年江苏省扬州市江都区邵樊片九年级上学期数学第一次质量检测试题及答案.doc
 2022下半年黑龙江教师资格证中学综合素质真题及答案.doc