logo资料库

Eclipse_RCP_应用(完整的例子).pdf

第1页 / 共112页
第2页 / 共112页
第3页 / 共112页
第4页 / 共112页
第5页 / 共112页
第6页 / 共112页
第7页 / 共112页
第8页 / 共112页
资料共112页,剩余部分请下载后查看
1. Eclipse RCP clipse 富客户端
1.1. Overview 概览
1.2. Eclipse RCP Architecture - Plugins, Extensions and Extension-Points Eclipse RCP架构-插件、扩展与扩展点
1.3. Main components of an Eclipse RCP application Eclipse RCP 应用的主要组件
1.4. Application versus Product 应用与产品
1.5. Important files 重要文件
2. Installation 安装
3. Create your first RCP application 创建你的第一个RCP应用
3.1. Create a RCP application 创建RCP应用
3.2. Start your RCP application 启动你的RCP应用
4. Startup process of an RCP application RCP应用的启动过程
5. Run configuration 运行配置
5.1. Overview 概览
5.2. Check your runtime configuration 检查运行时配置
5.3. Important Parameters 重要参数
6. Commands 命令
6.1. Overview 概览
6.2. Defining commands 定义命令
6.3. Using commands in menus 在菜单中使用命令
7. System Tray 系统托盘
8. Views 视图
8.1. Overview 概览
8.2. Create a view 创建视图
8.3. Add the view to your perspective. 将视图添加到透视图
8.4. Result 结果
8.5. Add view to perspective via code 利用代码将视图添加到透视图中
9. Working with Editors, View Interaction and Model Updates 使用编辑器、视图进行交互及模型更新
9.1. Overview 概览
9.2. Create project 创建项目
9.3. Create and prepare the domain model 创建并准备域模型
9.4. Content and Label provider 内容与标签提供者
9.5. Use the domain model in the view 在视图中使用域模型
9.6. Editor area 编辑区
9.7. Editor Input 编辑器输入
9.8. Adding the editor 添加编辑器
9.9. Creating a command for calling the editor 创建编辑器调用命令
10. Dialog 对话框
10.1. Overview 概览
10.2. Using standard dialogs 使用标准对话框
10.3. Selection 选择
10.4. User defined dialogs 使用自定义对话框
11. Field Assist 字段助手
12. Wizards 向导
12.1. Overview 概览
12.2. Example 例子
13. Adding a status line 添加状态行
13.1. Setup Status line 设置状态行
13.2. Shared Status Line 共享状态行
14. Perspectives 透视图
14.1. Adding a perspective to your application 为应用添加透视图
14.2. Select the perspective 选择透视图
14.2.1. Select perspective via the toolbar / coolbar 通过工具条/快捷键选择透视图
14.2.2. Select perspective via the menu 通过菜单选择透视图
15. Products and Branding 产品与商标
15.1. Product Configuration 产品配置
15.2. Create a project 创建项目
15.3. Create your product configuration 创建你的产品配置
15.4. Maintain the overview tab 概览页维护
15.5. Dependencies 依赖性
15.6. Launch your product 启动你的应用
15.7. Splash Screen 溅射屏幕
15.8. Branding your product 制作产品商标
15.9. Customizing the start icon and launcher arguments 定制开始图标与启动参数
15.10. Done 完成了!
16. Deploy your product 部署你的产品
17. Tips and Tricks 提示与技巧
17.1. Save users layout 保存用户布局
17.2. Plugin ID in application 应用中的插件ID
17.3. Finding unused dependencies 查找无用的依赖
18. Next steps 下一步
通过例子学习 Eclipse RCP 开发 I 编译:孙江湖 2009 年 10 月
通过例子学习Eclipse RCP 开发 编译:孙江湖 2009 年10 月 II
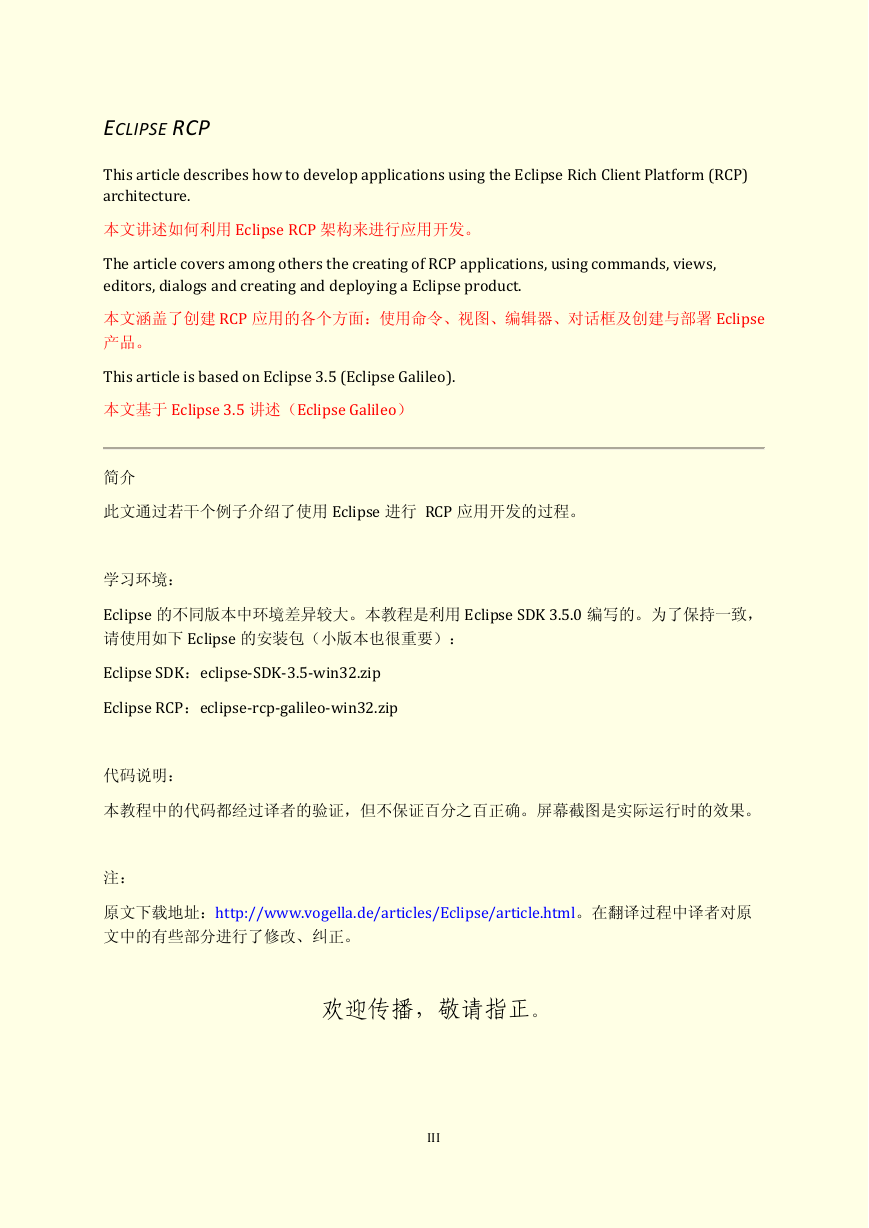
ECLIPSE RCP This article describes how to develop applications using the Eclipse Rich Client Platform (RCP) architecture. 本文讲述如何利用Eclipse RCP 架构来进行应用开发。 The article covers among others the creating of RCP applications, using commands, views, editors, dialogs and creating and deploying a Eclipse product. 本文涵盖了创建RCP 应用的各个方面:使用命令、视图、编辑器、对话框及创建与部署Eclipse 产品。 This article is based on Eclipse 3.5 (Eclipse Galileo). 本文基于Eclipse 3.5 讲述(Eclipse Galileo) 简介 此文通过若干个例子介绍了使用Eclipse 进行 RCP 应用开发的过程。 学习环境: Eclipse 的不同版本中环境差异较大。本教程是利用Eclipse SDK 3.5.0 编写的。为了保持一致, 请使用如下Eclipse 的安装包(小版本也很重要): Eclipse SDK:eclipse-SDK-3.5-win32.zip Eclipse RCP:eclipse-rcp-galileo-win32.zip 代码说明: 本教程中的代码都经过译者的验证,但不保证百分之百正确。屏幕截图是实际运行时的效果。 注: 原文下载地址:http://www.vogella.de/articles/Eclipse/article.html。在翻译过程中译者对原 文中的有些部分进行了修改、纠正。 欢迎传播,敬请指正。 III
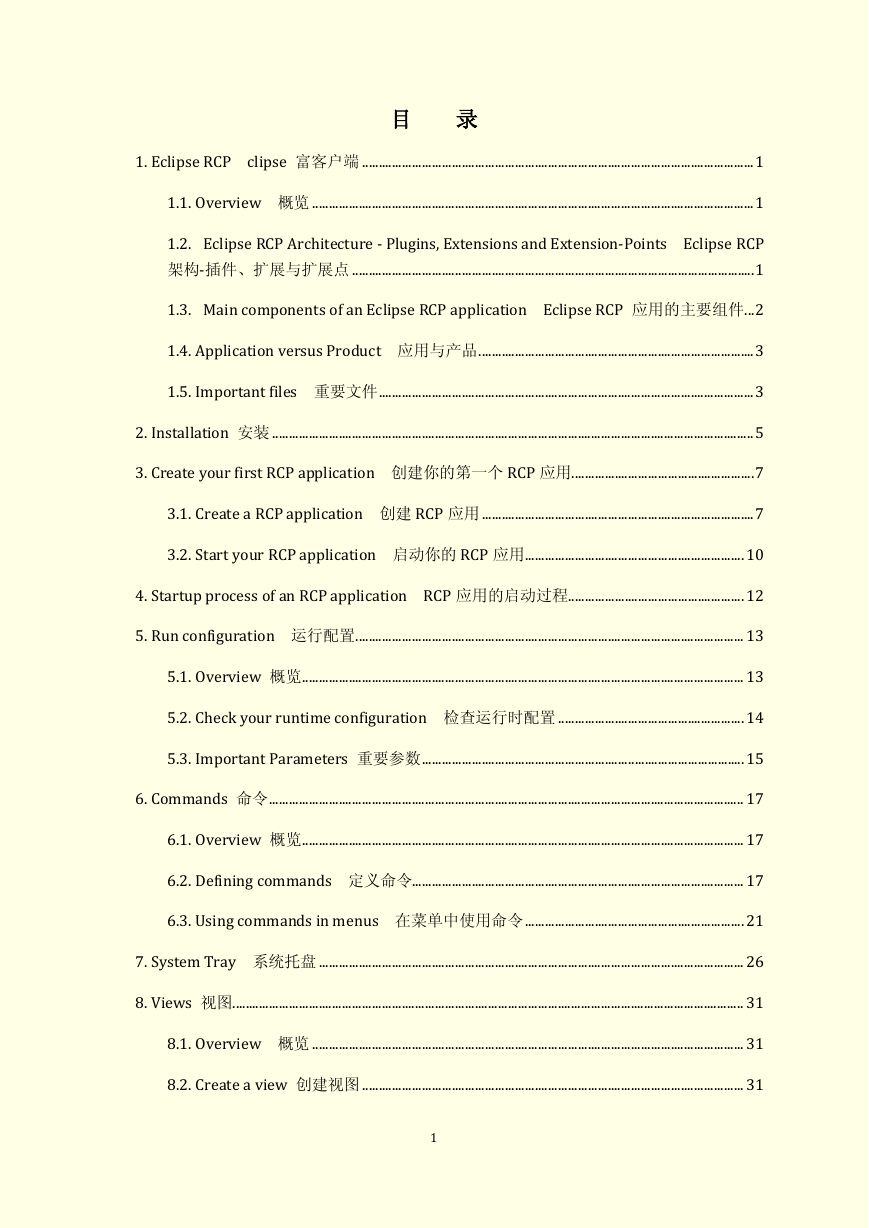
目 录 1. Eclipse RCP clipse 富客户端 ...................................................................................................................... 1 1.1. Overview 概览 ..................................................................................................................................... 1 1.2. Eclipse RCP Architecture - Plugins, Extensions and Extension-Points Eclipse RCP 架构-插件、扩展与扩展点 ......................................................................................................................... 1 1.3. Main components of an Eclipse RCP application Eclipse RCP 应用的主要组件 ... 2 1.4. Application versus Product 应用与产品 ................................................................................... 3 1.5. Important files 重要文件 ................................................................................................................. 3 2. Installation 安装 ................................................................................................................................................. 5 3. Create your first RCP application 创建你的第一个RCP 应用 ....................................................... 7 3.1. Create a RCP application 创建RCP 应用 .................................................................................. 7 3.2. Start your RCP application 启动你的RCP 应用 .................................................................. 10 4. Startup process of an RCP application RCP 应用的启动过程 ..................................................... 12 5. Run configuration 运行配置 ..................................................................................................................... 13 5.1. Overview 概览 ..................................................................................................................................... 13 5.2. Check your runtime configuration 检查运行时配置 ........................................................ 14 5.3. Important Parameters 重要参数 ................................................................................................. 15 6. Commands 命令 ............................................................................................................................................... 17 6.1. Overview 概览 ..................................................................................................................................... 17 6.2. Defining commands 定义命令.................................................................................................... 17 6.3. Using commands in menus 在菜单中使用命令 .................................................................. 21 7. System Tray 系统托盘 ................................................................................................................................ 26 8. Views 视图 .......................................................................................................................................................... 31 8.1. Overview 概览 .................................................................................................................................. 31 8.2. Create a view 创建视图 ................................................................................................................... 31 1
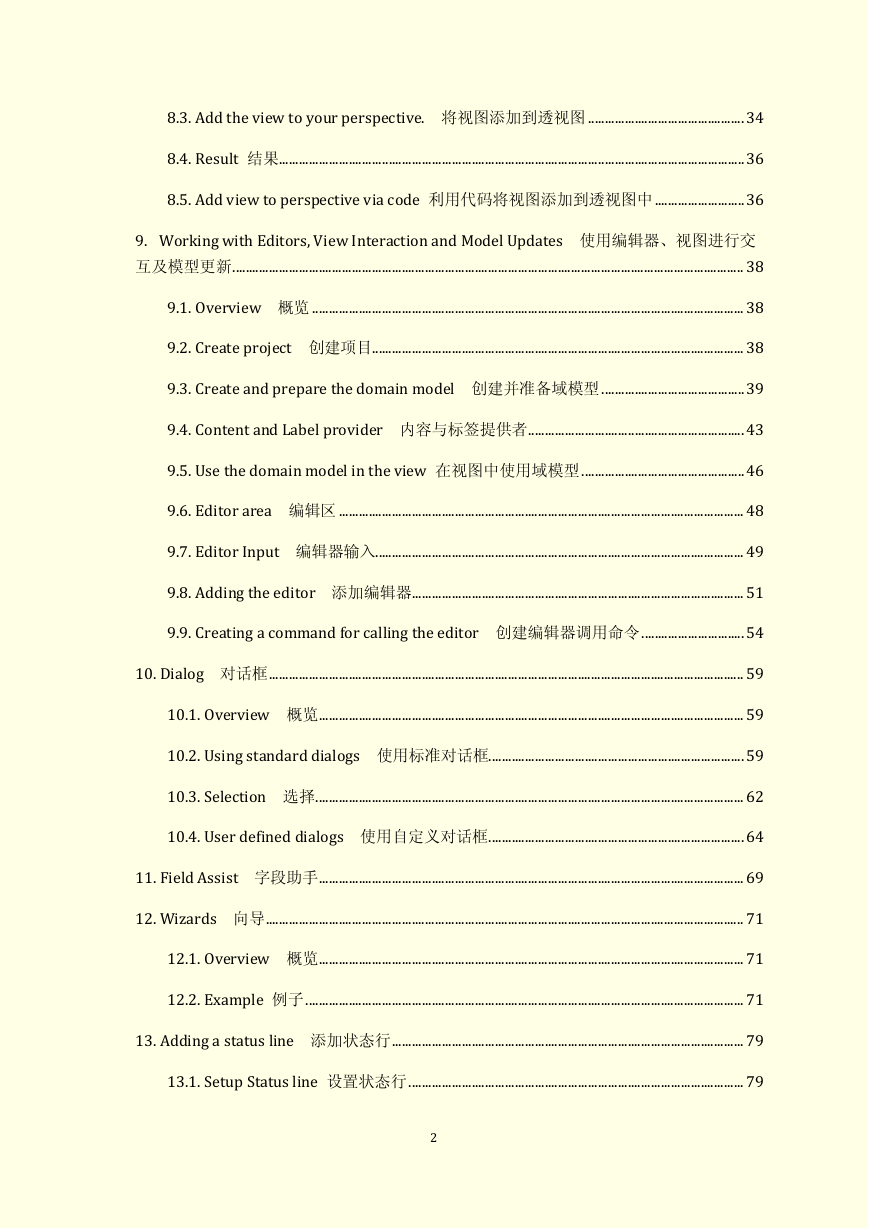
8.3. Add the view to your perspective. 将视图添加到透视图 ............................................... 34 8.4. Result 结果 ............................................................................................................................................ 36 8.5. Add view to perspective via code 利用代码将视图添加到透视图中 ........................... 36 9. Working with Editors, View Interaction and Model Updates 使用编辑器、视图进行交 互及模型更新 .......................................................................................................................................................... 38 9.1. Overview 概览 .................................................................................................................................. 38 9.2. Create project 创建项目................................................................................................................ 38 9.3. Create and prepare the domain model 创建并准备域模型 ........................................... 39 9.4. Content and Label provider 内容与标签提供者 ................................................................. 43 9.5. Use the domain model in the view 在视图中使用域模型 ................................................. 46 9.6. Editor area 编辑区 .......................................................................................................................... 48 9.7. Editor Input 编辑器输入............................................................................................................... 49 9.8. Adding the editor 添加编辑器 .................................................................................................... 51 9.9. Creating a command for calling the editor 创建编辑器调用命令 ............................... 54 10. Dialog 对话框 ............................................................................................................................................... 59 10.1. Overview 概览 ................................................................................................................................ 59 10.2. Using standard dialogs 使用标准对话框............................................................................. 59 10.3. Selection 选择 ................................................................................................................................. 62 10.4. User defined dialogs 使用自定义对话框 ............................................................................. 64 11. Field Assist 字段助手 ................................................................................................................................ 69 12. Wizards 向导 ................................................................................................................................................ 71 12.1. Overview 概览 ................................................................................................................................ 71 12.2. Example 例子 .................................................................................................................................... 71 13. Adding a status line 添加状态行 .......................................................................................................... 79 13.1. Setup Status line 设置状态行 ..................................................................................................... 79 2
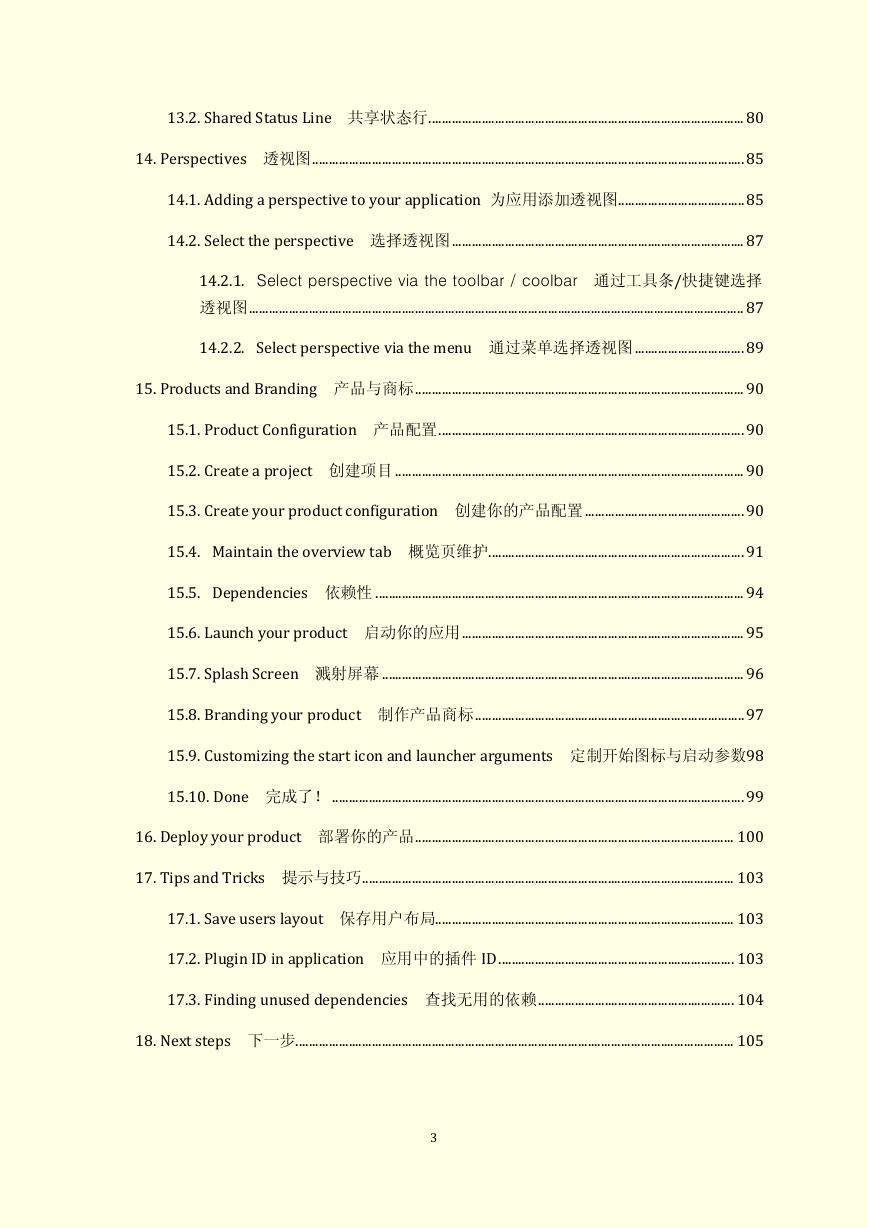
13.2. Shared Status Line 共享状态行 ............................................................................................... 80 14. Perspectives 透视图 .................................................................................................................................. 85 14.1. Adding a perspective to your application 为应用添加透视图 ...................................... 85 14.2. Select the perspective 选择透视图 ........................................................................................ 87 14.2.1. Select perspective via the toolbar / coolbar 通过工具条/快捷键选择 透视图 ..................................................................................................................................................... 87 14.2.2. Select perspective via the menu 通过菜单选择透视图 ................................. 89 15. Products and Branding 产品与商标 ................................................................................................... 90 15.1. Product Configuration 产品配置 ............................................................................................ 90 15.2. Create a project 创建项目 ......................................................................................................... 90 15.3. Create your product configuration 创建你的产品配置 ................................................ 90 15.4. Maintain the overview tab 概览页维护 ............................................................................. 91 15.5. Dependencies 依赖性 ............................................................................................................... 94 15.6. Launch your product 启动你的应用 ..................................................................................... 95 15.7. Splash Screen 溅射屏幕 ............................................................................................................. 96 15.8. Branding your product 制作产品商标 ................................................................................. 97 15.9. Customizing the start icon and launcher arguments 定制开始图标与启动参数98 15.10. Done 完成了! ............................................................................................................................ 99 16. Deploy your product 部署你的产品 ................................................................................................ 100 17. Tips and Tricks 提示与技巧 ................................................................................................................ 103 17.1. Save users layout 保存用户布局.......................................................................................... 103 17.2. Plugin ID in application 应用中的插件ID ....................................................................... 103 17.3. Finding unused dependencies 查找无用的依赖 ........................................................... 104 18. Next steps 下一步 .................................................................................................................................... 105 3
1.1. OVERVIEW 概览 1. ECLIPSE RCP CLIPSE 富客户端 Eclipse RCP allows developers to use the Eclipse architecture to design flexible and extensible stand-alone applications re-using a lot of already existing functionality and coding patterns inherent in Eclipse. Eclipse RCP 允许开发者利用Eclipse 架构来设计一个灵活的、可扩展的独立应用,此应用可以 重用现有功能及继承自Eclipse 的代码 Eclipse is build upon a plugin architecture. This allows Eclipse to get easily extended. See Eclipse plugin Tutorial for a guide on how-to extend the Eclipse IDE. Eclipse RCP provides the same modular concept for stand-alone applications. Eclipse 是建立在插件结构上的。这使得其非常容易扩展。有关Eclipse 扩展的内容请参看 Eclipse 插件教程中有关如何扩展Eclipse IDE 的部分。对于独立的RCP 应用,Eclipse RCP 也提 供了同样的模块化概念。 To create an Eclipse RCP application you would create a plugin which contains the application. This application can use the existing hooks of Eclipse (called Extension Points) to define functionality and / or the user interface and / or provide its own extension points to get extended by other plugins. 要创建一个Eclipse RCP 应用,你需要创建一个包含应用的插件。此应用可以利用已有的Eclipse 接口(称之为扩展点)定义功能、接口,或者为其它插件提供其本身的扩展点。 1.2. ECLIPSE RCP ARCHITECTURE - PLUGINS, EXTENSIONS AND EXTENSION-POINTS The most important architectural characteristics of Eclipse is the Plugin architecture. The Eclipse IDE is build as a number of plugins which are dependent on each other. Eclipse 最重要的结构特点就是其插件化结构。Eclipse 本身就是由一组互相独立的插件构建而 成的。 Plugins are the smallest deployable and installable software components of Eclipse. 插件就是最基本的可部署、安装的Eclipse 软件单元。 Each plugin can define extension-points which define possibilities for functionality contributions ( code and non-code ) by other plugins. Non-code functionality contributions are for example the provision of help content. 帮助内容就是一个无代码功能贡献的例子。 A plugin can use extensions, e.g. provide functionality to these extension points. In general an extension point can be used several times (either by the same plugin or by other plugins). See Eclipse Extension Points and Extensions - Tutorial for details. ECLIPSE RCP 架构-插件、扩展与扩展点 每个插件都可以定义自己的扩展点,它为其它插件定义了插件的功能贡献(代码或者无代码)。 1
插件可以利用扩展,即为扩展点提供功能。通常,扩展点可以多次使用(甚至是由同一个插件 或者由其它插件)。详细内容请参看Eclipse 扩展点与扩展教程。 The basis for this architecture is the runtime environment Equinox of Eclipse which is the reference implementation of OSGI. See OSGi development - Tutorial for details. The Plugin concept of Eclipse is the same as the bundle concept of OSGI. Generally speaking a OSGI bundle equals a Plugin and vice-versa. 这种结构的基础就是Eclipse 的运行时环境设计,这是参考OSGI 实现的。详细内容请参看OSGi 开发教程。Eclipse 中插件的概念等同于OSGi 中的包概念。也就是说Eclipse 中的插件就是OSGi 中的包。 The used extensions and the provided extension-points are described in the file plugin.xml. This file is a XML file which can be edited via the PDE (Plugin Development Environment) which provides a nice user interface for editing this file. 所使用的扩展及能提供的扩展点都在plugin.xml 文件中进行描述。此文件是一个XML 文件,可 以在PDE(插件开发环境)进行编辑。PDE 为编辑此文件提供了一个相当好的用户界面。 Eclipse RCP provides and uses the same framework as the Eclipse Workbench hence allowing the programmer to divide the application functionality into several plugins, to use existing extension points and to provide additional extension points. This concept of Eclipse allows every programmer to structure his RCP application into several independent components and to easily declare extensions to existing extensions points. Eclipse RCP 提供和使用了与Eclipse Workbench 相同的框架,允许程序员将应用从功能上划分 为若干个插件,并利用已有的扩展点及提供新的扩展点。Eclipse 的这种概念允许每个程序员将 其RCP 应用构建为若干个独立的组件并且很方便的为已有的扩展点声明扩展。 1.3. MAIN COMPONENTS OF AN ECLIPSE RCP APPLICATION ECLIPSE RCP 应用的主要 An Eclipse RCP application requires:  Main program - A RCP main application class implements the interface IApplication. Eclipse expects that the application class is defined via the extension point org.eclipse.core.runtime. application.  A Perspective - The perspective is extended from org.eclipse.ui.perspective Workbench Advisor- invisible technical component which controls the appearance of the application (menus, toolbars, perspectives, etc) 一个Eclipse 应用需要:  主程序 – RCP 主应用类实现Iapplication 接口,Eclipse 要求是通过 org.eclipse .core.runtime.application 扩展点定义这个类。  透视图 – 此透视图扩展自org.eclipse.ui.perspective. 2 组件
分享到:
收藏