iPhone 摄像头设备获取 (在 iOS 代码库中浏览本帖)
管理提醒: 本帖被 gagaga 从 Mac 开发讨论区 移动到本区(2011-03-25)
又写了个新版的帖子,看不懂怎么用的看本人这个新贴,在不懂,那我
也没办法了。
iPhone 摄像头设备获取(分离简化版)
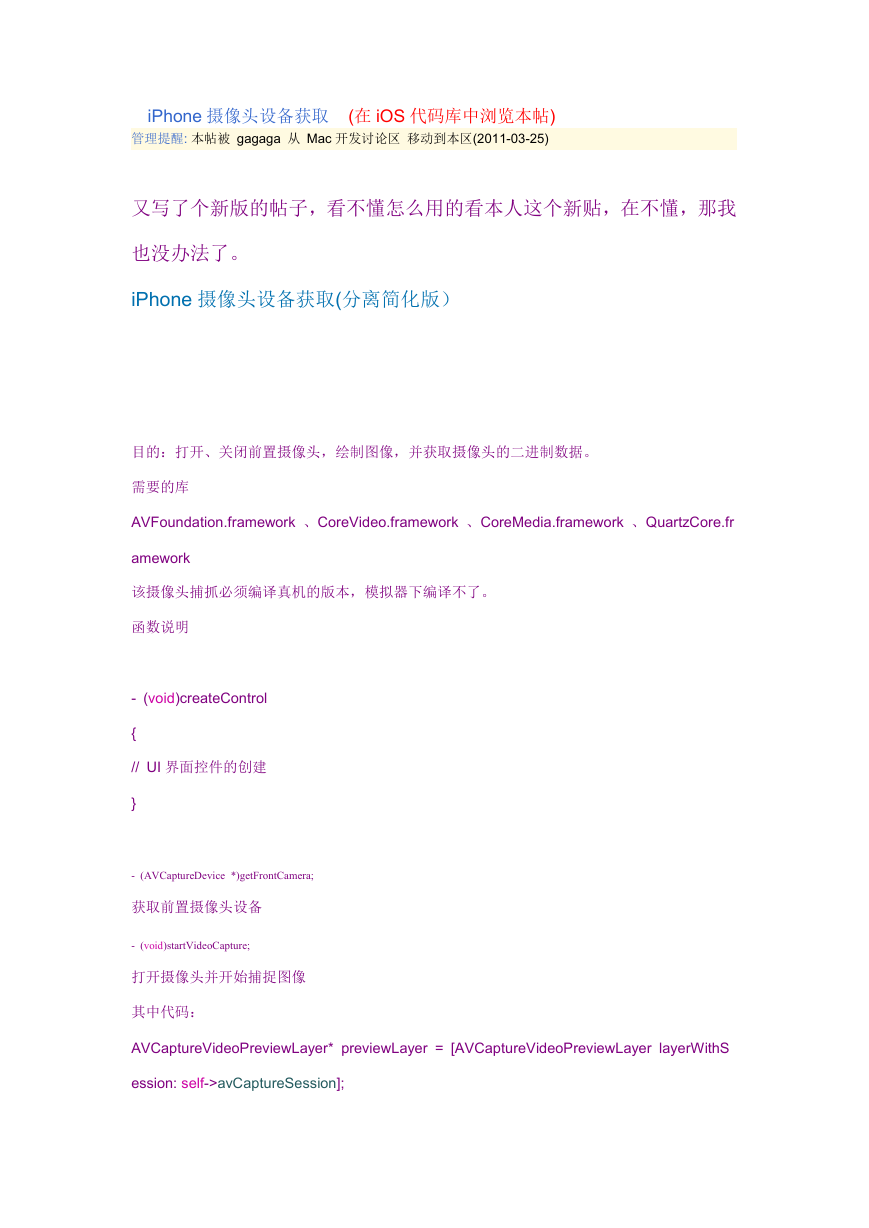
目的:打开、关闭前置摄像头,绘制图像,并获取摄像头的二进制数据。
需要的库
AVFoundation.framework 、CoreVideo.framework 、CoreMedia.framework 、QuartzCore.fr
amework
该摄像头捕抓必须编译真机的版本,模拟器下编译不了。
函数说明
- (void)createControl
{
// UI 界面控件的创建
}
- (AVCaptureDevice *)getFrontCamera;
获取前置摄像头设备
- (void)startVideoCapture;
打开摄像头并开始捕捉图像
其中代码:
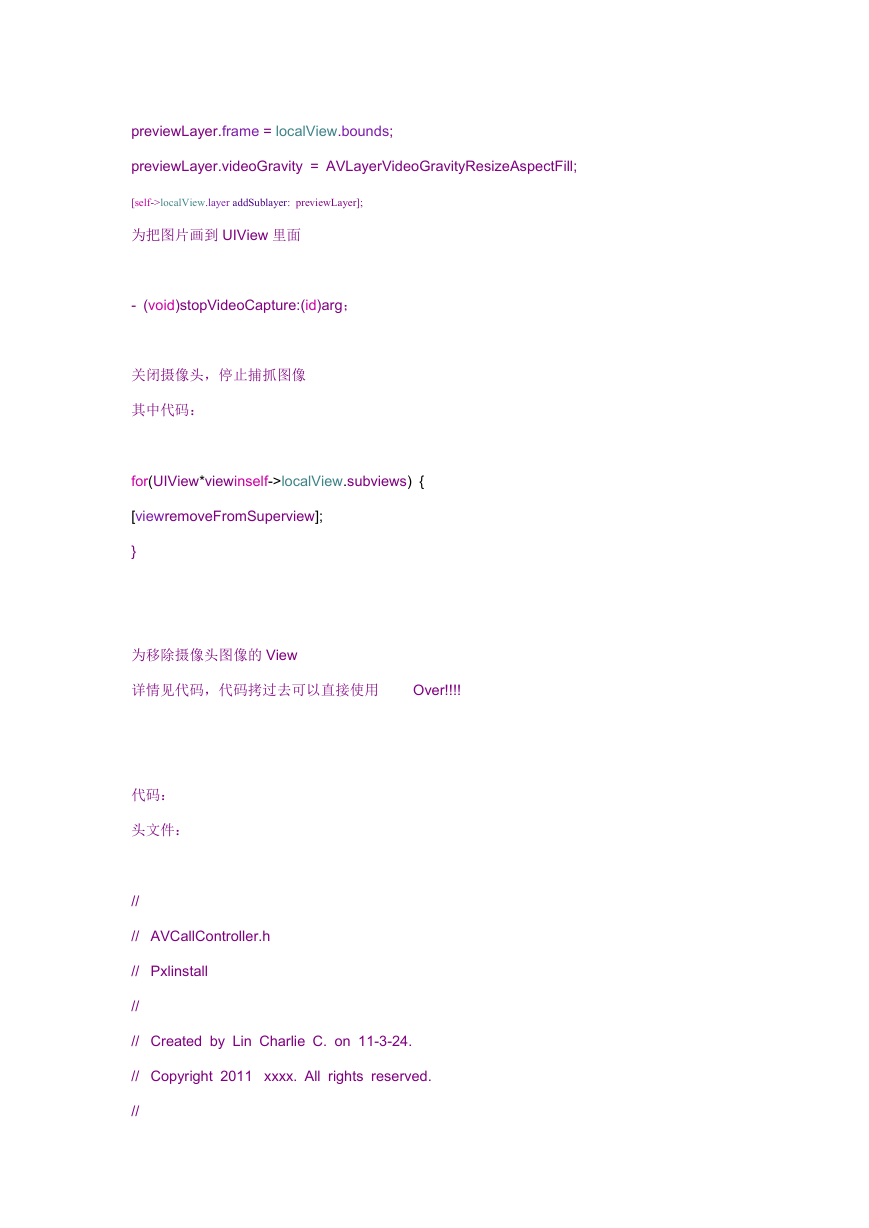
AVCaptureVideoPreviewLayer* previewLayer = [AVCaptureVideoPreviewLayer layerWithS
ession: self->avCaptureSession];
�
previewLayer.frame = localView.bounds;
previewLayer.videoGravity = AVLayerVideoGravityResizeAspectFill;
[self->localView.layer addSublayer: previewLayer];
为把图片画到 UIView 里面
- (void)stopVideoCapture:(id)arg;
关闭摄像头,停止捕抓图像
其中代码:
for(UIView*viewinself->localView.subviews) {
[viewremoveFromSuperview];
}
为移除摄像头图像的 View
详情见代码,代码拷过去可以直接使用
Over!!!!
代码:
头文件:
//
// AVCallController.h
// Pxlinstall
//
// Created by Lin Charlie C. on 11-3-24.
// Copyright 2011 xxxx. All rights reserved.
//
�
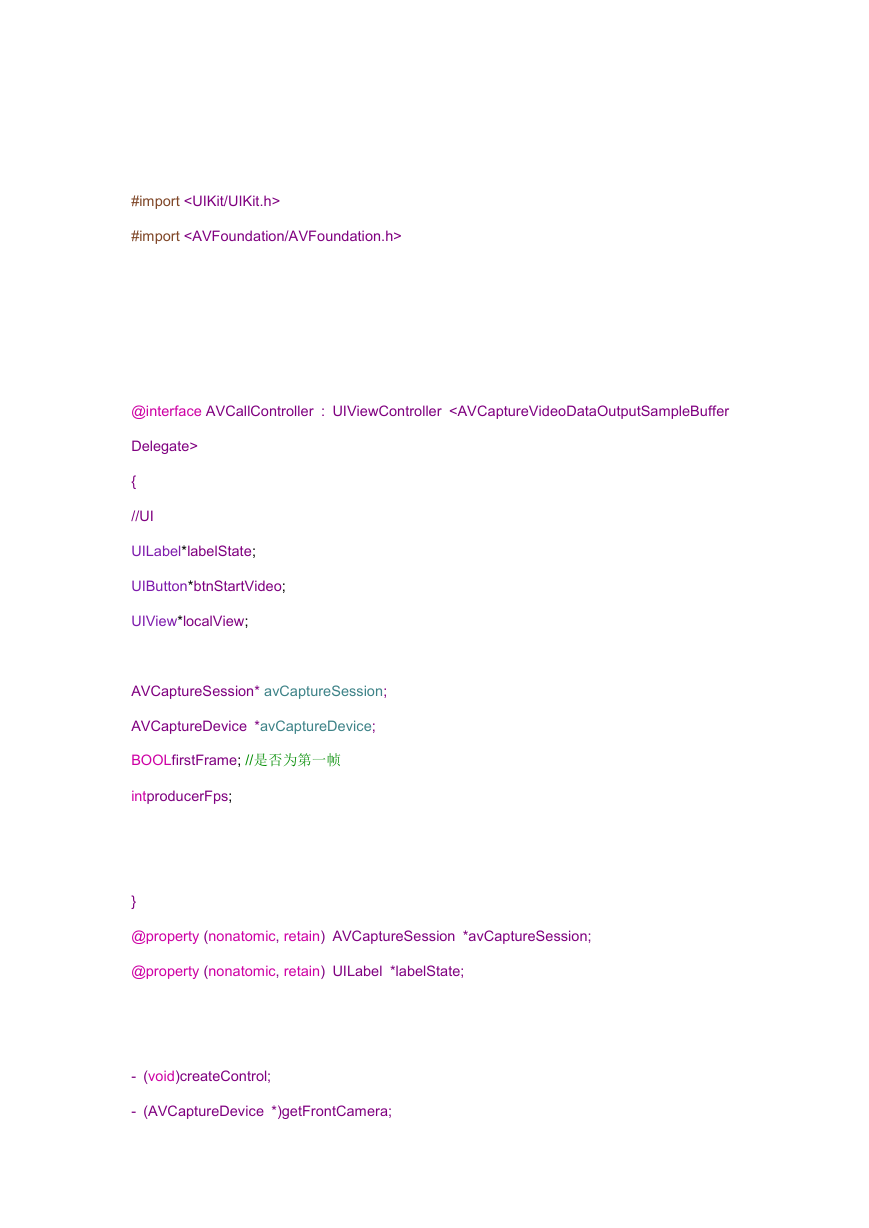
#import
#import
@interface AVCallController : UIViewController
{
//UI
UILabel*labelState;
UIButton*btnStartVideo;
UIView*localView;
AVCaptureSession* avCaptureSession;
AVCaptureDevice *avCaptureDevice;
BOOLfirstFrame; //是否为第一帧
intproducerFps;
}
@property (nonatomic, retain) AVCaptureSession *avCaptureSession;
@property (nonatomic, retain) UILabel *labelState;
- (void)createControl;
- (AVCaptureDevice *)getFrontCamera;
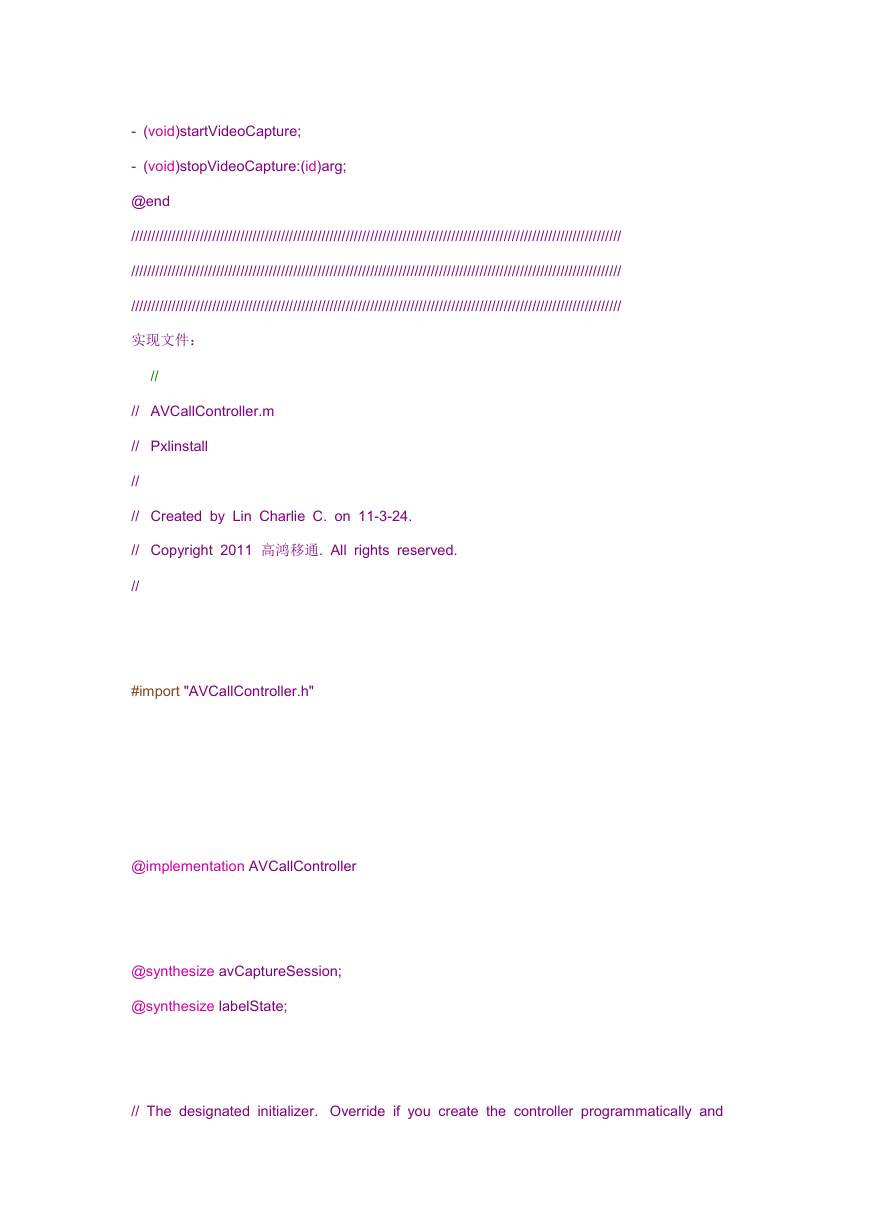
�- (void)startVideoCapture;
- (void)stopVideoCapture:(id)arg;
@end
/////////////////////////////////////////////////////////////////////////////////////////////////////////////////////////
/////////////////////////////////////////////////////////////////////////////////////////////////////////////////////////
/////////////////////////////////////////////////////////////////////////////////////////////////////////////////////////
实现文件:
//
// AVCallController.m
// Pxlinstall
//
// Created by Lin Charlie C. on 11-3-24.
// Copyright 2011 高鸿移通. All rights reserved.
//
#import "AVCallController.h"
@implementation AVCallController
@synthesize avCaptureSession;
@synthesize labelState;
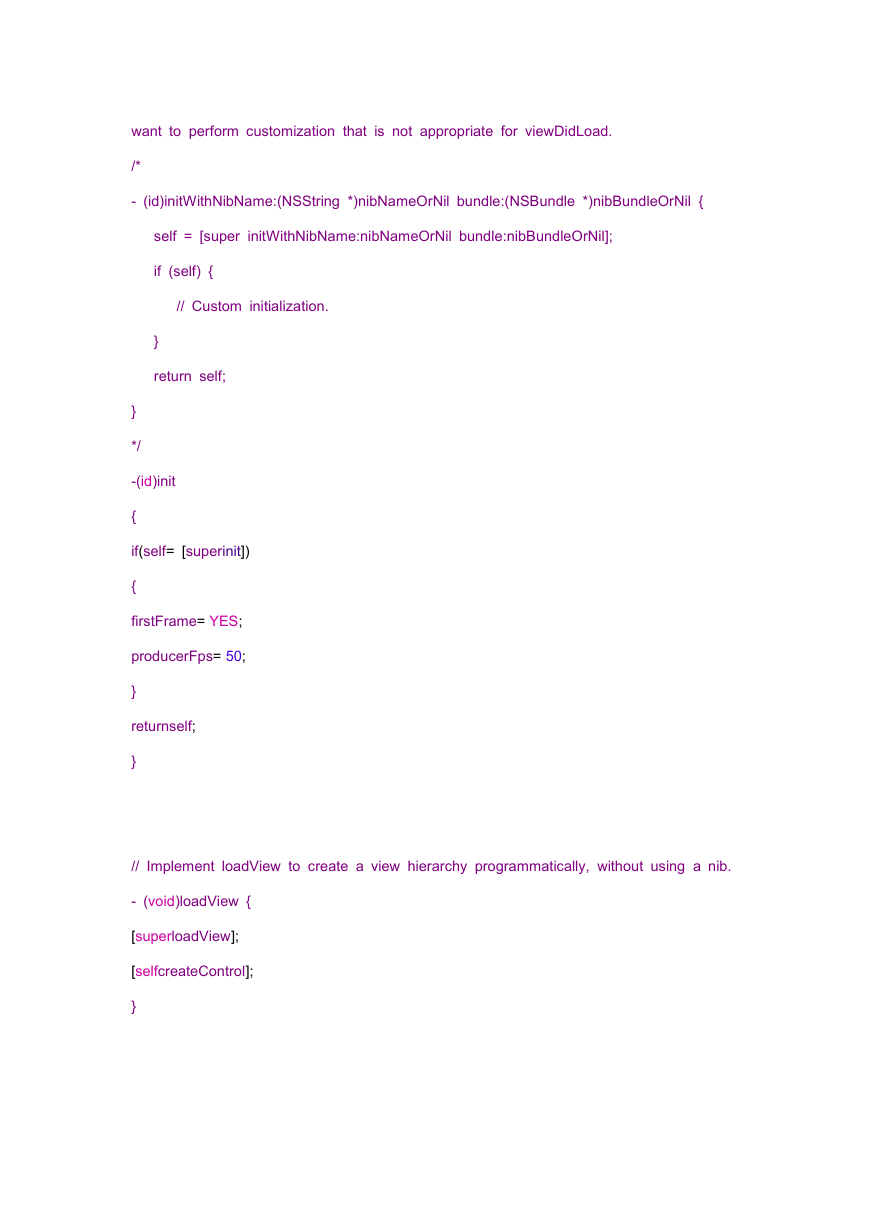
// The designated initializer. Override if you create the controller programmatically and
�
want to perform customization that is not appropriate for viewDidLoad.
/*
- (id)initWithNibName:(NSString *)nibNameOrNil bundle:(NSBundle *)nibBundleOrNil {
self = [super initWithNibName:nibNameOrNil bundle:nibBundleOrNil];
if (self) {
// Custom initialization.
}
return self;
}
*/
-(id)init
{
if(self= [superinit])
{
firstFrame= YES;
producerFps= 50;
}
returnself;
}
// Implement loadView to create a view hierarchy programmatically, without using a nib.
- (void)loadView {
[superloadView];
[selfcreateControl];
}
�
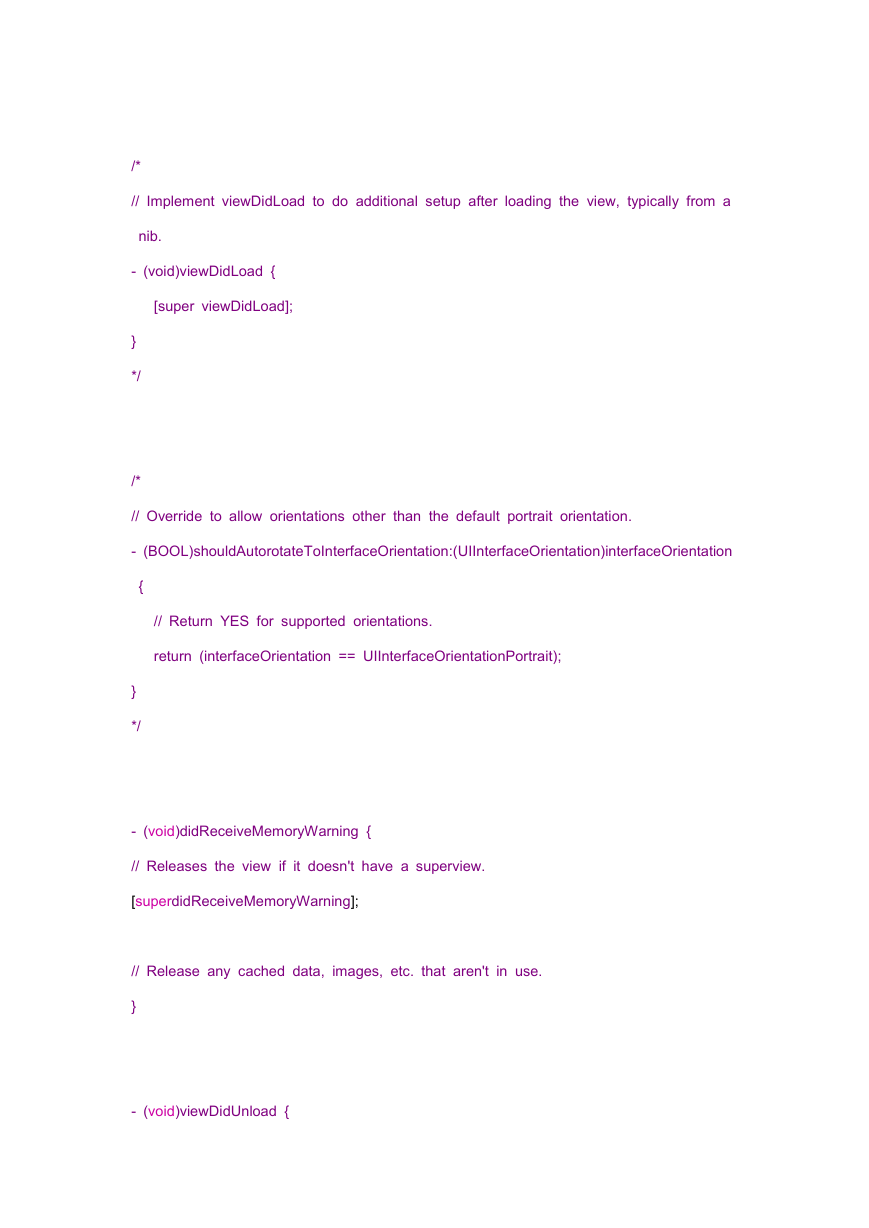
/*
// Implement viewDidLoad to do additional setup after loading the view, typically from a
nib.
- (void)viewDidLoad {
[super viewDidLoad];
}
*/
/*
// Override to allow orientations other than the default portrait orientation.
- (BOOL)shouldAutorotateToInterfaceOrientation:(UIInterfaceOrientation)interfaceOrientation
// Return YES for supported orientations.
return (interfaceOrientation == UIInterfaceOrientationPortrait);
{
}
*/
- (void)didReceiveMemoryWarning {
// Releases the view if it doesn't have a superview.
[superdidReceiveMemoryWarning];
// Release any cached data, images, etc. that aren't in use.
}
- (void)viewDidUnload {
�
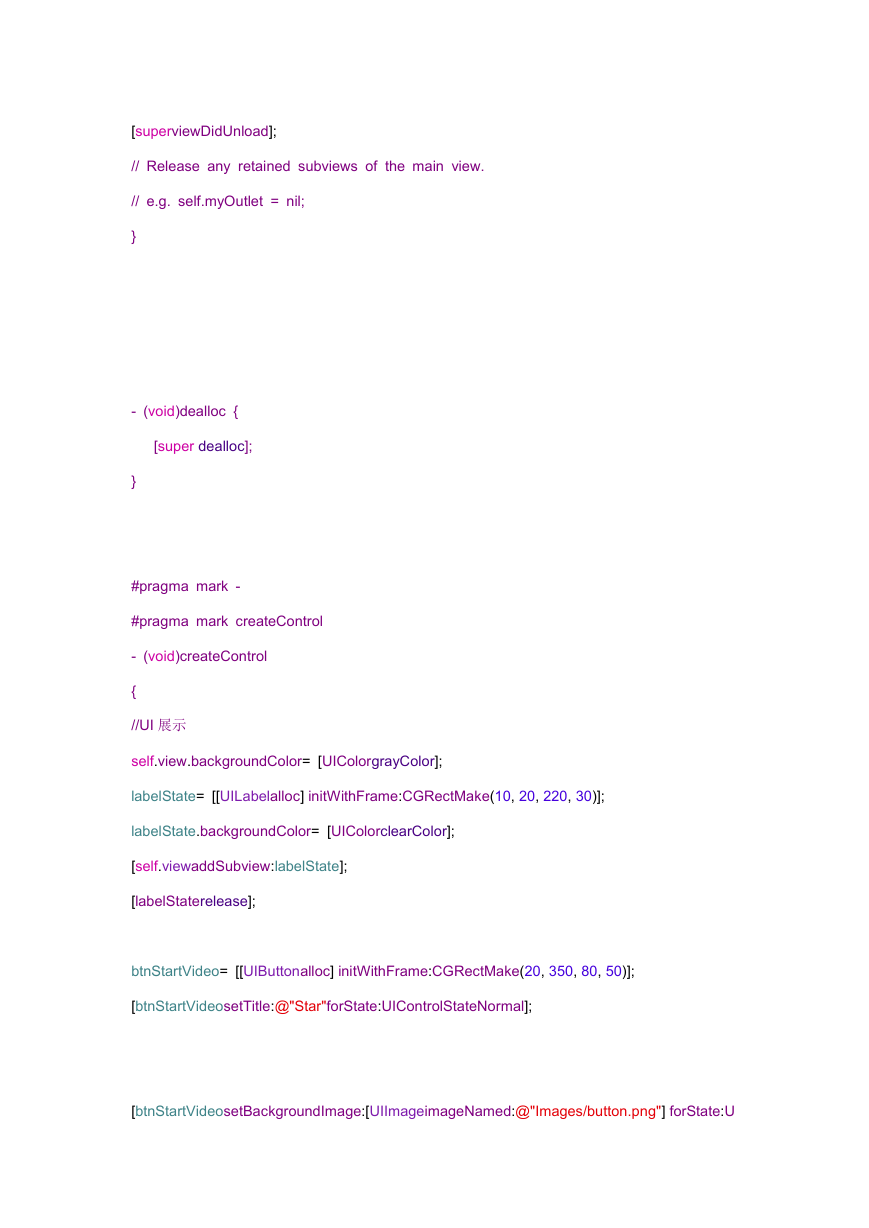
[superviewDidUnload];
// Release any retained subviews of the main view.
// e.g. self.myOutlet = nil;
}
- (void)dealloc {
[super dealloc];
}
#pragma mark -
#pragma mark createControl
- (void)createControl
{
//UI 展示
self.view.backgroundColor= [UIColorgrayColor];
labelState= [[UILabelalloc] initWithFrame:CGRectMake(10, 20, 220, 30)];
labelState.backgroundColor= [UIColorclearColor];
[self.viewaddSubview:labelState];
[labelStaterelease];
btnStartVideo= [[UIButtonalloc] initWithFrame:CGRectMake(20, 350, 80, 50)];
[btnStartVideosetTitle:@"Star"forState:UIControlStateNormal];
[btnStartVideosetBackgroundImage:[UIImageimageNamed:@"Images/button.png"] forState:U
�
IControlStateNormal];
[btnStartVideoaddTarget:selfaction:@selector(startVideoCapture) forControlEvents:UIControl
EventTouchUpInside];
[self.viewaddSubview:btnStartVideo];
[btnStartVideorelease];
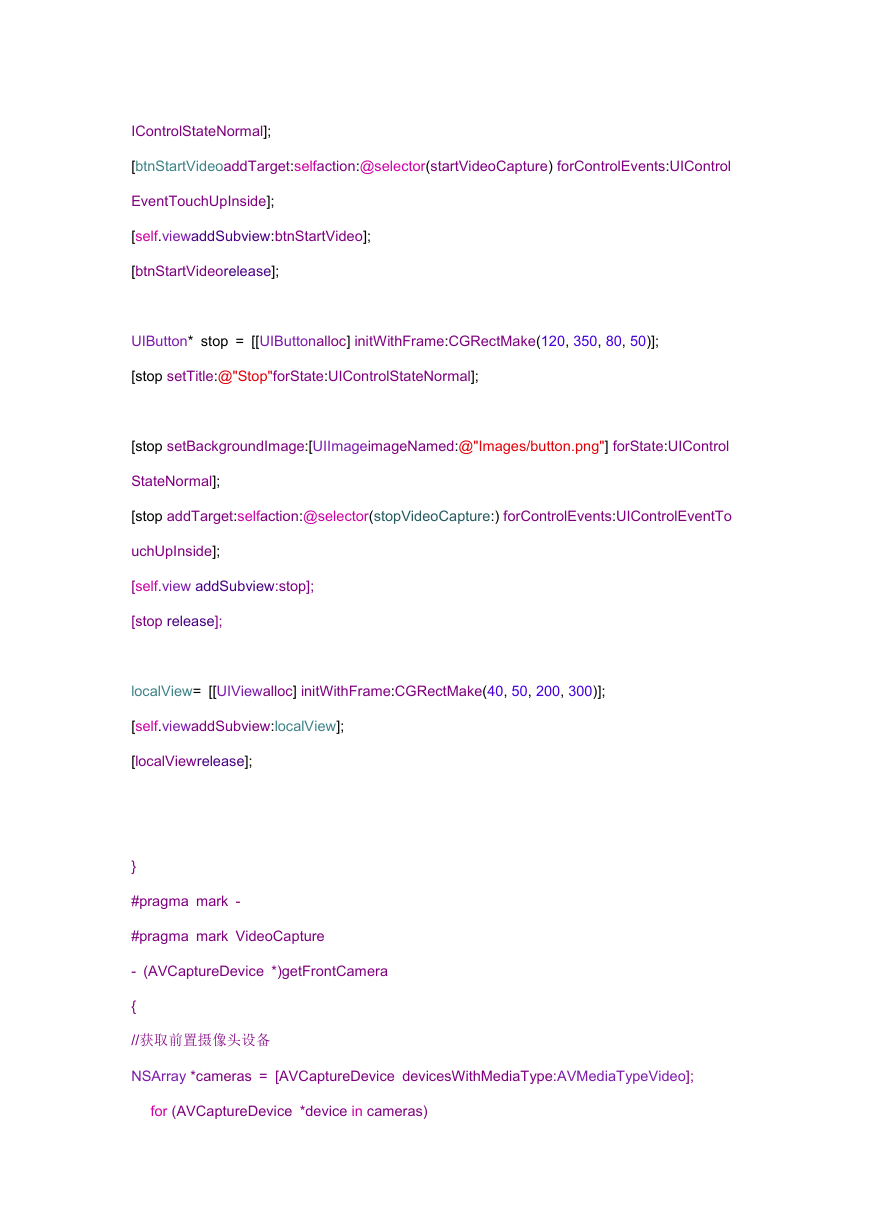
UIButton* stop = [[UIButtonalloc] initWithFrame:CGRectMake(120, 350, 80, 50)];
[stop setTitle:@"Stop"forState:UIControlStateNormal];
[stop setBackgroundImage:[UIImageimageNamed:@"Images/button.png"] forState:UIControl
StateNormal];
[stop addTarget:selfaction:@selector(stopVideoCapture:) forControlEvents:UIControlEventTo
uchUpInside];
[self.view addSubview:stop];
[stop release];
localView= [[UIViewalloc] initWithFrame:CGRectMake(40, 50, 200, 300)];
[self.viewaddSubview:localView];
[localViewrelease];
}
#pragma mark -
#pragma mark VideoCapture
- (AVCaptureDevice *)getFrontCamera
{
//获取前置摄像头设备
NSArray *cameras = [AVCaptureDevice devicesWithMediaType:AVMediaTypeVideo];
for (AVCaptureDevice *device in cameras)
�


 2023年江西萍乡中考道德与法治真题及答案.doc
 2012年重庆南川中考生物真题及答案.doc
 2013年江西师范大学地理学综合及文艺理论基础考研真题.doc
 2020年四川甘孜小升初语文真题及答案I卷.doc
 2020年注册岩土工程师专业基础考试真题及答案.doc
 2023-2024学年福建省厦门市九年级上学期数学月考试题及答案.doc
 2021-2022学年辽宁省沈阳市大东区九年级上学期语文期末试题及答案.doc
 2022-2023学年北京东城区初三第一学期物理期末试卷及答案.doc
 2018上半年江西教师资格初中地理学科知识与教学能力真题及答案.doc
 2012年河北国家公务员申论考试真题及答案-省级.doc
 2020-2021学年江苏省扬州市江都区邵樊片九年级上学期数学第一次质量检测试题及答案.doc
 2022下半年黑龙江教师资格证中学综合素质真题及答案.doc