Operating Instructions
Model No. KX-P8410
Please carefully read the Operating Instructions before operating. Keep this CD-ROM in the protective case.
Do not expose the CD-ROM to direct sunlight or extreme heat and do not scratch or smudge the surface of the
CD-ROM.
�
BMicrosoft, Windows and Windows NT are registered trademarks of Microsoft Corporation in the United
States and/or other countries.
BPentium is a registered trademark of Intel Corporation.
BAdaptec and EZ-SCSI are trademarks of Adaptec, Inc.
BCentronics is a trademark of Centronics Data Computer Corporation.
BAdobe and Acrobat are trademarks of Adobe Systems Incorporated.
BAvery is a registered trademark and all Avery codes are trademarks of Avery Dennison Corporation.
BAll other acknowledgements are trademarks or registered trademarks of their respective holders.
It is granted from Microsoft Corporation to use Microsoft® Windows® Screen Shots.
Acrobat® Reader copyright © 1987-1996 Adobe Systems Incorporated. All rights reserved.
2
�
Thank you for purchasing the Panasonic KX-P8410 Color Laser Printer.
The serial number is located on the label on the rear of the unit. For your convenience, record the
number below and keep this book along with your proof of purchase, in the event of a theft or for future
reference.
MODEL NO.
KX-P8410
SERIAL NO.
NAME OF RESELLER
DATE OF PURCHASE
As an Energy Star Partner, Panasonic has determined that this product meets the Energy Star
guidelines for energy efficiency.
(The international Energy StarSM Logo is valid in U.S.A., Europe and Japan only.)
The operating instructions are subject to change without notice.
© KYUSHU MATSUSHITA ELECTRIC CO., LTD. 1997
3
�
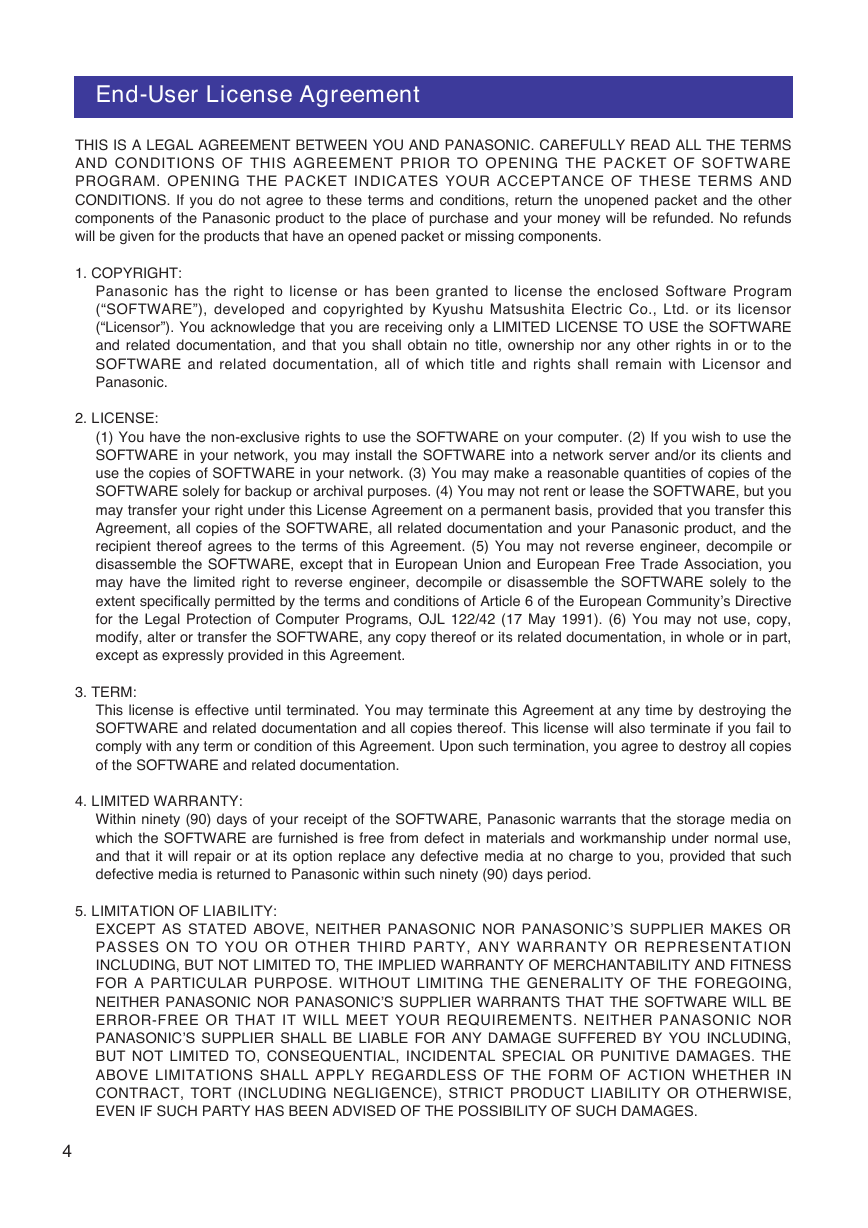
End-User License Agreement
THIS IS A LEGAL AGREEMENT BETWEEN YOU AND PANASONIC. CAREFULLY READ ALL THE TERMS
AND CONDITIONS OF THIS AGREEMENT PRIOR TO OPENING THE PACKET OF SOFTWARE
PROGRAM. OPENING THE PACKET INDICATES YOUR ACCEPTANCE OF THESE TERMS AND
CONDITIONS. If you do not agree to these terms and conditions, return the unopened packet and the other
components of the Panasonic product to the place of purchase and your money will be refunded. No refunds
will be given for the products that have an opened packet or missing components.
1. COPYRIGHT:
Panasonic has the right to license or has been granted to license the enclosed Software Program
(“SOFTWARE”), developed and copyrighted by Kyushu Matsushita Electric Co., Ltd. or its licensor
(“Licensor”). You acknowledge that you are receiving only a LIMITED LICENSE TO USE the SOFTWARE
and related documentation, and that you shall obtain no title, ownership nor any other rights in or to the
SOFTWARE and related documentation, all of which title and rights shall remain with Licensor and
Panasonic.
2. LICENSE:
(1) You have the non-exclusive rights to use the SOFTWARE on your computer. (2) If you wish to use the
SOFTWARE in your network, you may install the SOFTWARE into a network server and/or its clients and
use the copies of SOFTWARE in your network. (3) You may make a reasonable quantities of copies of the
SOFTWARE solely for backup or archival purposes. (4) You may not rent or lease the SOFTWARE, but you
may transfer your right under this License Agreement on a permanent basis, provided that you transfer this
Agreement, all copies of the SOFTWARE, all related documentation and your Panasonic product, and the
recipient thereof agrees to the terms of this Agreement. (5) You may not reverse engineer, decompile or
disassemble the SOFTWARE, except that in European Union and European Free Trade Association, you
may have the limited right to reverse engineer, decompile or disassemble the SOFTWARE solely to the
extent specifically permitted by the terms and conditions of Article 6 of the European Community’s Directive
for the Legal Protection of Computer Programs, OJL 122/42 (17 May 1991). (6) You may not use, copy,
modify, alter or transfer the SOFTWARE, any copy thereof or its related documentation, in whole or in part,
except as expressly provided in this Agreement.
3. TERM:
This license is effective until terminated. You may terminate this Agreement at any time by destroying the
SOFTWARE and related documentation and all copies thereof. This license will also terminate if you fail to
comply with any term or condition of this Agreement. Upon such termination, you agree to destroy all copies
of the SOFTWARE and related documentation.
4. LIMITED WARRANTY:
Within ninety (90) days of your receipt of the SOFTWARE, Panasonic warrants that the storage media on
which the SOFTWARE are furnished is free from defect in materials and workmanship under normal use,
and that it will repair or at its option replace any defective media at no charge to you, provided that such
defective media is returned to Panasonic within such ninety (90) days period.
5. LIMITATION OF LIABILITY:
EXCEPT AS STATED ABOVE, NEITHER PANASONIC NOR PANASONIC’S SUPPLIER MAKES OR
PASSES ON TO YOU OR OTHER THIRD PARTY, ANY WARRANTY OR REPRESENTATION
INCLUDING, BUT NOT LIMITED TO, THE IMPLIED WARRANTY OF MERCHANTABILITY AND FITNESS
FOR A PARTICULAR PURPOSE. WITHOUT LIMITING THE GENERALITY OF THE FOREGOING,
NEITHER PANASONIC NOR PANASONIC’S SUPPLIER WARRANTS THAT THE SOFTWARE WILL BE
ERROR-FREE OR THAT IT WILL MEET YOUR REQUIREMENTS. NEITHER PANASONIC NOR
PANASONIC’S SUPPLIER SHALL BE LIABLE FOR ANY DAMAGE SUFFERED BY YOU INCLUDING,
BUT NOT LIMITED TO, CONSEQUENTIAL, INCIDENTAL SPECIAL OR PUNITIVE DAMAGES. THE
ABOVE LIMITATIONS SHALL APPLY REGARDLESS OF THE FORM OF ACTION WHETHER IN
CONTRACT, TORT (INCLUDING NEGLIGENCE), STRICT PRODUCT LIABILITY OR OTHERWISE,
EVEN IF SUCH PARTY HAS BEEN ADVISED OF THE POSSIBILITY OF SUCH DAMAGES.
4
�
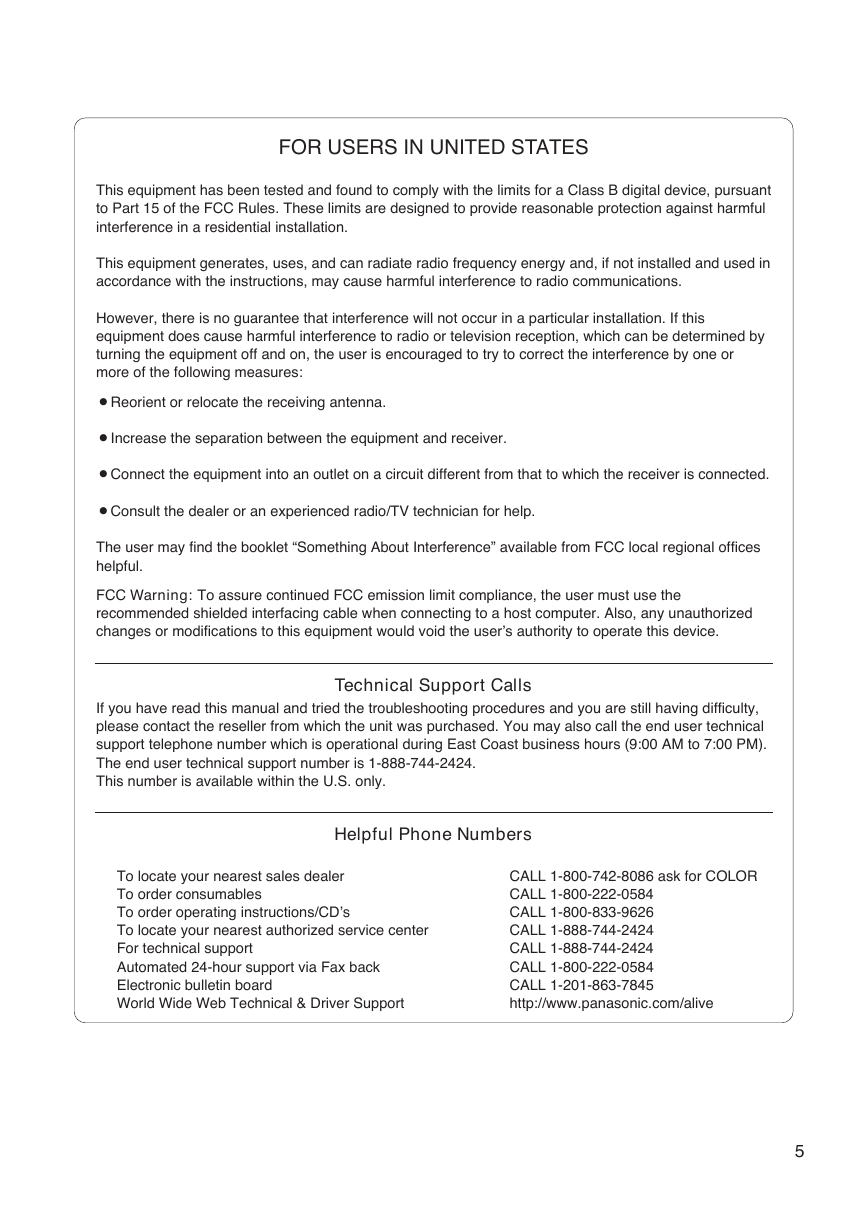
FOR USERS IN UNITED STATES
This equipment has been tested and found to comply with the limits for a Class B digital device, pursuant
to Part 15 of the FCC Rules. These limits are designed to provide reasonable protection against harmful
interference in a residential installation.
This equipment generates, uses, and can radiate radio frequency energy and, if not installed and used in
accordance with the instructions, may cause harmful interference to radio communications.
However, there is no guarantee that interference will not occur in a particular installation. If this
equipment does cause harmful interference to radio or television reception, which can be determined by
turning the equipment off and on, the user is encouraged to try to correct the interference by one or
more of the following measures:
BReorient or relocate the receiving antenna.
BIncrease the separation between the equipment and receiver.
BConnect the equipment into an outlet on a circuit different from that to which the receiver is connected.
BConsult the dealer or an experienced radio/TV technician for help.
The user may find the booklet “Something About Interference” available from FCC local regional offices
helpful.
FCC Warning: To assure continued FCC emission limit compliance, the user must use the
recommended shielded interfacing cable when connecting to a host computer. Also, any unauthorized
changes or modifications to this equipment would void the user’s authority to operate this device.
Technical Support Calls
If you have read this manual and tried the troubleshooting procedures and you are still having difficulty,
please contact the reseller from which the unit was purchased. You may also call the end user technical
support telephone number which is operational during East Coast business hours (9:00 AM to 7:00 PM).
The end user technical support number is 1-888-744-2424.
This number is available within the U.S. only.
Helpful Phone Numbers
To locate your nearest sales dealer
To order consumables
To order operating instructions/CD’s
To locate your nearest authorized service center
For technical support
Automated 24-hour support via Fax back
Electronic bulletin board
World Wide Web Technical & Driver Support
CALL 1-800-742-8086 ask for COLOR
CALL 1-800-222-0584
CALL 1-800-833-9626
CALL 1-888-744-2424
CALL 1-888-744-2424
CALL 1-800-222-0584
CALL 1-201-863-7845
http://www.panasonic.com/alive
5
�
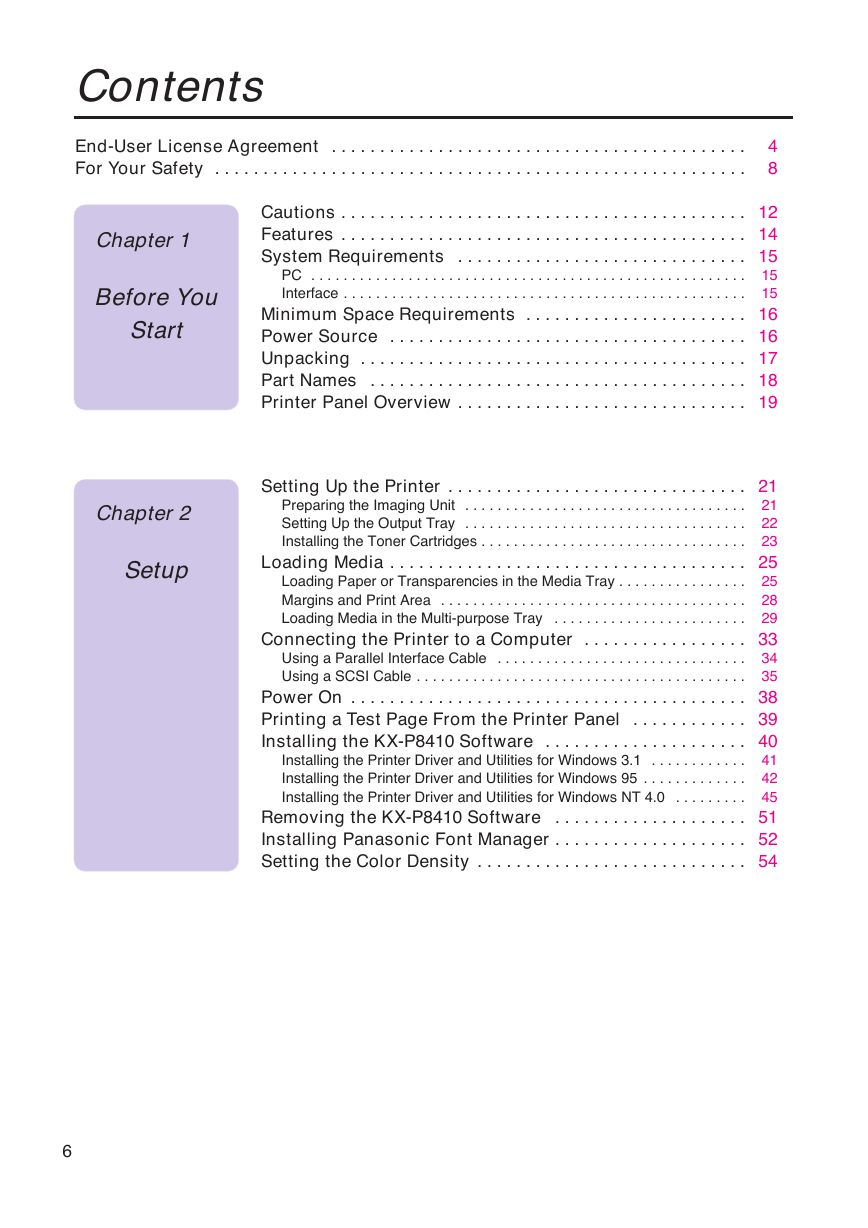
Contents
End-User License Agreement . . . . . . . . . . . . . . . . . . . . . . . . . . . . . . . . . . . . . . . . . . .
For Your Safety . . . . . . . . . . . . . . . . . . . . . . . . . . . . . . . . . . . . . . . . . . . . . . . . . . . . . . .
4
8
Chapter 1
Before You
Start
PC . . . . . . . . . . . . . . . . . . . . . . . . . . . . . . . . . . . . . . . . . . . . . . . . . . . . . .
Interface . . . . . . . . . . . . . . . . . . . . . . . . . . . . . . . . . . . . . . . . . . . . . . . . . .
Cautions . . . . . . . . . . . . . . . . . . . . . . . . . . . . . . . . . . . . . . . . . . 12
Features . . . . . . . . . . . . . . . . . . . . . . . . . . . . . . . . . . . . . . . . . . 14
System Requirements . . . . . . . . . . . . . . . . . . . . . . . . . . . . . . 15
15
15
Minimum Space Requirements . . . . . . . . . . . . . . . . . . . . . . . 16
Power Source . . . . . . . . . . . . . . . . . . . . . . . . . . . . . . . . . . . . . 16
Unpacking . . . . . . . . . . . . . . . . . . . . . . . . . . . . . . . . . . . . . . . . 17
Part Names . . . . . . . . . . . . . . . . . . . . . . . . . . . . . . . . . . . . . . . 18
Printer Panel Overview . . . . . . . . . . . . . . . . . . . . . . . . . . . . . . 19
Loading Paper or Transparencies in the Media Tray . . . . . . . . . . . . . . . .
Margins and Print Area . . . . . . . . . . . . . . . . . . . . . . . . . . . . . . . . . . . . . .
Loading Media in the Multi-purpose Tray . . . . . . . . . . . . . . . . . . . . . . . .
Using a Parallel Interface Cable . . . . . . . . . . . . . . . . . . . . . . . . . . . . . . .
Using a SCSI Cable . . . . . . . . . . . . . . . . . . . . . . . . . . . . . . . . . . . . . . . . .
Preparing the Imaging Unit . . . . . . . . . . . . . . . . . . . . . . . . . . . . . . . . . . .
Setting Up the Output Tray . . . . . . . . . . . . . . . . . . . . . . . . . . . . . . . . . . .
Installing the Toner Cartridges . . . . . . . . . . . . . . . . . . . . . . . . . . . . . . . . .
Setting Up the Printer . . . . . . . . . . . . . . . . . . . . . . . . . . . . . . . 21
21
22
23
Loading Media . . . . . . . . . . . . . . . . . . . . . . . . . . . . . . . . . . . . . 25
25
28
29
Connecting the Printer to a Computer . . . . . . . . . . . . . . . . . 33
34
35
Power On . . . . . . . . . . . . . . . . . . . . . . . . . . . . . . . . . . . . . . . . . 38
Printing a Test Page From the Printer Panel . . . . . . . . . . . . 39
Installing the KX-P8410 Software . . . . . . . . . . . . . . . . . . . . . 40
41
42
45
Removing the KX-P8410 Software . . . . . . . . . . . . . . . . . . . . 51
Installing Panasonic Font Manager . . . . . . . . . . . . . . . . . . . . 52
Setting the Color Density . . . . . . . . . . . . . . . . . . . . . . . . . . . . 54
Installing the Printer Driver and Utilities for Windows 3.1 . . . . . . . . . . . .
Installing the Printer Driver and Utilities for Windows 95 . . . . . . . . . . . . .
Installing the Printer Driver and Utilities for Windows NT 4.0 . . . . . . . . .
Chapter 2
Setup
6
�
Contents
Chapter 3
Using the
Printer
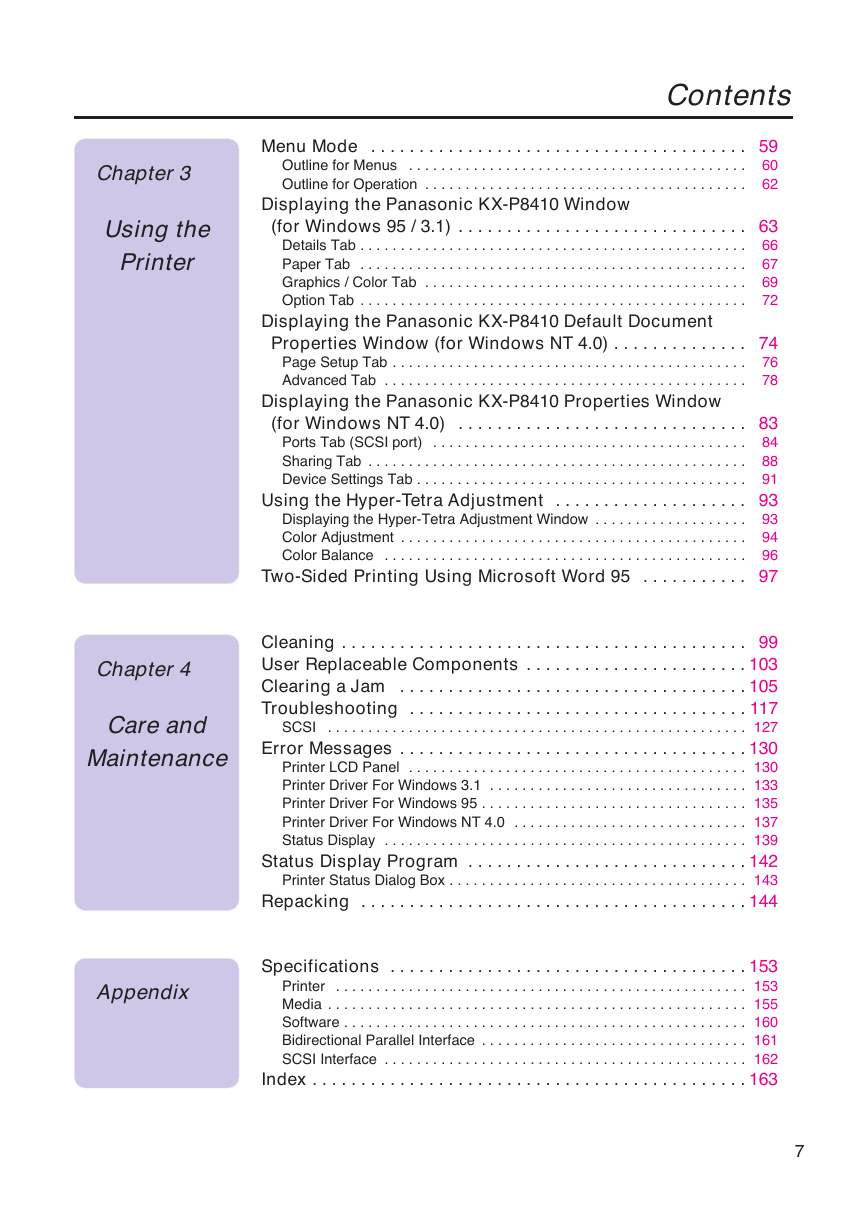
Menu Mode . . . . . . . . . . . . . . . . . . . . . . . . . . . . . . . . . . . . . . . 59
60
62
Outline for Menus . . . . . . . . . . . . . . . . . . . . . . . . . . . . . . . . . . . . . . . . . .
Outline for Operation . . . . . . . . . . . . . . . . . . . . . . . . . . . . . . . . . . . . . . . .
Displaying the Panasonic KX-P8410 Window
(for Windows 95 / 3.1) . . . . . . . . . . . . . . . . . . . . . . . . . . . . . . 63
66
67
69
72
Details Tab . . . . . . . . . . . . . . . . . . . . . . . . . . . . . . . . . . . . . . . . . . . . . . . .
Paper Tab . . . . . . . . . . . . . . . . . . . . . . . . . . . . . . . . . . . . . . . . . . . . . . . .
Graphics / Color Tab . . . . . . . . . . . . . . . . . . . . . . . . . . . . . . . . . . . . . . . .
Option Tab . . . . . . . . . . . . . . . . . . . . . . . . . . . . . . . . . . . . . . . . . . . . . . . .
Displaying the Panasonic KX-P8410 Default Document
Properties Window (for Windows NT 4.0) . . . . . . . . . . . . . . 74
76
78
Page Setup Tab . . . . . . . . . . . . . . . . . . . . . . . . . . . . . . . . . . . . . . . . . . . .
Advanced Tab . . . . . . . . . . . . . . . . . . . . . . . . . . . . . . . . . . . . . . . . . . . . .
Ports Tab (SCSI port) . . . . . . . . . . . . . . . . . . . . . . . . . . . . . . . . . . . . . . .
Sharing Tab . . . . . . . . . . . . . . . . . . . . . . . . . . . . . . . . . . . . . . . . . . . . . . .
Device Settings Tab . . . . . . . . . . . . . . . . . . . . . . . . . . . . . . . . . . . . . . . . .
Displaying the Panasonic KX-P8410 Properties Window
(for Windows NT 4.0) . . . . . . . . . . . . . . . . . . . . . . . . . . . . . . 83
84
88
91
Using the Hyper-Tetra Adjustment . . . . . . . . . . . . . . . . . . . . 93
93
94
96
Two-Sided Printing Using Microsoft Word 95 . . . . . . . . . . . 97
Displaying the Hyper-Tetra Adjustment Window . . . . . . . . . . . . . . . . . . .
Color Adjustment . . . . . . . . . . . . . . . . . . . . . . . . . . . . . . . . . . . . . . . . . . .
Color Balance . . . . . . . . . . . . . . . . . . . . . . . . . . . . . . . . . . . . . . . . . . . . .
Chapter 4
Care and
Maintenance
Cleaning . . . . . . . . . . . . . . . . . . . . . . . . . . . . . . . . . . . . . . . . . . 99
User Replaceable Components . . . . . . . . . . . . . . . . . . . . . . . 103
Clearing a Jam . . . . . . . . . . . . . . . . . . . . . . . . . . . . . . . . . . . . 105
Troubleshooting . . . . . . . . . . . . . . . . . . . . . . . . . . . . . . . . . . . 117
SCSI . . . . . . . . . . . . . . . . . . . . . . . . . . . . . . . . . . . . . . . . . . . . . . . . . . . . 127
Error Messages . . . . . . . . . . . . . . . . . . . . . . . . . . . . . . . . . . . . 130
Printer LCD Panel . . . . . . . . . . . . . . . . . . . . . . . . . . . . . . . . . . . . . . . . . . 130
Printer Driver For Windows 3.1 . . . . . . . . . . . . . . . . . . . . . . . . . . . . . . . . 133
Printer Driver For Windows 95 . . . . . . . . . . . . . . . . . . . . . . . . . . . . . . . . . 135
Printer Driver For Windows NT 4.0 . . . . . . . . . . . . . . . . . . . . . . . . . . . . . 137
Status Display . . . . . . . . . . . . . . . . . . . . . . . . . . . . . . . . . . . . . . . . . . . . . 139
Status Display Program . . . . . . . . . . . . . . . . . . . . . . . . . . . . . 142
Printer Status Dialog Box . . . . . . . . . . . . . . . . . . . . . . . . . . . . . . . . . . . . . 143
Repacking . . . . . . . . . . . . . . . . . . . . . . . . . . . . . . . . . . . . . . . . 144
Appendix
Specifications . . . . . . . . . . . . . . . . . . . . . . . . . . . . . . . . . . . . . 153
Printer . . . . . . . . . . . . . . . . . . . . . . . . . . . . . . . . . . . . . . . . . . . . . . . . . . . 153
Media . . . . . . . . . . . . . . . . . . . . . . . . . . . . . . . . . . . . . . . . . . . . . . . . . . . . 155
Software . . . . . . . . . . . . . . . . . . . . . . . . . . . . . . . . . . . . . . . . . . . . . . . . . . 160
Bidirectional Parallel Interface . . . . . . . . . . . . . . . . . . . . . . . . . . . . . . . . . 161
SCSI Interface . . . . . . . . . . . . . . . . . . . . . . . . . . . . . . . . . . . . . . . . . . . . . 162
Index . . . . . . . . . . . . . . . . . . . . . . . . . . . . . . . . . . . . . . . . . . . . . 163
7
�
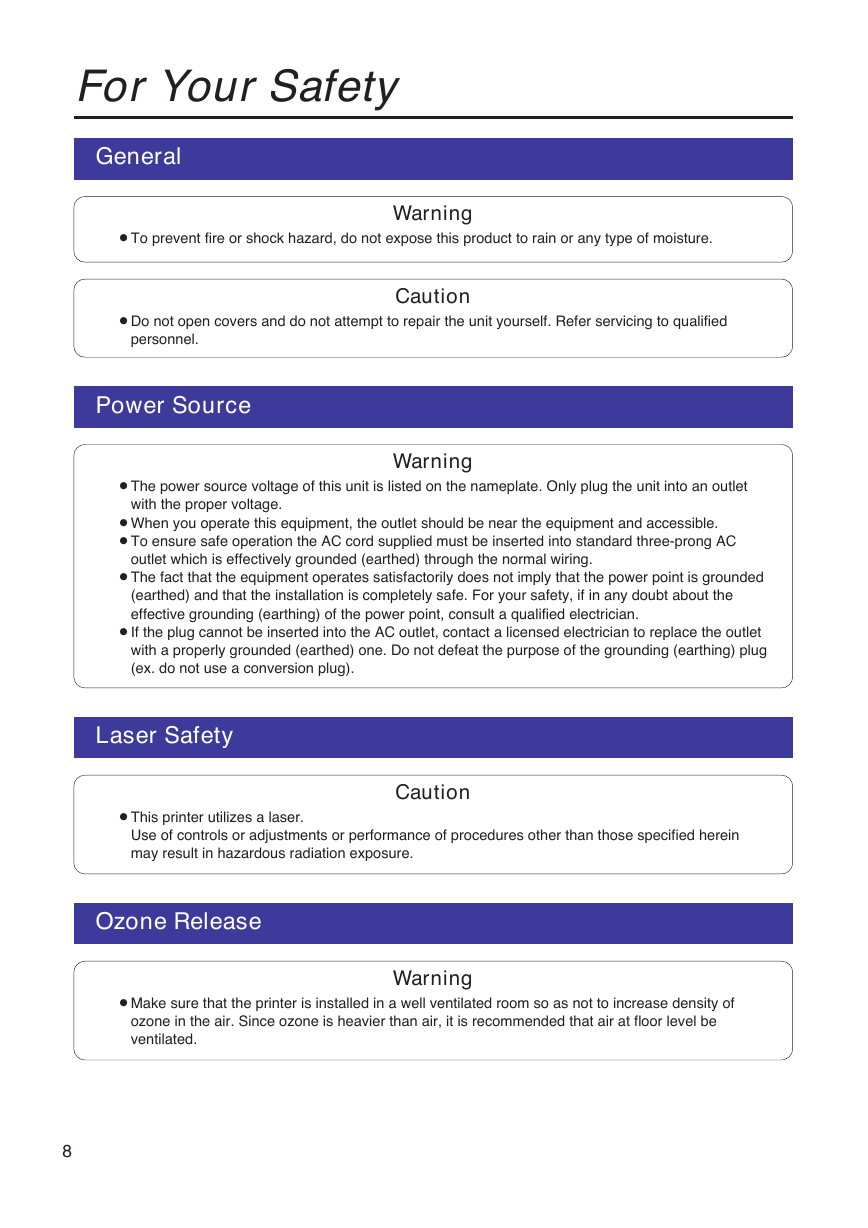
For Your Safety
General
BTo prevent fire or shock hazard, do not expose this product to rain or any type of moisture.
Warning
BDo not open covers and do not attempt to repair the unit yourself. Refer servicing to qualified
Caution
personnel.
Power Source
Warning
BThe power source voltage of this unit is listed on the nameplate. Only plug the unit into an outlet
with the proper voltage.
BWhen you operate this equipment, the outlet should be near the equipment and accessible.
BTo ensure safe operation the AC cord supplied must be inserted into standard three-prong AC
outlet which is effectively grounded (earthed) through the normal wiring.
BThe fact that the equipment operates satisfactorily does not imply that the power point is grounded
(earthed) and that the installation is completely safe. For your safety, if in any doubt about the
effective grounding (earthing) of the power point, consult a qualified electrician.
BIf the plug cannot be inserted into the AC outlet, contact a licensed electrician to replace the outlet
with a properly grounded (earthed) one. Do not defeat the purpose of the grounding (earthing) plug
(ex. do not use a conversion plug).
Laser Safety
BThis printer utilizes a laser.
Use of controls or adjustments or performance of procedures other than those specified herein
may result in hazardous radiation exposure.
Caution
Ozone Release
BMake sure that the printer is installed in a well ventilated room so as not to increase density of
ozone in the air. Since ozone is heavier than air, it is recommended that air at floor level be
ventilated.
Warning
8
�




 2023年江西萍乡中考道德与法治真题及答案.doc
 2012年重庆南川中考生物真题及答案.doc
 2013年江西师范大学地理学综合及文艺理论基础考研真题.doc
 2020年四川甘孜小升初语文真题及答案I卷.doc
 2020年注册岩土工程师专业基础考试真题及答案.doc
 2023-2024学年福建省厦门市九年级上学期数学月考试题及答案.doc
 2021-2022学年辽宁省沈阳市大东区九年级上学期语文期末试题及答案.doc
 2022-2023学年北京东城区初三第一学期物理期末试卷及答案.doc
 2018上半年江西教师资格初中地理学科知识与教学能力真题及答案.doc
 2012年河北国家公务员申论考试真题及答案-省级.doc
 2020-2021学年江苏省扬州市江都区邵樊片九年级上学期数学第一次质量检测试题及答案.doc
 2022下半年黑龙江教师资格证中学综合素质真题及答案.doc