�
1
SYSTEM REQUIREMENTS
IBM PC/AT compatible computer
•MS Windows 98 / 98 SE / 2000 / ME / XP
• 32MB RAM or higher
•120MB free hard disk space
• VGA colour monitor
• CD ROM driver
• 3.5" floppy disk drive
• USB connection
SYSTEM REQUIREMENTS
Imac, iBook, G3 blue&white series, G4 series
• Mac OS 9 / 9.0.2 / 9.0.4 / 9.1
• 32MB RAM or higher
• 120MB free hard disk space
• VGA colour monitor
• CD ROM drive
• USB connection
�
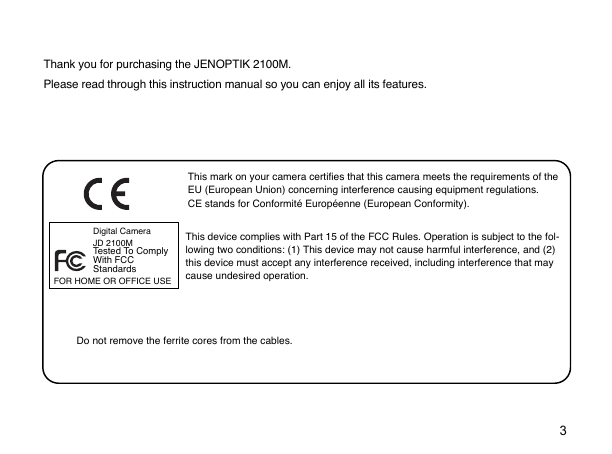
Thank you for purchasing the JENOPTIK 2100M.
Please read through this instruction manual so you can enjoy all its features.
This mark on your camera certifies that this camera meets the requirements of the
EU (European Union) concerning interference causing equipment regulations.
CE stands for Conformité Européenne (European Conformity).
Digital Camera
JD 2100M
Tested To Comply
With FCC
Standards
FOR HOME OR OFFICE USE
This device complies with Part 15 of the FCC Rules. Operation is subject to the fol-
lowing two conditions: (1) This device may not cause harmful interference, and (2)
this device must accept any interference received, including interference that may
cause undesired operation.
Do not remove the ferrite cores from the cables.
3
�
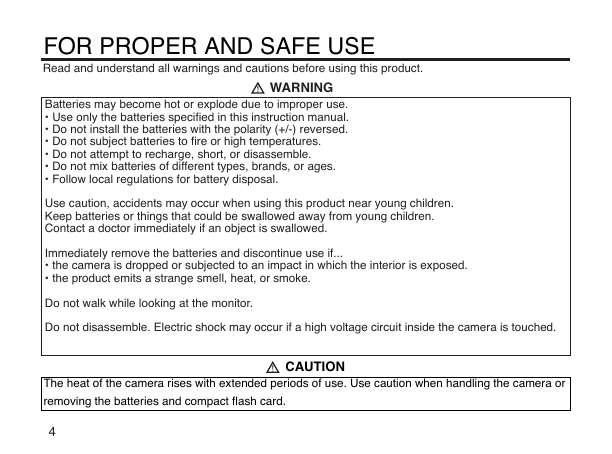
FOR PROPER AND SAFE USE
Read and understand all warnings and cautions before using this product.
WARNING
Batteries may become hot or explode due to improper use.
• Use only the batteries specified in this instruction manual.
• Do not install the batteries with the polarity (+/-) reversed.
• Do not subject batteries to fire or high temperatures.
• Do not attempt to recharge, short, or disassemble.
• Do not mix batteries of different types, brands, or ages.
• Follow local regulations for battery disposal.
Use caution, accidents may occur when using this product near young children.
Keep batteries or things that could be swallowed away from young children.
Contact a doctor immediately if an object is swallowed.
Immediately remove the batteries and discontinue use if...
• the camera is dropped or subjected to an impact in which the interior is exposed.
• the product emits a strange smell, heat, or smoke.
Do not walk while looking at the monitor.
Do not disassemble. Electric shock may occur if a high voltage circuit inside the camera is touched.
The heat of the camera rises with extended periods of use. Use caution when handling the camera or
removing the batteries and compact flash card.
CAUTION
4
�
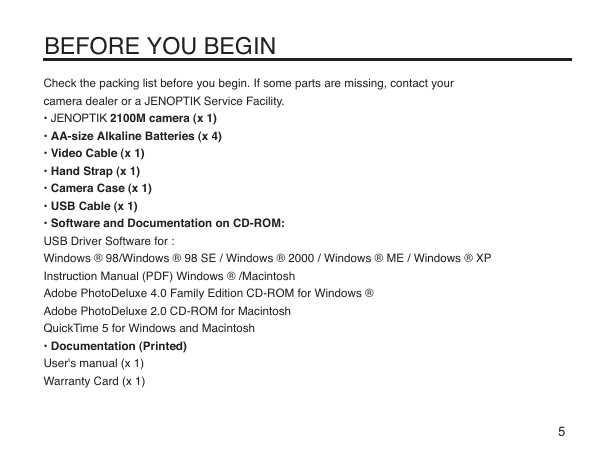
BEFORE YOU BEGIN
Check the packing list before you begin. If some parts are missing, contact your
camera dealer or a JENOPTIK Service Facility.
• JENOPTIK 2100M camera (x 1)
• AA-size Alkaline Batteries (x 4)
• Video Cable (x 1)
• Hand Strap (x 1)
• Camera Case (x 1)
• USB Cable (x 1)
• Software and Documentation on CD-ROM:
USB Driver Software for :
Windows ® 98/Windows ® 98 SE / Windows ® 2000 / Windows ® ME / Windows ® XP
Instruction Manual (PDF) Windows ® /Macintosh
Adobe PhotoDeluxe 4.0 Family Edition CD-ROM for Windows ®
Adobe PhotoDeluxe 2.0 CD-ROM for Macintosh
QuickTime 5 for Windows and Macintosh
• Documentation (Printed)
User's manual (x 1)
Warranty Card (x 1)
5
�
TABLE OF CONTENTS
FOR PROPER AND SAFE USE........................4
BEFORE YOU BEGIN.......................................5
TABLE OF CONTENTS.....................................6
NAMES OF PARTS.........................................10
CAMERA BODY...........................................10
INSIDE THE TERMINAL COVER................12
BOTTOM OF BODY.....................................12
VIEWFINDER..............................................13
DESCRIPTION FOR LED LAMP....................14
QUICK REFERENCES....................................15
GETTING STARTED.......................................15
TAKING PICTURES........................................16
MONITERING THE CAPTURED IMAGES......17
DELETING IMAGES........................................18
PREPARATION...............................................20
ATTACHING THE HAND STRAP.....................21
INSERTING THE BATTERIES........................22
CHECKING THE BATTERY POWER ........24
6
POWER SAVE..............................................25
USING THE AC ADAPTER
(Sold Separately).........................25
INSERTING/REMOVING THE COMPACT
FLASH (CF) CARD............................................26
INSERTING THE CF CARD.........................26
REMOVING THE CF CARD.........................28
TAKING PICTURES..........................................29
BASIC RECORDING PROCEDURE.................30
THE RECORDING MODE DISPLAY ON THE
LCD MONITOR..................................................32
THE DISPLAY OF THE CAMERA SETTINGS
...........................................................................33
FLASH...............................................................35
Flash Range..................................................35
SELECTING THE FLASH MODE.................36
ADVANCED OPERATIONS............................38
�
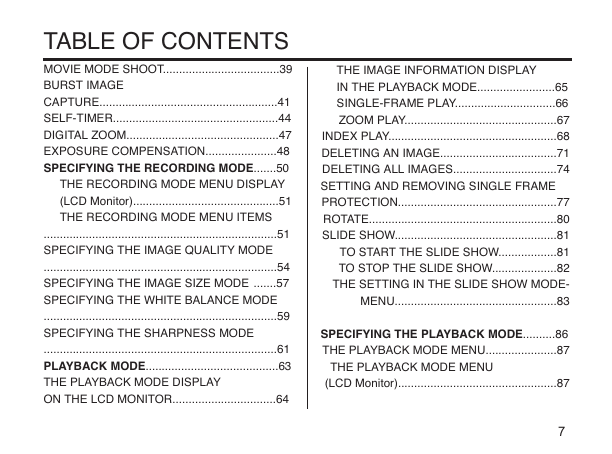
TABLE OF CONTENTS
MOVIE MODE SHOOT....................................39
BURST IMAGE
CAPTURE.......................................................41
SELF-TIMER...................................................44
DIGITAL ZOOM...............................................47
EXPOSURE COMPENSATION......................48
SPECIFYING THE RECORDING MODE.......50
THE RECORDING MODE MENU DISPLAY
(LCD Monitor).............................................51
THE RECORDING MODE MENU ITEMS
........................................................................51
SPECIFYING THE IMAGE QUALITY MODE
........................................................................54
SPECIFYING THE IMAGE SIZE MODE .......57
SPECIFYING THE WHITE BALANCE MODE
........................................................................59
SPECIFYING THE SHARPNESS MODE
........................................................................61
PLAYBACK MODE.........................................63
THE PLAYBACK MODE DISPLAY
ON THE LCD MONITOR................................64
THE IMAGE INFORMATION DISPLAY
IN THE PLAYBACK MODE........................65
SINGLE-FRAME PLAY...............................66
ZOOM PLAY...............................................67
INDEX PLAY....................................................68
DELETING AN IMAGE....................................71
DELETING ALL IMAGES................................74
SETTING AND REMOVING SINGLE FRAME
PROTECTION.................................................77
ROTATE..........................................................80
SLIDE SHOW..................................................81
TO START THE SLIDE SHOW..................81
TO STOP THE SLIDE SHOW....................82
THE SETTING IN THE SLIDE SHOW MODE-
MENU..................................................83
SPECIFYING THE PLAYBACK MODE..........86
THE PLAYBACK MODE MENU......................87
THE PLAYBACK MODE MENU
(LCD Monitor).................................................87
7
�





 2023年江西萍乡中考道德与法治真题及答案.doc
 2012年重庆南川中考生物真题及答案.doc
 2013年江西师范大学地理学综合及文艺理论基础考研真题.doc
 2020年四川甘孜小升初语文真题及答案I卷.doc
 2020年注册岩土工程师专业基础考试真题及答案.doc
 2023-2024学年福建省厦门市九年级上学期数学月考试题及答案.doc
 2021-2022学年辽宁省沈阳市大东区九年级上学期语文期末试题及答案.doc
 2022-2023学年北京东城区初三第一学期物理期末试卷及答案.doc
 2018上半年江西教师资格初中地理学科知识与教学能力真题及答案.doc
 2012年河北国家公务员申论考试真题及答案-省级.doc
 2020-2021学年江苏省扬州市江都区邵樊片九年级上学期数学第一次质量检测试题及答案.doc
 2022下半年黑龙江教师资格证中学综合素质真题及答案.doc