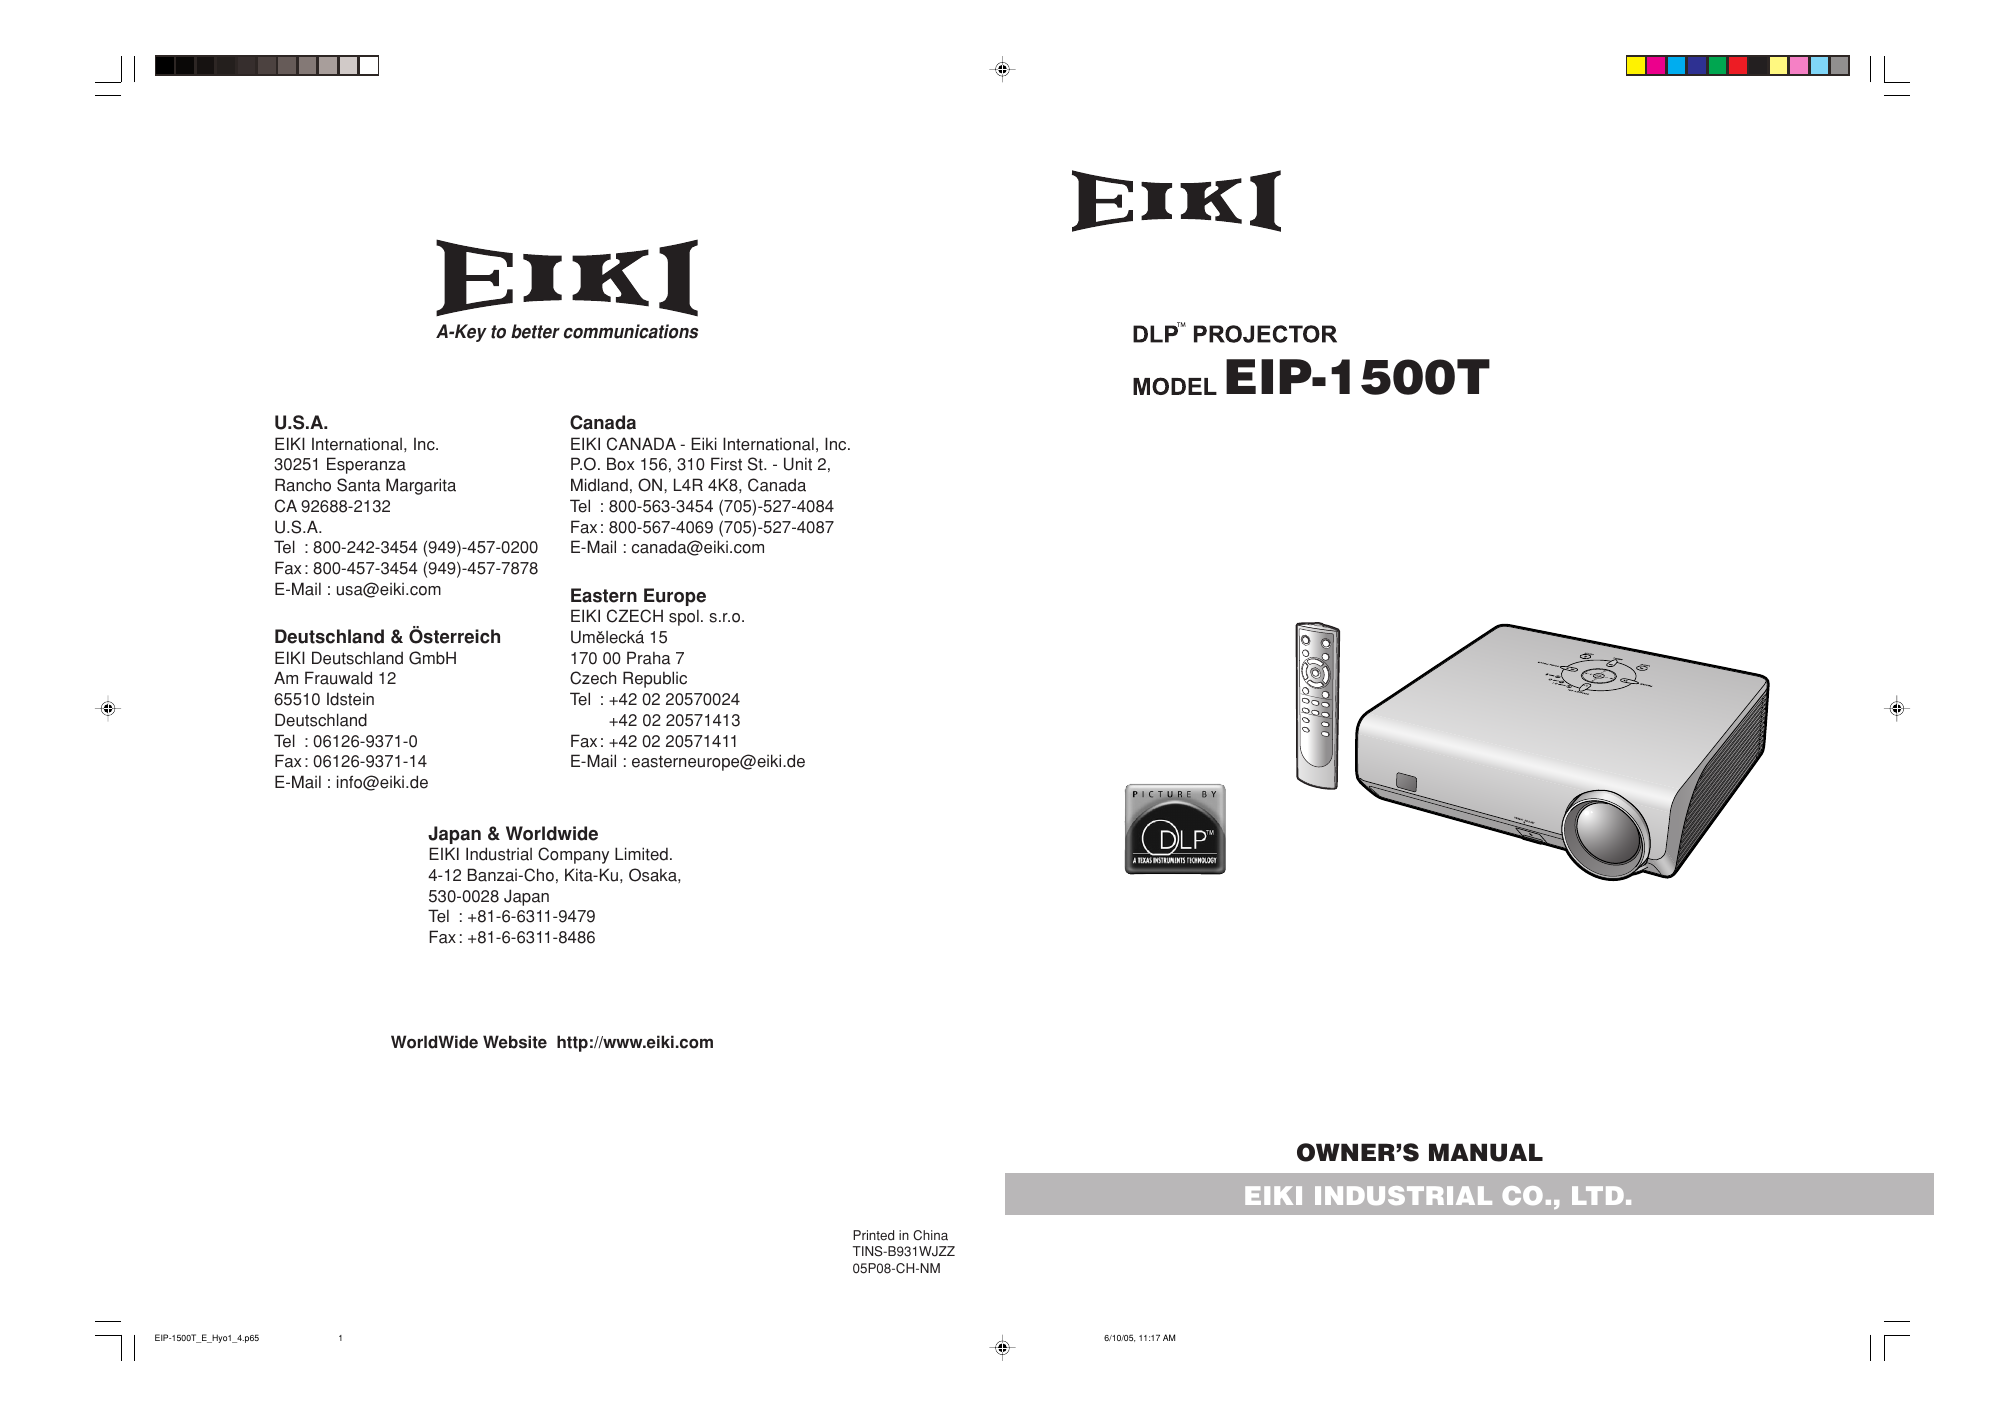
EIP-1500T
A-Key to better communications
U.S.A.
EIKI International, Inc.
30251 Esperanza
Rancho Santa Margarita
CA 92688-2132
U.S.A.
Tel : 800-242-3454 (949)-457-0200
Fax: 800-457-3454 (949)-457-7878
E-Mail : usa@eiki.com
Deutschland & Österreich
EIKI Deutschland GmbH
Am Frauwald 12
65510 Idstein
Deutschland
Tel : 06126-9371-0
Fax: 06126-9371-14
E-Mail : info@eiki.de
Canada
EIKI CANADA - Eiki International, Inc.
P.O. Box 156, 310 First St. - Unit 2,
Midland, ON, L4R 4K8, Canada
Tel : 800-563-3454 (705)-527-4084
Fax: 800-567-4069 (705)-527-4087
E-Mail : canada@eiki.com
Eastern Europe
EIKI CZECH spol. s.r.o.
Umelecká 15
170 00 Praha 7
Czech Republic
Tel : +42 02 20570024
+42 02 20571413
Fax: +42 02 20571411
E-Mail : easterneurope@eiki.de
Japan & Worldwide
EIKI Industrial Company Limited.
4-12 Banzai-Cho, Kita-Ku, Osaka,
530-0028 Japan
Tel : +81-6-6311-9479
Fax: +81-6-6311-8486
WorldWide Website http://www.eiki.com
OWNER’S MANUAL
EIKI INDUSTRIAL CO., LTD.
Printed in China
TINS-B931WJZZ
05P08-CH-NM
EIP-1500T_E_Hyo1_4.p65
1
6/10/05, 11:17 AM
�
IMPORTANT
For your assistance in reporting the loss or theft of your
Projector, please record the Serial Number located on
the bottom of the projector and retain this information.
Before recycling the packaging, please ensure that you
have checked the contents of the carton thoroughly
against the list of “Supplied accessories” on page 5.
Model No.: EIP-1500T
Serial No.:
EIP-1500T_E_Pii_iv.p65
1
5/10/05, 6:07 PM
�
SPECIAL NOTE FOR USERS IN THE U.K.
The mains lead of this product is fitted with a non-rewireable (moulded) plug incorporating a 10A fuse. Should
the fuse need to be replaced, a BSI or ASTA approved BS 1362 fuse marked
above, which is also indicated on the pin face of the plug, must be used.
Always refit the fuse cover after replacing the fuse. Never use the plug without the fuse cover fitted.
In the unlikely event of the socket outlet in your home not being compatible with the plug supplied, cut off the
mains plug and fit an appropriate type.
and of the same rating as
or
DANGER:
The fuse from the cut-off plug should be removed and the cut-off plug destroyed immediately and disposed of
in a safe manner.
Under no circumstances should the cut-off plug be inserted elsewhere into a 10A socket outlet, as a serious
electric shock may occur.
To fit an appropriate plug to the mains lead, follow the instructions below:
WARNING:
THIS APPARATUS MUST BE EARTHED.
IMPORTANT:
The wires in this mains lead are coloured in accordance with the following code:
Green-and-yellow : Earth
Blue
Brown
: Neutral
: Live
As the colours of the wires in the mains lead of this apparatus may not correspond with the coloured markings
identifying the terminals in your plug proceed as follows:
• The wire which is coloured green-and-yellow must be connected to the terminal in the plug which is marked by
the letter E or by the safety earth symbol
or coloured green or green-and-yellow.
• The wire which is coloured blue must be connected to the terminal which is marked with the letter N or coloured
black.
• The wire which is coloured brown must be connected to the terminal which is marked with the letter L or coloured
red.
IF YOU HAVE ANY DOUBT, CONSULT A QUALIFIED ELECTRICIAN.
EIP-1500T_E_Pii_iv.p65
2
4/25/05, 11:59 AM
�
Before using the projector, please read this owner’s manual carefully.
Introduction
ENGLISH
1. WARRANTY
This is to assure that you immediately receive the full benefit of the parts, service and labor
warranty applicable to your purchase.
2. CONSUMER PRODUCT SAFETY ACT
To ensure that you will promptly receive any safety notification of inspection, modification, or
recall that EIKI may be required to give under the 1972 Consumer Product Safety Act, PLEASE
READ CAREFULLY THE IMPORTANT “LIMITED WARRANTY” CLAUSE.
U.S.A. ONLY
WARNING: High brightness light source. Do not stare into the beam of light, or view directly. Be especially
careful that children do not stare directly into the beam of light.
WARNING: To reduce the risk of fire or electric shock, do not expose this product to
rain or moisture.
See bottom of projector.
CAUTION
RISK OF ELECTRIC SHOCK.
DO NOT REMOVE SCREWS
EXCEPT SPECIFIED USER
SERVICE SCREW.
CAUTION: TO REDUCE THE RISK OF ELECTRIC SHOCK,
DO NOT REMOVE COVER.
NO USER-SERVICEABLE PARTS EXCEPT LAMP UNIT.
REFER SERVICING TO QUALIFIED SERVICE
PERSONNEL.
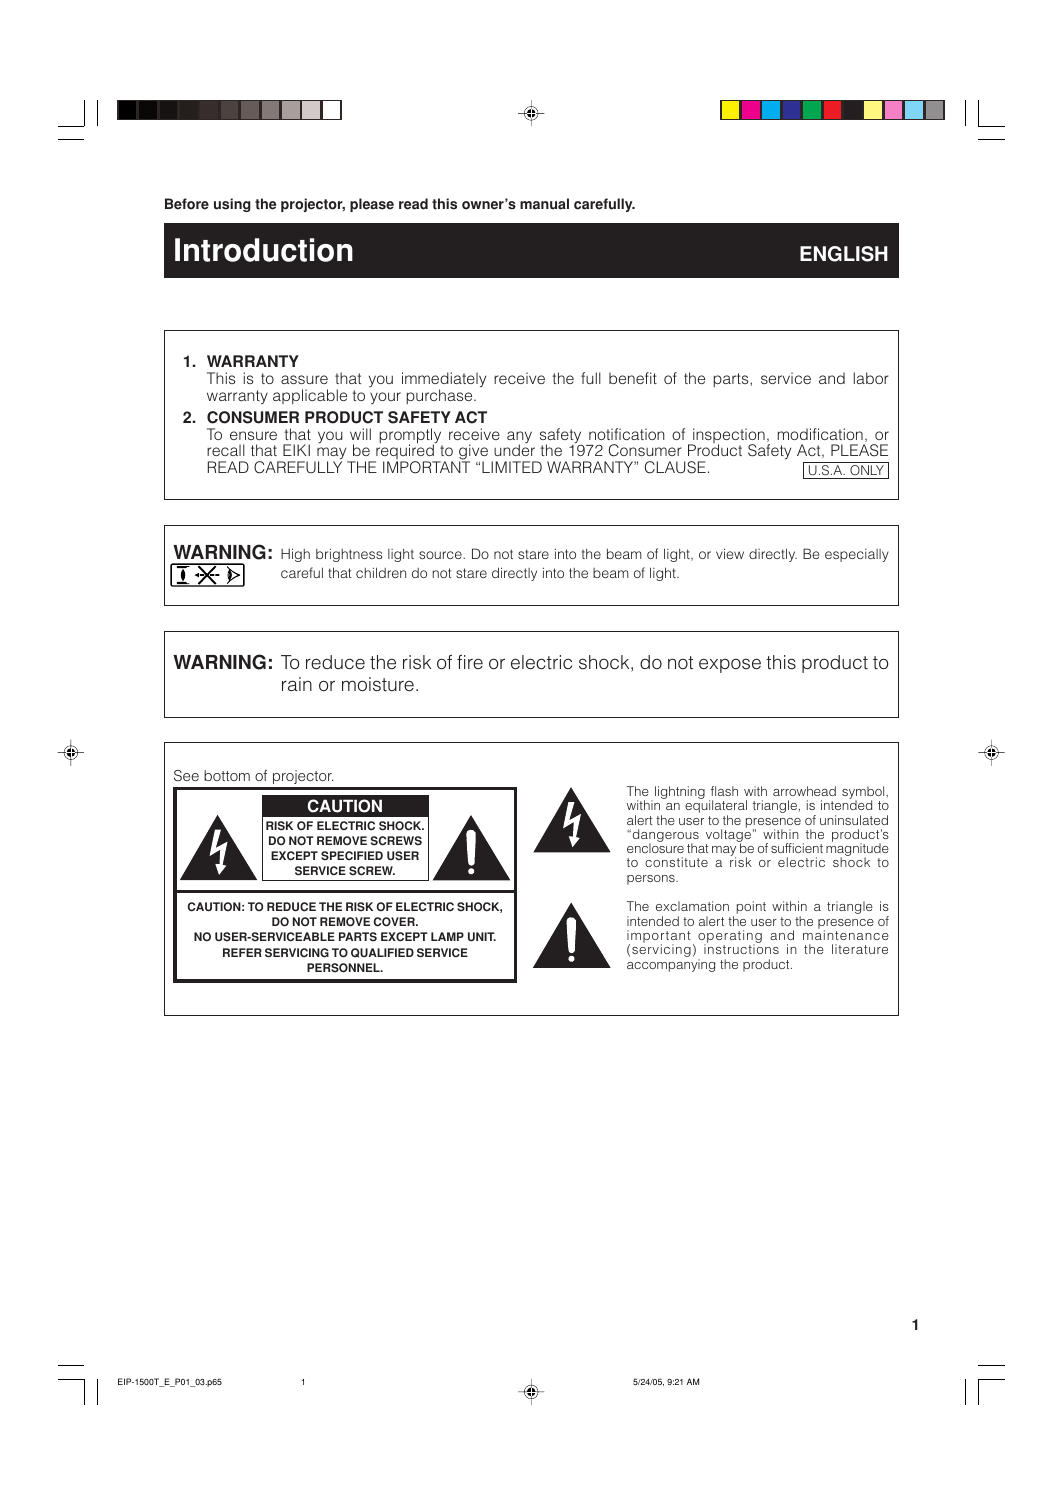
The lightning flash with arrowhead symbol,
within an equilateral triangle, is intended to
alert the user to the presence of uninsulated
“dangerous voltage” within the product’s
enclosure that may be of sufficient magnitude
to constitute a risk or electric shock to
persons.
The exclamation point within a triangle is
intended to alert the user to the presence of
important operating and maintenance
(servicing) instructions in the literature
accompanying the product.
EIP-1500T_E_P01_03.p65
1
5/24/05, 9:21 AM
1
�
WARNING: FCC Regulations state that any unauthorized changes or modifications to this equipment not
expressly approved by the manufacturer could void the user’s authority to operate this equip-
ment.
U.S.A. ONLY
INFORMATION
This equipment has been tested and found to comply with the limits for a Class B digital device, pursuant to Part
15 of the FCC Rules. These limits are designed to provide reasonable protection against harmful interference in a
residential installation. This equipment generates, uses, and can radiate radio frequency energy and, if not installed
and used in accordance with the owner’s manual, may cause harmful interference to radio communications.
However, there is no guarantee that interference will not occur in a particular installation. If this equipment does
cause harmful interference to radio or television reception, which can be determined by turning the equipment off
and on, the user is encouraged to try to correct the interference by one or more of the following measures:
• Reorient or relocate the receiving antenna.
• Increase the separation between the equipment and the receiver.
• Connect the equipment into an outlet on a circuit different from that to which the receiver is connected.
• Consult the dealer or an experienced radio/TV technician for help.
U.S.A. ONLY
Declaration of Conformity
EIKI PROJECTOR, MODEL EIP-1500T
This device complies with Part 15 of the FCC rules. Operation is subject to the following conditions: (1) This device
may not cause harmful interference, and (2) this device must accept any interference received, including interference
that may cause undesired operation.
Responsible Party:
EIKI INTERNATIONAL, INC.
30251 Esperanza, Rancho Santa Margarita, CA 92688-2132
TEL: (800) 242-3454
U.S.A. ONLY
WARNING:
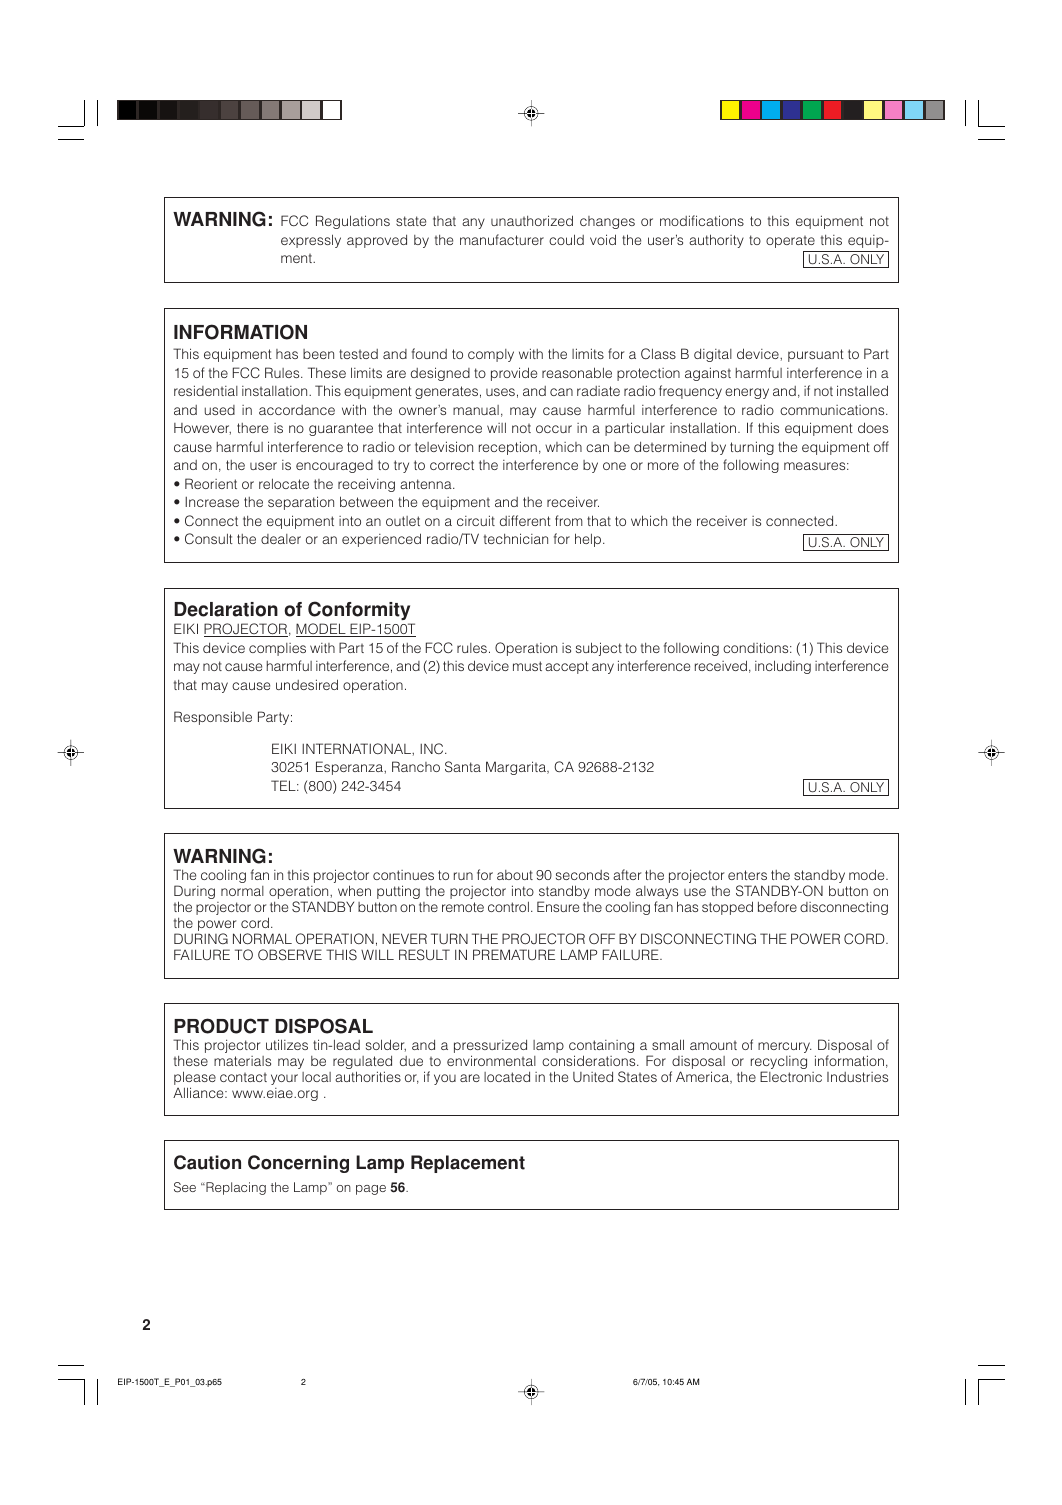
The cooling fan in this projector continues to run for about 90 seconds after the projector enters the standby mode.
During normal operation, when putting the projector into standby mode always use the STANDBY-ON button on
the projector or the STANDBY button on the remote control. Ensure the cooling fan has stopped before disconnecting
the power cord.
DURING NORMAL OPERATION, NEVER TURN THE PROJECTOR OFF BY DISCONNECTING THE POWER CORD.
FAILURE TO OBSERVE THIS WILL RESULT IN PREMATURE LAMP FAILURE.
PRODUCT DISPOSAL
This projector utilizes tin-lead solder, and a pressurized lamp containing a small amount of mercury. Disposal of
these materials may be regulated due to environmental considerations. For disposal or recycling information,
please contact your local authorities or, if you are located in the United States of America, the Electronic Industries
Alliance: www.eiae.org .
Caution Concerning Lamp Replacement
See “Replacing the Lamp” on page 56.
2
EIP-1500T_E_P01_03.p65
2
6/7/05, 10:45 AM
�
This EIKI projector uses a DMD panel. This very sophisticated panel contains 921,600 pixels micromirrors. As with
any high technology electronic equipment such as large screen TVs, video systems and video cameras, there are
certain acceptable tolerances that the equipment must conform to.
This unit has some inactive pixels within acceptable tolerances which may result in inactive dots on the picture
screen. This will not affect the picture quality or the life expectancy of the unit.
• DLPTM (Digital Light Processing) and DMDTM (Digital Micromirror Device) are trademarks of Texas Instru-
ments, Inc.
• Microsoft® and Windows® are registered trademarks of Microsoft Corporation in the United States and/or
other countries.
• PC/AT is a registered trademark of International Business Machines Corporation in the United States.
• Macintosh® is a registered trademark of Apple Computer, Inc. in the United States and/or other countries.
• All other company or product names are trademarks or registered trademarks of their respective companies.
• Some IC chips in this product include confidential and/or trade secret property belonging to Texas Instru-
ments. Therefore you may not copy, modify, adapt, translate, distribute, reverse engineer, reverse as-
semble or discompile the contents thereof.
EIP-1500T_E_P01_03.p65
3
5/22/05, 5:39 PM
3
�
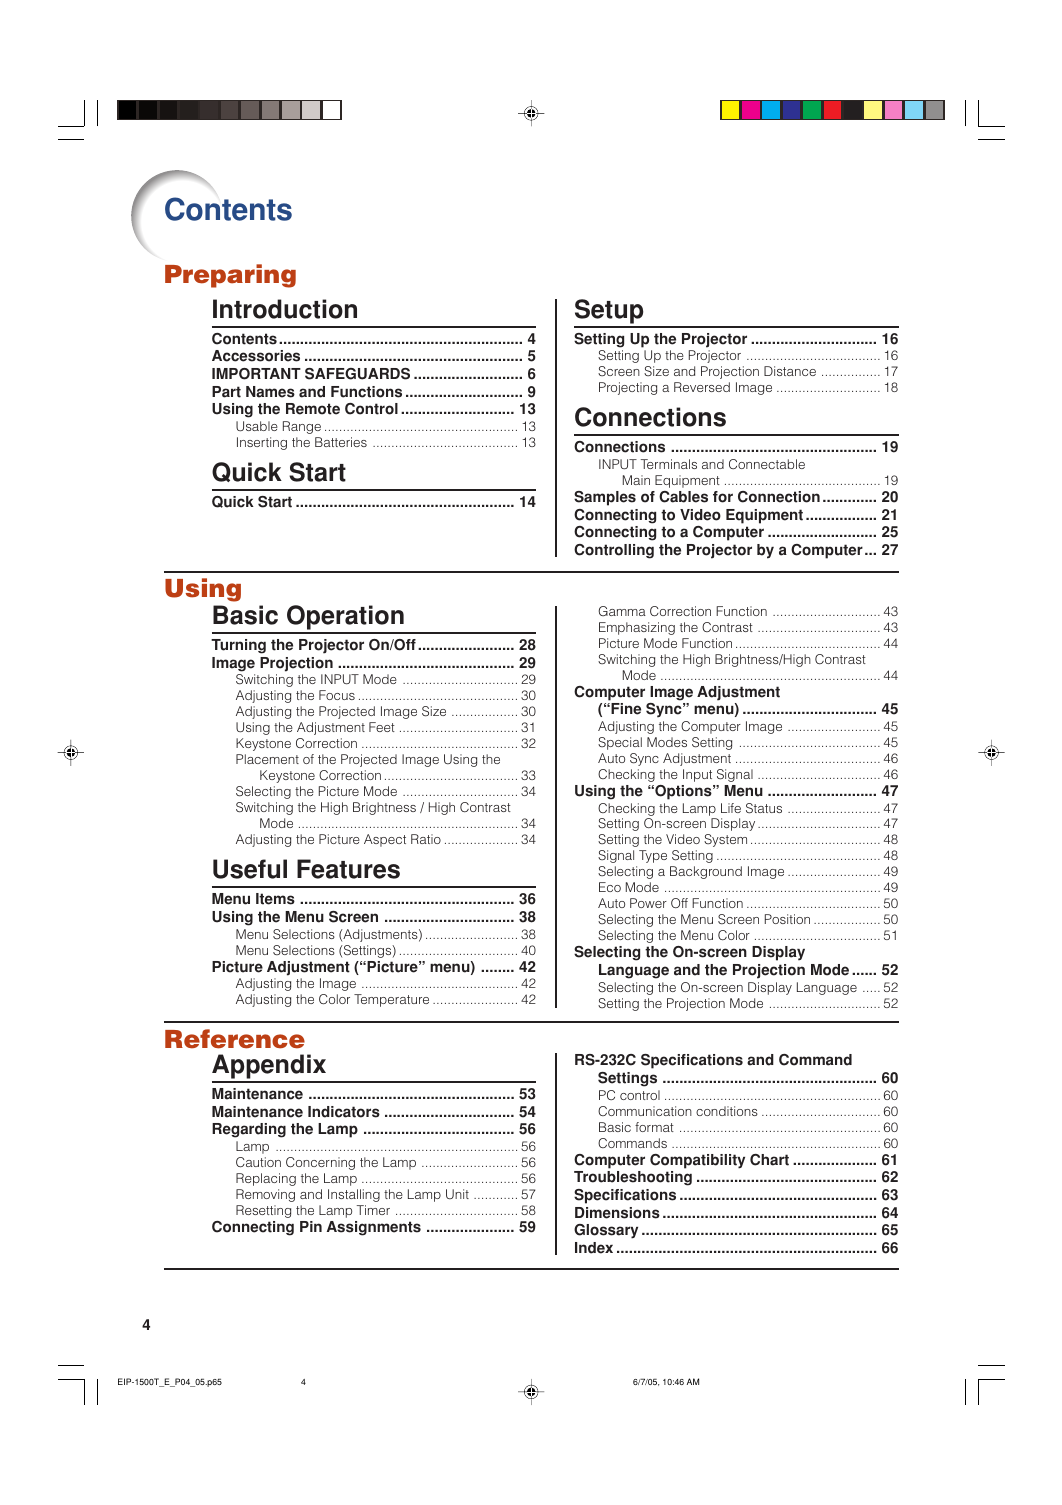
Contents
Preparing
Introduction
Contents.......................................................... 4
Accessories .................................................... 5
IMPORTANT SAFEGUARDS .......................... 6
Part Names and Functions ............................ 9
Using the Remote Control ........................... 13
Usable Range .................................................... 13
Inserting the Batteries ....................................... 13
Quick Start
Quick Start .................................................... 14
Setup
Setting Up the Projector .............................. 16
Setting Up the Projector .................................... 16
Screen Size and Projection Distance ................ 17
Projecting a Reversed Image ............................ 18
Connections
Connections ................................................. 19
INPUT Terminals and Connectable
Main Equipment .......................................... 19
Samples of Cables for Connection............. 20
Connecting to Video Equipment ................. 21
Connecting to a Computer .......................... 25
Controlling the Projector by a Computer... 27
Using
Basic Operation
Turning the Projector On/Off ....................... 28
Image Projection .......................................... 29
Switching the INPUT Mode ............................... 29
Adjusting the Focus ........................................... 30
Adjusting the Projected Image Size .................. 30
Using the Adjustment Feet ................................ 31
Keystone Correction .......................................... 32
Placement of the Projected Image Using the
Keystone Correction .................................... 33
Selecting the Picture Mode ............................... 34
Switching the High Brightness / High Contrast
Mode ........................................................... 34
Adjusting the Picture Aspect Ratio .................... 34
Useful Features
Menu Items ................................................... 36
Using the Menu Screen ............................... 38
Menu Selections (Adjustments) ......................... 38
Menu Selections (Settings) ................................ 40
Picture Adjustment (“Picture” menu) ........ 42
Adjusting the Image .......................................... 42
Adjusting the Color Temperature ....................... 42
Reference
Appendix
Maintenance ................................................. 53
Maintenance Indicators ............................... 54
Regarding the Lamp .................................... 56
Lamp ................................................................. 56
Caution Concerning the Lamp .......................... 56
Replacing the Lamp .......................................... 56
Removing and Installing the Lamp Unit ............ 57
Resetting the Lamp Timer ................................. 58
Connecting Pin Assignments ..................... 59
Gamma Correction Function ............................. 43
Emphasizing the Contrast ................................. 43
Picture Mode Function ....................................... 44
Switching the High Brightness/High Contrast
Mode ........................................................... 44
Computer Image Adjustment
(“Fine Sync” menu) ................................ 45
Adjusting the Computer Image ......................... 45
Special Modes Setting ...................................... 45
Auto Sync Adjustment ....................................... 46
Checking the Input Signal ................................. 46
Using the “Options” Menu .......................... 47
Checking the Lamp Life Status ......................... 47
Setting On-screen Display ................................. 47
Setting the Video System ................................... 48
Signal Type Setting ............................................ 48
Selecting a Background Image ......................... 49
Eco Mode .......................................................... 49
Auto Power Off Function .................................... 50
Selecting the Menu Screen Position .................. 50
Selecting the Menu Color .................................. 51
Selecting the On-screen Display
Language and the Projection Mode ...... 52
Selecting the On-screen Display Language ..... 52
Setting the Projection Mode .............................. 52
RS-232C Specifications and Command
Settings ................................................... 60
PC control .......................................................... 60
Communication conditions ................................ 60
Basic format ...................................................... 60
Commands ........................................................ 60
Computer Compatibility Chart .................... 61
Troubleshooting ........................................... 62
Specifications ............................................... 63
Dimensions ................................................... 64
Glossary ........................................................ 65
Index .............................................................. 66
4
EIP-1500T_E_P04_05.p65
4
6/7/05, 10:46 AM
�
Accessories
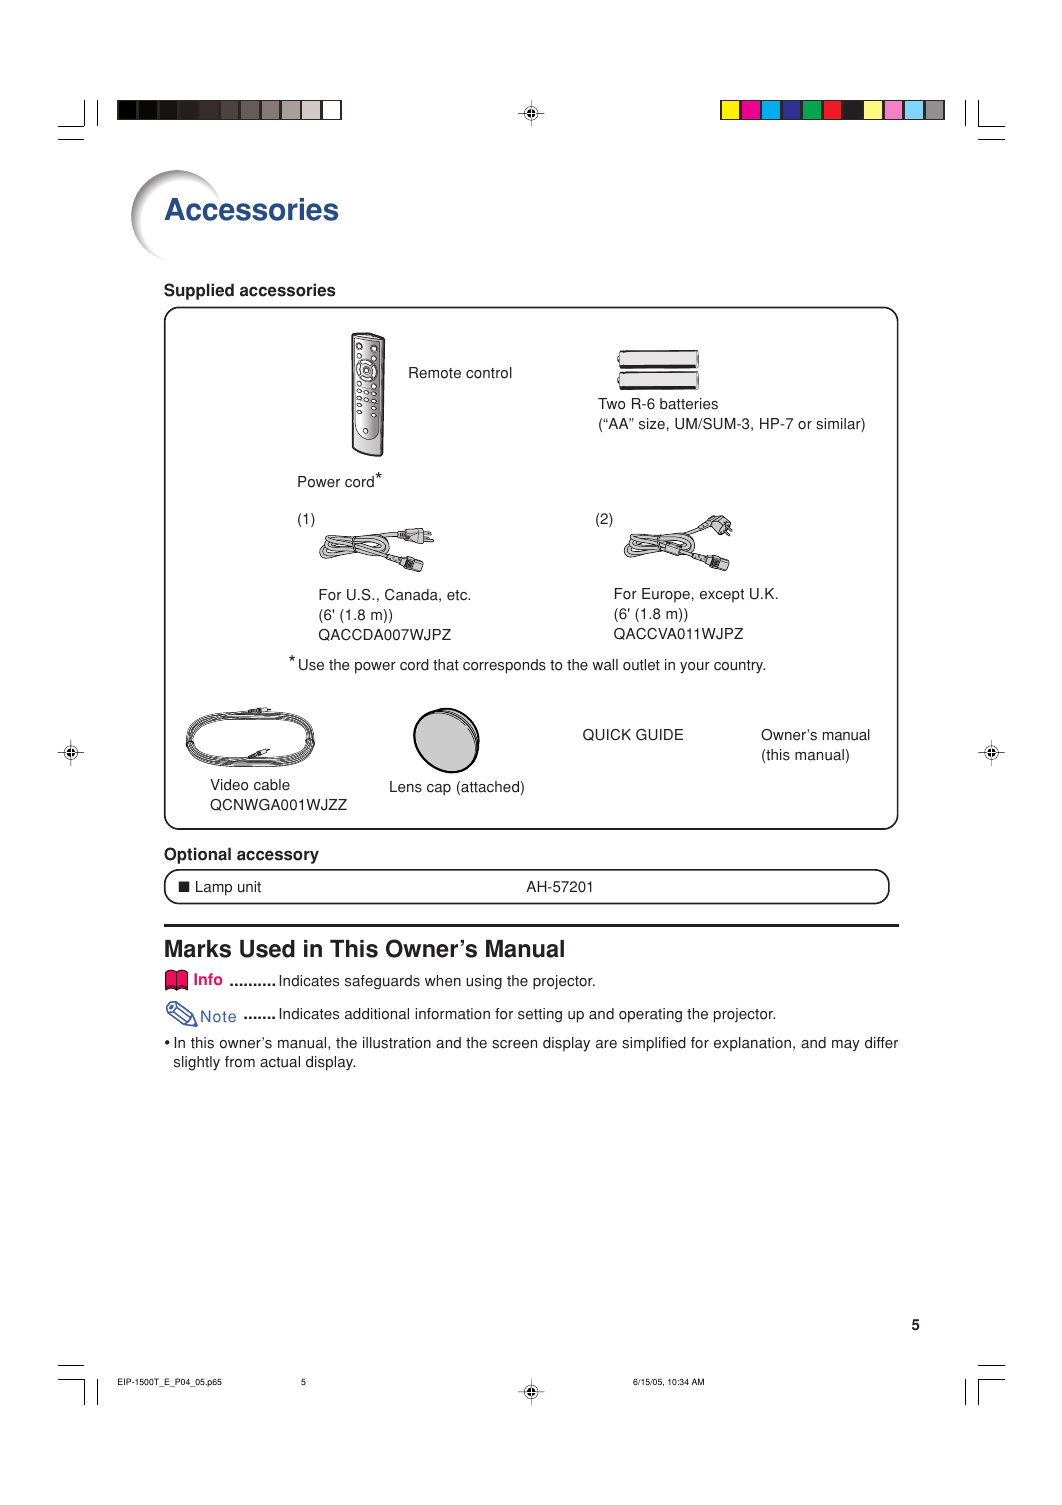
Supplied accessories
Remote control
Two R-6 batteries
(“AA” size, UM/SUM-3, HP-7 or similar)
Power cord*
(1)
(2)
For U.S., Canada, etc.
(6' (1.8 m))
QACCDA007WJPZ
For Europe, except U.K.
(6' (1.8 m))
QACCVA011WJPZ
*Use the power cord that corresponds to the wall outlet in your country.
QUICK GUIDE
Owner’s manual
(this manual)
Video cable
QCNWGA001WJZZ
Lens cap (attached)
Optional accessory
■ Lamp unit
AH-57201
Marks Used in This Owner’s Manual
Info .......... Indicates safeguards when using the projector.
Note ....... Indicates additional information for setting up and operating the projector.
• In this owner’s manual, the illustration and the screen display are simplified for explanation, and may differ
slightly from actual display.
EIP-1500T_E_P04_05.p65
5
6/15/05, 10:34 AM
5
�


 2023年江西萍乡中考道德与法治真题及答案.doc
 2012年重庆南川中考生物真题及答案.doc
 2013年江西师范大学地理学综合及文艺理论基础考研真题.doc
 2020年四川甘孜小升初语文真题及答案I卷.doc
 2020年注册岩土工程师专业基础考试真题及答案.doc
 2023-2024学年福建省厦门市九年级上学期数学月考试题及答案.doc
 2021-2022学年辽宁省沈阳市大东区九年级上学期语文期末试题及答案.doc
 2022-2023学年北京东城区初三第一学期物理期末试卷及答案.doc
 2018上半年江西教师资格初中地理学科知识与教学能力真题及答案.doc
 2012年河北国家公务员申论考试真题及答案-省级.doc
 2020-2021学年江苏省扬州市江都区邵樊片九年级上学期数学第一次质量检测试题及答案.doc
 2022下半年黑龙江教师资格证中学综合素质真题及答案.doc