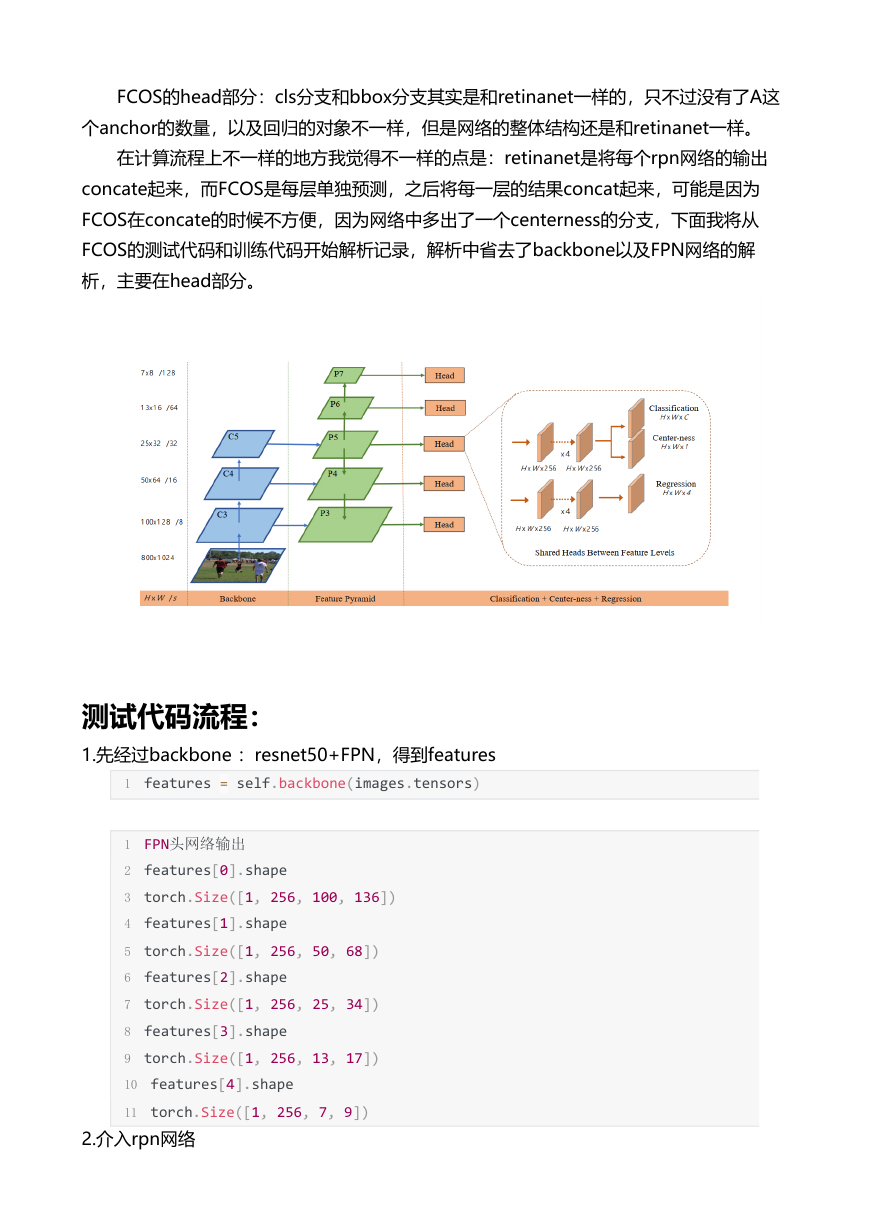
FCOS的head部分:cls分支和bbox分支其实是和retinanet一样的,只不过没有了A这
个anchor的数量,以及回归的对象不一样,但是网络的整体结构还是和retinanet一样。
在计算流程上不一样的地方我觉得不一样的点是:retinanet是将每个rpn网络的输出
concate起来,而FCOS是每层单独预测,之后将每一层的结果concat起来,可能是因为
FCOS在concate的时候不方便,因为网络中多出了一个centerness的分支,下面我将从
FCOS的测试代码和训练代码开始解析记录,解析中省去了backbone以及FPN网络的解
析,主要在head部分。
测试代码流程:
1.先经过backbone :resnet50+FPN,得到features
1 features = self.backbone(images.tensors)
1 FPN头网络输出
2 features[0].shape
3 torch.Size([1, 256, 100, 136])
4 features[1].shape
5 torch.Size([1, 256, 50, 68])
6 features[2].shape
7 torch.Size([1, 256, 25, 34])
8 features[3].shape
9 torch.Size([1, 256, 13, 17])
10 features[4].shape
11 torch.Size([1, 256, 7, 9])
2.介入rpn网络
�
1 proposals, proposal_losses = self.rpn(images, features, targets)
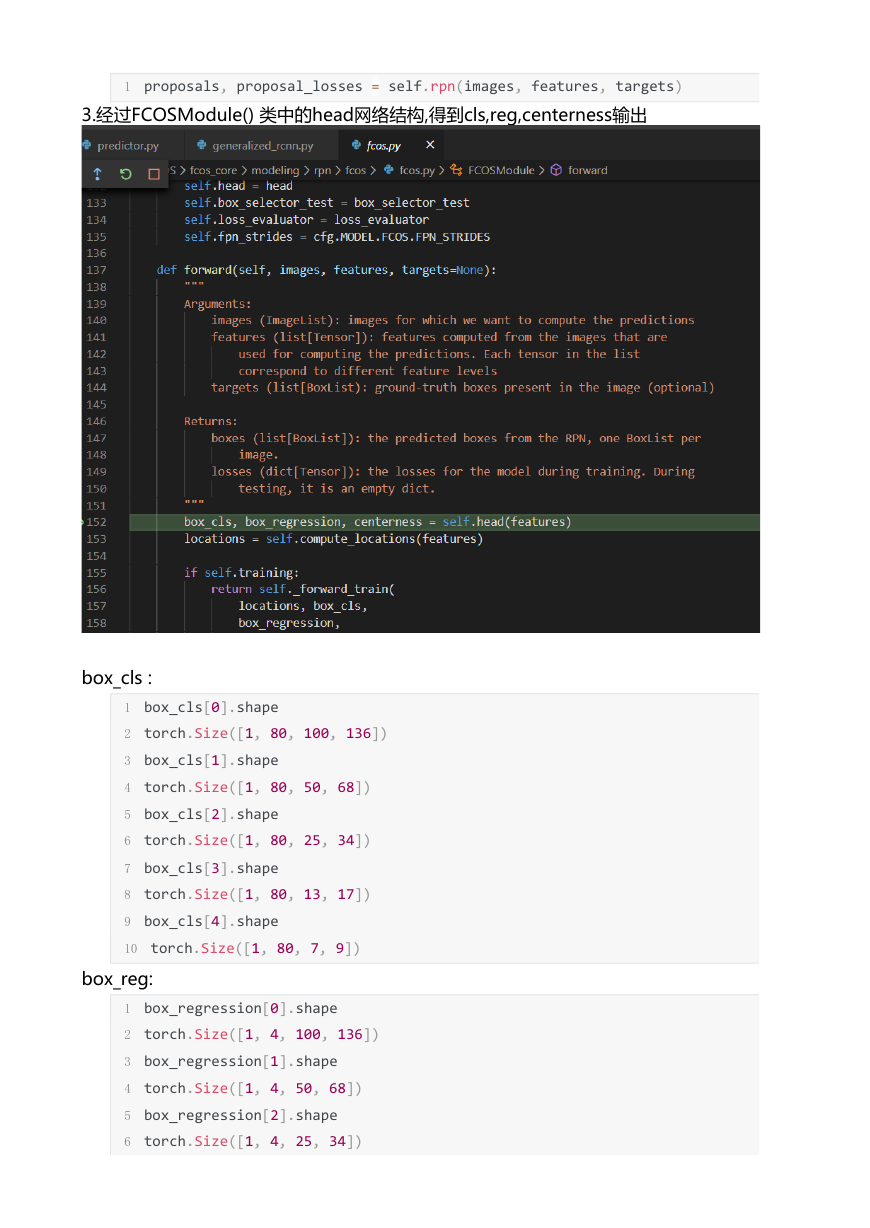
3.经过FCOSModule() 类中的head网络结构,得到cls,reg,centerness输出
box_cls :
1 box_cls[0].shape
2 torch.Size([1, 80, 100, 136])
3 box_cls[1].shape
4 torch.Size([1, 80, 50, 68])
5 box_cls[2].shape
6 torch.Size([1, 80, 25, 34])
7 box_cls[3].shape
8 torch.Size([1, 80, 13, 17])
9 box_cls[4].shape
10 torch.Size([1, 80, 7, 9])
box_reg:
1 box_regression[0].shape
2 torch.Size([1, 4, 100, 136])
3 box_regression[1].shape
4 torch.Size([1, 4, 50, 68])
5 box_regression[2].shape
6 torch.Size([1, 4, 25, 34])
�
7 box_regression[3].shape
8 torch.Size([1, 4, 13, 17])
9 box_regression[4].shape
10 torch.Size([1, 4, 7, 9])
centerness:
1 centerness[0].shape
2 torch.Size([1, 1, 100, 136])
3 centerness[1].shape
4 torch.Size([1, 1, 50, 68])
5 centerness[2].shape
6 torch.Size([1, 1, 25, 34])
7 centerness[3].shape
8 torch.Size([1, 1, 13, 17])
9 centerness[4].shape
10 torch.Size([1, 1, 7, 9])
4.计算locations
locations通过backbone经过FPN后得到的features得到,下面用第一层FPN分析:
1 locations = self.compute_locations(features)
1 def compute_locations(self, features):
2 locations = []
3 for level, feature in enumerate(features):
4 h, w = feature.size()[‐2:]
5 locations_per_level = self.compute_locations_per_level(
6 h, w, self.fpn_strides[level],
7 feature.device
8 )
9 locations.append(locations_per_level)
10 return locations
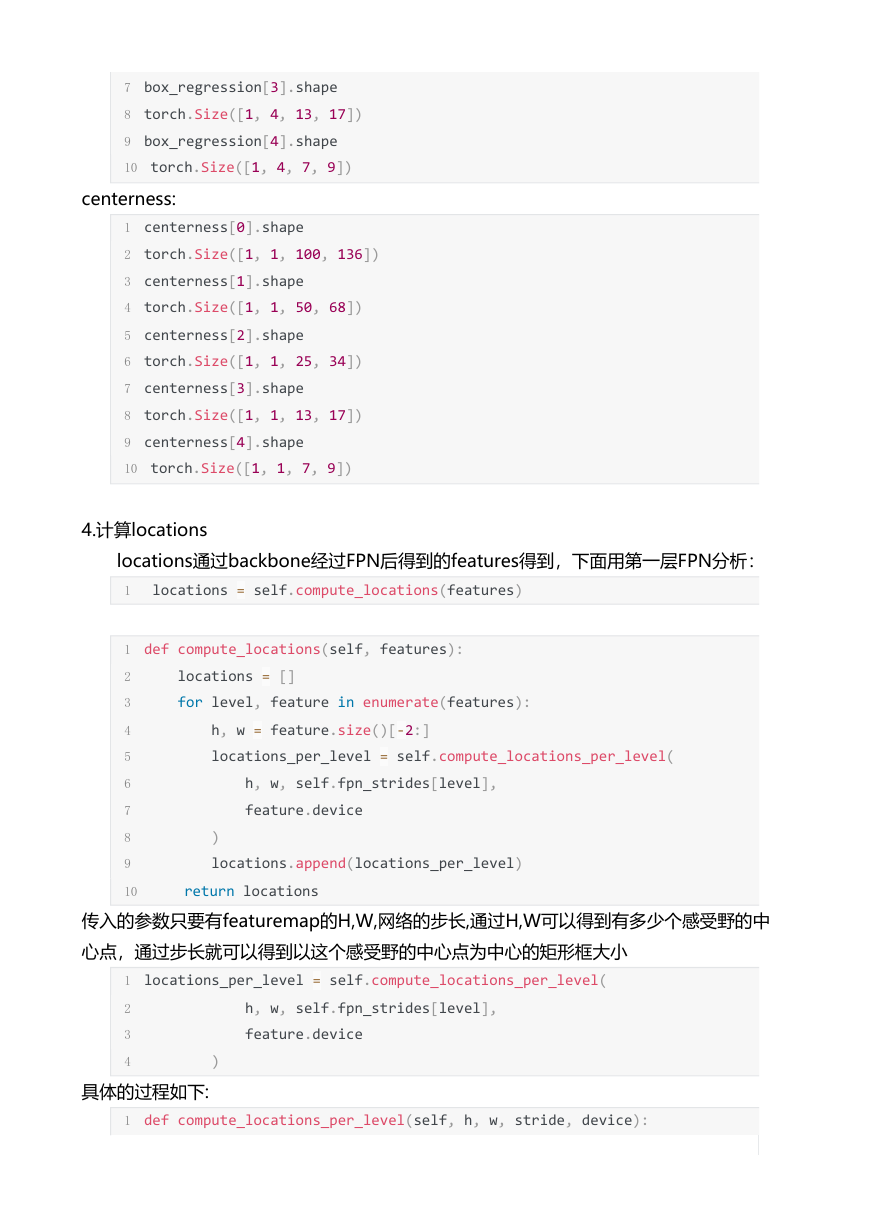
传入的参数只要有featuremap的H,W,网络的步长,通过H,W可以得到有多少个感受野的中
心点,通过步长就可以得到以这个感受野的中心点为中心的矩形框大小
1 locations_per_level = self.compute_locations_per_level(
2 h, w, self.fpn_strides[level],
3 feature.device
4 )
具体的过程如下:
1 def compute_locations_per_level(self, h, w, stride, device):
�
2 shifts_x = torch.arange(
3 0, w * stride, step=stride,
4 dtype=torch.float32, device=device
5 )
6 shifts_y = torch.arange(
7 0, h * stride, step=stride,
8 dtype=torch.float32, device=device
9 )
10 shift_y, shift_x = torch.meshgrid(shifts_y, shifts_x)
11 shift_x = shift_x.reshape(‐1)
12 shift_y = shift_y.reshape(‐1)
13 locations = torch.stack((shift_x, shift_y), dim=1) + stride // 2
14 return locations
stride=8,所以横向的每个中心点相距8个像素的单位
1 shifts_x
2 tensor([ 0., 8., 16., 24., 32., 40., 48., 56., 64., 72., 80., 88.,
3 96., 104., 112., 120., 128., 136., 144., 152., 160., 168., 176., 184.,
4 192., 200., 208., 216., 224., 232., 240., 248., 256., 264., 272., 280.,
5 288., 296., 304., 312., 320., 328., 336., 344., 352., 360., 368., 376.,
6 384., 392., 400., 408., 416., 424., 432., 440., 448., 456., 464., 472.,
7 480., 488., 496., 504., 512., 520., 528., 536., 544., 552., 560., 568.,
8 576., 584., 592., 600., 608., 616., 624., 632., 640., 648., 656., 664.,
9 672., 680., 688., 696., 704., 712., 720., 728., 736., 744., 752., 760.,
10 768., 776., 784., 792.], device='cuda:0')
1 shifts_y
2 tensor([ 0., 8., 16., 24., 32., 40., 48., 56., 64., 72., 80., 88.,
3 96., 104., 112., 120., 128., 136., 144., 152., 160., 168., 176., 184.,
4 192., 200., 208., 216., 224., 232., 240., 248., 256., 264., 272., 280.,
5 288., 296., 304., 312., 320., 328., 336., 344., 352., 360., 368., 376.,
6 384., 392., 400., 408., 416., 424., 432., 440., 448., 456., 464., 472.,
7 480., 488., 496., 504., 512., 520., 528., 536., 544., 552., 560., 568.,
8 576., 584., 592., 600., 608., 616., 624., 632., 640., 648., 656., 664.,
9 672., 680., 688., 696., 704., 712., 720., 728., 736., 744., 752., 760.,
10 768., 776., 784., 792.], device='cuda:0')
得到locations坐标:
1 locations
2 tensor([[ 4., 4.],
3 [ 12., 4.],
�
4 [ 20., 4.],
5 ...,
6 [780., 796.],
7 [788., 796.],
8 [796., 796.]], device='cuda:0')
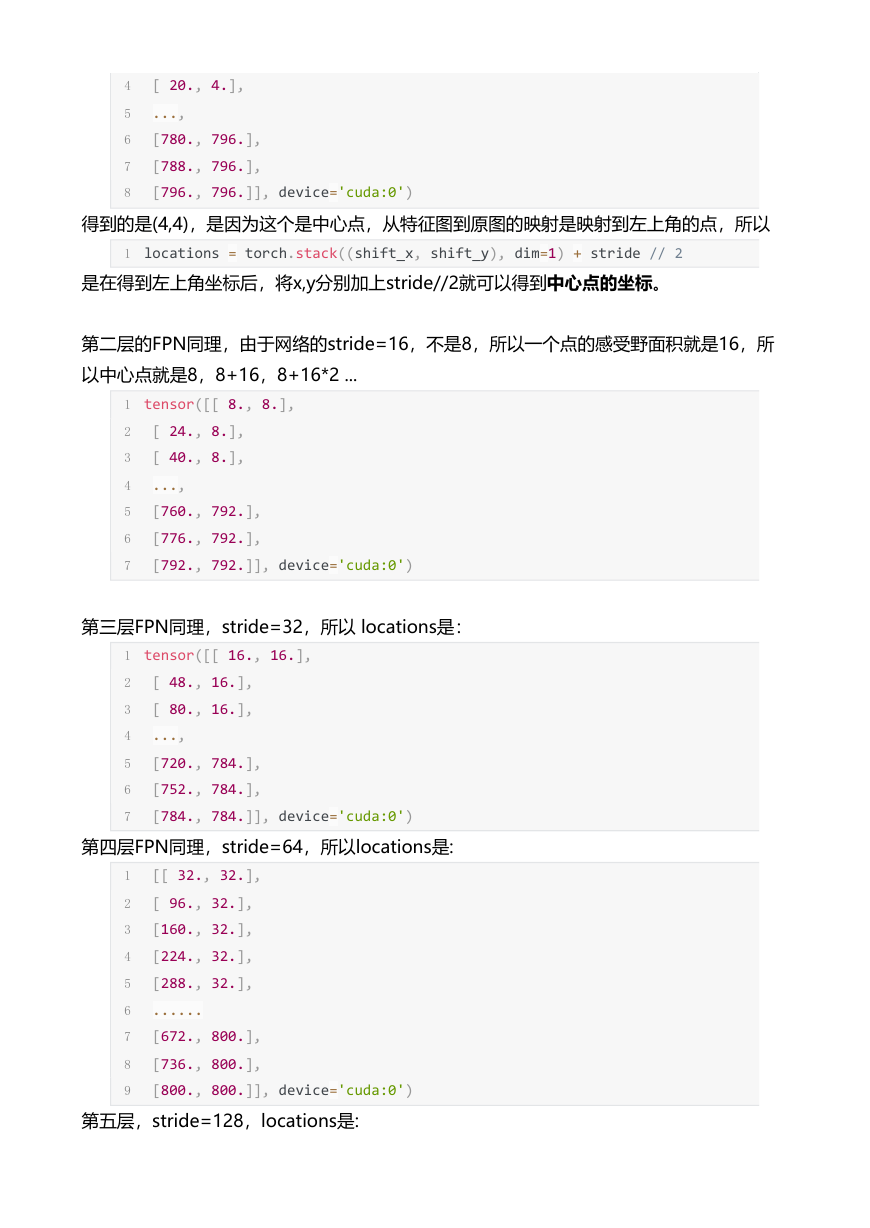
得到的是(4,4),是因为这个是中心点,从特征图到原图的映射是映射到左上角的点,所以
1 locations = torch.stack((shift_x, shift_y), dim=1) + stride // 2
是在得到左上角坐标后,将x,y分别加上stride//2就可以得到中心点的坐标。
第二层的FPN同理,由于网络的stride=16,不是8,所以一个点的感受野面积就是16,所
以中心点就是8,8+16,8+16*2 ...
1 tensor([[ 8., 8.],
2 [ 24., 8.],
3 [ 40., 8.],
4 ...,
5 [760., 792.],
6 [776., 792.],
7 [792., 792.]], device='cuda:0')
第三层FPN同理,stride=32,所以 locations是:
1 tensor([[ 16., 16.],
2 [ 48., 16.],
3 [ 80., 16.],
4 ...,
5 [720., 784.],
6 [752., 784.],
7 [784., 784.]], device='cuda:0')
第四层FPN同理,stride=64,所以locations是:
1 [[ 32., 32.],
2 [ 96., 32.],
3 [160., 32.],
4 [224., 32.],
5 [288., 32.],
6 ......
7 [672., 800.],
8 [736., 800.],
9 [800., 800.]], device='cuda:0')
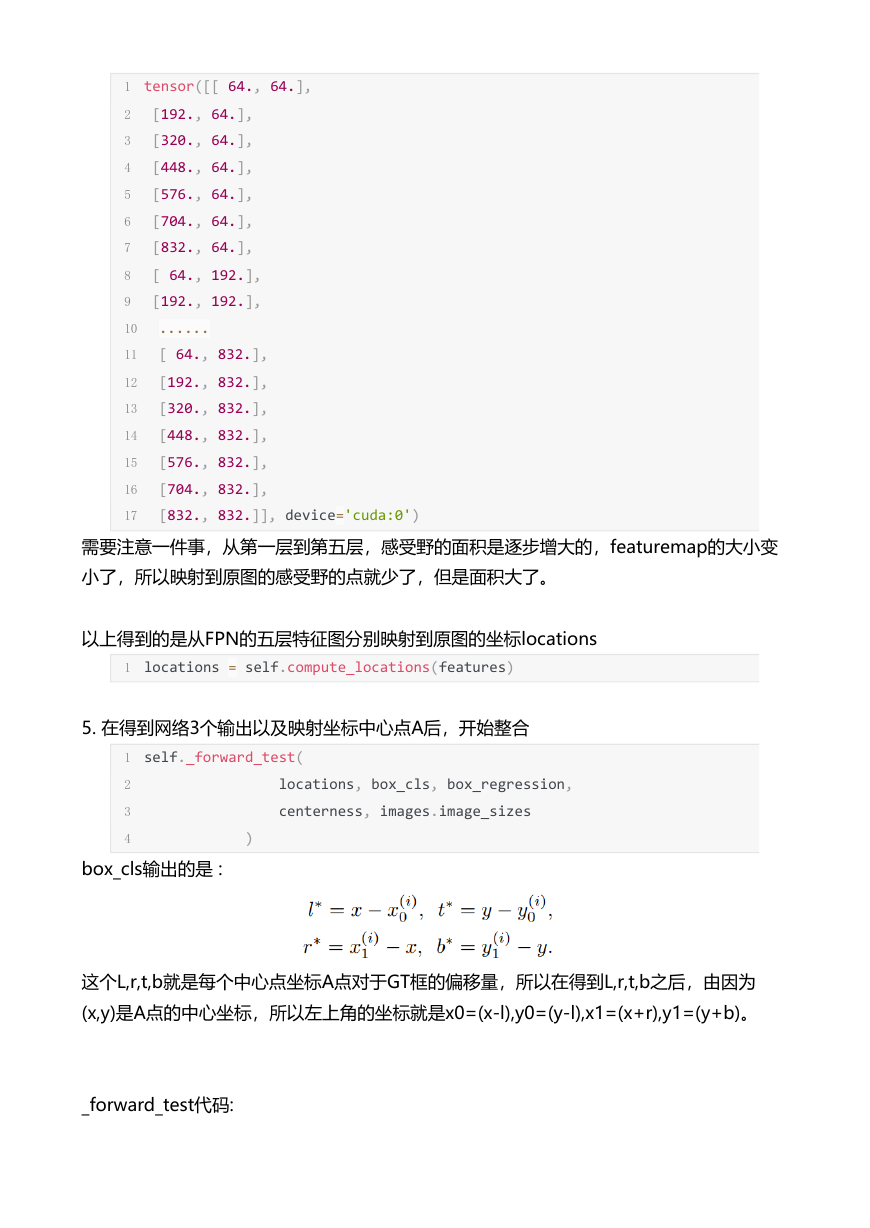
第五层,stride=128,locations是:
�
1 tensor([[ 64., 64.],
2 [192., 64.],
3 [320., 64.],
4 [448., 64.],
5 [576., 64.],
6 [704., 64.],
7 [832., 64.],
8 [ 64., 192.],
9 [192., 192.],
10 ......
11 [ 64., 832.],
12 [192., 832.],
13 [320., 832.],
14 [448., 832.],
15 [576., 832.],
16 [704., 832.],
17 [832., 832.]], device='cuda:0')
需要注意一件事,从第一层到第五层,感受野的面积是逐步增大的,featuremap的大小变
小了,所以映射到原图的感受野的点就少了,但是面积大了。
以上得到的是从FPN的五层特征图分别映射到原图的坐标locations
1 locations = self.compute_locations(features)
5. 在得到网络3个输出以及映射坐标中心点A后,开始整合
1 self._forward_test(
2 locations, box_cls, box_regression,
3 centerness, images.image_sizes
4 )
box_cls输出的是 :
这个L,r,t,b就是每个中心点坐标A点对于GT框的偏移量,所以在得到L,r,t,b之后,由因为
(x,y)是A点的中心坐标,所以左上角的坐标就是x0=(x-l),y0=(y-l),x1=(x+r),y1=(y+b)。
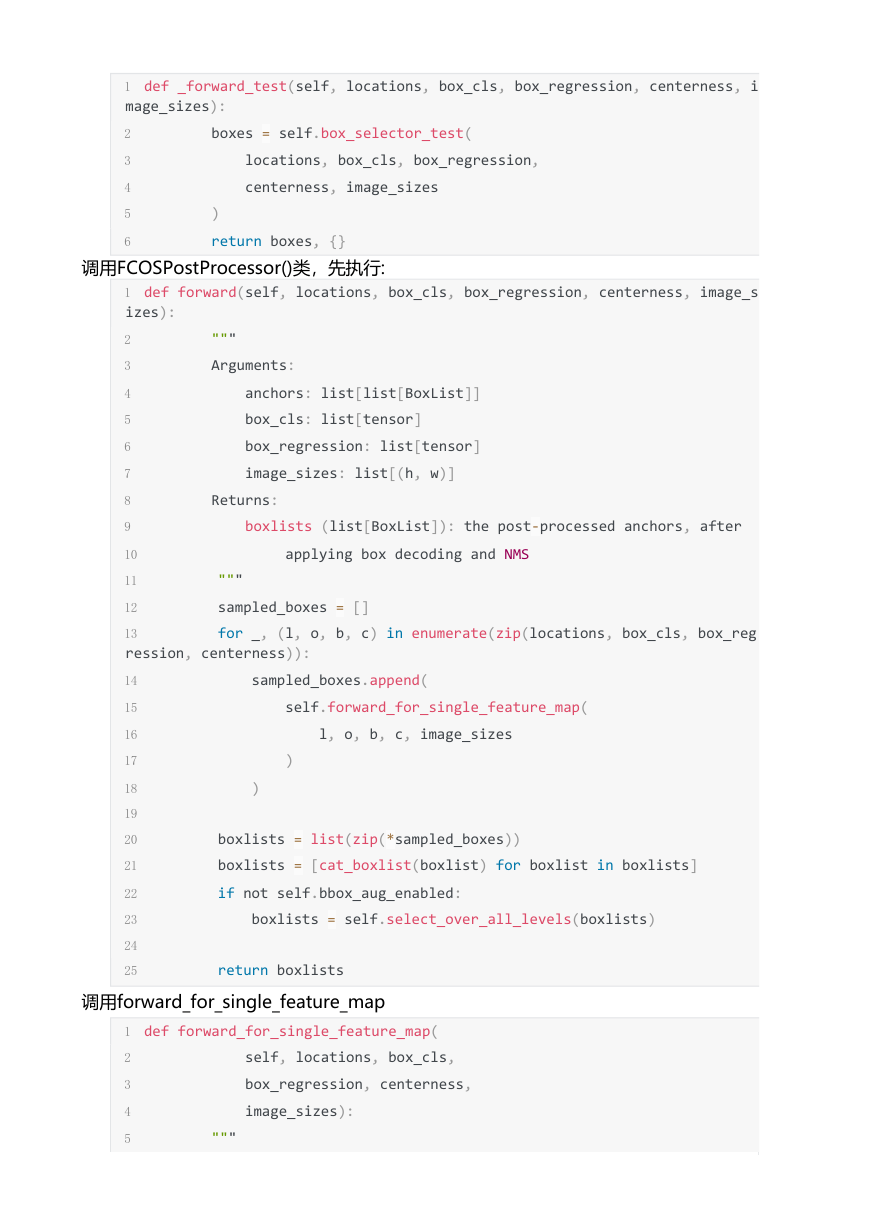
_forward_test代码:
�
1 def _forward_test(self, locations, box_cls, box_regression, centerness, i
mage_sizes):
2 boxes = self.box_selector_test(
3 locations, box_cls, box_regression,
4 centerness, image_sizes
5 )
6 return boxes, {}
调用FCOSPostProcessor()类,先执行:
1 def forward(self, locations, box_cls, box_regression, centerness, image_s
izes):
2 """
3 Arguments:
4 anchors: list[list[BoxList]]
5 box_cls: list[tensor]
6 box_regression: list[tensor]
7 image_sizes: list[(h, w)]
8 Returns:
9 boxlists (list[BoxList]): the post‐processed anchors, after
10 applying box decoding and NMS
11 """
12 sampled_boxes = []
13 for _, (l, o, b, c) in enumerate(zip(locations, box_cls, box_reg
ression, centerness)):
14 sampled_boxes.append(
15 self.forward_for_single_feature_map(
16 l, o, b, c, image_sizes
17 )
18 )
19
20 boxlists = list(zip(*sampled_boxes))
21 boxlists = [cat_boxlist(boxlist) for boxlist in boxlists]
22 if not self.bbox_aug_enabled:
23 boxlists = self.select_over_all_levels(boxlists)
24
25 return boxlists
调用forward_for_single_feature_map
1 def forward_for_single_feature_map(
2 self, locations, box_cls,
3 box_regression, centerness,
4 image_sizes):
5 """
�
6 Arguments:
7 anchors: list[BoxList]
8 box_cls: tensor of size N, A * C, H, W
9 box_regression: tensor of size N, A * 4, H, W
10 """
11 N, C, H, W = box_cls.shape
12
13 # put in the same format as locations
14 box_cls = box_cls.view(N, C, H, W).permute(0, 2, 3, 1)
15 box_cls = box_cls.reshape(N, ‐1, C).sigmoid()
16 box_regression = box_regression.view(N, 4, H, W).permute(0, 2, 3,
17 box_regression = box_regression.reshape(N, ‐1, 4)
18 centerness = centerness.view(N, 1, H, W).permute(0, 2, 3, 1)
19 centerness = centerness.reshape(N, ‐1).sigmoid()
1 box_cls.shape
2 torch.Size([1, 10000, 80])
3 box_regression.shape
4 torch.Size([1, 10000, 4])
5 centerness.shape
6 torch.Size([1, 10000])
将分类的输出经过sigmoid后,candiate_inds有个阈值的筛选,将低于nms阈值的设置为
False.
1 candidate_inds = box_cls > self.pre_nms_thresh
2 #candidate_inds.shape
3 #torch.Size([1, 10000, 80])
下面这两行代码有点迷:
1 pre_nms_top_n = candidate_inds.view(N, ‐1).sum(1)
2 pre_nms_top_n = pre_nms_top_n.clamp(max=self.pre_nms_top_n)
3
然后关键的一步来了,将centerness 点乘box_cls,注意这个box_cls是经过了sigmoid输
出的
1 # multiply the classification scores with centerness scores
2 box_cls = box_cls * centerness[:, :, None]
作者这么做的意思是在featuremap上的点都乘以一个权值,而不是去关注这个点的类别,
所以就对这个点的81个通道都乘以一个centerness的权值:
1 box_cls.shape
2 torch.Size([1, 10000, 80])
3 centerness.shape
�



 2023年江西萍乡中考道德与法治真题及答案.doc
 2012年重庆南川中考生物真题及答案.doc
 2013年江西师范大学地理学综合及文艺理论基础考研真题.doc
 2020年四川甘孜小升初语文真题及答案I卷.doc
 2020年注册岩土工程师专业基础考试真题及答案.doc
 2023-2024学年福建省厦门市九年级上学期数学月考试题及答案.doc
 2021-2022学年辽宁省沈阳市大东区九年级上学期语文期末试题及答案.doc
 2022-2023学年北京东城区初三第一学期物理期末试卷及答案.doc
 2018上半年江西教师资格初中地理学科知识与教学能力真题及答案.doc
 2012年河北国家公务员申论考试真题及答案-省级.doc
 2020-2021学年江苏省扬州市江都区邵樊片九年级上学期数学第一次质量检测试题及答案.doc
 2022下半年黑龙江教师资格证中学综合素质真题及答案.doc