HS100-Eng_Bestbuy 8/12/97 8:23 PM Page 2
designing your digital dream
User’s Guide
HS100
User's Guide
Date of Publication : Aug. 2003
Date of First edition : Aug. 2003
Publishing Company : Digitalway, Inc.
Address : 6440 Lusk Blvd. Suite D105 San Diego, CA 92121,
USA
Tel : 858-554-1300
Fax : 858-554-1370
Homepage : www.mpio.com
©2003 Digitalway, Inc.
English
Español
The contents of user's guide could be changed without prior notice.
Please read all instructions in this user's guide before using the product.
�
HS100-Eng_Bestbuy 8/12/97 8:23 PM Page 2
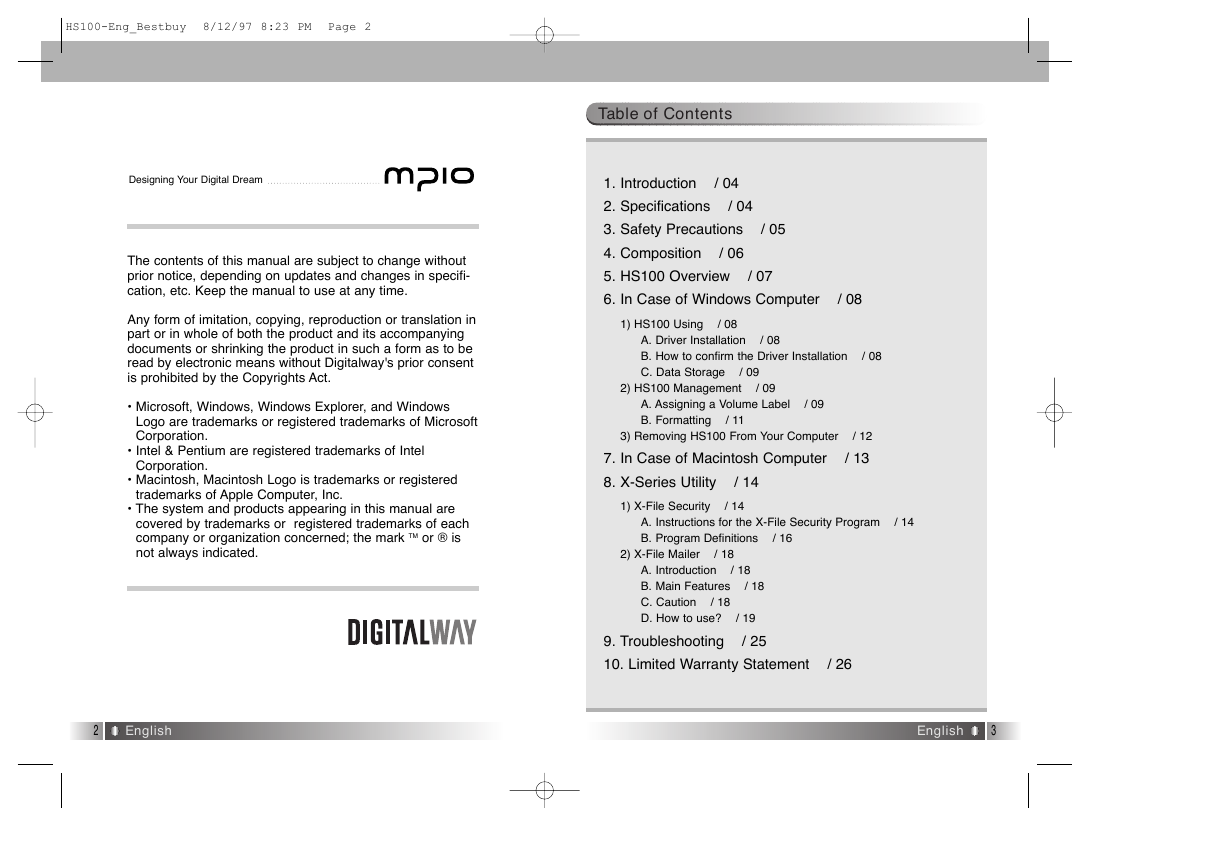
Table of Contents
Designing Your Digital Dream
The contents of this manual are subject to change without
prior notice, depending on updates and changes in specifi-
cation, etc. Keep the manual to use at any time.
Any form of imitation, copying, reproduction or translation in
part or in whole of both the product and its accompanying
documents or shrinking the product in such a form as to be
read by electronic means without Digitalway's prior consent
is prohibited by the Copyrights Act.
• Microsoft, Windows, Windows Explorer, and Windows
Logo are trademarks or registered trademarks of Microsoft
Corporation.
• Intel & Pentium are registered trademarks of Intel
Corporation.
• Macintosh, Macintosh Logo is trademarks or registered
trademarks of Apple Computer, Inc.
• The system and products appearing in this manual are
covered by trademarks or registered trademarks of each
company or organization concerned; the mark TM or ® is
not always indicated.
2
English
/ 04
1. Introduction
/ 04
2. Specifications
3. Safety Precautions
/ 06
4. Composition
5. HS100 Overview
6. In Case of Windows Computer
/ 05
/ 07
1) HS100 Using
/ 08
/ 08
A. Driver Installation
B. How to confirm the Driver Installation
C. Data Storage
/ 09
/ 08
/ 08
2) HS100 Management
/ 09
A. Assigning a Volume Label
B. Formatting
/ 11
/ 09
3) Removing HS100 From Your Computer
7. In Case of Macintosh Computer
8. X-Series Utility
/ 14
1) X-File Security
/ 14
/ 12
/ 13
A. Instructions for the X-File Security Program
B. Program Definitions
/ 16
/ 14
2) X-File Mailer
/ 18
/ 18
/ 18
A. Introduction
B. Main Features
/ 18
C. Caution
D. How to use?
9. Troubleshooting
10. Limited Warranty Statement
/ 19
/ 25
/ 26
English
3
�
HS100-Eng_Bestbuy 8/12/97 8:23 PM Page 4
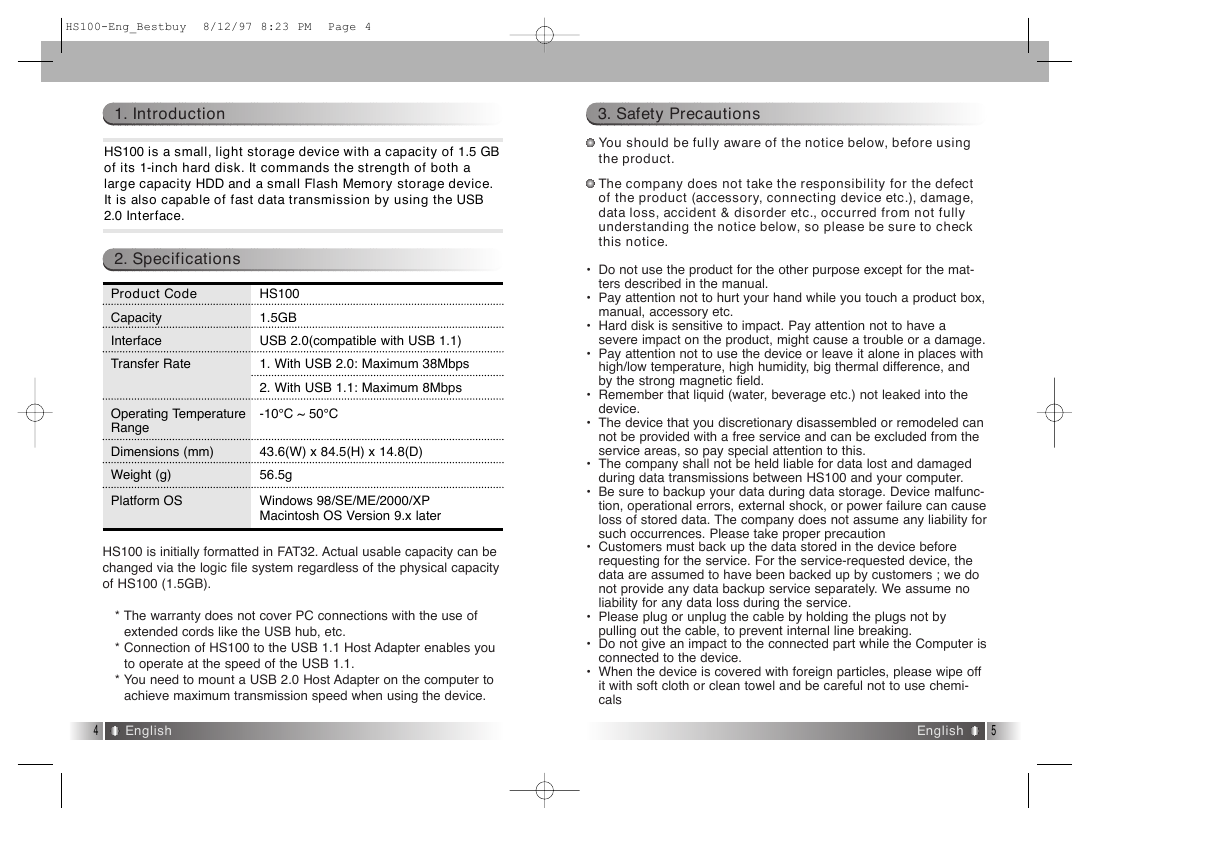
1. Introduction
3. Safety Precautions
HS100 is a small, light storage device with a capacity of 1.5 GB
of its 1-inch hard disk. It commands the strength of both a
large capacity HDD and a small Flash Memory storage device.
It is also capable of fast data transmission by using the USB
2.0 Interface.
2. Specifications
Product Code
Capacity
Interface
HS100
1.5GB
USB 2.0(compatible with USB 1.1)
Transfer Rate
1. With USB 2.0: Maximum 38Mbps
2. With USB 1.1: Maximum 8Mbps
Operating Temperature
Range
-10°C ~ 50°C
Dimensions (mm)
43.6(W) x 84.5(H) x 14.8(D)
Weight (g)
Platform OS
56.5g
Windows 98/SE/ME/2000/XP
Macintosh OS Version 9.x later
HS100 is initially formatted in FAT32. Actual usable capacity can be
changed via the logic file system regardless of the physical capacity
of HS100 (1.5GB).
* The warranty does not cover PC connections with the use of
extended cords like the USB hub, etc.
* Connection of HS100 to the USB 1.1 Host Adapter enables you
to operate at the speed of the USB 1.1.
* You need to mount a USB 2.0 Host Adapter on the computer to
achieve maximum transmission speed when using the device.
You should be fully aware of the notice below, before using
the product.
The company does not take the responsibility for the defect
of the product (accessory, connecting device etc.), damage,
data loss, accident & disorder etc., occurred from not fully
understanding the notice below, so please be sure to check
this notice.
• Do not use the product for the other purpose except for the mat-
ters described in the manual.
• Pay attention not to hurt your hand while you touch a product box,
manual, accessory etc.
• Hard disk is sensitive to impact. Pay attention not to have a
severe impact on the product, might cause a trouble or a damage.
• Pay attention not to use the device or leave it alone in places with
high/low temperature, high humidity, big thermal difference, and
by the strong magnetic field.
• Remember that liquid (water, beverage etc.) not leaked into the
device.
• The device that you discretionary disassembled or remodeled can
not be provided with a free service and can be excluded from the
service areas, so pay special attention to this.
• The company shall not be held liable for data lost and damaged
during data transmissions between HS100 and your computer.
• Be sure to backup your data during data storage. Device malfunc-
tion, operational errors, external shock, or power failure can cause
loss of stored data. The company does not assume any liability for
such occurrences. Please take proper precaution
• Customers must back up the data stored in the device before
requesting for the service. For the service-requested device, the
data are assumed to have been backed up by customers ; we do
not provide any data backup service separately. We assume no
liability for any data loss during the service.
• Please plug or unplug the cable by holding the plugs not by
pulling out the cable, to prevent internal line breaking.
• Do not give an impact to the connected part while the Computer is
connected to the device.
• When the device is covered with foreign particles, please wipe off
it with soft cloth or clean towel and be careful not to use chemi-
cals
4
English
English
5
�
HS100-Eng_Bestbuy 8/12/97 8:23 PM Page 6
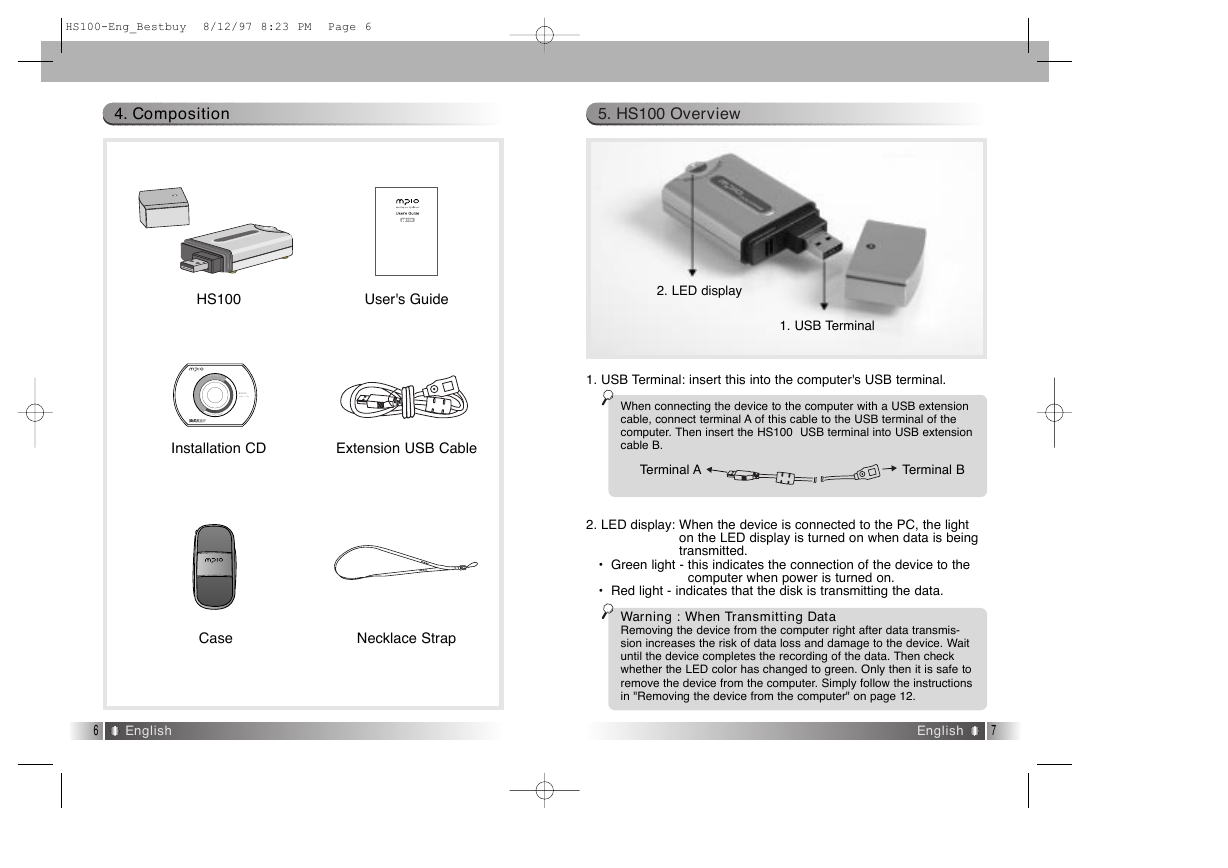
4. Composition
5. HS100 Overview
HS100
User's Guide
2. LED display
1. USB Terminal
D R IVER
X-MAILER
X-FILE SEC U R IT Y
HS100
(Ver 1.0)
Installation CD
Extension USB Cable
1. USB Terminal: insert this into the computer's USB terminal.
When connecting the device to the computer with a USB extension
cable, connect terminal A of this cable to the USB terminal of the
computer. Then insert the HS100 USB terminal into USB extension
cable B.
Terminal A
Terminal B
on the LED display is turned on when data is being
transmitted.
• Green light - this indicates the connection of the device to the
2. LED display: When the device is connected to the PC, the light
• Red light - indicates that the disk is transmitting the data.
computer when power is turned on.
Case
Necklace Strap
Warning : When Transmitting Data
Removing the device from the computer right after data transmis-
sion increases the risk of data loss and damage to the device. Wait
until the device completes the recording of the data. Then check
whether the LED color has changed to green. Only then it is safe to
remove the device from the computer. Simply follow the instructions
in "Removing the device from the computer" on page 12.
6
English
English
7
�
HS100-Eng_Bestbuy 8/12/97 8:24 PM Page 8
6. In Case of Windows Computer
1) HS100 Using
A. Driver Installation
You can use HS100 without installing the Driver in Windows
ME/2000/XP.
• How to Install the Driver in Windows 98/SE Computer :
If HS100 is connected to the Windows 98 computer, a new
hardware wizard is executed. If you find a location for the
new device driver in Windows while the wizard is executed,
insert the Installation CD in the CD ROM and designate
such location as the driver location.
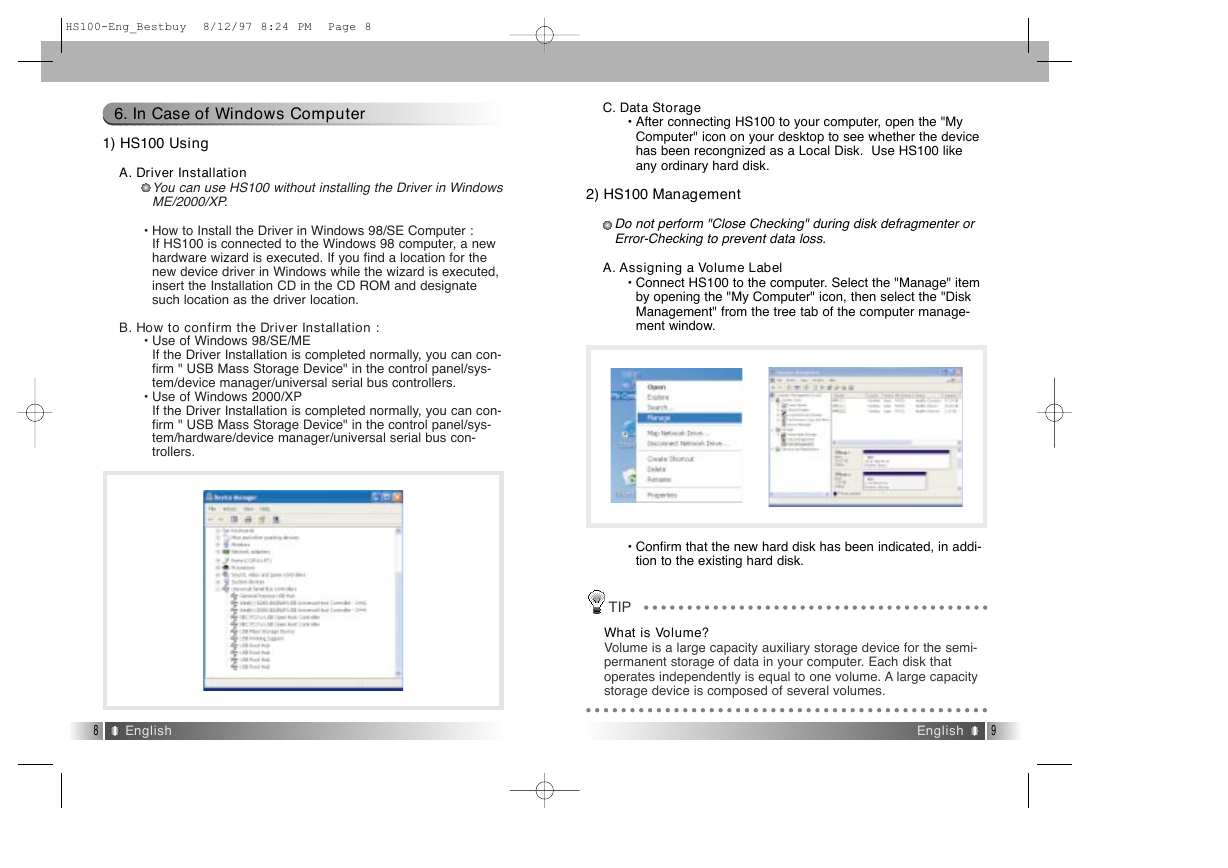
B. How to confirm the Driver Installation :
• Use of Windows 98/SE/ME
If the Driver Installation is completed normally, you can con-
firm " USB Mass Storage Device" in the control panel/sys-
tem/device manager/universal serial bus controllers.
• Use of Windows 2000/XP
If the Driver Installation is completed normally, you can con-
firm " USB Mass Storage Device" in the control panel/sys-
tem/hardware/device manager/universal serial bus con-
trollers.
C. Data Storage
• After connecting HS100 to your computer, open the "My
Computer" icon on your desktop to see whether the device
has been recongnized as a Local Disk. Use HS100 like
any ordinary hard disk.
2) HS100 Management
Do not perform "Close Checking" during disk defragmenter or
Error-Checking to prevent data loss.
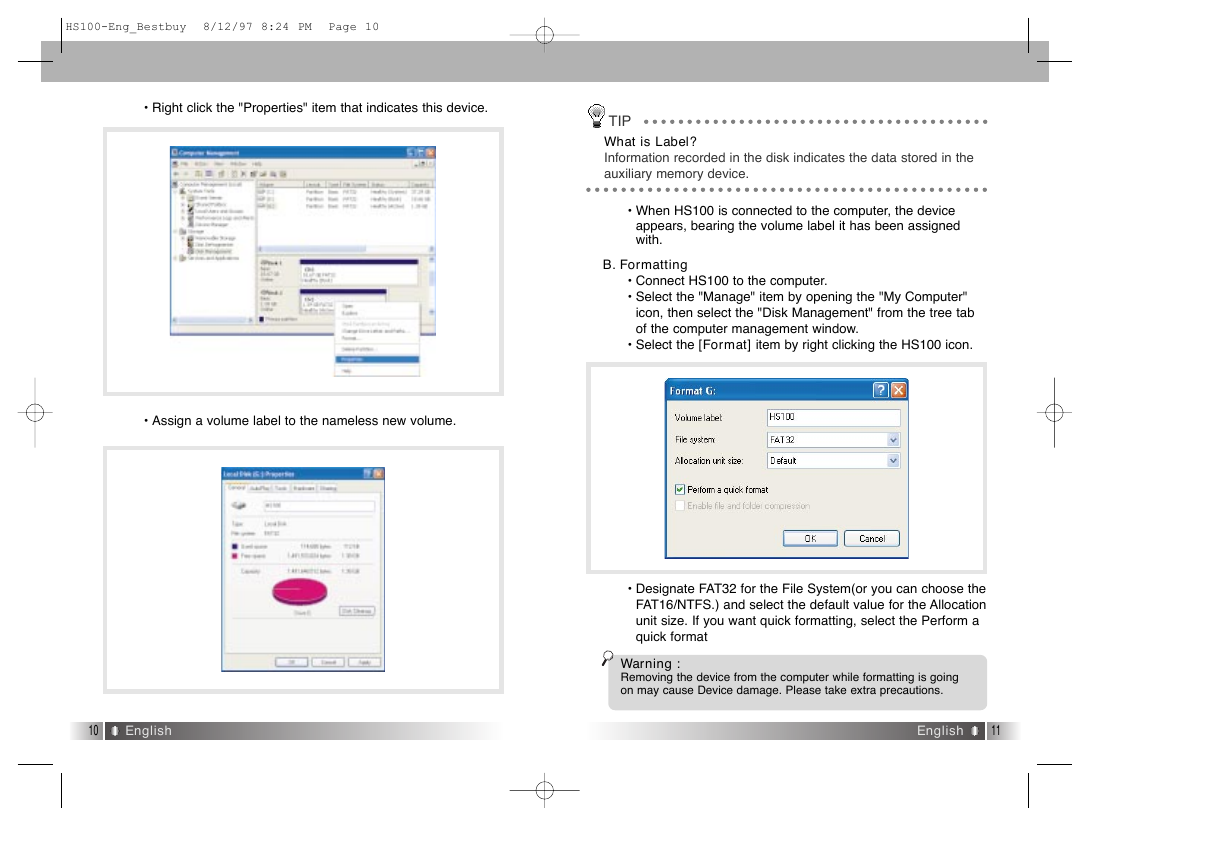
A. Assigning a Volume Label
• Connect HS100 to the computer. Select the "Manage" item
by opening the "My Computer" icon, then select the "Disk
Management" from the tree tab of the computer manage-
ment window.
• Confirm that the new hard disk has been indicated, in addi-
tion to the existing hard disk.
TIP
What is Volume?
Volume is a large capacity auxiliary storage device for the semi-
permanent storage of data in your computer. Each disk that
operates independently is equal to one volume. A large capacity
storage device is composed of several volumes.
8
English
English
9
�
HS100-Eng_Bestbuy 8/12/97 8:24 PM Page 10
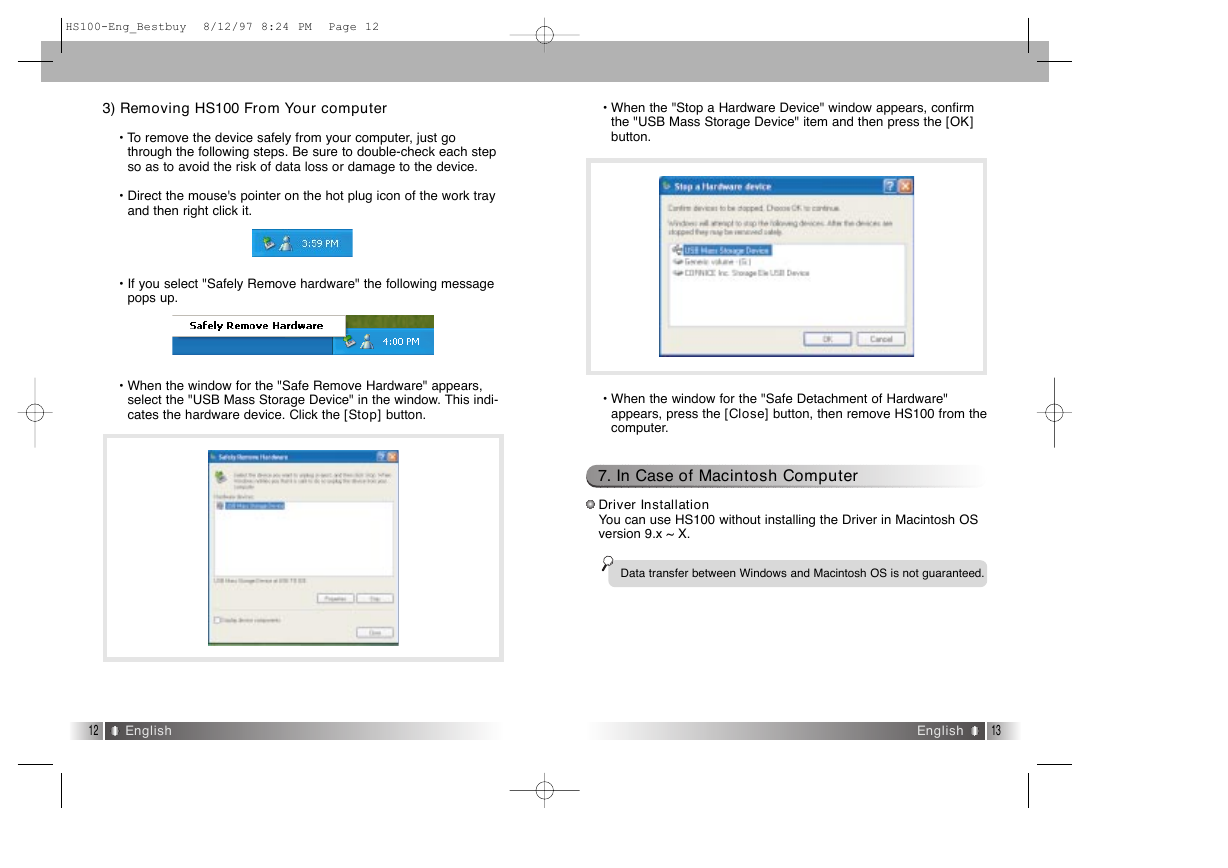
• Right click the "Properties" item that indicates this device.
• Assign a volume label to the nameless new volume.
TIP
What is Label?
Information recorded in the disk indicates the data stored in the
auxiliary memory device.
• When HS100 is connected to the computer, the device
appears, bearing the volume label it has been assigned
with.
B. Formatting
• Connect HS100 to the computer.
• Select the "Manage" item by opening the "My Computer"
icon, then select the "Disk Management" from the tree tab
of the computer management window.
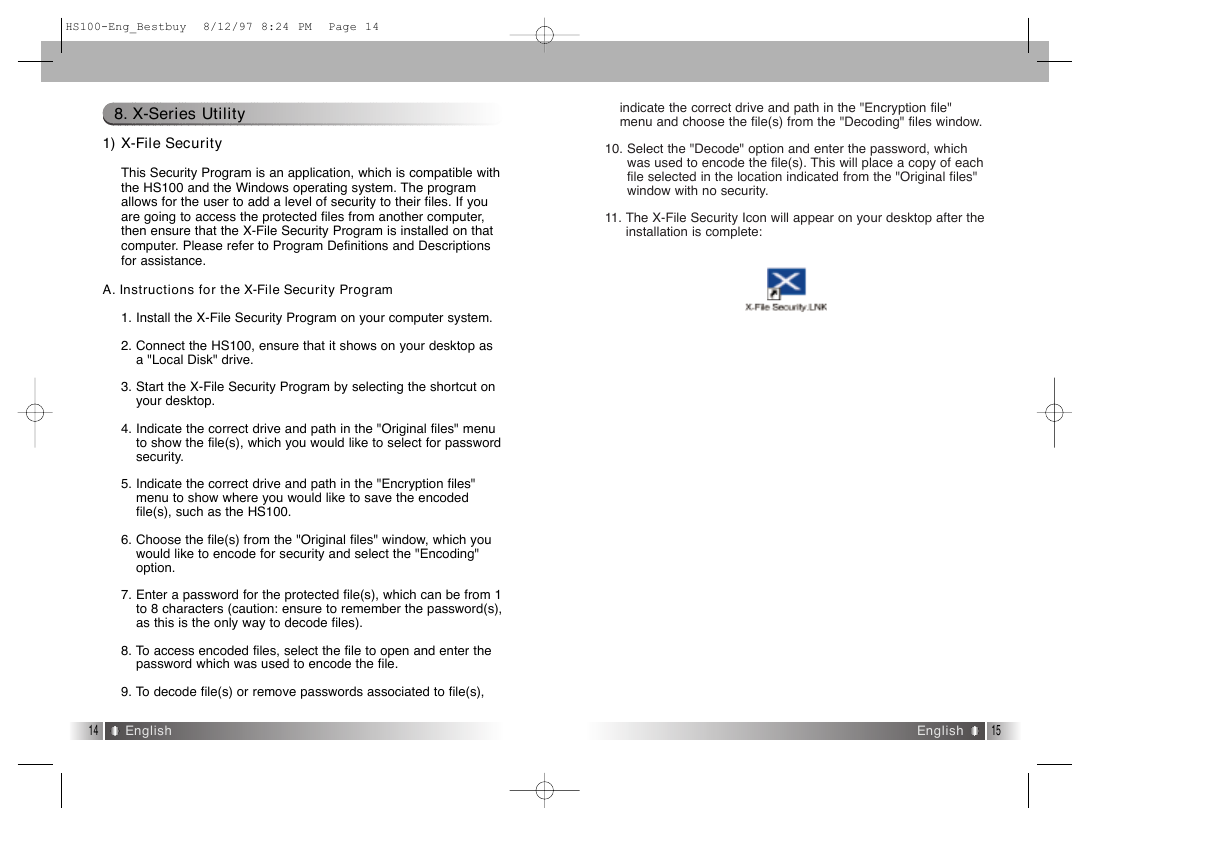
• Select the [Format] item by right clicking the HS100 icon.
• Designate FAT32 for the File System(or you can choose the
FAT16/NTFS.) and select the default value for the Allocation
unit size. If you want quick formatting, select the Perform a
quick format
Warning :
Removing the device from the computer while formatting is going
on may cause Device damage. Please take extra precautions.
10
English
English
11
�
HS100-Eng_Bestbuy 8/12/97 8:24 PM Page 12
3) Removing HS100 From Your computer
• To remove the device safely from your computer, just go
through the following steps. Be sure to double-check each step
so as to avoid the risk of data loss or damage to the device.
• Direct the mouse's pointer on the hot plug icon of the work tray
and then right click it.
• If you select "Safely Remove hardware" the following message
pops up.
• When the window for the "Safe Remove Hardware" appears,
select the "USB Mass Storage Device" in the window. This indi-
cates the hardware device. Click the [Stop] button.
• When the "Stop a Hardware Device" window appears, confirm
the "USB Mass Storage Device" item and then press the [OK]
button.
• When the window for the "Safe Detachment of Hardware"
appears, press the [Close] button, then remove HS100 from the
computer.
7. In Case of Macintosh Computer
Driver Installation
You can use HS100 without installing the Driver in Macintosh OS
version 9.x ~ X.
Data transfer between Windows and Macintosh OS is not guaranteed.
12
English
English
13
�
indicate the correct drive and path in the "Encryption file"
menu and choose the file(s) from the "Decoding" files window.
10. Select the "Decode" option and enter the password, which
was used to encode the file(s). This will place a copy of each
file selected in the location indicated from the "Original files"
window with no security.
11. The X-File Security Icon will appear on your desktop after the
installation is complete:
HS100-Eng_Bestbuy 8/12/97 8:24 PM Page 14
8. X-Series Utility
1) X-File Security
This Security Program is an application, which is compatible with
the HS100 and the Windows operating system. The program
allows for the user to add a level of security to their files. If you
are going to access the protected files from another computer,
then ensure that the X-File Security Program is installed on that
computer. Please refer to Program Definitions and Descriptions
for assistance.
A. Instructions for the X-File Security Program
1. Install the X-File Security Program on your computer system.
2. Connect the HS100, ensure that it shows on your desktop as
a "Local Disk" drive.
3. Start the X-File Security Program by selecting the shortcut on
your desktop.
4. Indicate the correct drive and path in the "Original files" menu
to show the file(s), which you would like to select for password
security.
5. Indicate the correct drive and path in the "Encryption files"
menu to show where you would like to save the encoded
file(s), such as the HS100.
6. Choose the file(s) from the "Original files" window, which you
would like to encode for security and select the "Encoding"
option.
7. Enter a password for the protected file(s), which can be from 1
to 8 characters (caution: ensure to remember the password(s),
as this is the only way to decode files).
8. To access encoded files, select the file to open and enter the
password which was used to encode the file.
9. To decode file(s) or remove passwords associated to file(s),
14
English
English
15
�


 2023年江西萍乡中考道德与法治真题及答案.doc
 2012年重庆南川中考生物真题及答案.doc
 2013年江西师范大学地理学综合及文艺理论基础考研真题.doc
 2020年四川甘孜小升初语文真题及答案I卷.doc
 2020年注册岩土工程师专业基础考试真题及答案.doc
 2023-2024学年福建省厦门市九年级上学期数学月考试题及答案.doc
 2021-2022学年辽宁省沈阳市大东区九年级上学期语文期末试题及答案.doc
 2022-2023学年北京东城区初三第一学期物理期末试卷及答案.doc
 2018上半年江西教师资格初中地理学科知识与教学能力真题及答案.doc
 2012年河北国家公务员申论考试真题及答案-省级.doc
 2020-2021学年江苏省扬州市江都区邵樊片九年级上学期数学第一次质量检测试题及答案.doc
 2022下半年黑龙江教师资格证中学综合素质真题及答案.doc