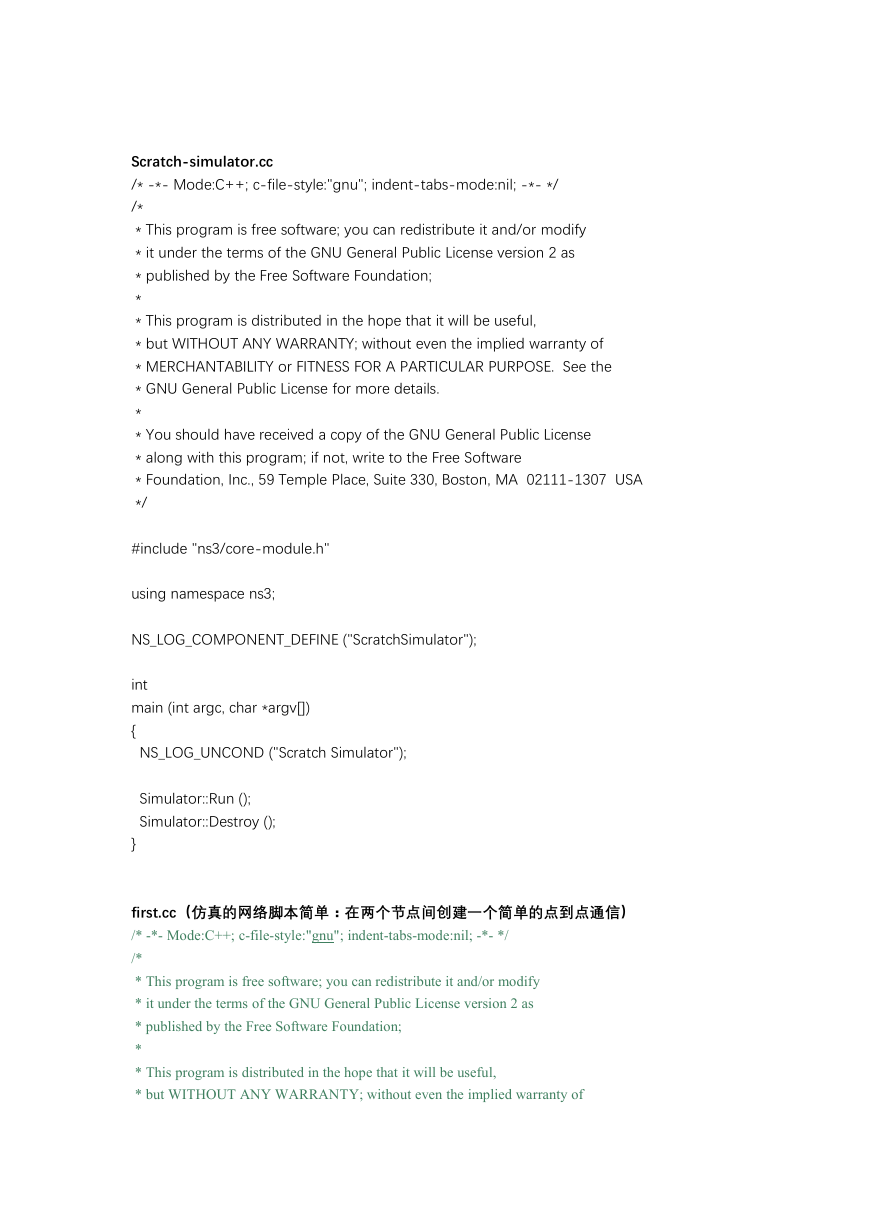
Scratch-simulator.cc
/* -*- Mode:C++; c-file-style:"gnu"; indent-tabs-mode:nil; -*- */
/*
* This program is free software; you can redistribute it and/or modify
* it under the terms of the GNU General Public License version 2 as
* published by the Free Software Foundation;
*
* This program is distributed in the hope that it will be useful,
* but WITHOUT ANY WARRANTY; without even the implied warranty of
* MERCHANTABILITY or FITNESS FOR A PARTICULAR PURPOSE. See the
* GNU General Public License for more details.
*
* You should have received a copy of the GNU General Public License
* along with this program; if not, write to the Free Software
* Foundation, Inc., 59 Temple Place, Suite 330, Boston, MA 02111-1307 USA
*/
#include "ns3/core-module.h"
using namespace ns3;
NS_LOG_COMPONENT_DEFINE ("ScratchSimulator");
int
main (int argc, char *argv[])
{
NS_LOG_UNCOND ("Scratch Simulator");
Simulator::Run ();
Simulator::Destroy ();
}
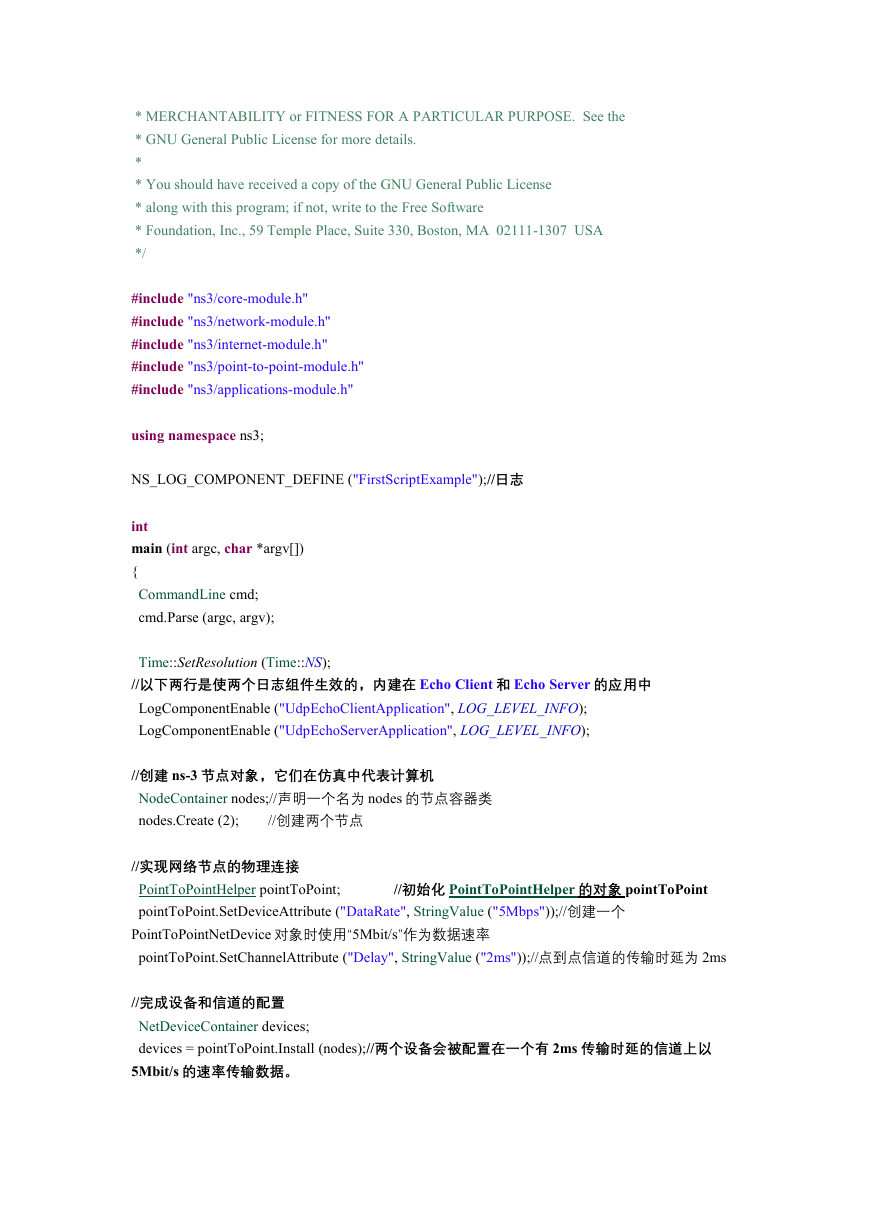
first.cc(仿真的网络脚本简单:在两个节点间创建一个简单的点到点通信)
/* -*- Mode:C++; c-file-style:"gnu"; indent-tabs-mode:nil; -*- */
/*
* This program is free software; you can redistribute it and/or modify
* it under the terms of the GNU General Public License version 2 as
* published by the Free Software Foundation;
*
* This program is distributed in the hope that it will be useful,
* but WITHOUT ANY WARRANTY; without even the implied warranty of
�
* MERCHANTABILITY or FITNESS FOR A PARTICULAR PURPOSE. See the
* GNU General Public License for more details.
*
* You should have received a copy of the GNU General Public License
* along with this program; if not, write to the Free Software
* Foundation, Inc., 59 Temple Place, Suite 330, Boston, MA 02111-1307 USA
*/
#include "ns3/core-module.h"
#include "ns3/network-module.h"
#include "ns3/internet-module.h"
#include "ns3/point-to-point-module.h"
#include "ns3/applications-module.h"
using namespace ns3;
NS_LOG_COMPONENT_DEFINE ("FirstScriptExample");//日志
int
main (int argc, char *argv[])
{
CommandLine cmd;
cmd.Parse (argc, argv);
Time::SetResolution (Time::NS);
//以下两行是使两个日志组件生效的,内建在 Echo Client 和 Echo Server 的应用中
LogComponentEnable ("UdpEchoClientApplication", LOG_LEVEL_INFO);
LogComponentEnable ("UdpEchoServerApplication", LOG_LEVEL_INFO);
//创建 ns-3 节点对象,它们在仿真中代表计算机
NodeContainer nodes;//声明一个名为 nodes 的节点容器类
nodes.Create (2);
//创建两个节点
//实现网络节点的物理连接
PointToPointHelper pointToPoint;
pointToPoint.SetDeviceAttribute ("DataRate", StringValue ("5Mbps"));//创建一个
PointToPointNetDevice 对象时使用“5Mbit/s”作为数据速率
pointToPoint.SetChannelAttribute ("Delay", StringValue ("2ms"));//点到点信道的传输时延为 2ms
//初始化 PointToPointHelper 的对象 pointToPoint
//完成设备和信道的配置
NetDeviceContainer devices;
devices = pointToPoint.Install (nodes);//两个设备会被配置在一个有 2ms 传输时延的信道上以
5Mbit/s 的速率传输数据。
�
//为计算机安装协议栈
InternetStackHelper stack;// 类 InternetStackHelper 会为每一个节点容器中的节点安装一个
网络协议栈主要是 IP 层。
stack.Install (nodes);
Ipv4AddressHelper address;// Ipv4AddressHelper 为节点上的设备设置 IP 地址
address.SetBase ("10.1.1.0", "255.255.255.0");//设置基 IP 地址和子网掩码(声明一个地址助手
对象,并且告诉它应该从 10.1.1.0 开始以子网为 255.255.255.0 分配地址。地址分配默认是从 1
开始单调增长,所以在这个基础上第一个分配的是 10.1.1.1,接着是 10.1.1.2)
Ipv4InterfaceContainer interfaces = address.Assign (devices);//完成了真正的地址配置。在 ns-3 中
使用 Ipv4Interface 对象将一个 IP 地址同一个设备联系起来。
//安装服务器端应用程序、设置端口号
UdpEchoServerHelper echoServer (9);
ApplicationContainer serverApps = echoServer.Install (nodes.Get (1));
//式 echo 服务应用在 1s 时开始生效并在 10s 时停止(失效)
serverApps.Start (Seconds (1.0));
serverApps.Stop (Seconds (10.0));
//设置客户端应用层
客户端应用的设置与服务器端类似。也有一个 UdpEchoClientHelper 来管理
UdpEchoClientApplication。然而,对于 echo 客户端,需要设置 5 个不同的属性。首先 2 个属
性是在 UdpEchoClientHelper 的构建过程中被设置的。按照助手构造函数的格式,本文把
“RemoteAddress”和“RemotePort”属性传递给了助手(实际上是作为助手构造函数的 2 个必须
参数传递的)。
回忆一下使用 Ipv4InterfaceContainer 来追踪配置给设备的 IP 地址。在界面容器中位置零的界
面对象将会和节点容器中位置零的节点对象对应。同样在界面容器中位置一的界面对象将会和
节点容器中位置一的节点对象对应。所以,在上面的第一行代码中,本文创建了一个助手并告
诉它设置客户端的远端地址为服务器节点的 IP 地址。同样告诉它准备发送第二个数据分组到端
口 9。
“MaxPackets”属性告诉客户端所允许它在模拟期间能发送的最大数据分组个数。“Interval”属
性告诉客户端在 2 个数据分组之间要等待多长时间,而“PacketSize”属性告诉客户端它的数据
分组应该承载多少数据。本例中让客户端发送一个 1 024 byte 的数据分组。正如 echo 服务端一
样,告诉 echo 客户端何时来开始一个 1 024 byte 的数据分组。正如 echo 服务端一样,告诉
echo 客户端何时来开始和停止,但是这里本文使客户端在服务端生效 1 s 后才开始(在模拟器
中时间 2 s 的时候)。
UdpEchoClientHelper echoClient (interfaces.GetAddress (1), 9);
echoClient.SetAttribute ("MaxPackets", UintegerValue (1));
echoClient.SetAttribute ("Interval", TimeValue (Seconds (1.0)));
echoClient.SetAttribute ("PacketSize", UintegerValue (1024));
ApplicationContainer clientApps = echoClient.Install (nodes.Get (0));
clientApps.Start (Seconds (2.0));
clientApps.Stop (Seconds (10.0));
//启动模拟器(这是用全局变量来运行模拟器)
�
当 Simulator::Run 被调用时,系统会开始遍历预设事件的列表并执行。首先它会在 1.0 s 时运
行事件,这个事件会使 echo 服务端应用生效。接下来仿真器会运行在 t=2.0 s 时的事件,即让
echo 客户端应用开始。同样地,这个事件可能会预定更多的其他事件。在 echo 客户端应用中,
开始事件的执行会通过给服务端传送一个数据分组来开始仿真的数据传送阶段。发送一个数据
分组给服务端会引发一系列更多的事件。这些事件会被预设在此事件之后,并根据已经在脚本
中设定的时间参数来执行数据分组的应答。
Simulator::Run ();
Simulator::Destroy ();
return 0;
}
scend.cc
拓扑结构如图所示。
second.cc 的拓扑结构
/* -*- Mode:C++; c-file-style:"gnu"; indent-tabs-mode:nil; -*- */
/*
* This program is free software; you can redistribute it and/or modify
* it under the terms of the GNU General Public License version 2 as
* published by the Free Software Foundation;
*
* This program is distributed in the hope that it will be useful,
* but WITHOUT ANY WARRANTY; without even the implied warranty of
* MERCHANTABILITY or FITNESS FOR A PARTICULAR PURPOSE. See the
* GNU General Public License for more details.
*
* You should have received a copy of the GNU General Public License
* along with this program; if not, write to the Free Software
* Foundation, Inc., 59 Temple Place, Suite 330, Boston, MA 02111-1307 USA
*/
#include "ns3/core-module.h"
#include "ns3/network-module.h"
�
#include "ns3/csma-module.h"
#include "ns3/internet-module.h"
#include "ns3/point-to-point-module.h"
#include "ns3/applications-module.h"
#include "ns3/ipv4-global-routing-helper.h"
10.1.1.0
// Default Network Topology
//
//
// n0 -------------- n1 n2 n3 n4
//
//
//
================
LAN 10.1.2.0
point-to-point |
|
|
|
using namespace ns3;
NS_LOG_COMPONENT_DEFINE ("SecondScriptExample");
int
main (int argc, char *argv[])
{
bool verbose = true;// 定义变量,用于诀定是否开启 2 个 UdpApplication 的 Logging 组件;默认
true 开启
uint32_t nCsma = 3; //LAN 中另有 3 个 node
CommandLine cmd; //命令行
cmd.AddValue ("nCsma", "Number of \"extra\" CSMA nodes/devices", nCsma);
cmd.AddValue ("verbose", "Tell echo applications to log if true", verbose);
//命令行参数设置是否开启 logging
cmd.Parse (argc,argv);
if (verbose)
{
LogComponentEnable ("UdpEchoClientApplication", LOG_LEVEL_INFO);
LogComponentEnable ("UdpEchoServerApplication", LOG_LEVEL_INFO);
}
nCsma = nCsma == 0 ? 1 : nCsma;
/********************网络拓扑部分************************/
//创建使用 P2P 链路链接的 2 个 node
NodeContainer p2pNodes;
�
p2pNodes.Create (2);
//创建另一个 NodeContainer 类对象,用于总线(CSMA)网络
NodeContainer csmaNodes;
csmaNodes.Add (p2pNodes.Get (1));
//将之前 P2P 的 NodeContianer 的第二个节点(索引 1)添加到 CSMA 的 NodeContainer,
以获得 CSMA device;这个 node 将会有 2 个 device
csmaNodes.Create (nCsma); //再创建 Bus network 上另外的 node
//设置传送速率和信道延迟,同 first.cc
PointToPointHelper pointToPoint;
pointToPoint.SetDeviceAttribute ("DataRate", StringValue ("5Mbps"));
pointToPoint.SetChannelAttribute ("Delay", StringValue ("2ms"));
//安装 P2P 网卡设备到 P2P 网络节点,同 first.cc
NetDeviceContainer p2pDevices;
p2pDevices = pointToPoint.Install (p2pNodes);
//类似于 P2PHelper,CsmaHelper 帮助创建和连接 CSMA 设备及信道
CsmaHelper csma;
csma.SetChannelAttribute ("DataRate", StringValue ("100Mbps"));
//数据率由 Channel 属性指定,而非 Device 属性;
//因为 CSMA 不允许同一信道上有多个不同数据率的设备!
csma.SetChannelAttribute ("Delay", TimeValue (NanoSeconds (6560)));
NetDeviceContainer csmaDevices;
csmaDevices = csma.Install (csmaNodes);
//安装网络协议
InternetStackHelper stack;
stack.Install (p2pNodes.Get (0)); //P2P 链路中的第一个节点
stack.Install (csmaNodes); //P2P 链路中的第二个节点包含在 csmaNodes 中
Ipv4AddressHelper address; //2 个网段的 IP 地址类对象
address.SetBase ("10.1.1.0", "255.255.255.0");//安排 P2P 网段的地址
Ipv4InterfaceContainer p2pInterfaces;
p2pInterfaces = address.Assign (p2pDevices);
address.SetBase ("10.1.2.0", "255.255.255.0");//安排 CSMA 网段地址
Ipv4InterfaceContainer csmaInterfaces;
csmaInterfaces = address.Assign (csmaDevices);
/********************网络拓扑部分结束*********************/
/**********************应用程序部分*********************/
�
UdpEchoServerHelper echoServer (9);
ApplicationContainer serverApps = echoServer.Install (csmaNodes.Get (nCsma)); //将 Server 服务
安装在 CSMA 网段的最后一个节点上,nCsma 是可变的,所以不能用 3
serverApps.Start (Seconds (1.0));
serverApps.Stop (Seconds (10.0));
UdpEchoClientHelper echoClient (csmaInterfaces.GetAddress (nCsma), 9); //同 first.cc
echoClient.SetAttribute ("MaxPackets", UintegerValue (1));
echoClient.SetAttribute ("Interval", TimeValue (Seconds (1.0)));
echoClient.SetAttribute ("PacketSize", UintegerValue (1024));
ApplicationContainer clientApps = echoClient.Install (p2pNodes.Get (0));
clientApps.Start (Seconds (2.0));
clientApps.Stop (Seconds (10.0));
/**********************应用程序部分结束*********************/
/***********调用全局路由 Helper 帮助建立网络路由*************/
Ipv4GlobalRoutingHelper::PopulateRoutingTables ();
//全局路由管理器根据节点产生的链路通告为每个节点建立路由表
/****************开启 pcap 跟踪*******************/
pointToPoint.EnablePcapAll ("second");
//开启 P2PHelper 类对象的 pcap;"second"为保存文件的前缀名
//前缀后的节点号是“全局节点号”,不用担心名称相同!
//csma.EnablePcap ("second",csmaDevices.Get (1),true);
//开启 csmaHelper 类对象的 pcap
//使用 CSMA 网段索引为 1 的设备(第二个)进行 sniff,True 开启 Promiscuous mode
//NodeContainer 类对象的 Get 方法用于获得容器中给定索引下的节点,返回指向请求节
点的指针!
//Node 类对象的 GetId 返回节点的全局 ID(即节点列表中的索引号)
//注意之前使用的 Get 是 NetDevice 类的方法,以下使用的是 Node 类的方法!
//NetDevice 不用取得 ID,可以直接使用(己验证);但 Node 需要进一步查找 ID!!(己验证,
不使用 GetId 无法通过)
//所以后边的两句和这样的两句是等效的(己验证)
//
//
pointToPoint.EnablePcap ("second",p2pNodes.Get (0)->GetId (),0);
//最后一项为 explicitFilename,默认 false,不加也可;若为 true,将 prefix 作为文件名
//倒数第二项 promiscuous,默认 false,此处仅想跟踪一个设备,故设为 0(false);当有一
个节点和设备的 promiscuous 模式设为 true 时,CSMA 网段其他节点便不再产生 trace 文
件。
csma.EnablePcap ("second", csmaDevices.Get (1), true);
“csma.EnablePcap ("second",csmaDevices.Get (nCsma),0);”
“csma.EnablePcap ("second",csmaDevices.Get (nCsma-1),0);”
Simulator::Run ();
�
Simulator::Destroy ();
return 0;
}
在终端中输入编译代码将 second.cc 进行编译,脚本输出如图 3-2 所示。从输
出信息可以看出 UDP 回显客户端发送 1 024 byte 给地址为 10.1.2.4 的服务器,
服务器在另一个网段(10.1.2.0)上。UDP 回显服务器收到来自 10.1.1.1 客户
端的回显数据分组,然后发送相同字节给客户端,而且客户端成功接收。
回到上一层目录会发现 3 个跟踪文件如图 3-3 所示。3 个文件的命名具有相同
格式,例如,second-0-0.pcap 意味着是来自点到点网络设备上节点 0、设备 0
的跟踪文件。如果读者仔细看过前面的拓扑说明,就会看到节点 0 是点到点链
路最左边的节点,节点 1 既有点到点设备又有 CSMA 设备。同时会发现节点 2
是 CSMA 网络上第一个“额外”节点,其设备 0 被选为捕捉混杂模式跟踪的设备。
正如所有 ns-3 的例子一样,脚本开始部分是 emacs 模式行和一些 GPL 样板。
�


 2023年江西萍乡中考道德与法治真题及答案.doc
 2012年重庆南川中考生物真题及答案.doc
 2013年江西师范大学地理学综合及文艺理论基础考研真题.doc
 2020年四川甘孜小升初语文真题及答案I卷.doc
 2020年注册岩土工程师专业基础考试真题及答案.doc
 2023-2024学年福建省厦门市九年级上学期数学月考试题及答案.doc
 2021-2022学年辽宁省沈阳市大东区九年级上学期语文期末试题及答案.doc
 2022-2023学年北京东城区初三第一学期物理期末试卷及答案.doc
 2018上半年江西教师资格初中地理学科知识与教学能力真题及答案.doc
 2012年河北国家公务员申论考试真题及答案-省级.doc
 2020-2021学年江苏省扬州市江都区邵樊片九年级上学期数学第一次质量检测试题及答案.doc
 2022下半年黑龙江教师资格证中学综合素质真题及答案.doc