FMI Toolbox User's Guide 2.7
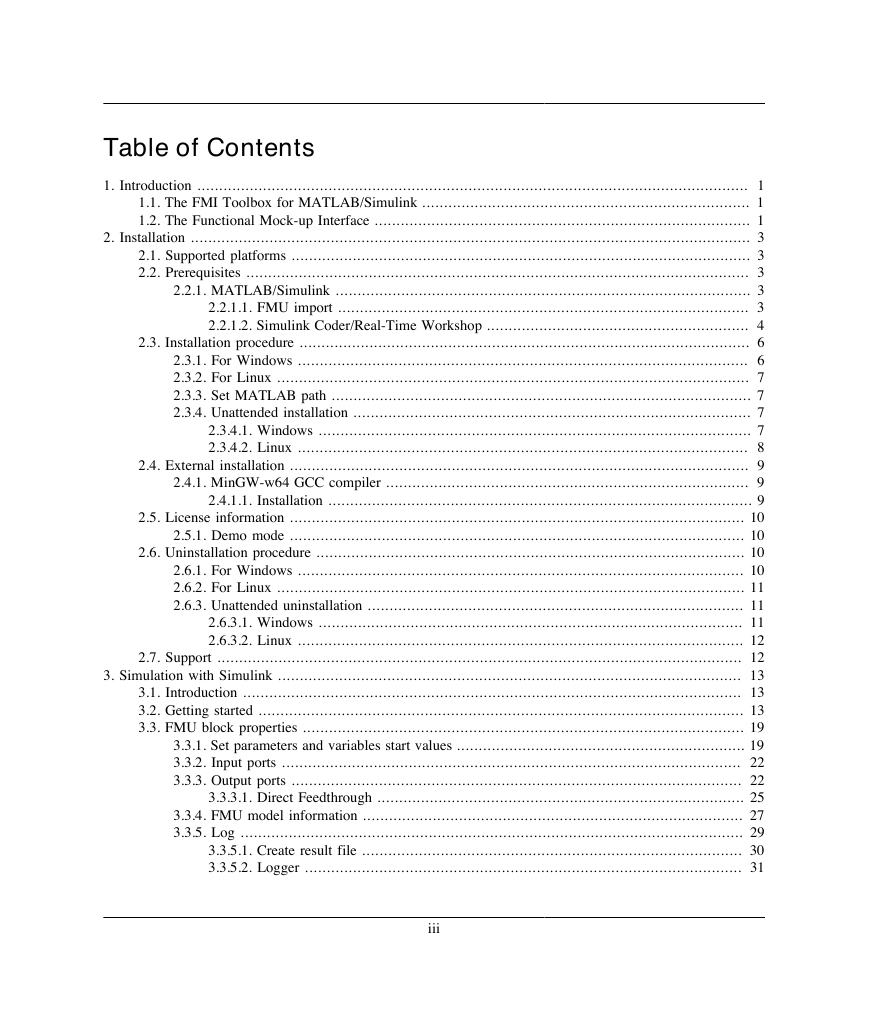
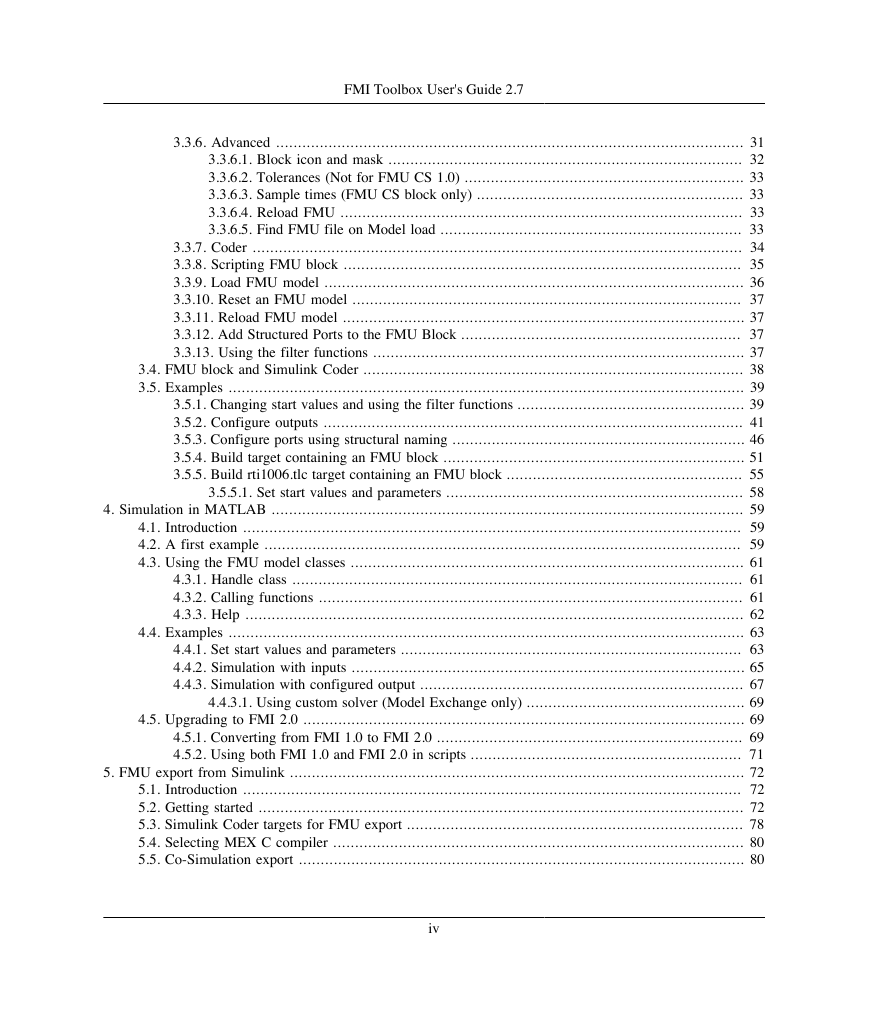
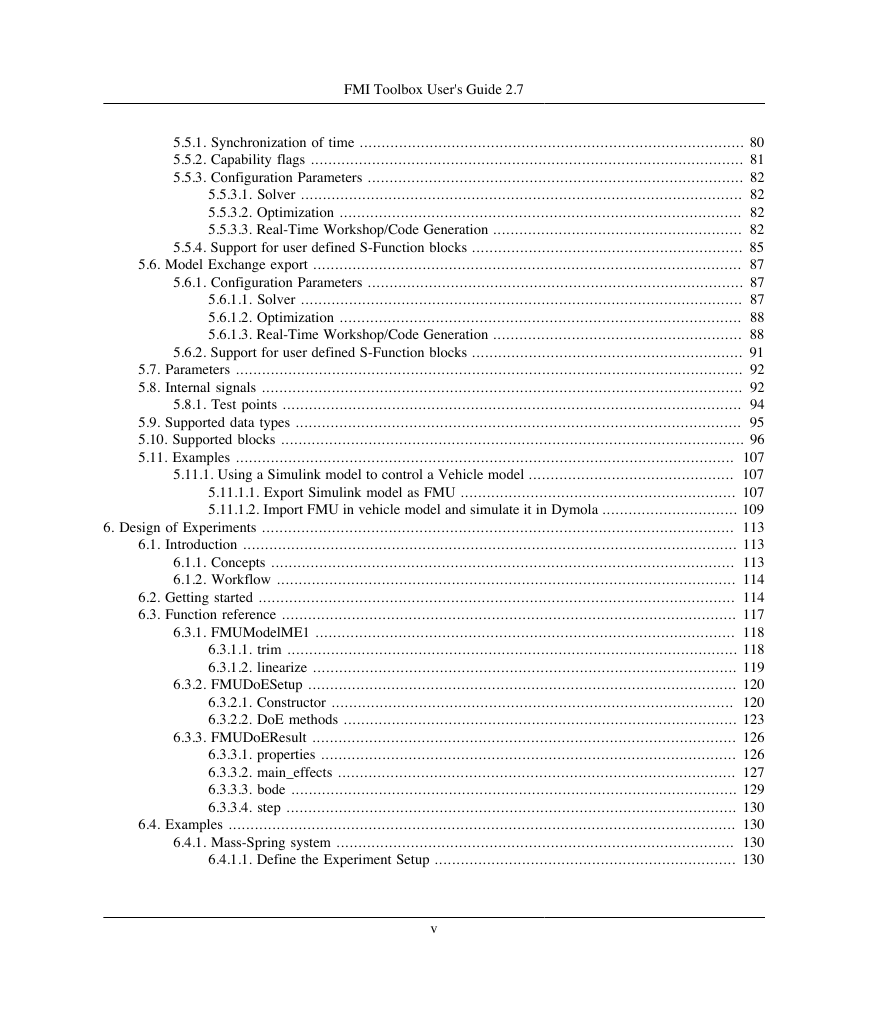
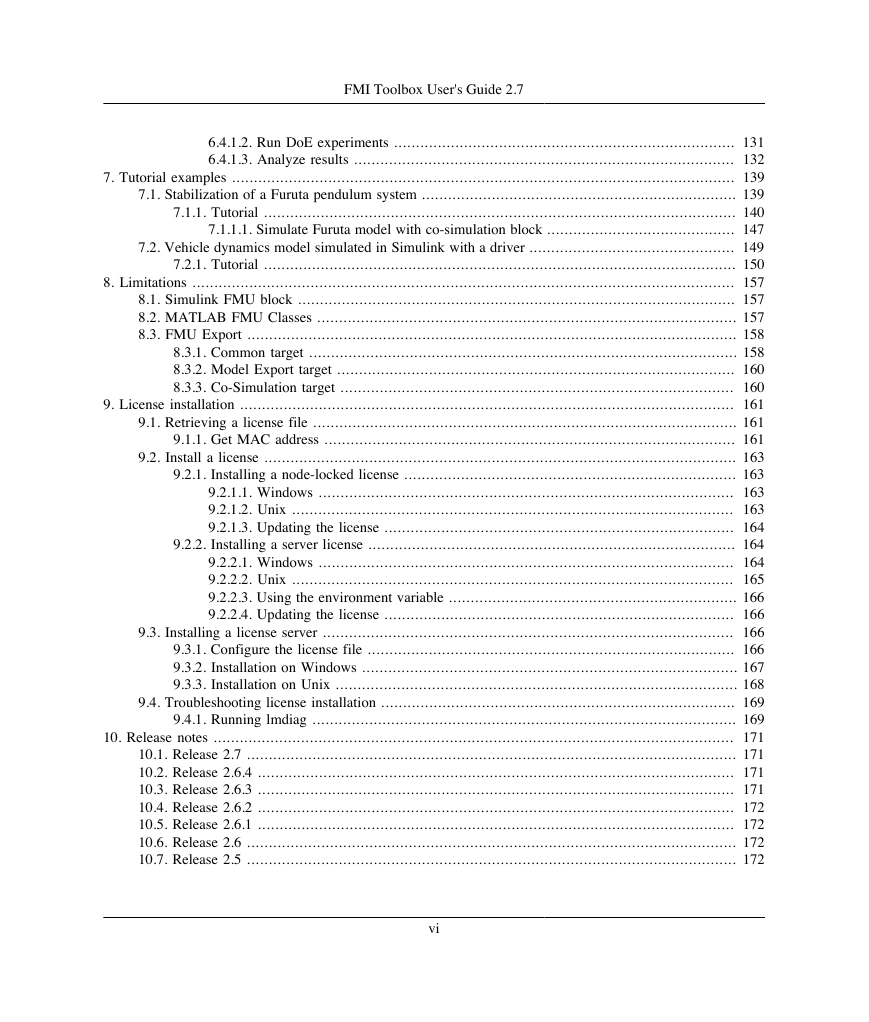
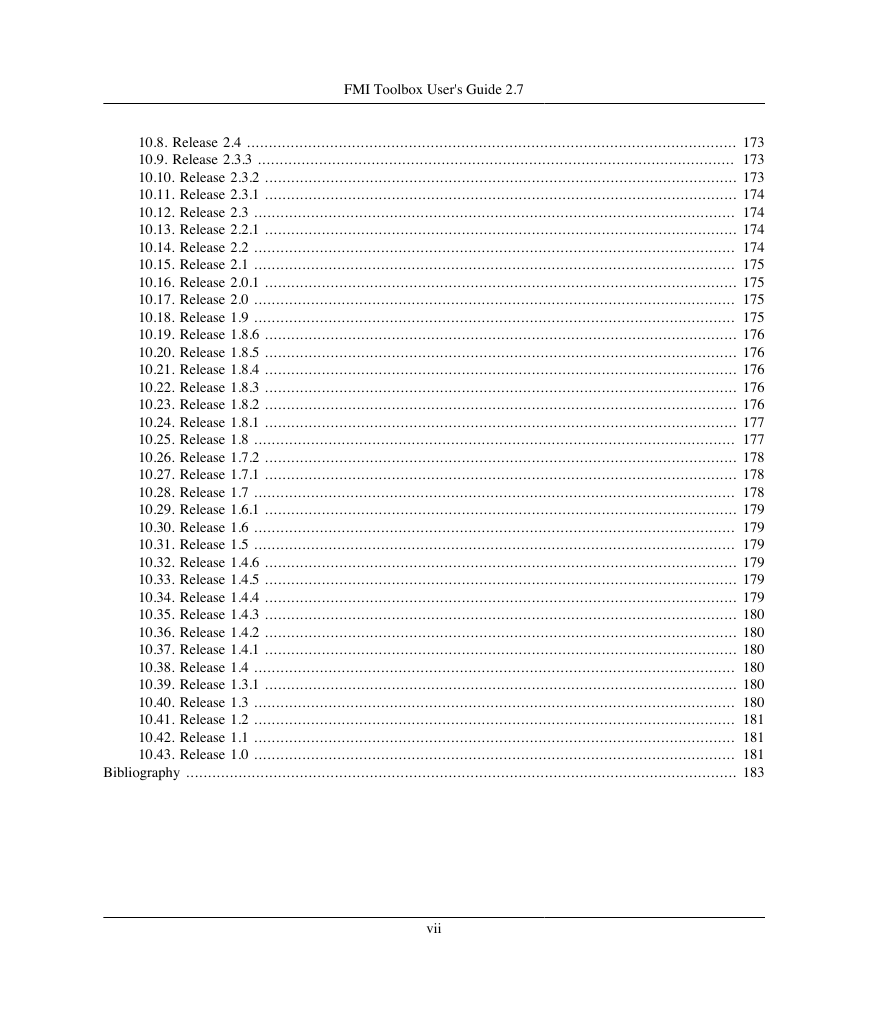
Table of Contents
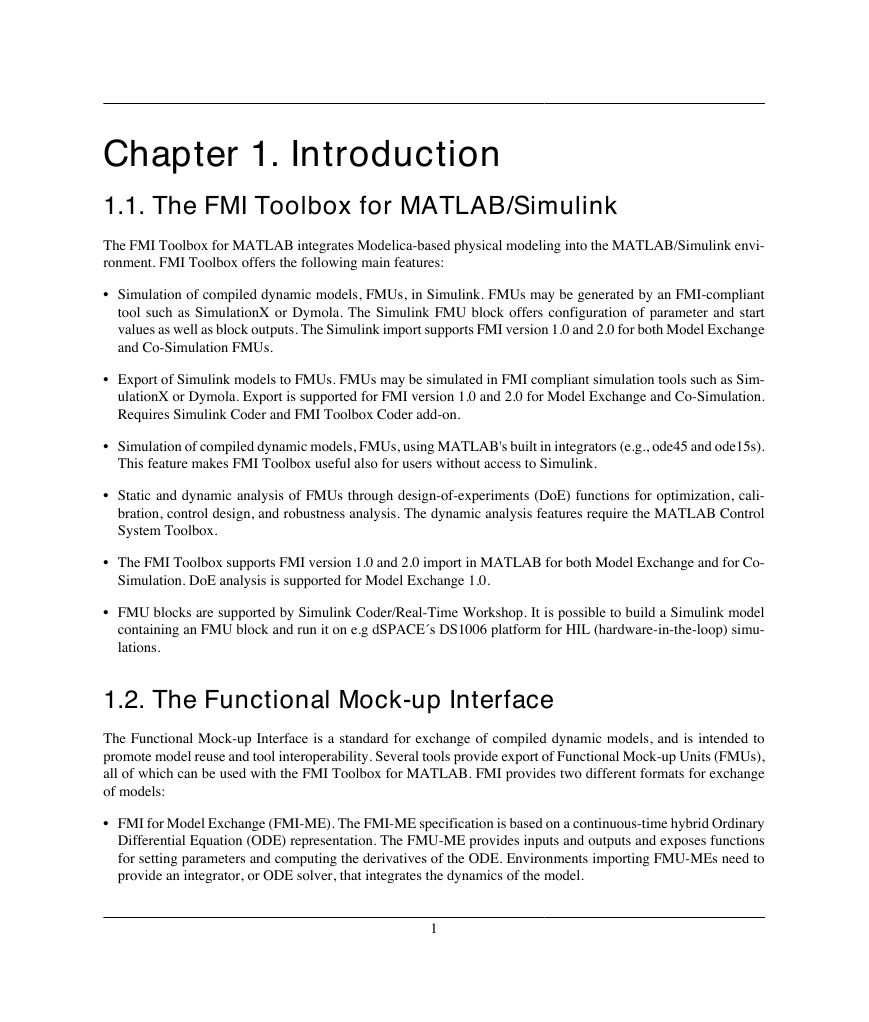
Chapter 1. Introduction
1.1. The FMI Toolbox for MATLAB/Simulink
1.2. The Functional Mock-up Interface
Chapter 2. Installation
2.1. Supported platforms
2.2. Prerequisites
2.2.1. MATLAB/Simulink
2.2.1.1. FMU import
2.2.1.2. Simulink Coder/Real-Time Workshop
2.3. Installation procedure
2.3.1. For Windows
2.3.2. For Linux
2.3.3. Set MATLAB path
2.3.4. Unattended installation
2.3.4.1. Windows
2.3.4.2. Linux
2.4. External installation
2.4.1. MinGW-w64 GCC compiler
2.4.1.1. Installation
2.5. License information
2.5.1. Demo mode
2.6. Uninstallation procedure
2.6.1. For Windows
2.6.2. For Linux
2.6.3. Unattended uninstallation
2.6.3.1. Windows
2.6.3.2. Linux
2.7. Support
Chapter 3. Simulation with Simulink
3.1. Introduction
3.2. Getting started
3.3. FMU block properties
3.3.1. Set parameters and variables start values
3.3.2. Input ports
3.3.3. Output ports
3.3.3.1. Direct Feedthrough
3.3.4. FMU model information
3.3.5. Log
3.3.5.1. Create result file
3.3.5.2. Logger
3.3.6. Advanced
3.3.6.1. Block icon and mask
3.3.6.2. Tolerances (Not for FMU CS 1.0)
3.3.6.3. Sample times (FMU CS block only)
3.3.6.4. Reload FMU
3.3.6.5. Find FMU file on Model load
3.3.7. Coder
3.3.8. Scripting FMU block
3.3.9. Load FMU model
3.3.10. Reset an FMU model
3.3.11. Reload FMU model
3.3.12. Add Structured Ports to the FMU Block
3.3.13. Using the filter functions
3.4. FMU block and Simulink Coder
3.5. Examples
3.5.1. Changing start values and using the filter functions
3.5.2. Configure outputs
3.5.3. Configure ports using structural naming
3.5.4. Build target containing an FMU block
3.5.5. Build rti1006.tlc target containing an FMU block
3.5.5.1. Set start values and parameters
Chapter 4. Simulation in MATLAB
4.1. Introduction
4.2. A first example
4.3. Using the FMU model classes
4.3.1. Handle class
4.3.2. Calling functions
4.3.3. Help
4.4. Examples
4.4.1. Set start values and parameters
4.4.2. Simulation with inputs
4.4.3. Simulation with configured output
4.4.3.1. Using custom solver (Model Exchange only)
4.5. Upgrading to FMI 2.0
4.5.1. Converting from FMI 1.0 to FMI 2.0
4.5.2. Using both FMI 1.0 and FMI 2.0 in scripts
Chapter 5. FMU export from Simulink
5.1. Introduction
5.2. Getting started
5.3. Simulink Coder targets for FMU export
5.4. Selecting MEX C compiler
5.5. Co-Simulation export
5.5.1. Synchronization of time
5.5.2. Capability flags
5.5.3. Configuration Parameters
5.5.3.1. Solver
5.5.3.2. Optimization
5.5.3.3. Real-Time Workshop/Code Generation
FMU Export
Report
Comments
Symbols
Custom code
Debug
5.5.4. Support for user defined S-Function blocks
5.6. Model Exchange export
5.6.1. Configuration Parameters
5.6.1.1. Solver
5.6.1.2. Optimization
5.6.1.3. Real-Time Workshop/Code Generation
FMU Export
Report
Comments
Symbols
Custom code
Debug
5.6.2. Support for user defined S-Function blocks
5.7. Parameters
5.8. Internal signals
5.8.1. Test points
5.9. Supported data types
5.10. Supported blocks
5.11. Examples
5.11.1. Using a Simulink model to control a Vehicle model
5.11.1.1. Export Simulink model as FMU
5.11.1.2. Import FMU in vehicle model and simulate it in Dymola
Chapter 6. Design of Experiments
6.1. Introduction
6.1.1. Concepts
6.1.2. Workflow
6.2. Getting started
6.3. Function reference
6.3.1. FMUModelME1
6.3.1.1. trim
6.3.1.2. linearize
6.3.2. FMUDoESetup
6.3.2.1. Constructor
6.3.2.2. DoE methods
qmc - Quasi-Monte Carlo analysis
mc - Monte Carlo analysis
fullfact - Full factorial analysis
custom - User-defined test matrix
6.3.3. FMUDoEResult
6.3.3.1. properties
6.3.3.2. main_effects
6.3.3.3. bode
6.3.3.4. step
6.4. Examples
6.4.1. Mass-Spring system
6.4.1.1. Define the Experiment Setup
6.4.1.2. Run DoE experiments
6.4.1.3. Analyze results
Steady-state
Dynamic analysis
Chapter 7. Tutorial examples
7.1. Stabilization of a Furuta pendulum system
7.1.1. Tutorial
7.1.1.1. Simulate Furuta model with co-simulation block
7.2. Vehicle dynamics model simulated in Simulink with a driver
7.2.1. Tutorial
Chapter 8. Limitations
8.1. Simulink FMU block
8.2. MATLAB FMU Classes
8.3. FMU Export
8.3.1. Common target
8.3.2. Model Export target
8.3.3. Co-Simulation target
Chapter 9. License installation
9.1. Retrieving a license file
9.1.1. Get MAC address
9.2. Install a license
9.2.1. Installing a node-locked license
9.2.1.1. Windows
9.2.1.2. Unix
9.2.1.3. Updating the license
9.2.2. Installing a server license
9.2.2.1. Windows
9.2.2.2. Unix
9.2.2.3. Using the environment variable
9.2.2.4. Updating the license
9.3. Installing a license server
9.3.1. Configure the license file
9.3.2. Installation on Windows
9.3.3. Installation on Unix
9.4. Troubleshooting license installation
9.4.1. Running lmdiag
Chapter 10. Release notes
10.1. Release 2.7
10.2. Release 2.6.4
10.3. Release 2.6.3
10.4. Release 2.6.2
10.5. Release 2.6.1
10.6. Release 2.6
10.7. Release 2.5
10.8. Release 2.4
10.9. Release 2.3.3
10.10. Release 2.3.2
10.11. Release 2.3.1
10.12. Release 2.3
10.13. Release 2.2.1
10.14. Release 2.2
10.15. Release 2.1
10.16. Release 2.0.1
10.17. Release 2.0
10.18. Release 1.9
10.19. Release 1.8.6
10.20. Release 1.8.5
10.21. Release 1.8.4
10.22. Release 1.8.3
10.23. Release 1.8.2
10.24. Release 1.8.1
10.25. Release 1.8
10.26. Release 1.7.2
10.27. Release 1.7.1
10.28. Release 1.7
10.29. Release 1.6.1
10.30. Release 1.6
10.31. Release 1.5
10.32. Release 1.4.6
10.33. Release 1.4.5
10.34. Release 1.4.4
10.35. Release 1.4.3
10.36. Release 1.4.2
10.37. Release 1.4.1
10.38. Release 1.4
10.39. Release 1.3.1
10.40. Release 1.3
10.41. Release 1.2
10.42. Release 1.1
10.43. Release 1.0
Bibliography


 2023年江西萍乡中考道德与法治真题及答案.doc
 2012年重庆南川中考生物真题及答案.doc
 2013年江西师范大学地理学综合及文艺理论基础考研真题.doc
 2020年四川甘孜小升初语文真题及答案I卷.doc
 2020年注册岩土工程师专业基础考试真题及答案.doc
 2023-2024学年福建省厦门市九年级上学期数学月考试题及答案.doc
 2021-2022学年辽宁省沈阳市大东区九年级上学期语文期末试题及答案.doc
 2022-2023学年北京东城区初三第一学期物理期末试卷及答案.doc
 2018上半年江西教师资格初中地理学科知识与教学能力真题及答案.doc
 2012年河北国家公务员申论考试真题及答案-省级.doc
 2020-2021学年江苏省扬州市江都区邵樊片九年级上学期数学第一次质量检测试题及答案.doc
 2022下半年黑龙江教师资格证中学综合素质真题及答案.doc