logo资料库

理光数码相机-理光 Caplio Rx说明书.pdf

第1页 / 共183页
第2页 / 共183页
第3页 / 共183页
第4页 / 共183页
第5页 / 共183页
第6页 / 共183页
第7页 / 共183页
第8页 / 共183页
资料共183页,剩余部分请下载后查看
Operation Manual
Using These Manuals
1. Please read this first:
2. For basic information:
3. Please read as needed:
Using This Guide
Display examples:
Terms:
Symbols:
Contents
Chapter 1 Using Your Camera
Section 1 Getting Started
Checking that Everything is Packed
Optional Accessories
Names of Parts
How to Use the Mode Dial
Inserting the Batteries
Using the Batteries
Using the Rechargeable Battery
Inserting the Rechargeable Battery
Removing the Rechargeable Battery
Using the AC Adapter
Setting up the AC Adapter
Removing the AC Adapter
Turning the Power On/ Off
Turning the Camera On
Turning the Camera Off
Inserting an SD Memory Card (Available in Stores)
Inserting the SD Memory Card
Removing the SD Memory Card
How to Use the LCD Monitor
Screen Examples when Shooting Pictures
The Screen During Playback
Switching the Screen Display
Synchro Monitor Mode
Histogram Display
Button Functions
The Basics of the Shooting Menu/Playback Menu
The Basics of the Setup Screen
Screens
Shooting Menu (Shooting Mode)
Shooting Menu (Movie Mode)
Shooting Menu (Scene Mode, except in Text Mode)
Shooting Menu (Text Mode)
Playback Menu
Scene Selection Screen (Scene Mode)
Setup Screen (Setup Mode)
Section 2 Basic Shooting
How to Hold the Camera
How to Focus
Shooting Still Images
Checking the Focus and Shooting (Half-press)
Capturing the Moment Shooting (Full-press)
When the Subject is not Centered on Your Composition (Focus Lock)
Shooting with Scenery- Matching
Combination of Scene Mode and Function
Shooting with Multi-Shot
Making Multi-Shot Settings (CONT. MODE)
Shooting with Multi-Shot
Shooting with S Multi-Shot
Shooting with M Multi-Shot
Shooting Movies
Shooting with Optical Zoom
Shooting with the Digital Zoom
Shooting Close-ups (Macro Photo)
Using the AF target shift function
Recording Voice Memos
Section 3 Using Special Features for Improved Photography
Using the Flash
Using the Self-Timer
Shooting a Still Image with Sound (IMAGE WITH SOUND)
Using the ADJ. (Adjust) Button
Adjustments Using the ADJ. Button
Changing the Exposure (EXPOSURE COMP.)
Examples of Exposure Compensation
Using the ADJ. Button (Exposure)
Using the Shooting Menu (Exposure)
Using Natural and Artificial Lighting (WHITE BALANCE)
Using the ADJ. Button (White Balance)
Using the Shooting Menu (White Balance)
Sensitivity Settings (ISO SETTING)
Using the ADJ. Button (ISO Sensitivity)
Using the Shooting Menu (ISO Sensitivity)
Changing Shading for Shooting Text (DENSITY)
Using the ADJ. Button (Text Density)
Using the Shooting Menu (Text Density)
Shooting Consecutively with Different White Balance (WHITE BALANCE BRACKET)
Choosing Picture Quality Mode/Image Size (PIC QUALITY/SIZE)
About Picture Quality Mode
About Image Size
Changing Picture Quality Mode/ Image Size of a Still Image
Changing the Image Size for Shooting in TEXT Mode
Changing the Image Size of a Movie
Manual Focus Shooting (FOCUS)
Manual Focus Shooting
Shooting at a Fixed Distance
Changing the Light Metering (PHOTOMETRY)
Changing the Edge Quality of Still Images (SHARPNESS)
Shooting Consecutively with Different Exposures (AUTO BRACKET)
Setting the Exposure Time (TIME EXPOSURE)
Shooting Pictures Automatically at Set Intervals (INTERVAL)
Inserting the Date into a Still Image (DATE IMPRINT)
Returning the Shooting Menu Settings to their Defaults (RESTORE DEFAULTS)
Section 4 Playing Back/Deleting Still Images, Movies, and Sounds
Viewing the Photo You Just Took (Quick Review)
Displaying an Enlarged View of the Still Image Displayed
Deleting the Displayed Still Image or Movie
Viewing a Still Image or Movie
Viewing Still Images Recorded on an SD Memory Card
Viewing Still Images Recorded on Internal Memory
Viewing Movies
Adjusting the Movie Sound Volume
Playing Back Sound
Playing Back Sound
Playing Back Sound Recorded with a Still Image
Adjusting the Volume
Viewing Thumbnail Images on the LCD Monitor
Enlarged Viewing
Viewing an S Multi-Shot or M Multi-Shot Still Image in Enlarged Display Mode
Showing Photos in Order Automatically (SLIDE SHOW)
Viewing on a Television
Deleting Unwanted Still Images/Movies/Sounds
Deleting One Still Image
Deleting All Frames at Once
Deleting Multiple Frames at Once
Section 5 Direct Printing
About the Direct Print Function
Sending Images to a Printer for Printing
Connecting the Camera to a Printer
Printing One Image
Printing All Images
Printing Several Images
Section 6 About Other Functions
Write-protecting Your Images (PROTECT)
Protecting the Displayed Still Image
Protecting All Still Images
Protecting Multiple Still Images, Movies, or Sounds at Once
Copying the Contents of Internal Memory to a Memory Card (COPY TO CARD)
Using a Printing Service (DPOF: Dee-Pof)
Setting DPOF for the Still Image Displayed
Setting DPOF for a Still Images
Setting DPOF for Multiple Still Images
Changing the Image Size (RESIZE)
Section 7 Changing Camera Settings
Getting the SD Memory Card Ready for Use (CARD FORMAT)
Write-protecting Your Images
Formatting Internal Memory (IN FORMAT)
Adjusting the Brightness of the LCD Monitor (LCD BRIGHTNESS)
Setting a Function to the ADJ. Button (ADJ BTN.SET.)
Changing the Operation Sound Setting (BEEP SOUND)
Changing Image Confirmation Time (LCD CONFIRM.)
Changing Auto Power- Off Settings (AUTO POWER OFF)
Changing File Name Settings (SEQUENTIAL NO.)
Changing Power-Save Mode Settings (Power- Save)
Setting the Date and Time (DATE SETTINGS)
Changing the Display Language (LANGUAGE)
Changing the Playback Method for Viewing on TV (VIDEO OUT MODE)
Chapter 2 Playing Back Images (Pictures/Movies) on a Computer (For Windows)
Section 1 Installing Software
Using the Software Provided
Software and OS Applicability Table
System Requirements for Using the Provided Software
Preparing to Download Images to Your Computer
Installation
For Windows 98/98SE/Me/2000
Uninstalling the Software (For Windows 98/98SE/Me/2000)
For Windows XP
Uninstalling the Software (For Windows XP)
Installing Other Software
Installing Acrobat Reader
Installing DirectX
Section 2 Downloading Images to a Computer
Connecting the Camera to a Computer
For Windows XP
Downloading Pictures to Your Computer
For Windows 98/98SE/Me/2000/XP
How to Use RICOH Gate La
The RICOH Gate La Window
How to Use the Optional Settings
How to Use the Background Illustration Settings
Downloading Images from an SD Memory Card
Images in an SD Memory Card
Section 3 Displaying Thumbnail Images (How to Use DU-10x)
Starting and Exiting DU- 10x
DU-10x Window
Exiting DU-10x
Thumbnail Display Description
Switching the Ordering of Images
Changing the Display Size
Viewing Images in a Slide Show
To View a Slide Show
Using Auto Slide Show
How to Use the Slide Show Dialog Box
Renaming an Image in Thumbnail View
How to Rename an Image
Copying a Reduced Image File
How to Copy an Reduced Image File
Enabling Functions Available with Other Models of Caplio
How to Enable GPS Linkage or Camera Memo Function
Cameras and Available Options
Functions You Can Use
Deleting Images
Using the File Menu
Using the Shortcut Menu
Using the Keyboard
Viewing Image Information
Using the File Menu
Using the Shortcut Menu
Displaying the Viewer Screen
Using the Viewer Screen
Printing an Image
To Print an Image
Using the [Print Setup] Dialog Box
Checking the Printing Layout
Making printer settings
Printing Images
Chapter 3 Playing Back Images (Pictures/Movies) on a Computer (For Macintosh)
Section 1 Installing Software
Using the Software Provided
Software and OS Applicability Table
System Requirements
Preparing to Download Images to Your Computer
Installation
For Mac OS 8.6 to 9.2.2
For Mac OS X 10.1.2 to 10.3
Uninstalling the Software (For Mac OS 8.6 to 9.2.2)
Uninstalling the Software (For Mac OS X 10.1.2 to 10.3)
Section 2 Downloading Images to a Computer
Connecting the Camera to a Computer
Downloading Pictures to Your Computer
For Mac OS 8.6 to 9.2.2
For Mac OS X 10.1.2 to 10.3
How to Use RICOH Gate La
The RICOH Gate La Window
How to Use Optional Settings
Appendices
A. Specifications
B. Optional Accessories
C. SD Memory Card Recording Capacities
D. Using Your Camera Abroad
E. Cautions on Use
F. Care and Storage
G. Troubleshooting
H. Error Messages
I. Warranty and Servicing
INDEX
Operation Manual For the safe use of your camera, be sure to read the Safety Precautions thoroughly before use.
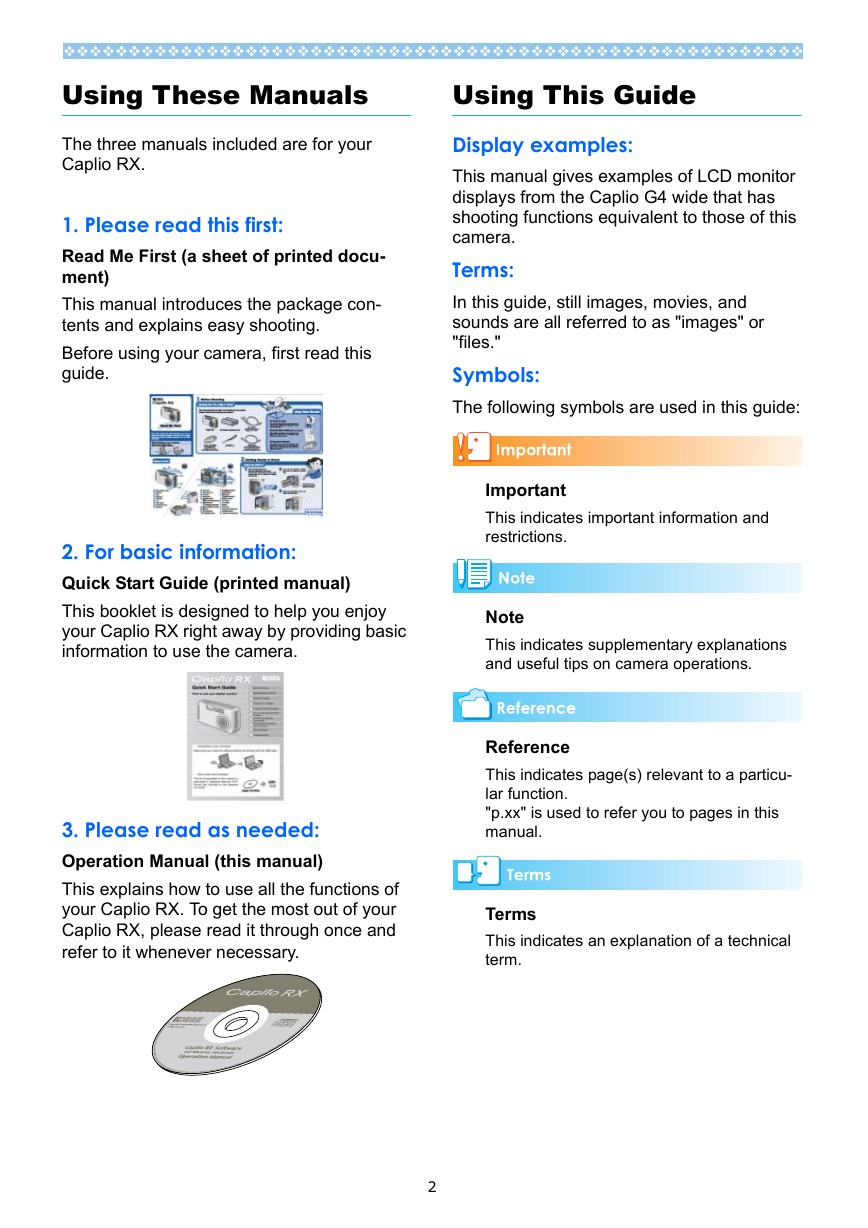
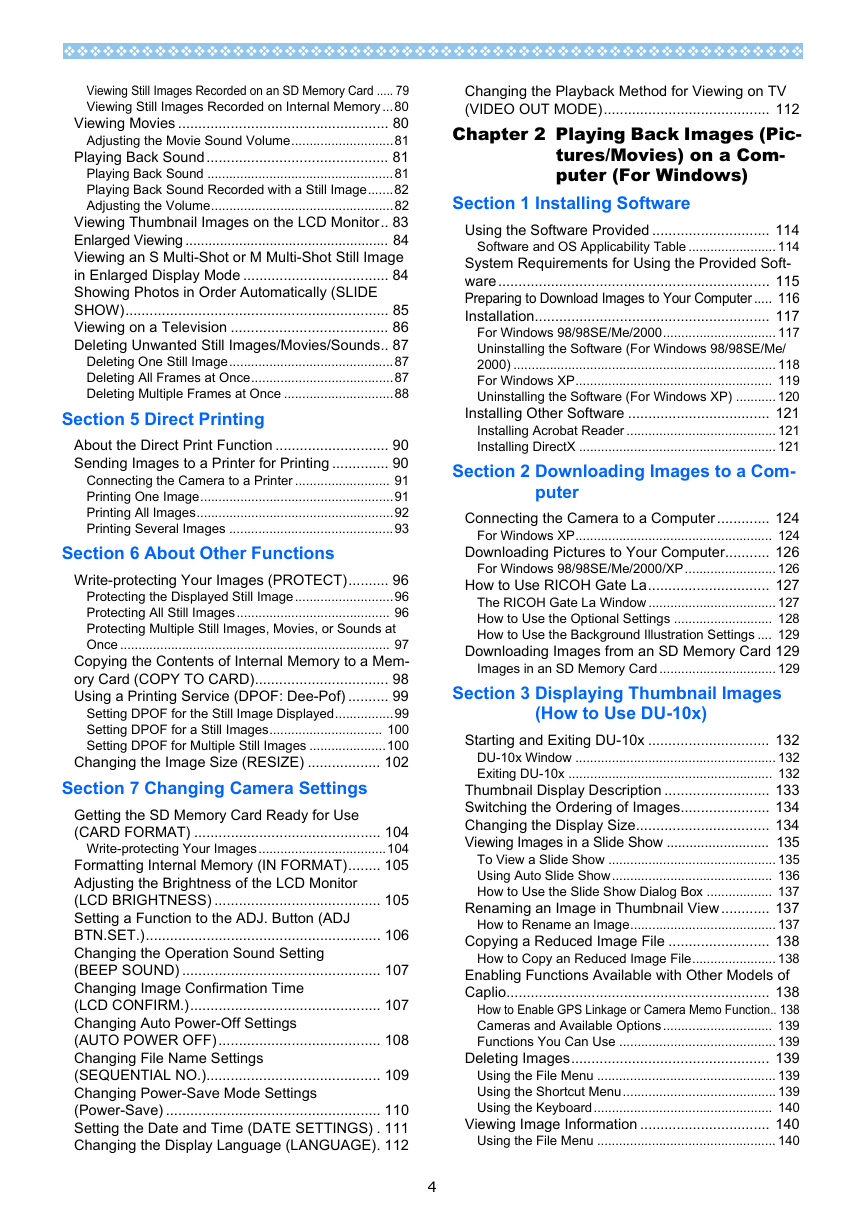
Using These Manuals The three manuals included are for your Caplio RX. 1. Please read this first: Read Me First (a sheet of printed docu- ment) This manual introduces the package con- tents and explains easy shooting. Before using your camera, first read this guide. Using This Guide Display examples: This manual gives examples of LCD monitor displays from the Caplio G4 wide that has shooting functions equivalent to those of this camera. Terms: In this guide, still images, movies, and sounds are all referred to as "images" or "files." Symbols: The following symbols are used in this guide: 2. For basic information: Quick Start Guide (printed manual) This booklet is designed to help you enjoy your Caplio RX right away by providing basic information to use the camera. 3. Please read as needed: Operation Manual (this manual) This explains how to use all the functions of your Caplio RX. To get the most out of your Caplio RX, please read it through once and refer to it whenever necessary. Important This indicates important information and restrictions. Note This indicates supplementary explanations and useful tips on camera operations. Reference This indicates page(s) relevant to a particu- lar function. "p.xx" is used to refer you to pages in this manual. Terms This indicates an explanation of a technical term. 2
Contents Using These Manuals ............................................ 2 1. Please read this first: ................................................2 2. For basic information: ...............................................2 3. Please read as needed:............................................2 Using This Guide.................................................... 2 Display examples: ........................................................2 Terms: ..........................................................................2 Symbols:.......................................................................2 Contents................................................................. 3 Chapter 1 Using Your Camera Section 1 Getting Started Checking that Everything is Packed....................... 8 Optional Accessories....................................................9 Names of Parts ...................................................... 9 How to Use the Mode Dial ................................... 11 Inserting the Batteries .............................................. 11 Using the Batteries............................................... 12 Using the Rechargeable Battery .............................. 13 Inserting the Rechargeable Battery ............................13 Removing the Rechargeable Battery..........................13 Using the AC Adapter .......................................... 14 Setting up the AC Adapter..........................................14 Removing the AC Adapter......................................... 15 Turning the Power On/Off .................................... 16 Turning the Camera On..............................................16 Turning the Camera Off..............................................16 Inserting an SD Memory Card (Available in Stores) .... 17 Inserting the SD Memory Card ...................................17 Removing the SD Memory Card.................................18 How to Use the LCD Monitor ............................... 19 Screen Examples when Shooting Pictures.................19 The Screen During Playback..................................... 22 Switching the Screen Display................................... 23 Synchro Monitor Mode .............................................. 24 Histogram Display ......................................................24 Button Functions .................................................. 25 The Basics of the Shooting Menu/Playback Menu.. 26 The Basics of the Setup Screen .................. 27 Screens................................................................ 28 Shooting Menu (Shooting Mode)................................28 Shooting Menu (Movie Mode) ................................... 29 Shooting Menu (Scene Mode, except in Text Mode)..29 Shooting Menu (Text Mode) .......................................30 Playback Menu ...........................................................30 Scene Selection Screen (Scene Mode)..................... 31 Setup Screen (Setup Mode) .......................................32 Section 2 Basic Shooting How to Hold the Camera...................................... 34 How to Focus ........................................................... 34 Shooting Still Images ............................................... 35 Checking the Focus and Shooting (Half-press)..........35 Capturing the Moment Shooting (Full-press)..............36 When the Subject is not Centered on Your Composi- tion (Focus Lock).................................................. 37 Shooting with Scenery-Matching.......................... 38 Combination of Scene Mode and Function ................39 Shooting with Multi-Shot ...................................... 40 Making Multi-Shot Settings (CONT. MODE)...............41 Shooting with Multi-Shot............................................. 42 Shooting with S Multi-Shot ......................................... 42 Shooting with M Multi-Shot......................................... 42 Shooting Movies .................................................. 42 Shooting with Optical Zoom................................. 43 Shooting with the Digital Zoom.................................. 44 Shooting Close-ups (Macro Photo)...................... 45 Using the AF target shift function ............................... 45 Recording Voice Memos...................................... 47 Section 3 Using Special Features for Im- proved Photography Using the Flash.................................................... 50 Using the Self-Timer............................................ 51 Shooting a Still Image with Sound (IMAGE WITH SOUND)............................................................... 52 Using the ADJ. (Adjust) Button............................ 53 Adjustments Using the ADJ. Button ........................... 53 Changing the Exposure (EXPOSURE COMP.)... 54 Examples of Exposure Compensation ....................... 54 Using the ADJ. Button (Exposure) ............................ 54 Using the Shooting Menu (Exposure) ........................ 55 Using Natural and Artificial Lighting (WHITE BAL- ANCE).................................................................. 56 Using the ADJ. Button (White Balance) .................... 56 Using the Shooting Menu (White Balance) ................ 57 Sensitivity Settings (ISO SETTING) .................... 59 Using the ADJ. Button (ISO Sensitivity) ..................... 59 Using the Shooting Menu (ISO Sensitivity) ............... 60 Changing Shading for Shooting Text (DENSITY) 61 Using the ADJ. Button (Text Density)......................... 61 Using the Shooting Menu (Text Density)................... 62 Shooting Consecutively with Different White Balance (WHITE BALANCE BRACKET)........................... 63 Choosing Picture Quality Mode/Image Size (PIC QUALITY/SIZE) ................................................... 64 About Picture Quality Mode........................................ 64 About Image Size ....................................................... 64 Changing Picture Quality Mode/Image Size of a Still Im- age ............................................................................ 64 Changing the Image Size for Shooting in TEXT Mode65 Changing the Image Size of a Movie ......................... 66 Manual Focus Shooting (FOCUS)....................... 67 Manual Focus Shooting.............................................. 67 Shooting at a Fixed Distance ..................................... 68 Changing the Light Metering (PHOTOMETRY)... 69 Changing the Edge Quality of Still Images (SHARP- NESS).................................................................. 70 Shooting Consecutively with Different Exposures (AUTO BRACKET) .............................................. 71 Setting the Exposure Time (TIME EXPOSURE) . 72 Shooting Pictures Automatically at Set Intervals (IN- TERVAL).............................................................. 73 Inserting the Date into a Still Image (DATE IMPRINT) . 75 Returning the Shooting Menu Settings to their De- faults (RESTORE DEFAULTS)............................ 76 Section 4 Playing Back/Deleting Still Im- ages, Movies, and Sounds Viewing the Photo You Just Took (Quick Review) 78 Displaying an Enlarged View of the Still Image Displayed.. 78 Deleting the Displayed Still Image or Movie.............. 79 Viewing a Still Image or Movie............................. 79 3
Viewing Still Images Recorded on an SD Memory Card ..... 79 Viewing Still Images Recorded on Internal Memory...80 Viewing Movies .................................................... 80 Adjusting the Movie Sound Volume............................81 Playing Back Sound............................................. 81 Playing Back Sound ...................................................81 Playing Back Sound Recorded with a Still Image.......82 Adjusting the Volume..................................................82 Viewing Thumbnail Images on the LCD Monitor.. 83 Enlarged Viewing ..................................................... 84 Viewing an S Multi-Shot or M Multi-Shot Still Image in Enlarged Display Mode .................................... 84 Showing Photos in Order Automatically (SLIDE SHOW)................................................................. 85 Viewing on a Television ....................................... 86 Deleting Unwanted Still Images/Movies/Sounds.. 87 Deleting One Still Image.............................................87 Deleting All Frames at Once.......................................87 Deleting Multiple Frames at Once ..............................88 Section 5 Direct Printing About the Direct Print Function ............................ 90 Sending Images to a Printer for Printing .............. 90 Connecting the Camera to a Printer .......................... 91 Printing One Image.....................................................91 Printing All Images......................................................92 Printing Several Images .............................................93 Section 6 About Other Functions Write-protecting Your Images (PROTECT).......... 96 Protecting the Displayed Still Image...........................96 Protecting All Still Images.......................................... 96 Protecting Multiple Still Images, Movies, or Sounds at Once .......................................................................... 97 Copying the Contents of Internal Memory to a Mem- ory Card (COPY TO CARD)................................. 98 Using a Printing Service (DPOF: Dee-Pof) .......... 99 Setting DPOF for the Still Image Displayed................99 Setting DPOF for a Still Images............................... 100 Setting DPOF for Multiple Still Images .....................100 Changing the Image Size (RESIZE) .................. 102 Section 7 Changing Camera Settings Getting the SD Memory Card Ready for Use (CARD FORMAT) .............................................. 104 Write-protecting Your Images...................................104 Formatting Internal Memory (IN FORMAT)........ 105 Adjusting the Brightness of the LCD Monitor (LCD BRIGHTNESS) ......................................... 105 Setting a Function to the ADJ. Button (ADJ BTN.SET.).......................................................... 106 Changing the Operation Sound Setting (BEEP SOUND) ................................................. 107 Changing Image Confirmation Time (LCD CONFIRM.)............................................... 107 Changing Auto Power-Off Settings (AUTO POWER OFF)........................................ 108 Changing File Name Settings (SEQUENTIAL NO.)........................................... 109 Changing Power-Save Mode Settings (Power-Save) ..................................................... 110 Setting the Date and Time (DATE SETTINGS) . 111 Changing the Display Language (LANGUAGE). 112 4 Changing the Playback Method for Viewing on TV (VIDEO OUT MODE)......................................... 112 Chapter 2 Playing Back Images (Pic- tures/Movies) on a Com- puter (For Windows) Section 1 Installing Software Using the Software Provided ............................. 114 Software and OS Applicability Table ........................ 114 System Requirements for Using the Provided Soft- ware................................................................... 115 Preparing to Download Images to Your Computer ..... 116 Installation.......................................................... 117 For Windows 98/98SE/Me/2000............................... 117 Uninstalling the Software (For Windows 98/98SE/Me/ 2000) ........................................................................ 118 For Windows XP...................................................... 119 Uninstalling the Software (For Windows XP) ........... 120 Installing Other Software ................................... 121 Installing Acrobat Reader ......................................... 121 Installing DirectX ...................................................... 121 Section 2 Downloading Images to a Com- puter Connecting the Camera to a Computer............. 124 For Windows XP...................................................... 124 Downloading Pictures to Your Computer........... 126 For Windows 98/98SE/Me/2000/XP......................... 126 How to Use RICOH Gate La.............................. 127 The RICOH Gate La Window ................................... 127 How to Use the Optional Settings ........................... 128 How to Use the Background Illustration Settings .... 129 Downloading Images from an SD Memory Card 129 Images in an SD Memory Card ................................ 129 Section 3 Displaying Thumbnail Images (How to Use DU-10x) Starting and Exiting DU-10x .............................. 132 DU-10x Window ....................................................... 132 Exiting DU-10x ........................................................ 132 Thumbnail Display Description .......................... 133 Switching the Ordering of Images...................... 134 Changing the Display Size................................. 134 Viewing Images in a Slide Show ........................... 135 To View a Slide Show .............................................. 135 Using Auto Slide Show............................................ 136 How to Use the Slide Show Dialog Box .................. 137 Renaming an Image in Thumbnail View............ 137 How to Rename an Image........................................ 137 Copying a Reduced Image File ......................... 138 How to Copy an Reduced Image File....................... 138 Enabling Functions Available with Other Models of Caplio................................................................. 138 How to Enable GPS Linkage or Camera Memo Function.. 138 Cameras and Available Options.............................. 139 Functions You Can Use ........................................... 139 Deleting Images................................................. 139 Using the File Menu ................................................. 139 Using the Shortcut Menu.......................................... 139 Using the Keyboard................................................. 140 Viewing Image Information ................................ 140 Using the File Menu ................................................. 140
Using the Shortcut Menu ......................................... 140 Displaying the Viewer Screen ............................ 141 Using the Viewer Screen ..........................................141 Printing an Image............................................... 142 To Print an Image .....................................................142 Using the [Print Setup] Dialog Box .......................... 142 Checking the Printing Layout................................... 143 Making printer settings .............................................143 Printing Images........................................................ 143 Chapter 3 Playing Back Images (Pic- tures/Movies) on a Com- puter (For Macintosh) Section 1 Installing Software Using the Software Provided.............................. 146 Software and OS Applicability Table ........................146 System Requirements........................................ 147 Preparing to Download Images to Your Computer ..... 148 Installation.......................................................... 149 For Mac OS 8.6 to 9.2.2 ...........................................149 For Mac OS X 10.1.2 to 10.3....................................150 Uninstalling the Software (For Mac OS 8.6 to 9.2.2) 151 Uninstalling the Software (For Mac OS X 10.1.2 to 10.3) .. 151 Section 2 Downloading Images to a Com- puter Connecting the Camera to a Computer ............. 154 Downloading Pictures to Your Computer........... 154 For Mac OS 8.6 to 9.2.2 ...........................................155 For Mac OS X 10.1.2 to 10.3................................... 156 How to Use RICOH Gate La .............................. 157 The RICOH Gate La Window ...................................157 How to Use Optional Settings.................................. 158 Appendices A. Specifications................................................. 160 B. Optional Accessories......................................... 161 C. SD Memory Card Recording Capacities........ 162 D. Using Your Camera Abroad .............................. 162 E. Cautions on Use ............................................ 163 F. Care and Storage........................................... 164 G. Troubleshooting............................................. 165 H. Error Messages ............................................. 175 I. Warranty and Servicing................................... 176 INDEX ................................................................ 179 5
Chapter 1 Using Your Camera Section 1 Getting Started This section explains how to get your camera ready, from taking it out of the package to preparing to shoot.
Checking that Every- thing is Packed Quick Start Guide The following items should be included with the camera. Please make sure everything was packed. Caplio RX 1 Caplio CD-ROM The software and the operation manual are included on this CD-ROM. AA Alkaline Batteries (LR6) (2) Warranty Card Handstrap Safety Precautions AV Cable Used when viewing your images on a TV unit. USB Cable Used to connect the camera to a personal computer or Direct Print supported printer. Attaching the hand strap to the cam- era Thread the tips of the strap through the cam- era's strap eyelet and loop them as shown. Read Me First 8
分享到:
收藏