logo资料库

音乐网站开题+文献+外文翻译.doc

第1页 / 共8页
第2页 / 共8页
第3页 / 共8页
第4页 / 共8页
第5页 / 共8页
第6页 / 共8页
第7页 / 共8页
第8页 / 共8页
资料共8页,全文预览结束
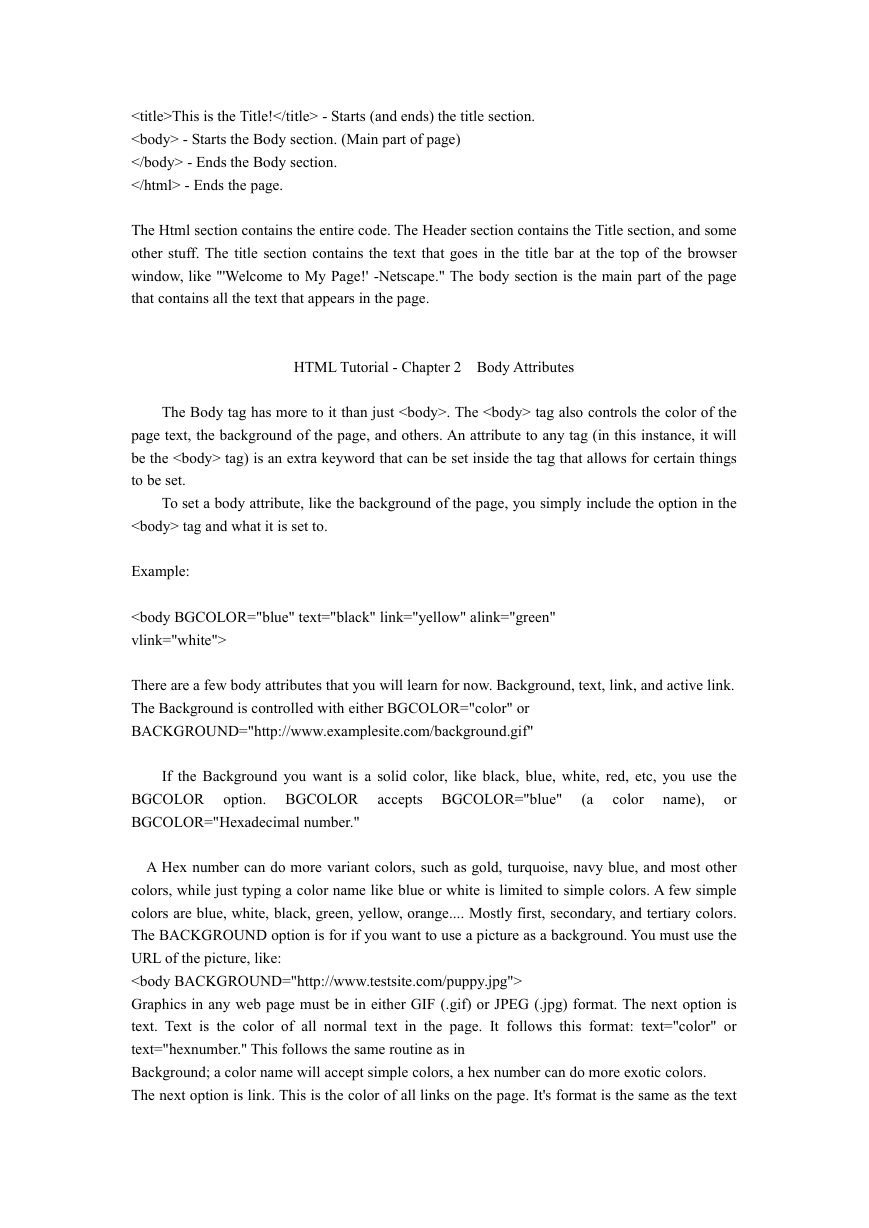
HTML Tutorial - Preface Html is one of the easiest languages to learn. This tutorial will explain how to write Html webpages, what Html is, and how to program in Html. Html stands for HyperText Markup Laguage.The only use for Html is for writing web pages. A web page is really a program, only a very simple one. What is easy about HTML is that: 1. There is no compiling, and 2. It is simple coding only. There are no functions, loops. "Bugs" are almost impossible to make and easy to fix. To use Html, you can of course use an Html wizard program which would defeat the whole purpose of this tutorial, or you can use a simple text editor, save the text as an .htm file (or .html for a Macintosh), and view it with your browser, such as Netscape or Microsoft Internet Explorer. This tutorial is being written in ordinary Notepad, so you don't need anything special. If you do not already have a web browser, you can download: Netscape at www.netscape.com MSIE at www.microsoft.com HTML Tutorial - Chapter 1 Tags, and the Skeleton Layout Before anything, HTML is written in tags. Tags are like the command words that make up the language. A tag is written like this: . An example tag would be , , , <hr> and others. The entire code is made up mostly of tags, tags tell the web page what to do. Sometimes a tag starts something, like for instance <bold> will make all the text after it turn bold. Or <title> will make anything after it become the title. But in some instances, like section tags, you will need to end a tag. For example, say you use a <bold> tag before a text. That's all fine and well, but everything after the bold tag will become bold. The entire page. You may only want to make one world bold. Therefor you must "end" a tag which will stop it's actions. To stop a tag you use this format: <\tag> For example: <bold>This is bold!</bold> This isn't! You'll learn more about other tags in the chapters to come. One good thing about HTML is that it always follows one layout. The following layout is an entire Html web page: <html> <head> <title>This is the Title! Welcome to my Web-Page! This is the basic code, called a skeleton layout. You should always start your Html code in that way. Now lets explain some of the tags. The tags you saw in the example are used only once usually. Here is just an explanation of the layout tags. Each tag in the skeleton layout starts or ends a section. A section in Html declares when a certain part of the Html code is beginning. - Starts the Html section. (Begins the page) - Starts the Header section.
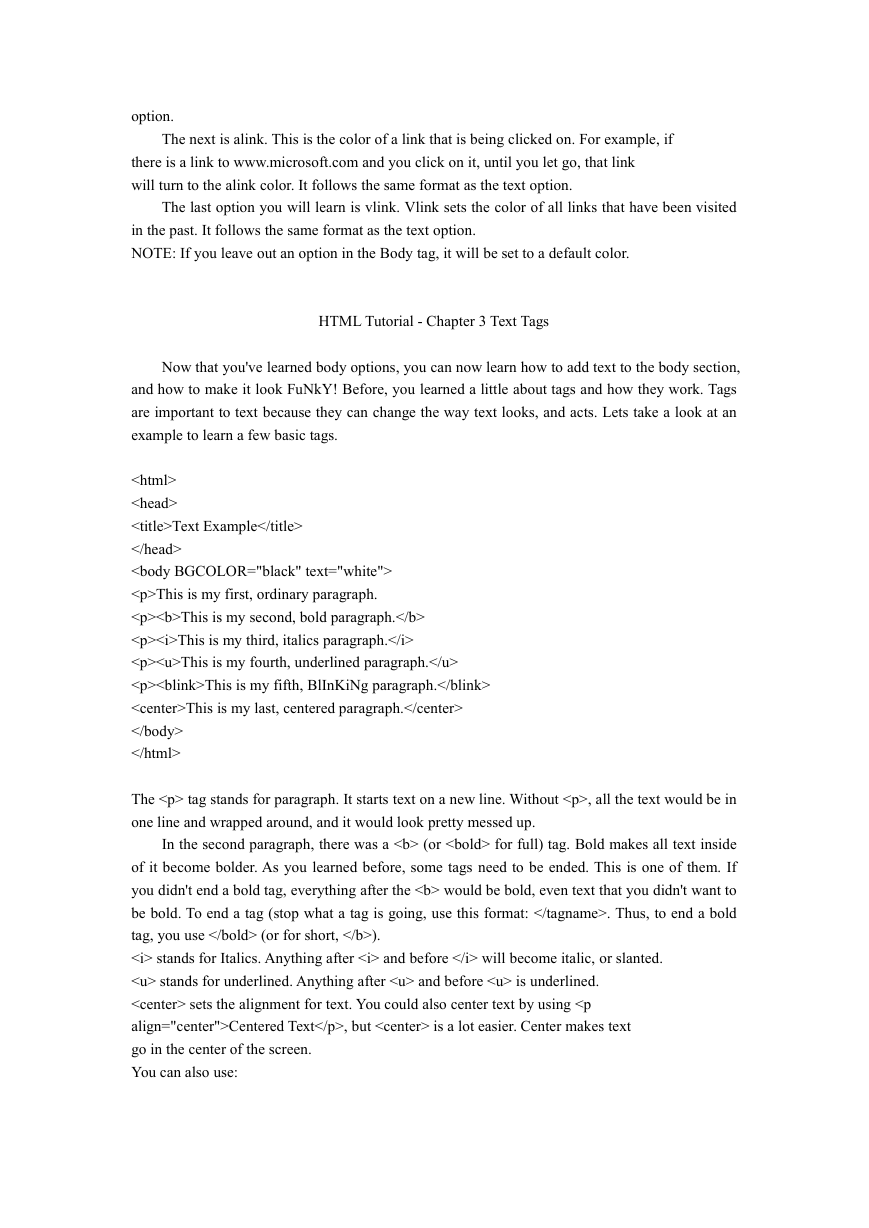
This is the Title! - Starts (and ends) the title section. - Starts the Body section. (Main part of page) - Ends the Body section. - Ends the page. The Html section contains the entire code. The Header section contains the Title section, and some other stuff. The title section contains the text that goes in the title bar at the top of the browser window, like "'Welcome to My Page!' -Netscape." The body section is the main part of the page that contains all the text that appears in the page. HTML Tutorial - Chapter 2 Body Attributes The Body tag has more to it than just . The tag also controls the color of the page text, the background of the page, and others. An attribute to any tag (in this instance, it will be the tag) is an extra keyword that can be set inside the tag that allows for certain things to be set. To set a body attribute, like the background of the page, you simply include the option in the tag and what it is set to. Example: There are a few body attributes that you will learn for now. Background, text, link, and active link. The Background is controlled with either BGCOLOR="color" or BACKGROUND="http://www.examplesite.com/background.gif" If the Background you want is a solid color, like black, blue, white, red, etc, you use the or BGCOLOR option. BGCOLOR accepts BGCOLOR="blue" BGCOLOR="Hexadecimal number." (a color name), A Hex number can do more variant colors, such as gold, turquoise, navy blue, and most other colors, while just typing a color name like blue or white is limited to simple colors. A few simple colors are blue, white, black, green, yellow, orange.... Mostly first, secondary, and tertiary colors. The BACKGROUND option is for if you want to use a picture as a background. You must use the URL of the picture, like: Graphics in any web page must be in either GIF (.gif) or JPEG (.jpg) format. The next option is text. Text is the color of all normal text in the page. It follows this format: text="color" or text="hexnumber." This follows the same routine as in Background; a color name will accept simple colors, a hex number can do more exotic colors. The next option is link. This is the color of all links on the page. It's format is the same as the text
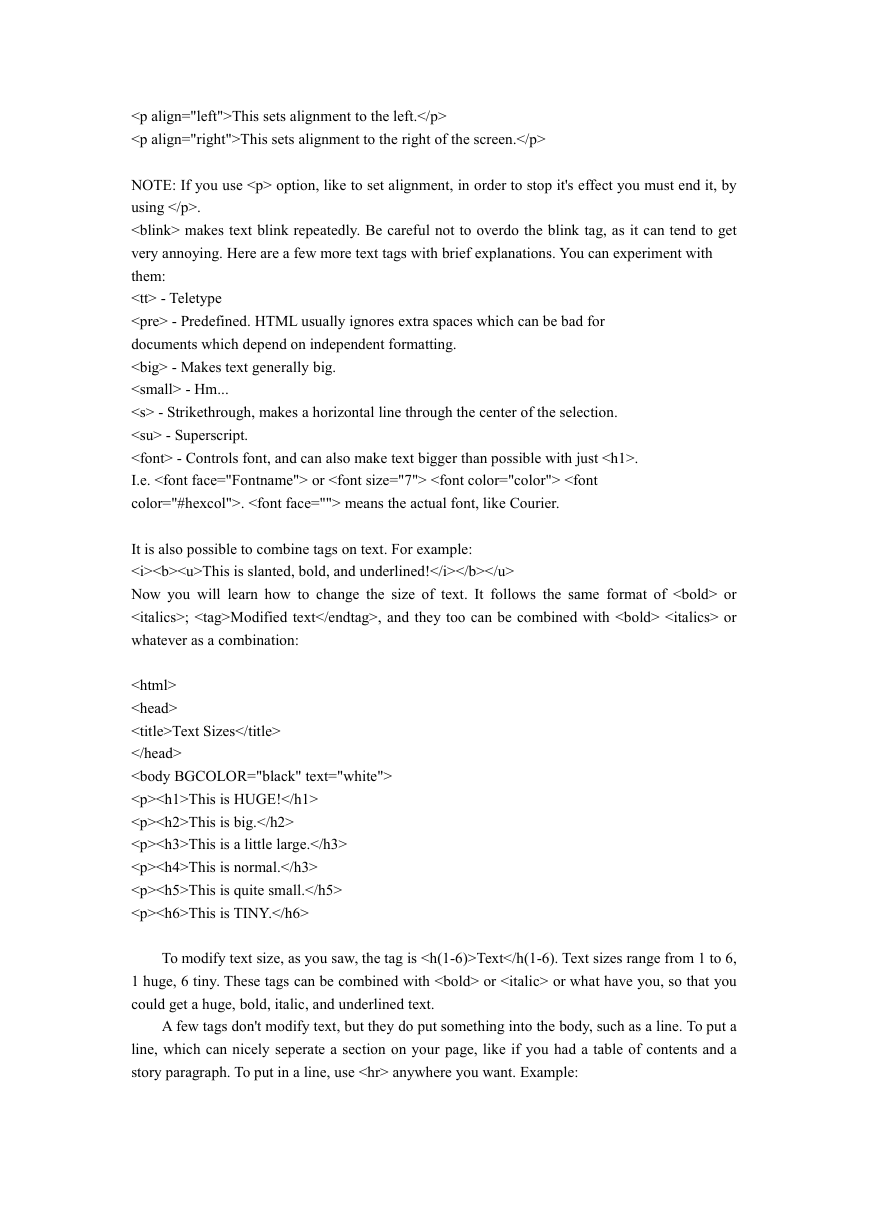
option. The next is alink. This is the color of a link that is being clicked on. For example, if there is a link to www.microsoft.com and you click on it, until you let go, that link will turn to the alink color. It follows the same format as the text option. The last option you will learn is vlink. Vlink sets the color of all links that have been visited in the past. It follows the same format as the text option. NOTE: If you leave out an option in the Body tag, it will be set to a default color. HTML Tutorial - Chapter 3 Text Tags Now that you've learned body options, you can now learn how to add text to the body section, and how to make it look FuNkY! Before, you learned a little about tags and how they work. Tags are important to text because they can change the way text looks, and acts. Lets take a look at an example to learn a few basic tags. Text Example

This is my first, ordinary paragraph.

This is my second, bold paragraph.

This is my third, italics paragraph.

This is my fourth, underlined paragraph.

This is my fifth, BlInKiNg paragraph.

This is my last, centered paragraph.
The

tag stands for paragraph. It starts text on a new line. Without

, all the text would be in one line and wrapped around, and it would look pretty messed up. In the second paragraph, there was a (or for full) tag. Bold makes all text inside of it become bolder. As you learned before, some tags need to be ended. This is one of them. If you didn't end a bold tag, everything after the would be bold, even text that you didn't want to be bold. To end a tag (stop what a tag is going, use this format: . Thus, to end a bold tag, you use (or for short, ). stands for Italics. Anything after and before will become italic, or slanted. stands for underlined. Anything after and before is underlined.

sets the alignment for text. You could also center text by using

Centered Text

, but
is a lot easier. Center makes text go in the center of the screen. You can also use:

This sets alignment to the left.

This sets alignment to the right of the screen.

NOTE: If you use

option, like to set alignment, in order to stop it's effect you must end it, by using

. makes text blink repeatedly. Be careful not to overdo the blink tag, as it can tend to get very annoying. Here are a few more text tags with brief explanations. You can experiment with them: - Teletype
 - Predefined. HTML usually ignores extra spaces which can be bad for
documents which depend on independent formatting.
 - Makes text generally big.
 - Hm...
 - Strikethrough, makes a horizontal line through the center of the selection.
 - Superscript.
 - Controls font, and can also make text bigger than possible with just 

. I.e. or . means the actual font, like Courier. It is also possible to combine tags on text. For example: This is slanted, bold, and underlined! Now you will learn how to change the size of text. It follows the same format of or ; Modified text, and they too can be combined with or whatever as a combination: Text Sizes

This is HUGE!

This is big.

This is a little large.

This is normal.

This is quite small.

This is TINY.
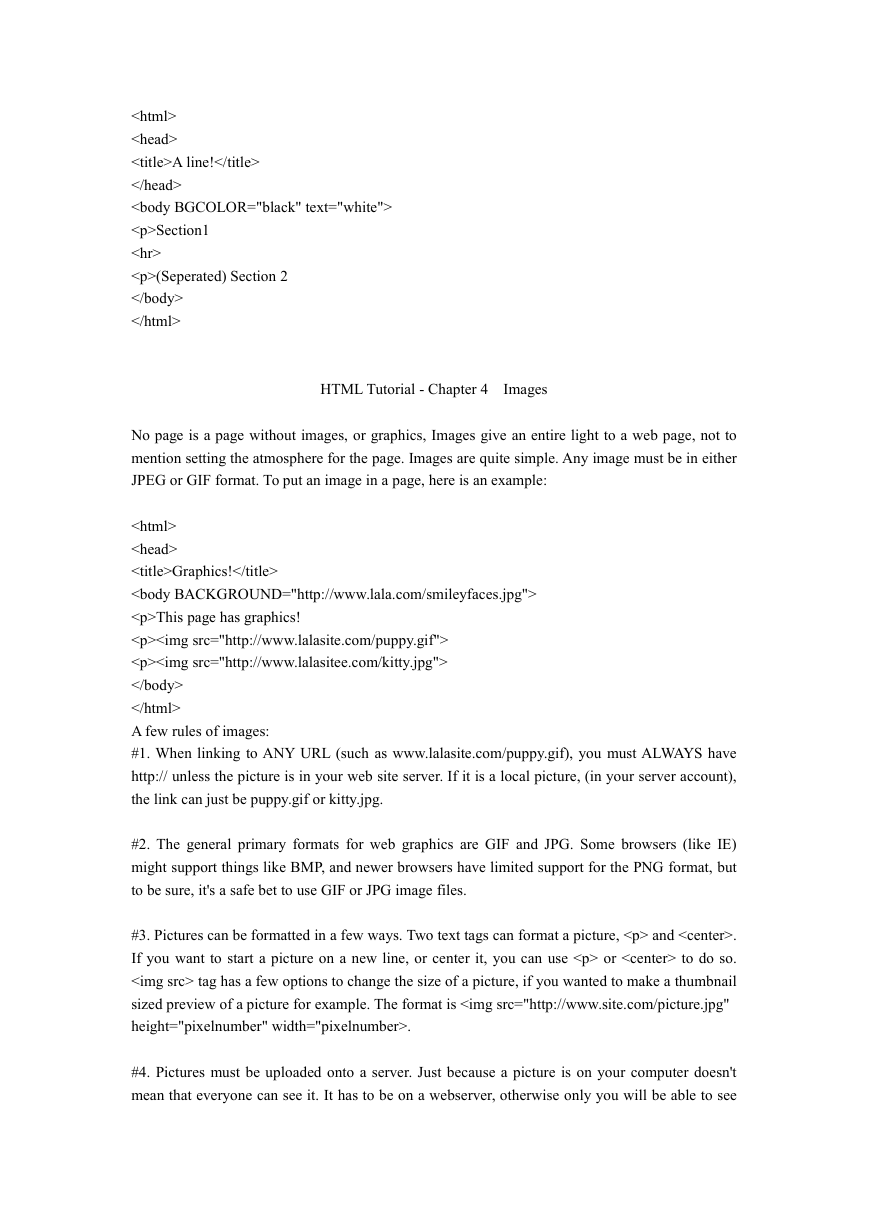
To modify text size, as you saw, the tag is Text or or what have you, so that you could get a huge, bold, italic, and underlined text. A few tags don't modify text, but they do put something into the body, such as a line. To put a line, which can nicely seperate a section on your page, like if you had a table of contents and a story paragraph. To put in a line, use
anywhere you want. Example:

A line!

Section1


(Seperated) Section 2 HTML Tutorial - Chapter 4 Images No page is a page without images, or graphics, Images give an entire light to a web page, not to mention setting the atmosphere for the page. Images are quite simple. Any image must be in either JPEG or GIF format. To put an image in a page, here is an example: Graphics!

This page has graphics!

A few rules of images: #1. When linking to ANY URL (such as www.lalasite.com/puppy.gif), you must ALWAYS have http:// unless the picture is in your web site server. If it is a local picture, (in your server account), the link can just be puppy.gif or kitty.jpg. #2. The general primary formats for web graphics are GIF and JPG. Some browsers (like IE) might support things like BMP, and newer browsers have limited support for the PNG format, but to be sure, it's a safe bet to use GIF or JPG image files. #3. Pictures can be formatted in a few ways. Two text tags can format a picture,

and

. If you want to start a picture on a new line, or center it, you can use

or

to do so. tag has a few options to change the size of a picture, if you wanted to make a thumbnail sized preview of a picture for example. The format is Click here to go! Anything between the tag and the tag becomes a link. When you click on a link, it takes you to the page. Here are some examples:

Yahoo!

My Hobbies! The following will not work: Yahoo? The same goes for linking pictures in chapter 4 You can make pictures link to sites as well:

Some browsers automatically place a border around images that are links. To disable this, put border=0 in the tag. Tables HTML Tutorial - Chapter 6 Tables are effective in making graphical or text presentations look sharp. It can nicely organize a list of data. They form boxes around whatever you want and can split into smaller sections, called cells. To start a table you begin with a tag,

.
declares a few things about the table. The things are defined by using them as options in the tag. For example,
In a table a cell is a square in the table that contains html code that is confined to that small square. NOTE: The cell size is determined by whats in it. If you have "Hi!" the cell will be small. If you have the entire Constitution, it will be a tad bit longer. Width declares how many cells wide the table is. Height declares how many cells tall the table is. Cellspacing is how much space is between cells, and cell padding is how thick the spacing
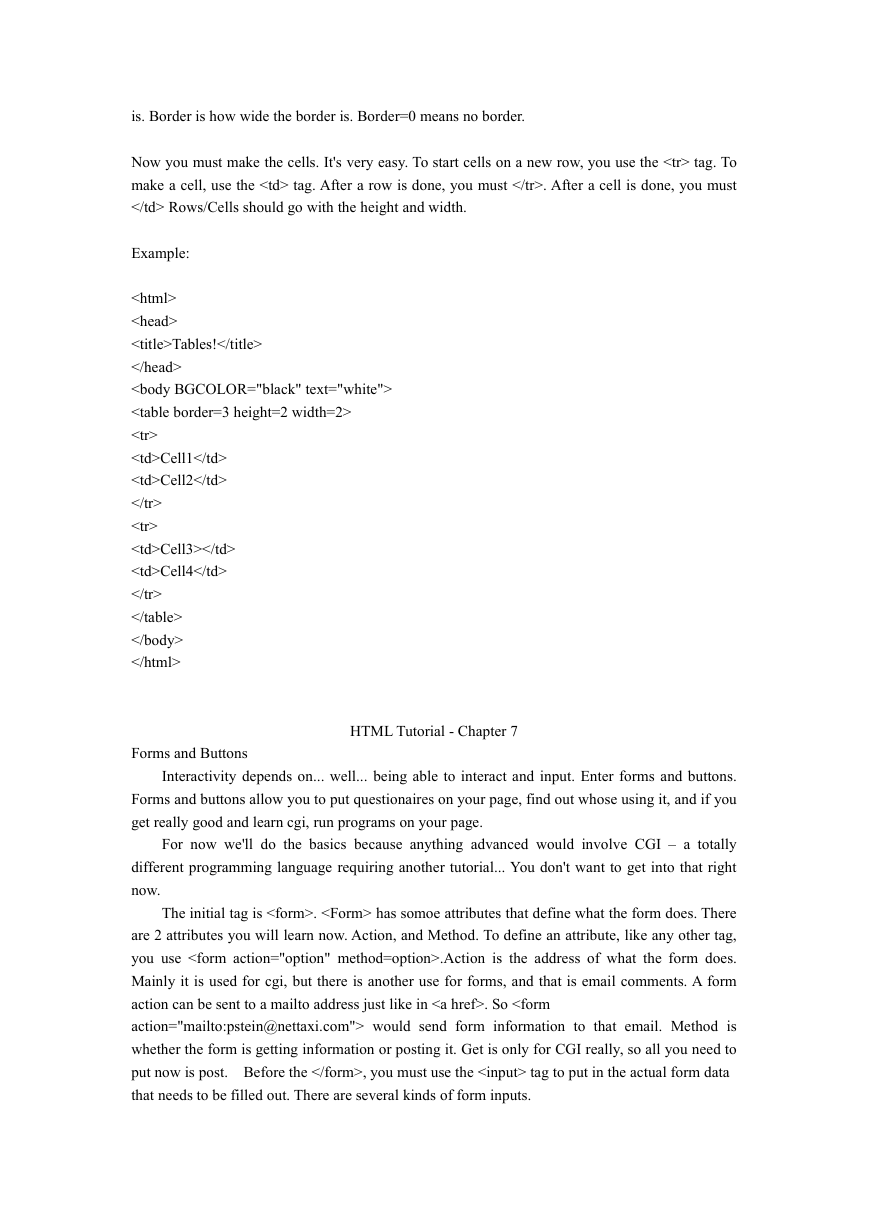
is. Border is how wide the border is. Border=0 means no border. Now you must make the cells. It's very easy. To start cells on a new row, you use the
tag. To make a cell, use the . After a cell is done, you must Rows/Cells should go with the height and width. Example: Tables!
tag. After a row is done, you must
Cell1 Cell2
Cell3> Cell4
Forms and Buttons HTML Tutorial - Chapter 7 Interactivity depends on... well... being able to interact and input. Enter forms and buttons. Forms and buttons allow you to put questionaires on your page, find out whose using it, and if you get really good and learn cgi, run programs on your page. For now we'll do the basics because anything advanced would involve CGI – a totally different programming language requiring another tutorial... You don't want to get into that right now. The initial tag is
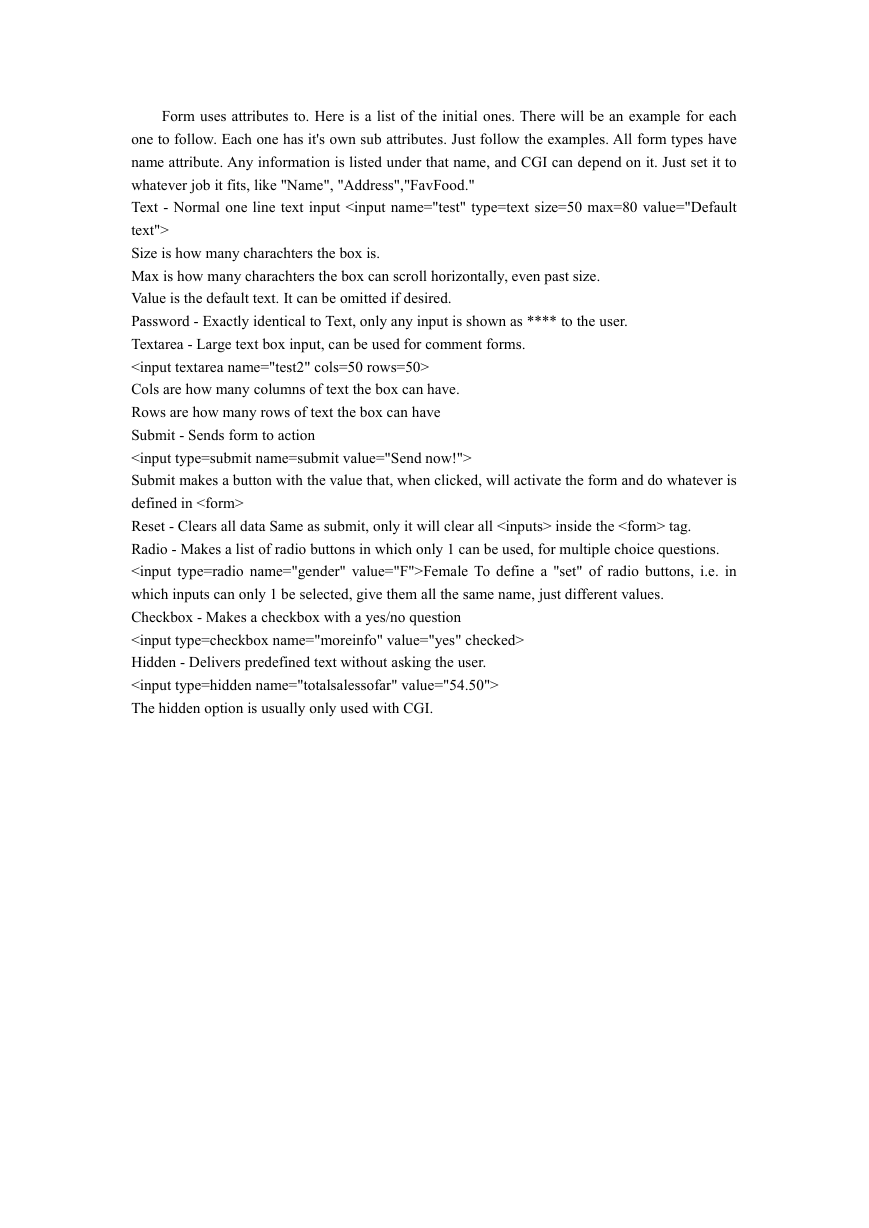
. has somoe attributes that define what the form does. There are 2 attributes you will learn now. Action, and Method. To define an attribute, like any other tag, you use .Action is the address of what the form does. Mainly it is used for cgi, but there is another use for forms, and that is email comments. A form action can be sent to a mailto address just like in . So would send form information to that email. Method is whether the form is getting information or posting it. Get is only for CGI really, so all you need to put now is post. Before the , you must use the tag to put in the actual form data that needs to be filled out. There are several kinds of form inputs.
收藏